

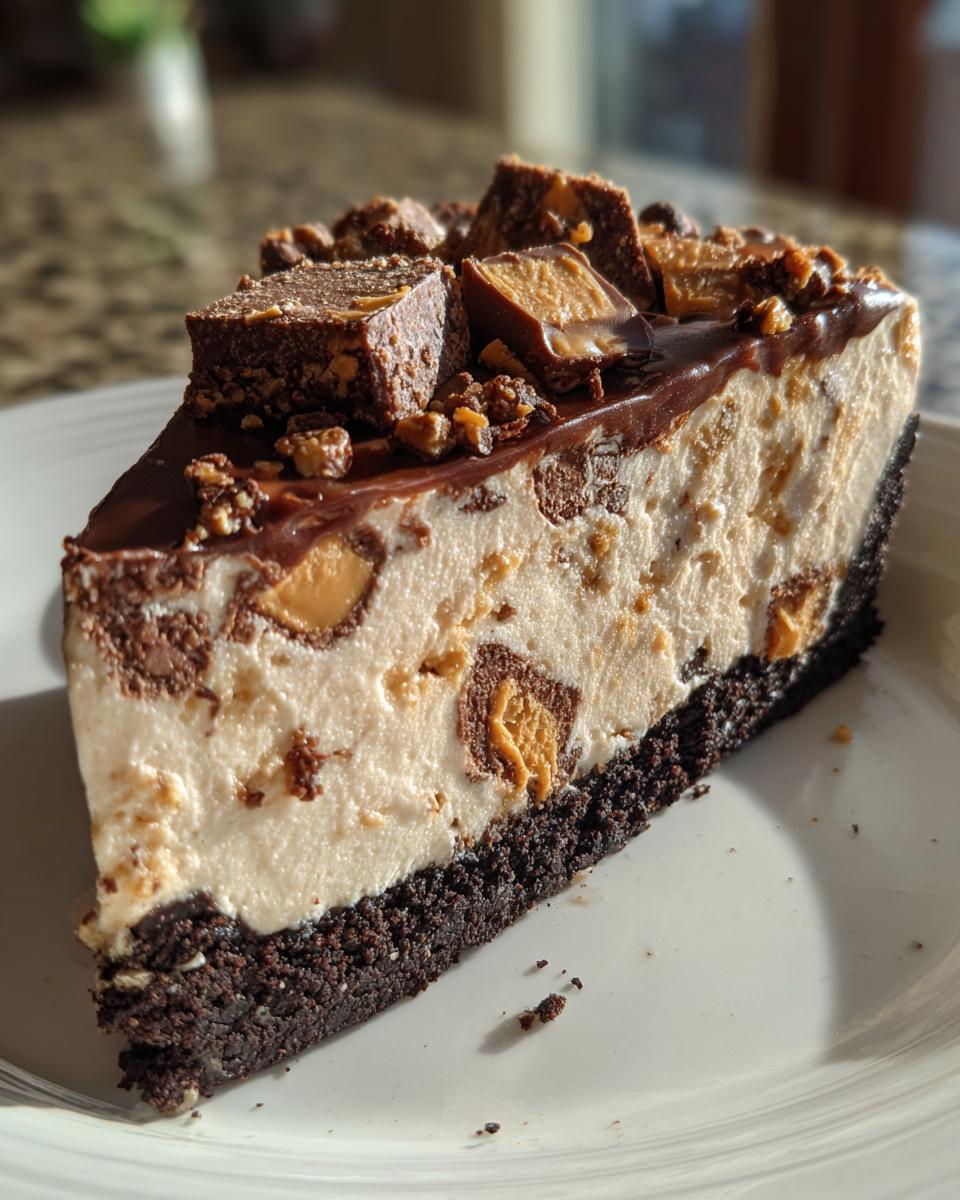
When the heat is high or I just can’t face turning on the oven, I lean hard into the nostalgia of a truly great no-bake dessert. There’s something magical about assembling something this decadent and knowing it just needs time in the fridge to set up perfectly. That’s exactly the spirit behind my Ultimate No-Bake Creamy Butterfinger Pie. This recipe isn’t some random internet find; it’s built on the principles I learned studying Food Science and developing professional recipes. It’s reliable because it works every single time, delivering that perfect balance of salty, sweet, creamy, and wonderfully crunchy. Trust me, this Butterfinger Pie is the extraordinary treat you need this week.
- Why This Butterfinger Pie Recipe is Everyday Alchemy
- Ingredients for Your Ultimate Butterfinger Pie
- Crafting the Chocolate Cookie Crust for Your Butterfinger Pie
- Achieving the Creamy Candy Bar Dessert Filling
- Assembling and Chilling Your Perfect Butterfinger Pie
- Tips for Success with Butterfinger Pie
- Storage and Reheating Instructions for Leftover Butterfinger Pie
- Frequently Asked Questions About This Butterfinger Pie
- Nutritional Estimates for One Slice
Why This Butterfinger Pie Recipe is Everyday Alchemy
This isn’t just another dessert recipe you see floating around; this is my version of everyday alchemy because it gives you massive payoff for tiny effort. Seriously, you don’t sacrifice flavor or texture just because the oven stays off. It’s the perfect candidate for those Quick Make Ahead Desserts you need for busy weeks!
- It’s 100% a No Oven Dessert—hello, cool kitchen!
- The filling is unbelievably rich and fluffy, hitting that perfect creamy note you crave.
- It’s genuinely fast! You spend zero time baking and a quick 20 minutes mixing.
- This always gets rave reviews at potlucks; it’s a guaranteed crowd-pleaser!
The Magic of No-Bake Pie Recipes
When I say no-bake, I mean it. We skip the hard science of gluten structure and oven spring entirely. This pie relies on temperature and perfectly softened ingredients to set up firm in the fridge. It’s the secret weapon for any host who wants an indulgent Candy Bar Dessert without the stress of a hot kitchen.
Ingredients for Your Ultimate Butterfinger Pie
To achieve that perfect alchemy of textures, ingredient quality really matters here, even though we’re not baking! We rely on chemistry, not heat, so temperature is key. I’ve listed everything you need for the crust, the filling, and that crunchy topping that makes this Butterfinger Pie so addictive. Remember, we need 8 ounces of cream cheese *fully* softened and that 12-ounce container of whipped topping completely thawed!
- 1 1/2 cups chocolate sandwich cookie crumbs (that’s about 24 cookies, crushed fine!)
- 6 tablespoons unsalted butter, melted
- 8 ounces cream cheese, softened (don’t skip softening this!)
- 1 cup powdered sugar
- 1/2 cup creamy peanut butter
- 1 teaspoon vanilla extract
- 1 (12 ounce) container frozen whipped topping, thawed
- 1 cup chopped Butterfinger candy bars (mixed into the filling)
- 1/2 cup chopped Butterfinger candy bars (for the top garnish)
Ingredient Notes and Substitutions for Butterfinger Pie
If you aren’t feeling the chocolate flavor from the Oreos, you absolutely can use graham cracker crumbs instead, which gives you that classic Graham Cracker Crust Pies vibe. But here’s the biggest rule for that Fluffy Peanut Butter Filling: the cream cheese needs to be soft—I mean really soft. If it’s cold, you’ll end up with lumps, and no one wants a lumpy peanut butter dream, right?
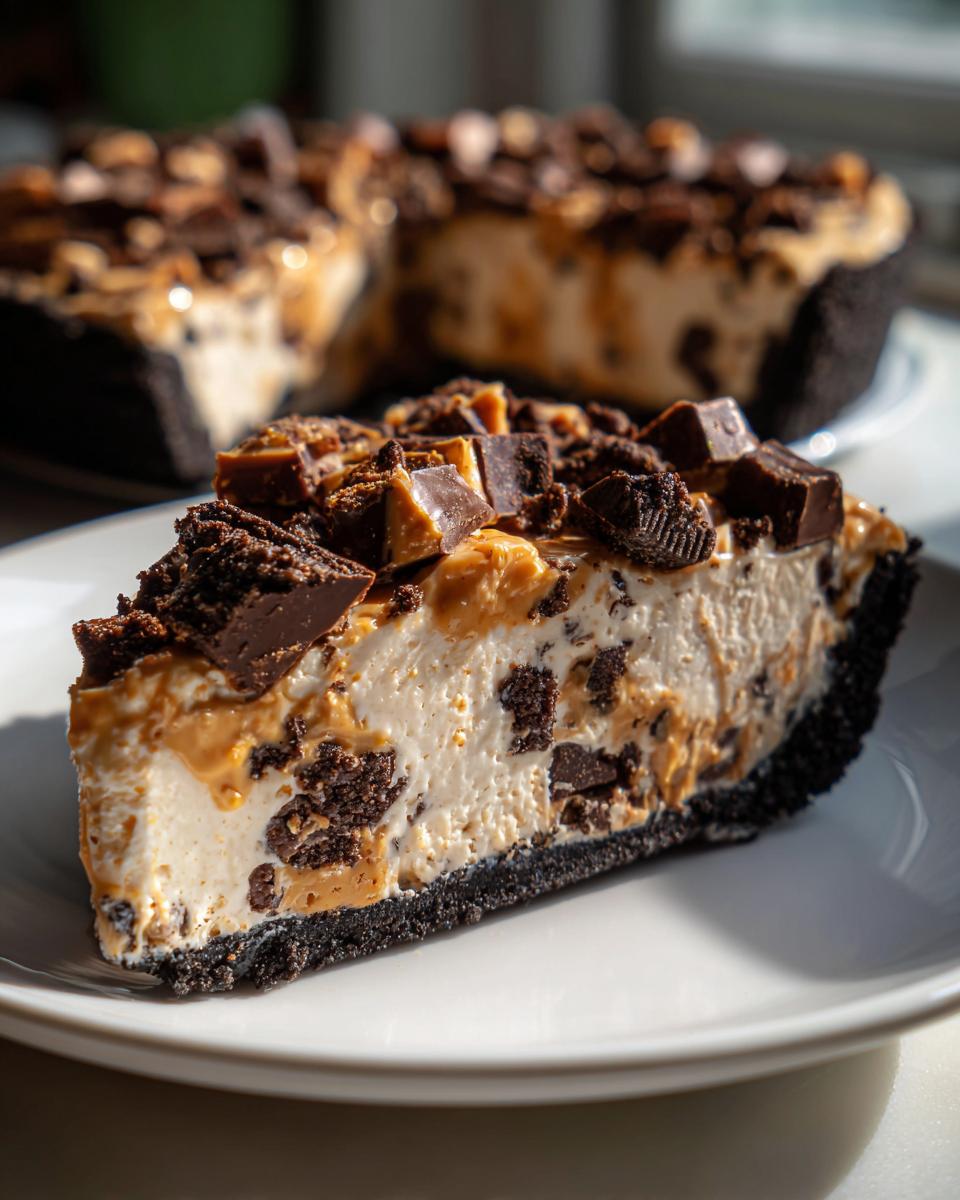
Crafting the Chocolate Cookie Crust for Your Butterfinger Pie
Okay, every amazing structure needs a rock-solid foundation, and this pie is no different! First things first, we need to turn those chocolate sandwich cookies into fine crumbs—I just pulse mine in the food processor until they look like dark sand. Mix those crumbs right into the melted butter until everything is evenly coated. Don’t be shy when you press this mixture into the 9-inch pie plate. I use the bottom of a glass to really pack it down firmly around the bottom and up the sides. That solid press is what keeps your Butterfinger Pie from crumbling when you slice it later. Pop that crust right into the freezer while we whip up the magic filling!
Achieving the Creamy Candy Bar Dessert Filling
This, my friends, is where the real magic happens for this Creamy Candy Bar Dessert. We need that peanut butter base to be utterly seamless. Grab your stand mixer, or just a sturdy hand mixer, and beat that perfectly softened cream cheese, the powdered sugar, your creamy peanut butter, and the vanilla extract until it’s absolutely smooth. I beat it for a good minute or two, scraping down the sides constantly. You want zero lumps—we are aiming for velvety perfection here. This smooth base is crucial for that rich, Fluffy Peanut Butter Filling we all crave.
Next comes the whipped topping. This is where we apply a little Food Science knowledge to keep our pie airy! Once the cream cheese mixture is silky smooth, you gently fold in the thawed whipped topping. This step is non-negotiable—if you mix too vigorously, you’ll knock all the air bubbles out of the topping, and your pie will turn out dense instead of wonderfully cloud-like. After that, gently stir in most of your chopped Butterfingers. Save just a little bit for the grand finale!
Folding Techniques for Maximum Fluffiness
When folding, you aren’t stirring; you’re gently lifting. Use a big rubber spatula. Cut down through the center of the mixture, scrape along the bottom of the bowl, and sweep up and over the top. Turn the bowl a quarter turn and repeat. You just keep doing that until you see no more white streaks of topping remaining. It should take maybe 15 or 20 gentle passes. This is how we preserve volume and ensure every bite of your Butterfinger Pie feels light as air!
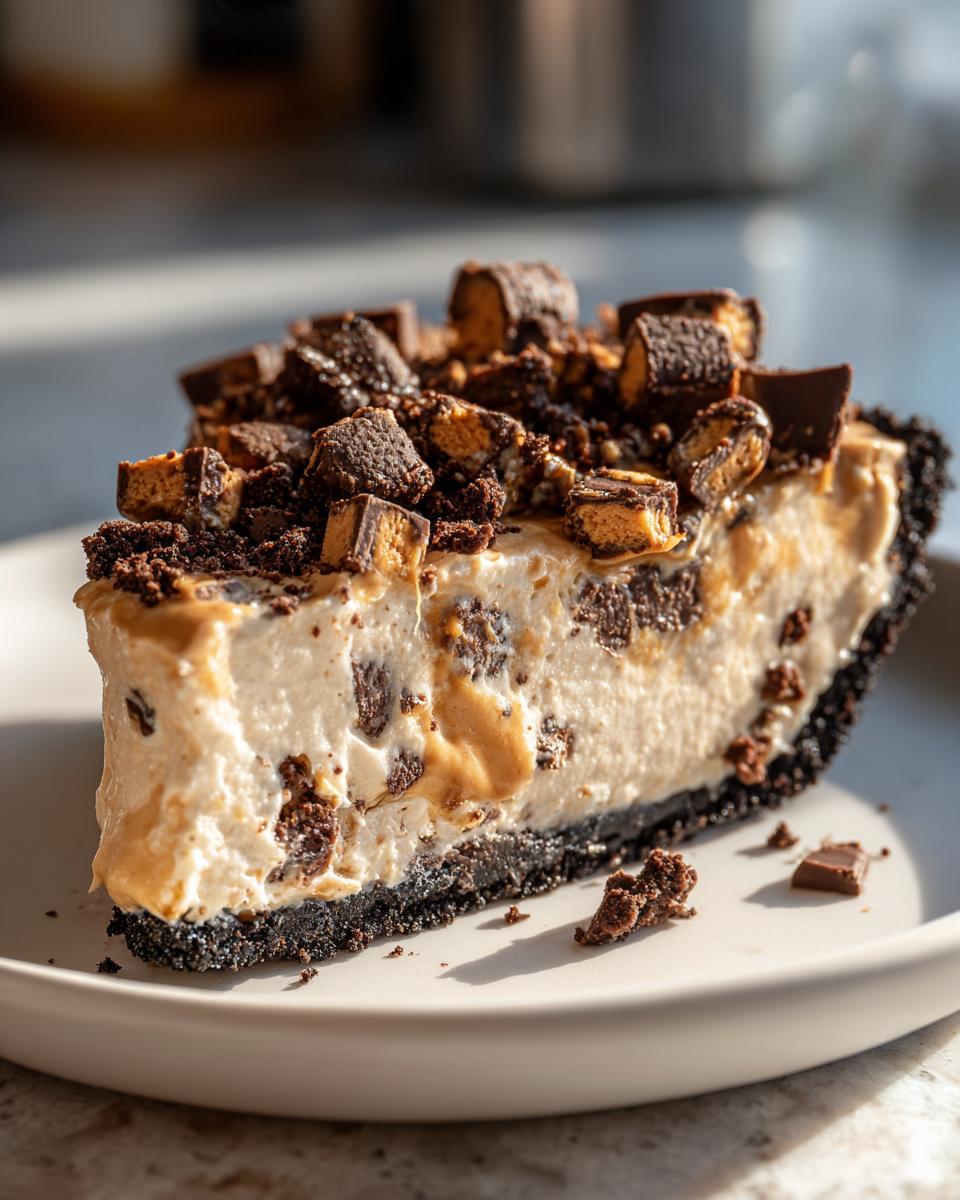
Assembling and Chilling Your Perfect Butterfinger Pie
Now that we have that beautifully smooth, candy-loaded filling, it’s time to bring our masterpiece together. Gently spoon that fluffy peanut butter mixture right into your chilled chocolate cookie crust. It’s so rewarding to see it all come together! Use an offset spatula or the back of a spoon to smooth the top out evenly. Don’t press down hard, though; we want to keep all that air we worked so hard to fold in earlier.
Here is where patience comes in, my friend. This is one of those Quick Make Ahead Desserts, but the “make ahead” part is crucial! You absolutely must chill this pie for a minimum of four hours. I always tell people that chilling isn’t optional—it’s part of the recipe! If you try to slice it early, you’ll just end up with a sloppy, sad pile of deliciousness instead of those beautiful, clean slices we want.
Once it’s nice and firm, you can sprinkle on that final half-cup of chopped Butterfingers right before you serve it. That way, the candy stays super crunchy against that cool, creamy filling!
Tips for Success with Butterfinger Pie
Listen up, because these small details are what elevate this from being just *a* pie to *the* best Butterfinger Pie you’ve ever made. As a recipe developer, I’ve seen exactly where folks accidentally deflate the magic, so here are my top tips to avoid any pie pitfalls!
- Temper Your Dairy: I mentioned this before, but I need to stress it again: Cream cheese and whipped topping must be at the right temperature. Softened cream cheese lets you whip air in; cold whipped topping breaks down when you fold it. It’s simple temperature control!
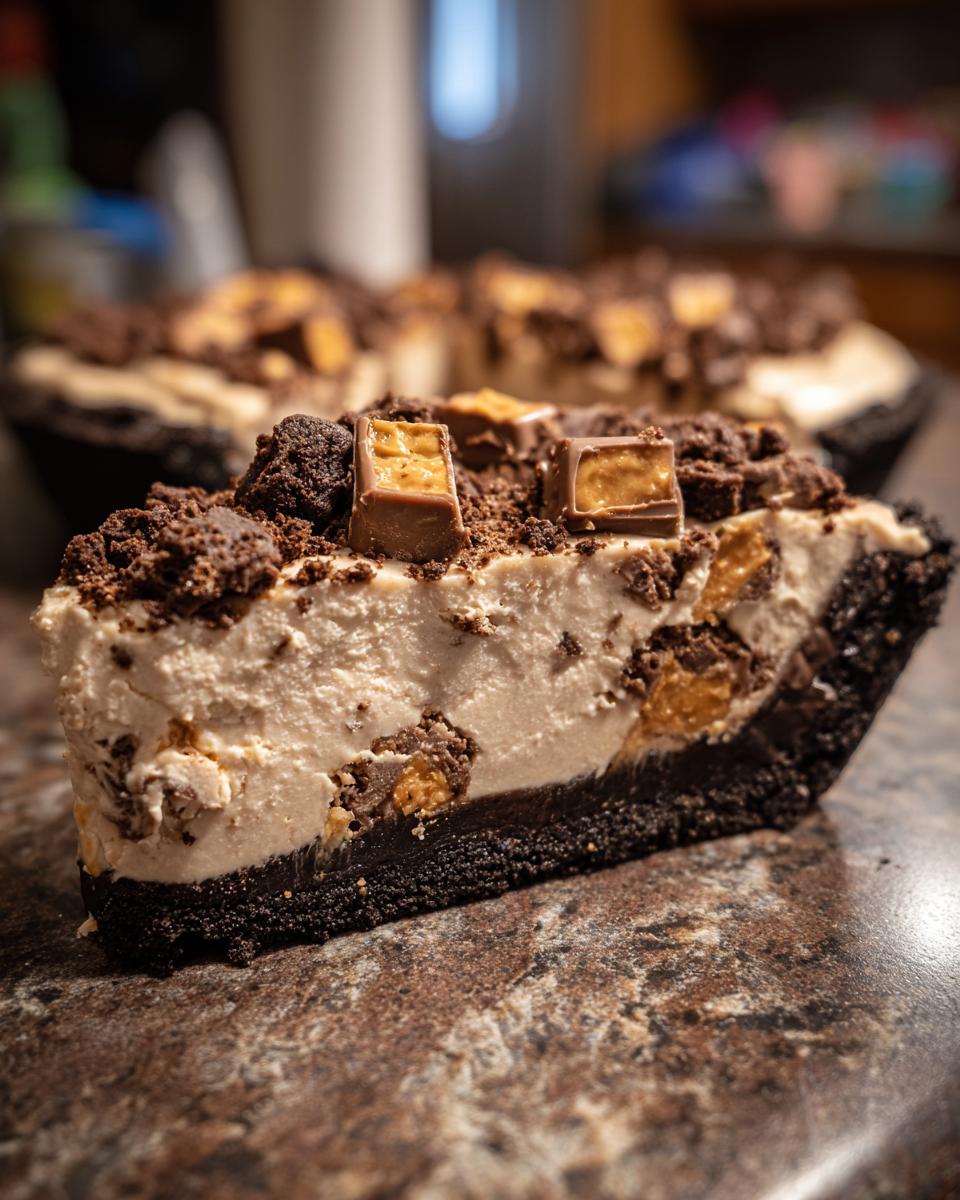
- Chop Rough, Not Fine: When you chop those Butterfinger bars, you want noticeable chunks! If they are too fine, they disappear into the filling. We want that ‘crispety, crunchety’ snap, so aim for varied, medium-sized pieces.
- Pat the Crust Down: Don’t just sprinkle the crumbs in the crust; use a flat-bottomed glass or measuring cup and press *hard*. This compression prevents your chocolate crust from crumbling all over the place when you try to serve this delicious, creamy treat.
- Mind the Chill Time: Four hours is the absolute minimum. If you rush this, the filling won’t set correctly, and trying to get a clean slice of this gooey masterpiece is just impossible. Plan this as your star make-ahead dessert!
Storage and Reheating Instructions for Leftover Butterfinger Pie
Since this gorgeous Butterfinger Pie relies on simple chilling rather than baking, keeping leftovers fresh is easy, but we need to be smart about dairy and whipped topping. This is exactly the kind of dessert that becomes one of your secret weapons when planning for future meals or even during the holidays when you need Easy Holiday Pies ready ahead of time.
First things first: cover it tightly! Once your pie is completely chilled and set, cover the pie plate securely with plastic wrap or, even better, transfer the slices into an airtight container. This keeps that lovely peanut butter filling protected from any lingering fridge smells.
Keeping it Cool in the Fridge
The best place for any leftover Creamy Candy Bar Dessert is the refrigerator. It will hold its structure really well in the fridge for up to four days. The crust might soften just a little bit after the first 24 hours, but honestly, sometimes that makes the chocolate cookie crust even richer when it absorbs a tiny bit of moisture from the filling. Just make sure you keep that crunchy topping separate until serving time if you want it to stay perfectly crisp!
Can I Freeze the Leftovers?
Yes, you absolutely can freeze this! Freezing is a great way to extend its life when you know you won’t get to it within four days. I like to slice the remaining pie first—it’s much easier to transfer individual slices into freezer-safe containers then. It freezes beautifully for about one month.
Now, here’s the crucial science bit about thawed texture: Because we used whipped topping, when you thaw the slice, the whipped topping might release a tiny bit more liquid than it did before freezing. It might appear slightly looser or “wetter” right out of the fridge. Don’t panic! Just let it sit on the counter for about 15 minutes before you plan to eat it—that little bit of time allows the filling to warm up just enough so it doesn’t taste icy, and the texture smooths right back out. Remember to sprinkle on fresh, crisp Butterfingers right before serving for that ultimate crunch!
Frequently Asked Questions About This Butterfinger Pie
I know when I’m hunting for a new recipe, I always have a few nagging questions before I commit to mixing bowls and measuring spoons! Because this is one of those ultimate Crowd Pleasing Desserts, I put together answers to the things I hear most often about getting this pie just right.
Can I use a different crust instead of the Chocolate Cookie Crust in this Butterfinger Pie?
You absolutely can! While I personally love the deep, rich contrast the chocolate Oreo crumbs give against the salty peanut butter filling—making it such a fantastic Chocolate Cookie Crust Dessert—you are free to swap. If you want a slightly lighter flavor profile that lets the peanut butter shine even more, go for a standard graham cracker crust. You’d crush 1 1/2 cups of graham crackers and mix them with the same 6 tablespoons of melted butter. It works perfectly for those who prefer Graham Cracker Crust Pies.
How far in advance can I make this No Bake Pie?
This is honestly one of the best things about it! This pie is designed to be one of your go-to Quick Make Ahead Desserts. You want to assemble the whole thing—crust, filling, and chopped candy interior—and let it chill for at least 4 hours to get firm. However, I find that the absolute sweet spot is making it the night before ($12-18$ hours ahead). Chilling overnight lets the flavors really marry together without making the crust soggy. Just hold off on sprinkling the top layer of Butterfingers until you are ready to serve for maximum crunch. You won’t believe how easy it is to pull this out on a busy holiday!
Why is my filling sticky instead of fluffy?
Oops! That usually comes down to one of two things, both related to the science of whipping air into dairy. First, like I mentioned in the notes, your cream cheese was likely too cold when you started, preventing you from getting a smooth base to begin with. Second, and more commonly, you overmixed when folding in the thawed whipped topping. When you aggressively stir the topping, you break down its cell structure, and all that lovely trapped air escapes. Go back to those gentle folding motions—lift, turn, sweep—and you’ll keep that Fluffy Peanut Butter Filling cloud-like and perfect!
Can I make this ahead and freeze it?
Yes, you totally can manage this for future dessert needs! It keeps beautifully in the freezer for up to a month. The key, as I discussed in the storage section, is that when it thaws, the texture of the whipped topping might loosen up just a tad. Make sure you let it sit on the counter for about 15 minutes after pulling it from the freezer to warm up slightly before slicing. And remember, always top with fresh candy pieces after thawing, not before!
Where can I watch a quick tutorial for this stunning Butterfinger Pie?
Sometimes you just need to see it in action, right? I totally get that! Watching the consistency of the filling come together is half the battle. You can check out a quick visual guide on Tastemade’s video tutorial which walks through the assembly step-by-step. It’s a great way to double-check your folding technique before you seal up the filling for the chill! It really shows off how quickly this Indulgent Dessert Idea comes together.
Nutritional Estimates for One Slice
Now, I know what you’re thinking: what absolute magic ingredient gave this Butterfinger Pie its incredible taste? Well, that magic usually comes wrapped up in sugar and fat, and that’s okay! This is a celebratory dessert, a true marvel for any Candy Lovers Dessert category.
As a recipe developer, I always run my creations through software to get estimates, and I want to be completely transparent about what you’re looking at here. These numbers are based on the ingredients listed for one standard slice of the Ultimate No-Bake Creamy Butterfinger Pie. Remember, every brand of cookie or peanut butter can shift these numbers just a little bit, but this gives you the right ballpark for this decadent treat.
- Serving Size: 1 slice
- Calories: 450
- Fat: 28g (Be sure to note that 12g of that is Saturated Fat)
- Carbohydrates: 45g
- Protein: 7g
See? It’s rich, but that’s the cost of pure joy! Honestly, the sheer pleasure of digging into that creamy filling and hitting that crunch makes all these numbers worth it. Enjoy every single bite of this showstopper!
PrintUltimate No-Bake Creamy Butterfinger Pie with Chocolate Oreo Crust
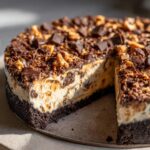
Make this rich, creamy no-bake Butterfinger Pie featuring a chocolate cookie crust and a fluffy peanut butter filling topped with crunchy candy pieces. This recipe is simple and requires no oven time.
- Prep Time: 20 min
- Cook Time: 0 min
- Total Time: 4 hr 20 min
- Yield: 8 servings 1x
- Category: Dessert
- Method: No Bake
- Cuisine: American
- Diet: Vegetarian
Ingredients
- 1 1/2 cups chocolate sandwich cookie crumbs (about 24 cookies)
- 6 tablespoons unsalted butter, melted
- 8 ounces cream cheese, softened
- 1 cup powdered sugar
- 1/2 cup creamy peanut butter
- 1 teaspoon vanilla extract
- 1 (12 ounce) container frozen whipped topping, thawed
- 1 cup chopped Butterfinger candy bars
- 1/2 cup chopped Butterfinger candy bars, for topping
Instructions
- Combine the chocolate cookie crumbs and melted butter in a medium bowl. Press the mixture firmly into the bottom and up the sides of a 9-inch pie plate. Place the crust in the freezer while you prepare the filling.
- In a large bowl, beat the softened cream cheese, powdered sugar, peanut butter, and vanilla extract until the mixture is smooth and creamy.
- Gently fold in the thawed whipped topping until just combined. Be careful not to overmix.
- Fold in 1 cup of the chopped Butterfinger candy bars into the peanut butter mixture.
- Spoon the filling evenly into the chilled cookie crust. Smooth the top with a spatula.
- Chill the pie in the refrigerator for at least 4 hours, or until firm.
- Before serving, sprinkle the remaining 1/2 cup of chopped Butterfinger candy bars over the top of the pie. Slice and serve cold.
Notes
- For the best texture, ensure your cream cheese is fully softened before mixing.
- You can substitute graham cracker crumbs for the Oreo crumbs if you prefer a different crust flavor.
- Chill time is important for a firm slice; plan ahead for this make-ahead dessert.
Nutrition
- Serving Size: 1 slice
- Calories: 450
- Sugar: 35g
- Sodium: 350mg
- Fat: 28g
- Saturated Fat: 12g
- Unsaturated Fat: 16g
- Trans Fat: 0.5g
- Carbohydrates: 45g
- Fiber: 2g
- Protein: 7g
- Cholesterol: 45mg