
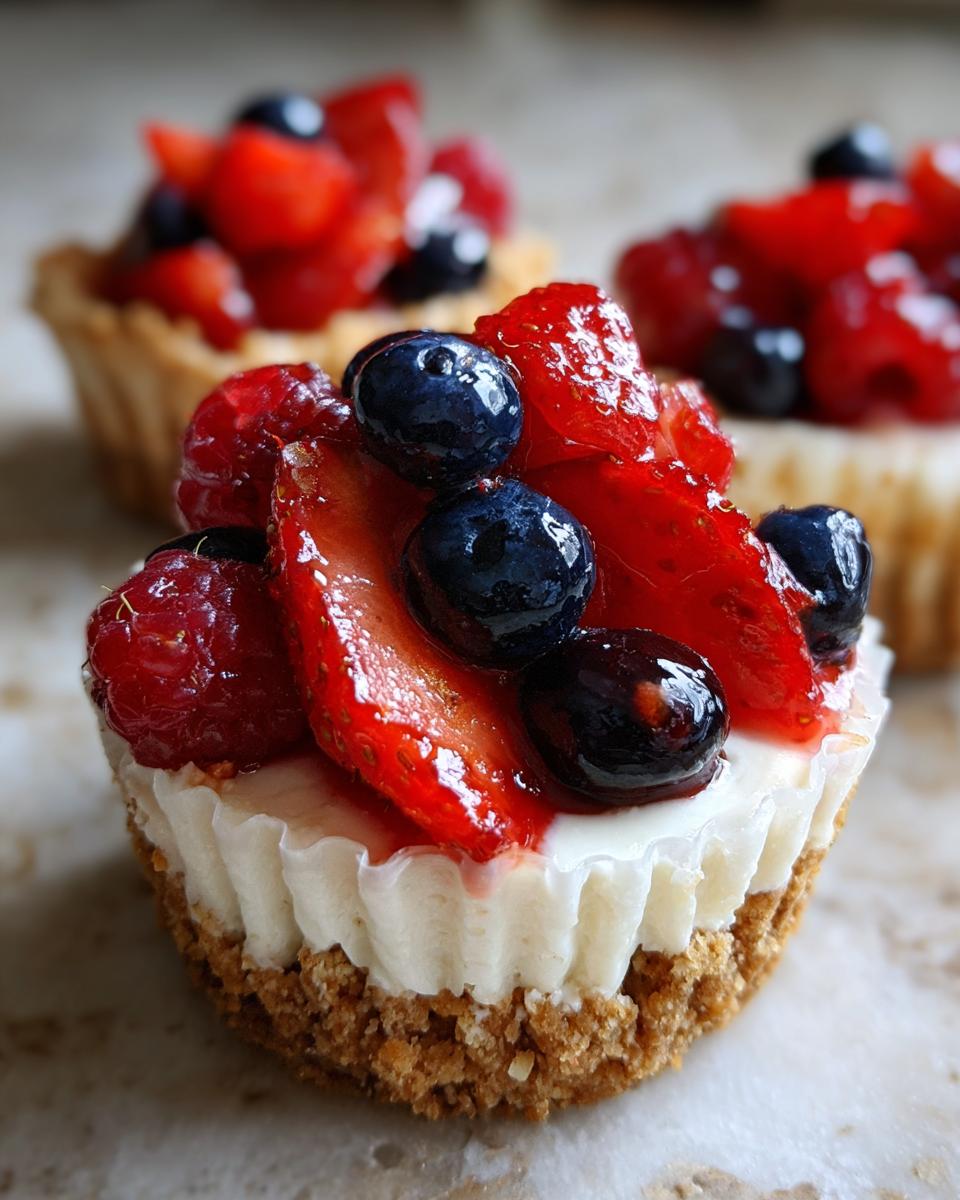
Folks, sometimes you just want that decadent, creamy texture of a rich cheesecake without turning on the oven or battling those terrible cracks! That’s where the magic of the **mini cheesecake** comes in. I’m Juliana Cruz, and as someone who started here at Alchemy Chef rooted deeply in Food Science, I know exactly how to engineer reliability into desserts. When I develop a recipe, it has to be consistently flawless, and these no-bake **mini cheesecake** cups are the definition of reliability paired with convenience. These individual portions are quick to assemble, incredibly creamy, and they handle themselves perfectly at any gathering. Seriously, they’re my go-to solution when I need something spectacular fast.
- Why This No-Bake Mini Cheesecake Recipe Works for You
- Ingredients for Your Graham Cracker Crust Mini Cheesecake
- How to Make Easy Mini Cheesecakes Step-by-Step
- Tips for the Best Mini Cheesecake Recipe
- Making Make Ahead Cheesecake Portions and Storage
- Serving Suggestions for Your Party Dessert Mini Treats
- Frequently Asked Questions about No Oven Cheesecake Dessert
- Estimated Nutritional Data for Single Serving Cheesecake
- Share Your Bite Sized Cheesecake Dessert Creations
Why This No-Bake Mini Cheesecake Recipe Works for You
I know you’re busy, and honestly, who wants to risk a cracked top when they’re aiming for *creamy*? That’s why this version is a total lifesaver. It skips the oven entirely, which means zero babysitting and zero stress when it comes to cooling. You get all that rich flavor you crave in a **quick cheesecake bites** format.
- It saves you serious time—prep is done in under thirty minutes!
- No oven means no waiting for things to cool down before you can serve them.
- These are genuinely excellent for crowds; no messy slicing involved here.
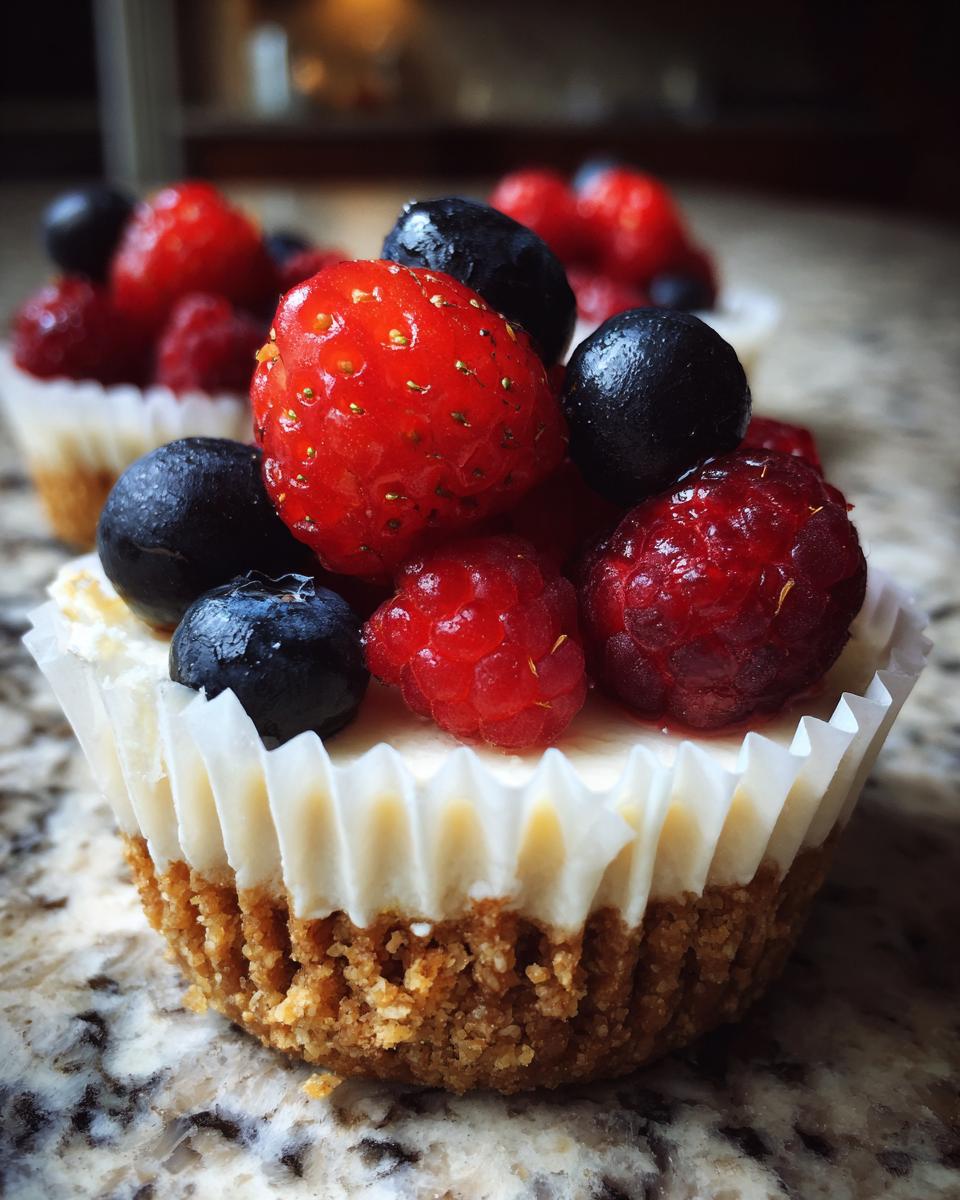
Perfectly Portioned Individual Cheesecakes
This is the ultimate dessert secret weapon for parties. Since everything is already portioned into cupcake liners, serving is instantaneous. You just pull them out of the tray, and voilà! Everyone gets a perfect little handheld delight. These are exactly what you need when planning a big bash, making them the ultimate **party dessert mini** solution.
The Science of Creamy Mini Cheesecakes Without Baking
I get asked all the time how we guarantee a smooth texture without baking. Here’s the little bit of Food Science magic I brought from my development days: we use the power of chilling and the structure provided by whipped heavy cream. When you fold that cream in gently—and I mean *gently*—it incorporates air and helps firm up the filling perfectly once it chills. It creates that satisfying, dense-but-fluffy texture that baked ones sometimes miss, all without introducing the heat that causes cracks. For more tips on achieving that perfect texture, you can check out this great guide on easy mini cheesecakes.
Ingredients for Your Graham Cracker Crust Mini Cheesecake
Okay, grabbing the right ingredients for these **individual cheesecakes** is half the battle won! Since we aren’t using heat, the quality of what goes in really shines through. Don’t worry; everything here is super basic, but precision matters, even for a quick dessert. I promise, sticking to these details is how we guarantee that rich, satisfying texture and avoid any grittiness. If you’re looking for more inspiration on serving these beauties at gatherings, check out this sweet post on bite-sized bliss!
For the Buttery Crust
We need that foundation to be just right—firm enough to hold the filling but buttery enough to taste amazing. Make sure your graham cracker crumbs are nice and fine; nobody wants giant chunks in the crust!
- 1 1/2 cups graham cracker crumbs
- 1/4 cup granulated sugar
- 6 tablespoons unsalted butter, melted
For the Rich Mini Cheesecake Filling
This is where the creaminess happens! The most important tip here is that your cream cheese needs to be fully softened. If it’s even slightly cool, you absolutely will get lumps, and we can’t have that! We want velvety smooth **mini cheesecake filling**, not chunks!
- 16 ounces cream cheese, fully softened
- 1 cup powdered sugar
- 1 teaspoon vanilla extract
- 1/4 cup heavy cream
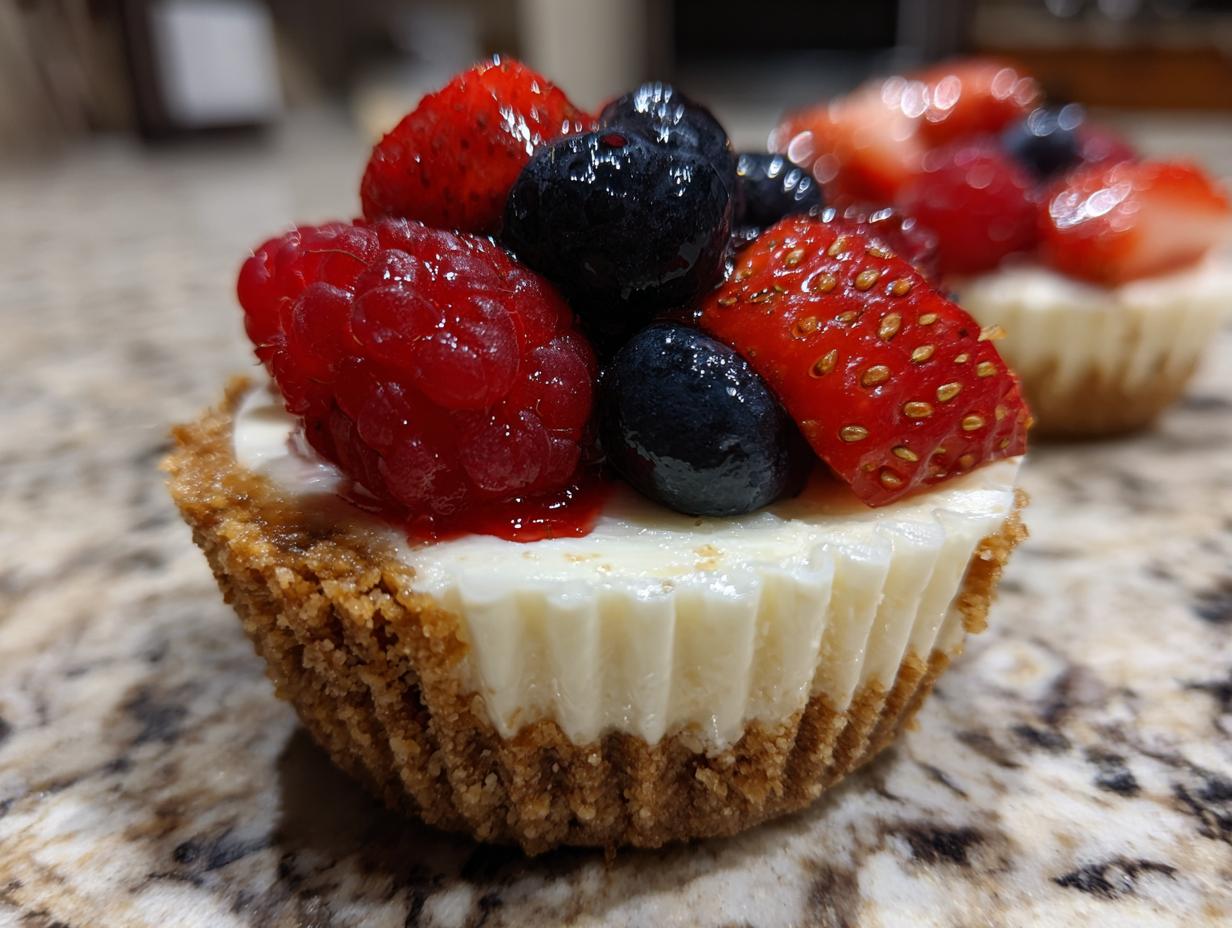
For the Fresh Berry Topping
Keep this last part light and bright to cut through the richness of the filling. It’s simple, but it really makes these **creamy mini cheesecakes** pop visually.
- 1/2 cup mixed fresh berries
- 1 tablespoon lemon juice (optional, just for a little tang)
How to Make Easy Mini Cheesecakes Step-by-Step
Don’t be intimidated by the steps here! Even though we’re talking precision, this is definitely one of the quickest **mini cheesecake recipe** processes out there. Because we aren’t baking, our focus shifts entirely to mixing technique and chilling time. Just follow this sequence, and you’ll have amazing dessert cups ready for the fridge in under 30 minutes.
Creating the Cupcake Sized Cheesecake Base
First up, let’s tackle that crust! Grab all your crust ingredients—the crumbs, the sugar, and that melted butter—and mix them up good until it looks like damp sand, you know? Then, get your standard 12-cup muffin tin ready with the paper liners. Spoon about one tablespoon of that crumb mixture into the bottom of each liner. Now, here’s my little trick for making them firm: grab the back of a small measuring cup or the bottom of a drinking glass and press down really, really firmly on the crumbs. You want that base totally packed in so it doesn’t crumble apart when you eat it! I always check mini cheesecake cups guides just to make absolutely sure my cups look perfect before moving on.
Whipping the No Bake Mini Cheesecakes Filling
This is crucial, so pay attention! In a large bowl, get that softened cream cheese whipping on its own first. Beat it until it’s completely smooth and looks cloud-like—no lumps allowed! That’s my Food Science tip for you; beating the base ingredient first is key. After it looks perfect, slowly stream in the powdered sugar and vanilla. Once that’s just combined, gently fold in the heavy cream. When I say fold, I mean *gently*. We’re trying to keep all that air we just whipped in there to make the filling light and fluffy, not deflate it!
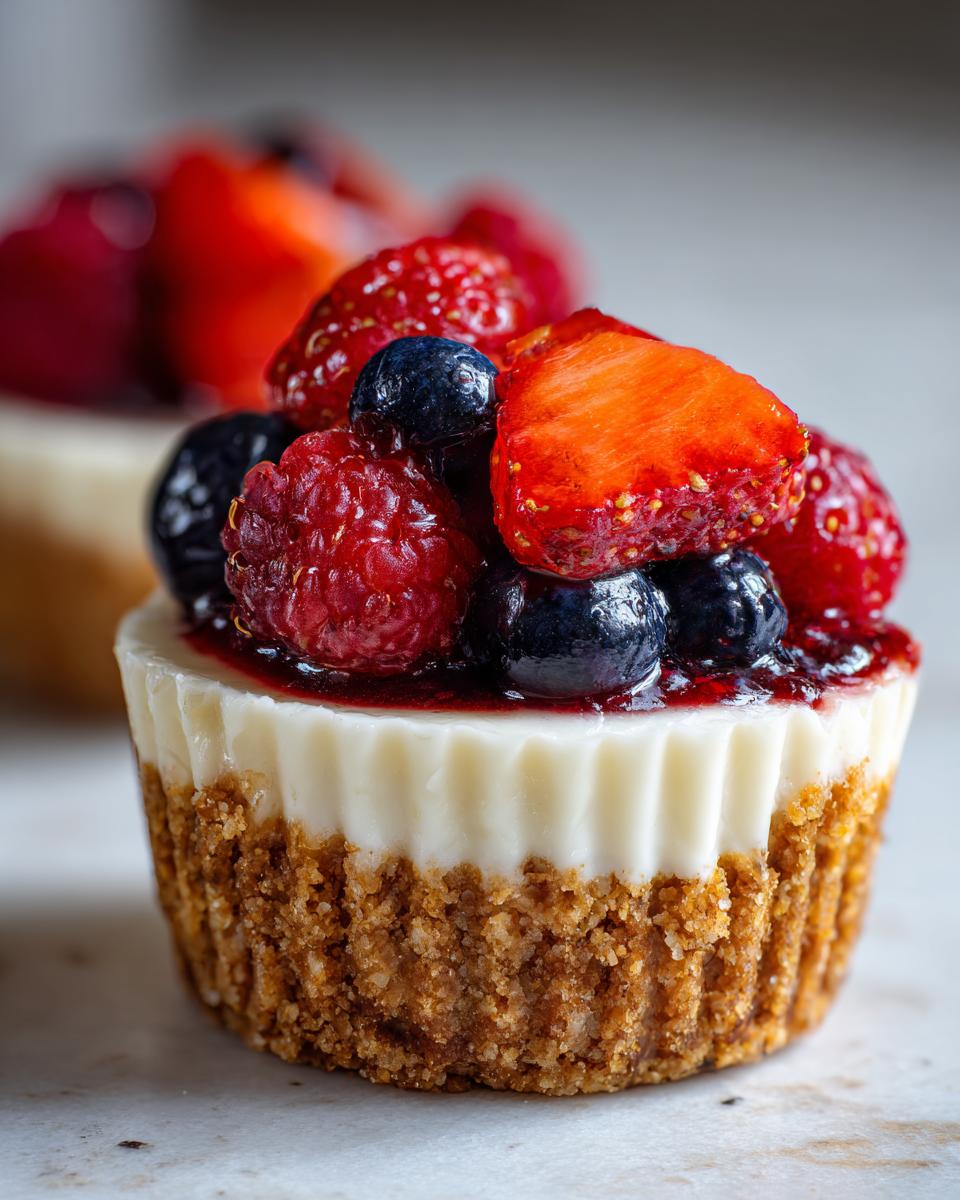
Chilling and Finishing Your Mini Cheesecake Cups
Once the filling is evenly distributed over your packed crusts, they need rest! You MUST chill these. At the bare minimum, give them four hours in the refrigerator. But trust me on this—if you can wait until the next day, that overnight chill really locks in that beautiful firmness. Don’t even think about topping them yet! Do that right before you serve them. Just toss your fresh berries with a tiny splash of lemon juice for brightness, and then spoon that gorgeous topping onto your set **mini cheesecake cups**.
Tips for the Best Mini Cheesecake Recipe
If you want these little guys to go from good to absolutely unforgettable, you need to listen up! Because we aren’t baking, the ingredients we use really speak for themselves. I pull all these tricks straight from my professional recipe development playbook—it’s all about details when you’re relying on chilling to do the heavy lifting!
Ingredient Quality for Superior Mini Cheesecake Flavor
First big tip: use full-fat cream cheese and full-fat heavy cream. Skip the low-fat versions entirely! The fat content is critical for that luscious, rich mouthfeel we associate with true cheesecake. Also, I stress room temperature cream cheese for a reason. If you try to rush it and mix in cold bricks, you’ll get lumps, and no amount of electric mixing can truly save that. Trust me on this one; patience with softening saves hours of frustration later!
Crust Variations for Quick Cheesecake Bites
While the graham cracker crust is classic, sometimes you want to remix things! For a slightly richer, almost vanilla note, try swapping the graham crackers for vanilla wafers. Or, if you have shortbread cookies lying around, crush those up! They add this lovely buttery depth to the base. Another small change that really elevates these **quick cheesecake bites** is lightly toasting your graham crumbs in a dry pan for maybe three minutes before you mix in the butter. It wakes up the flavor beautifully.
If you’re experimenting, you can check out some great ideas over at Happy Home Cooking, or get inspired by more creamy texture tricks shared by my friends at Mealstide!
Making Make Ahead Cheesecake Portions and Storage
One of my favorite things about these **no bake mini cheesecakes** is how perfect they are for planning ahead! Seriously, if you’re hosting on Saturday, you can easily knock these out on Thursday night. They are fantastic **make ahead cheesecake portions** because unlike baked cheesecakes, these actually get better after that initial chill time sets everything into place. You get that rich, dense texture that’s just dreamy.
Here is how I manage the storage, depending on when I plan to serve them. If you leave the fresh berries off, covering the **individual cheesecakes** tightly in the muffin tin (I just use plastic wrap pressed lightly over the tops) they will stay wonderfully fresh in the fridge for up to three days. They need that cold to stay firm, so keep them chilled!
What about topping them right away? If you put the fruit on too early, those berries start to bleed juice into the filling, and honestly, that makes the crust a little mushy faster. I recommend only adding the topping—be it berries like on Martha Tasty or maybe some caramel—just an hour or so before your guests arrive. It keeps the contrast between the creamy filling and the bright topping sharp and perfect!
Serving Suggestions for Your Party Dessert Mini Treats
Now that you have perfected your **creamy mini cheesecakes**, we need to talk about showing them off! Presentation makes such a difference, especially when you’re serving these delightful **single serving cheesecake** portions. Since the base recipe uses fresh berries, which is lovely and bright, we want toppings that complement that slight tartness but also elevate the richness of that **mini cheesecake filling**.
When I serve these, I always make sure I have a little assembly line ready right before they hit the table. The key to a professional look is keeping the topping distinct from the creamy white surface for contrast. Presentation is everything, right?
Topping Ideas Beyond Berries
If berries aren’t doing it for you, or maybe you’re making a giant batch for a crowd and want variety, I always have at least two other options ready to go. Think about flavors that pair beautifully with vanilla and cream cheese. Trust me, these variations are simple to execute but look like you spent hours:
- Salted Caramel Drizzle: Warm up some thick salted caramel sauce. You don’t even have to make it! Just get a good quality jarred one, let it cool slightly so it drizzles nicely instead of just sinking in, and use a fork or small piping bag to zig-zag it over the top. The salt cuts the sweetness perfectly.
- Lemon Curd Swirl: This gives you that wonderful brightness that mimics the lemon juice we used earlier, but way more intense! Stir about one teaspoon of store-bought lemon curd with a drop of water to thin it slightly, then dollop right in the middle of each cup and gently swirl it with a toothpick for a decorative pattern.
- Rich Chocolate Ganache: For those who crave pure decadence, a simple ganache is heaven. Just melt down some high-quality dark chocolate chips with a tiny splash of heavy cream—just enough until it flows. Let it cool for two minutes so it thickens up slightly, and pour a small teaspoon over the center. It firms up beautifully when chilled, giving you a satisfying little chocolate cap on your **bite sized cheesecake dessert**!
Frequently Asked Questions about No Oven Cheesecake Dessert
It’s totally normal to have questions when you’re trying a new **no oven cheesecake dessert**, especially one that relies on chilling rather than baking for structure! I’m happy to dive into the details, because I want every single **mini cheesecake** you make to be absolutely epic. Having developed hundreds of recipes, I know where the sticking points usually lie, so let’s clear those up right now!
Can I use different cookies for the mini cheesecake crust?
Absolutely! That’s the beauty of keeping things quick and easy. While I love graham crackers, feel free to swap! Vanilla wafers are a fantastic, slightly sweeter alternative. If you’re feeling bold, you can even crush up Oreos, but make sure you scrape out that white filling center first, or your crust will be too soft to hold everything up. A good, firm crust makes all the difference for these **bite sized cheesecake dessert** portions.
How do I get the filling perfectly smooth if I don’t have a stand mixer?
Don’t sweat it if you don’t have a giant mixer! A standard hand mixer works wonders, but honestly, you can even do it by hand with a sturdy whisk—though your arm will get a workout! The real secret isn’t the machine; it’s ensuring your cream cheese is truly room temperature. If it’s soft enough to easily mash with a fork, you won’t have lumps, no matter what you use to mix. You can find some great handheld mixing advice on my friend’s site over at No-Bake Mini Cheesecake.
Is it possible to make this recipe into classic mini cheesecake recipe style (baked)?
That’s a tricky one! While you *could* try to bake this, I strongly advise against it for this particular formula. This recipe is specifically balanced to set up properly when chilled; we skip the eggs that baked recipes need for structure. If you try to bake this mixture, it’s likely to just melt and get greasy rather than firming up correctly into a **classic mini cheesecake recipe** style. Stick to the no-bake magic for the best results here!
For more troubleshooting tips and community wisdom on whipped fillings, take a peek at this guide from Recipes by Zineb!
Estimated Nutritional Data for Single Serving Cheesecake
I always want you to know exactly what you are enjoying, but remember, because I build these recipes from scratch using professional testing, these numbers are my best estimates based on the ingredients listed! Since we skipped the oven and the high-fat baking additions like eggs, these **single serving cheesecake** portions come in surprisingly reasonable. That’s the benefit of keeping it simple, right?
- Serving Size: 1 cup
- Calories: 280
- Fat: 18g
- Carbohydrates: 25g
- Protein: 5g
Please know that if you go heavy on the berry topping or decide to add a drizzle of chocolate, those numbers will shift a bit! Use this as a friendly guide, not a strict mandate.
Share Your Bite Sized Cheesecake Dessert Creations
That’s it! Seriously, you are now armed with the secrets to the absolute best **no bake mini cheesecakes** out there. Since this recipe is so simple and reliable, I truly hope you find yourself making these **party dessert mini** treats all the time!
I poured my Food Science background into making sure this **mini cheesecake recipe** delivered incredible results every time, but the real magic happens when you make it your own. So, please, don’t be shy! I absolutely LOVE seeing your finished work—the creative toppings you invent, the way you present them for your own gatherings.
If you made these and they vanished instantly (which they probably will!), please come back and leave a star rating right below this section. That feedback is huge for me here at Alchemy Chef. And if you ran into a snag or have a variation you want to try, drop a question in the comments. I read every single one and love chatting about our shared kitchen adventures. Maybe you tried the salted caramel idea? Let us all know how that turned out! For more inspiring dessert ideas, check out what my friends are baking over at Skilled Cooks, or see what adventures others are having with their ultimate mini cheesecakes!
Happy baking—or, in this case, happy *chilling*!
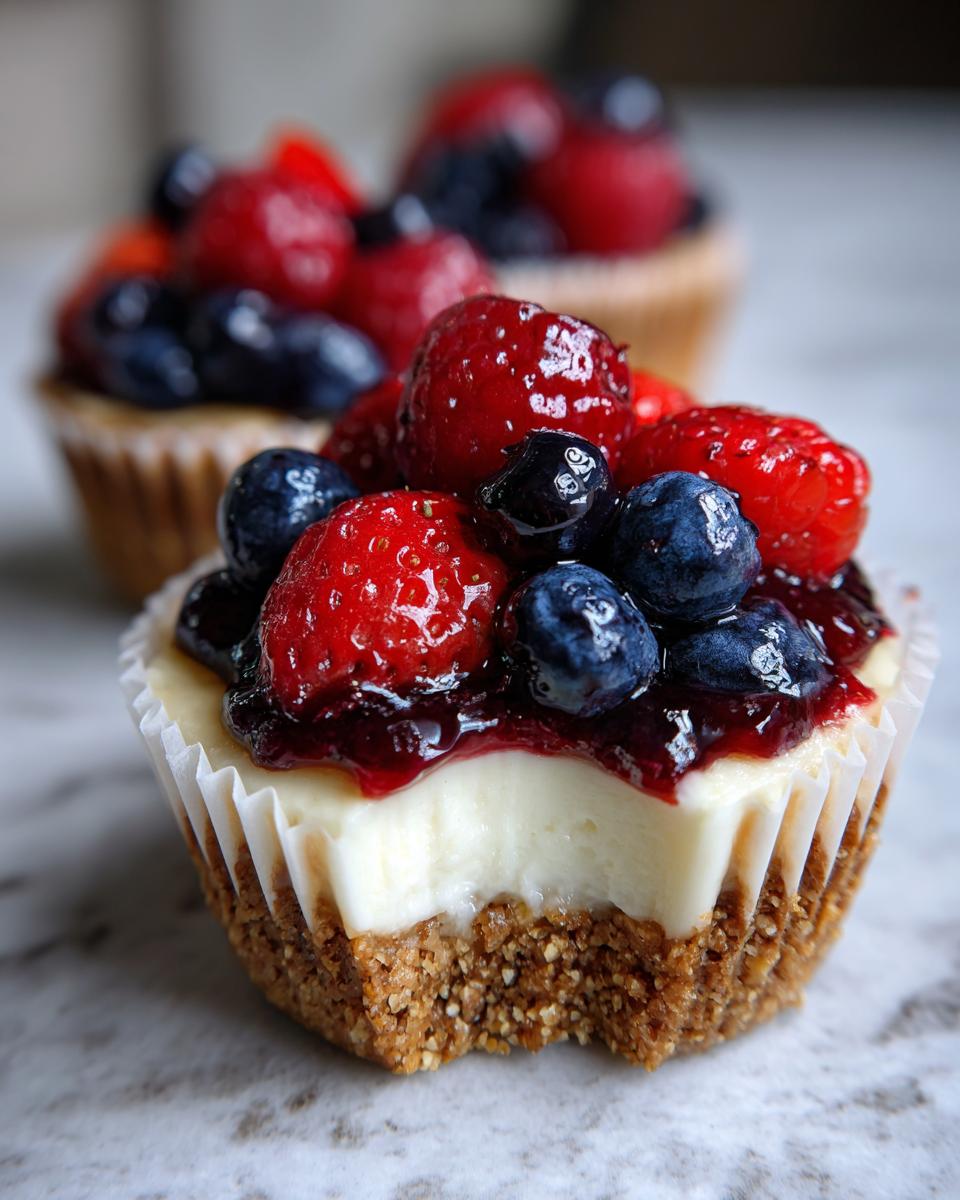
PrintEasy No-Bake Mini Cheesecake Cups with Fresh Berry Topping
Make these creamy, easy mini cheesecake cups without turning on your oven. They feature a buttery graham cracker crust and a rich filling, perfect for parties or a quick dessert.
- Prep Time: 20 min
- Cook Time: 0 min
- Total Time: 4 hr 20 min
- Yield: 12 servings 1x
- Category: Dessert
- Method: No Bake
- Cuisine: American
- Diet: Vegetarian
Ingredients
- 1 1/2 cups graham cracker crumbs
- 1/4 cup granulated sugar (for crust)
- 6 tablespoons unsalted butter, melted
- 16 ounces cream cheese, softened
- 1 cup powdered sugar
- 1 teaspoon vanilla extract
- 1/4 cup heavy cream
- 1/2 cup mixed fresh berries (for topping)
- 1 tablespoon lemon juice (optional, for topping)
Instructions
- Prepare the crust: Mix graham cracker crumbs, 1/4 cup granulated sugar, and melted butter in a bowl until evenly moistened.
- Press about 1 tablespoon of the crust mixture firmly into the bottom of each cavity in a standard 12-cup muffin tin lined with paper liners.
- Make the filling: In a large bowl, beat the softened cream cheese with an electric mixer until smooth.
- Gradually add the powdered sugar and vanilla extract, mixing until just combined and creamy. Do not overmix.
- Slowly mix in the heavy cream until the filling is light and fluffy.
- Spoon or pipe the cheesecake filling evenly over the crusts in the muffin tin cups.
- Chill the mini cheesecakes in the refrigerator for at least 4 hours, or until completely firm. For best results, chill overnight.
- Prepare the topping: Gently toss the fresh berries with the lemon juice, if using.
- Before serving, top each chilled mini cheesecake cup with the fresh berry mixture.
Notes
- For a richer crust flavor, toast the graham cracker crumbs lightly before mixing with butter.
- You can substitute vanilla wafers or shortbread cookies for the graham crackers to change the crust flavor.
- For a make-ahead dessert, prepare the cheesecakes completely (without topping) and store them covered in the refrigerator for up to 3 days.
- If you prefer a slightly firmer filling, add 1/4 teaspoon of gelatin dissolved in 1 tablespoon of hot water to the cream cheese mixture before adding the heavy cream.
Nutrition
- Serving Size: 1 cup
- Calories: 280
- Sugar: 22
- Sodium: 180
- Fat: 18
- Saturated Fat: 11
- Unsaturated Fat: 7
- Trans Fat: 0.5
- Carbohydrates: 25
- Fiber: 1
- Protein: 5
- Cholesterol: 55