
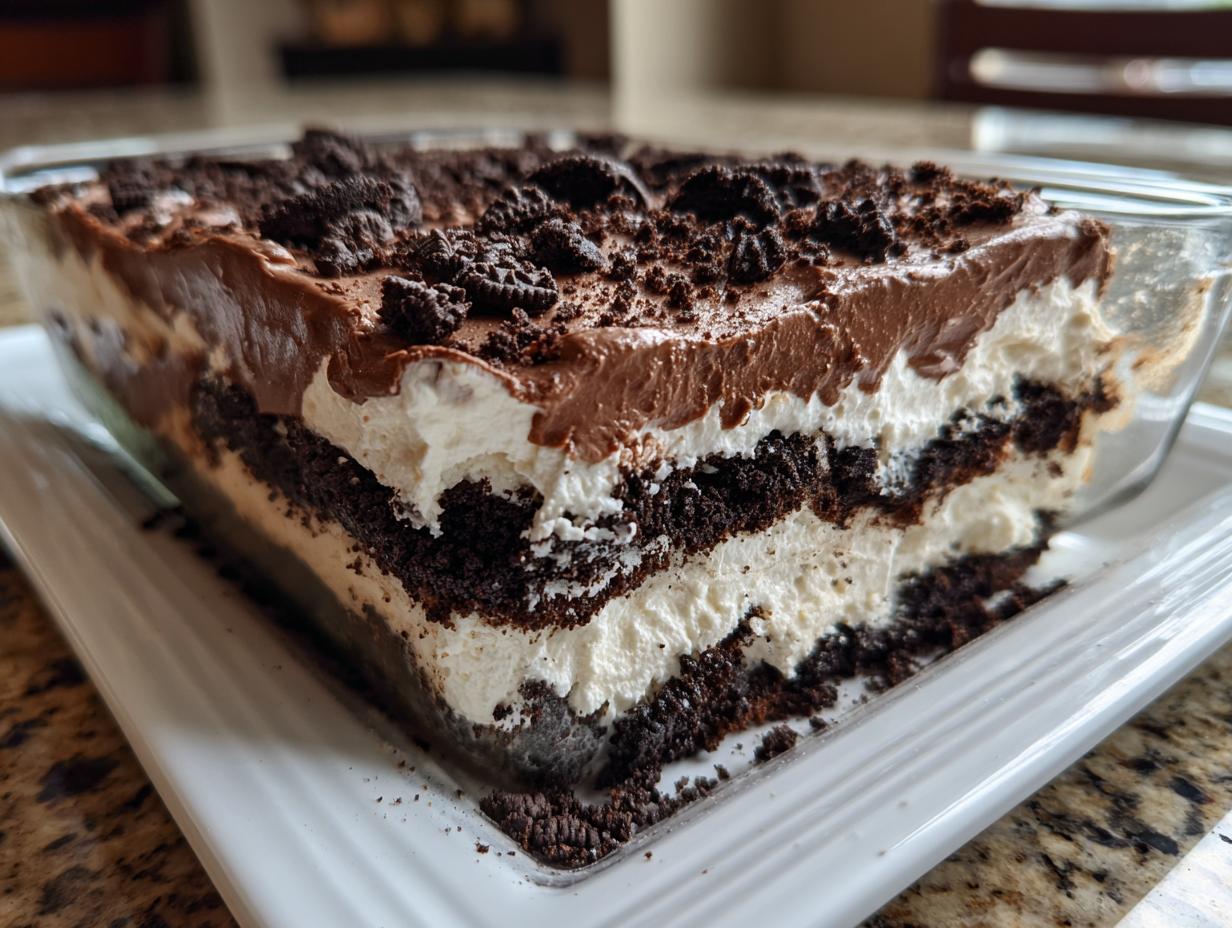
Oh, you are just going to *love* this! Sometimes, the very best desserts are the ones that require zero heat, right? They just scream summer picnics, happy birthday parties, and ‘I need something amazing in 20 minutes.’ That’s exactly what we have today with the Ultimate No-Bake Oreo Dirt Cake with Cream Cheese Layer. Forget runny pudding mixes; this is the real deal! As a recipe developer who also studied food science, I promise you, this specific layering technique in our favorite dirt cake is engineered for success—it’s comforting nostalgia, but built with reliable precision. This recipe, developed by my background of classic technique and culinary testing, is utterly foolproof for any gathering.
- Why This Ultimate No-Bake Dirt Cake is a Crowd Favorite (Easy Dirt Cake)
- Ingredients for the Best Dirt Cake Recipe
- Step-by-Step Instructions for Your Creamy No Bake Dirt Cake
- Tips for Making the Best Dirt Cake
- Ingredient Notes and Simple Substitutions for Your Oreo Dessert
- Make Ahead Dessert and Storage for Your Dirt Cake
- Serving Suggestions for This Kid Friendly Dessert
- Frequently Asked Questions About Classic Dirt Cake
- Estimated Nutritional Information for This Dirt Cake
- Share Your Ultimate Dirt Cake Creation
Why This Ultimate No-Bake Dirt Cake is a Crowd Favorite (Easy Dirt Cake)
Honestly, when you need a dessert that brings instant joy, you reach for this Easy Dirt Cake. There’s just no contest! It completely skips the oven, which is a huge win on hot days or when your oven is busy with the main course. Because I’ve tested the structural integrity so many times, I can tell you this layered approach is what keeps it from getting soggy—that layer of cream cheese filling acts like a fantastic barrier between the cookies and the pudding. It’s designed to stay perfect until the last scoop!
If you’re looking for reliable Party Desserts that always disappear first, this is it.
Key Benefits of Our Classic Dirt Cake Recipe
- Speedy Assembly: Seriously, the prep time is under 30 minutes. We aren’t waiting around for baking powder to do its work!
- Decadent Texture: Thanks to the cream cheese, this isn’t just runny pudding; it’s a genuinely rich, Creamy No Bake Dessert.
- Make-Ahead Magic: You prepare it the day before, and it just gets better overnight. Huge stress relief!
- Kid Appeal: Those gummy worms! Every kid (and grown-up!) loves digging into this playful treat.
Ingredients for the Best Dirt Cake Recipe
Okay, gathering your supplies is the fun part! What I love about this recipe is that it relies mostly on pantry staples that always deliver. If you’re making this for a big crowd—and trust me, this 9×13 size is perfect for the best Potluck Desserts—you want everything ready to go. The most important thing I can stress here is temperature control for two items: your butter and your cream cheese. They *must* be softened properly.
If they are cold, your cream cheese layer will have little annoying lumps, and we definitely don’t want that in a silky-smooth dessert like this. I’ve seen people try substitutes, but honestly, if you want the *Best Dirt Cake Recipe*, stick to the original plan here. Using both chocolate and vanilla pudding gives us that beautiful sweet contrast in the layers, which is much nicer than just going all-chocolate.
Here is exactly what you need to make this happen. Remember, you can check out ingredient tips over at this handy guide if you’re nervous about substitutions!
- 1 package (14.3 ounces) Oreo cookies, finely crushed (about 3 cups crumbs)
- 1 package (8 ounces) cream cheese, softened
- 1 cup unsalted butter, softened
- 1 cup powdered sugar
- 1 container (12 ounces) frozen whipped topping, thawed
- 2 packages (3.9 ounces each) instant chocolate pudding mix
- 3 cups cold milk
- 1 package (3.4 ounces) instant vanilla pudding mix
- 2 cups cold milk
- Gummy worms for decoration (optional)
Step-by-Step Instructions for Your Creamy No Bake Dirt Cake
Ready to see the alchemy happen? This is where we build the structure that makes this dirt cake legendary! We are making four distinct layers here, and the order matters a lot for texture. Since we aren’t baking anything, time in the fridge is our secret weapon for getting that perfect, sliceable dessert. Trust me on this one: make sure you stop when I tell you to stop mixing—we want smooth, not overworked!
Preparing the Oreo Base and Cream Cheese Layer
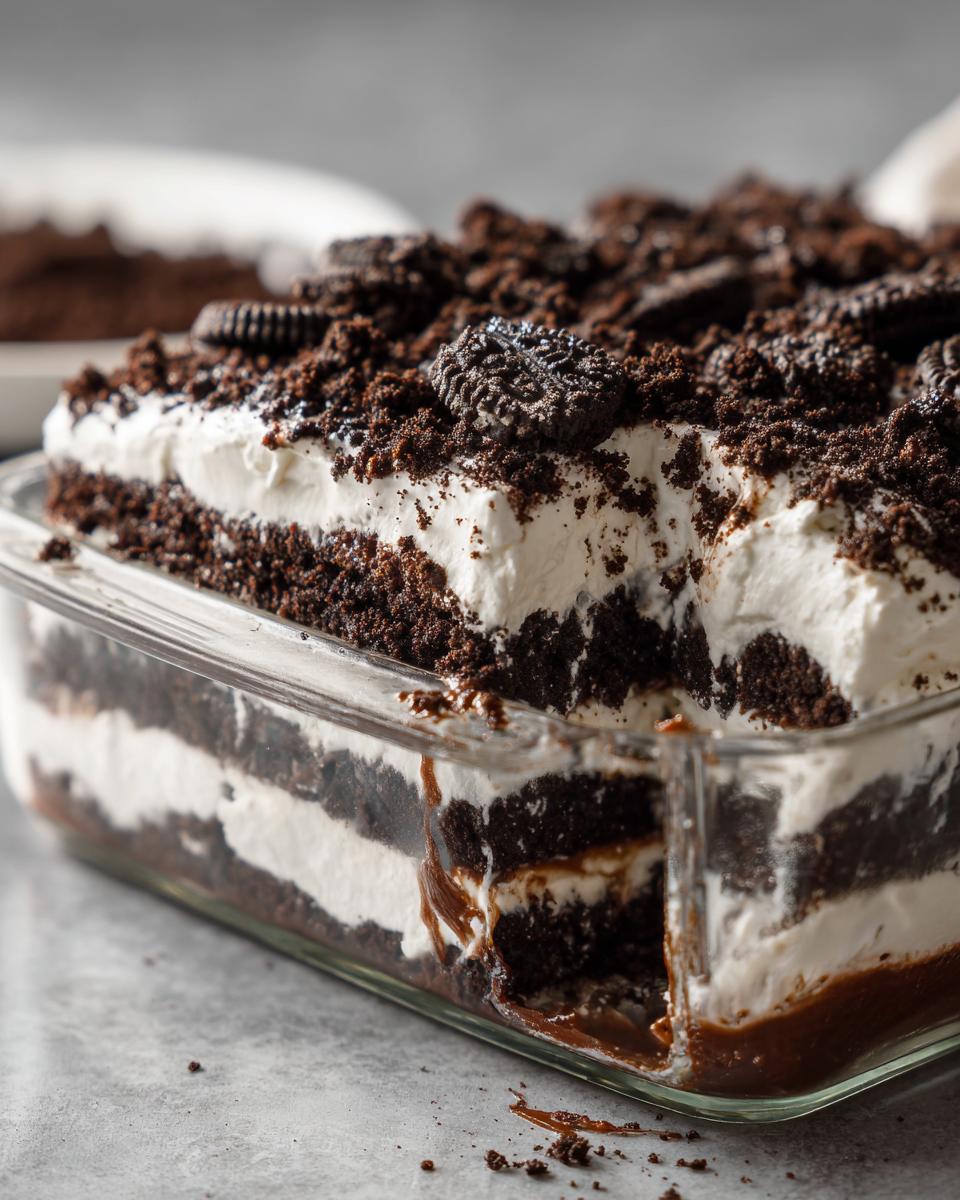
First things first, crush those Oreos. And here’s a pro tip from my development days: reserve about one cup of those beautiful crumbs before you even start layering; you need those for the top later! Press the rest firmly into the bottom of your 9×13 pan. Next, tackle that cheesecake layer. Cream your softened butter, cream cheese, and powdered sugar together until they are absolutely silky smooth. Mix in half of your whipped topping gently so you don’t knock out all that air. This smooth layer is what keeps your cookie base from getting soggy, making it a perfect Layered Pudding Dessert.
Building the Pudding Layers for the Dirt Cake
Now for the pudding! You must mix these separately. Whisk the chocolate pudding mix with 3 cold cups of milk. Don’t over-whisk, just until it starts thickening up nicely—maybe two minutes. Spread that shiny chocolate layer right over the cream cheese. Then, repeat the process with the vanilla pudding mix and its 2 cups of milk. Gently spread this over the chocolate layer. Seeing those distinct layers pile up is the best part of making a Classic Dirt Cake!
Final Assembly and Setting the Dirt Cake
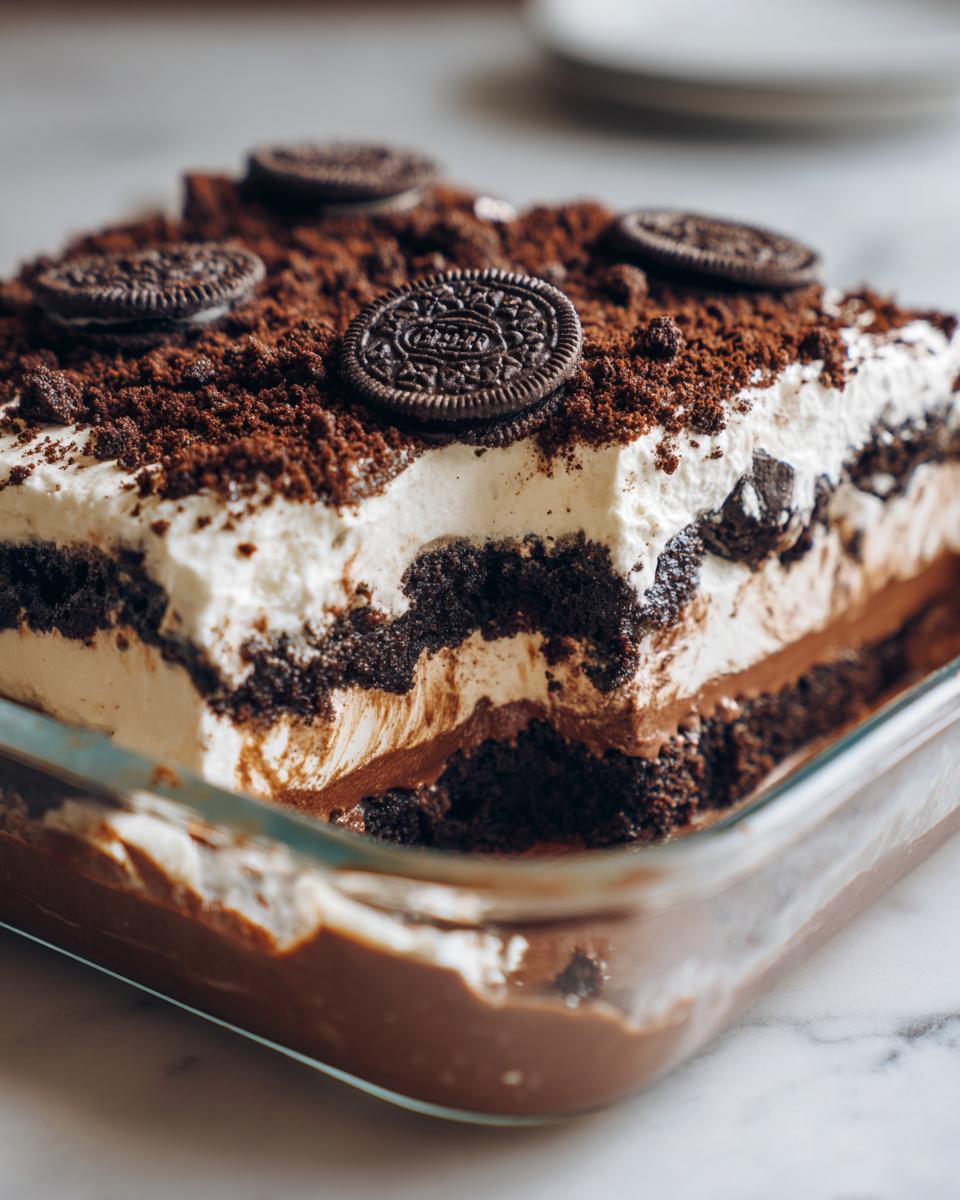
We are almost done! Spread the rest of your whipped topping over the vanilla layer. Now, take those reserved cookie crumbs and sprinkle them liberally across the top so it really looks like dirt. If you’re feeling fun, this is when you dig in a few gummy worms—you can see how cute these look when made up as Dirt Cake Cups! The final, non-negotiable step for any great Refrigerated Dessert is to cover it tightly and chill it for a minimum of four hours. Overnight is truly best so everything holds its shape perfectly.
Tips for Making the Best Dirt Cake
Even though this is a ridiculously easy dessert, I’ve picked up a few tricks over the years testing these recipes to make absolutely sure you get the praise—not just for flavor, but for texture too! Since we are relying on time in the fridge instead of the oven, presentation and structure are everything. This is where the real alchemy comes in, taking simple ingredients and making them look professional.
When I was developing this formula, I found that a little extra effort in the prep stages makes a huge difference in how this Dirt Cake tastes the next day. For instance, crushing those Oreos? Don’t use the food processor if you can avoid it! You end up with too much fine dust, which can make your layers look muddy instead of textured. Pop them in a sturdy zip-top bag and just take a moment to smash them with a rolling pin or the bottom of a heavy pan. It leaves those perfect, satisfyingly varied crumbs we want!
For guaranteed success, you definitely want to check out some extra tips linked over at The Best Cake Recipes.
Presentation Options: Pan vs. Dirt Cake Cups
You have two great routes for serving this No Bake Dirt Cake, and your choice usually depends on the event. If you’re serving a huge crowd at a summer BBQ, the full 9×13 pan is the easiest way to go. It’s simple to spread, easy to cover, and you just cut squares. It screams classic potluck charm!
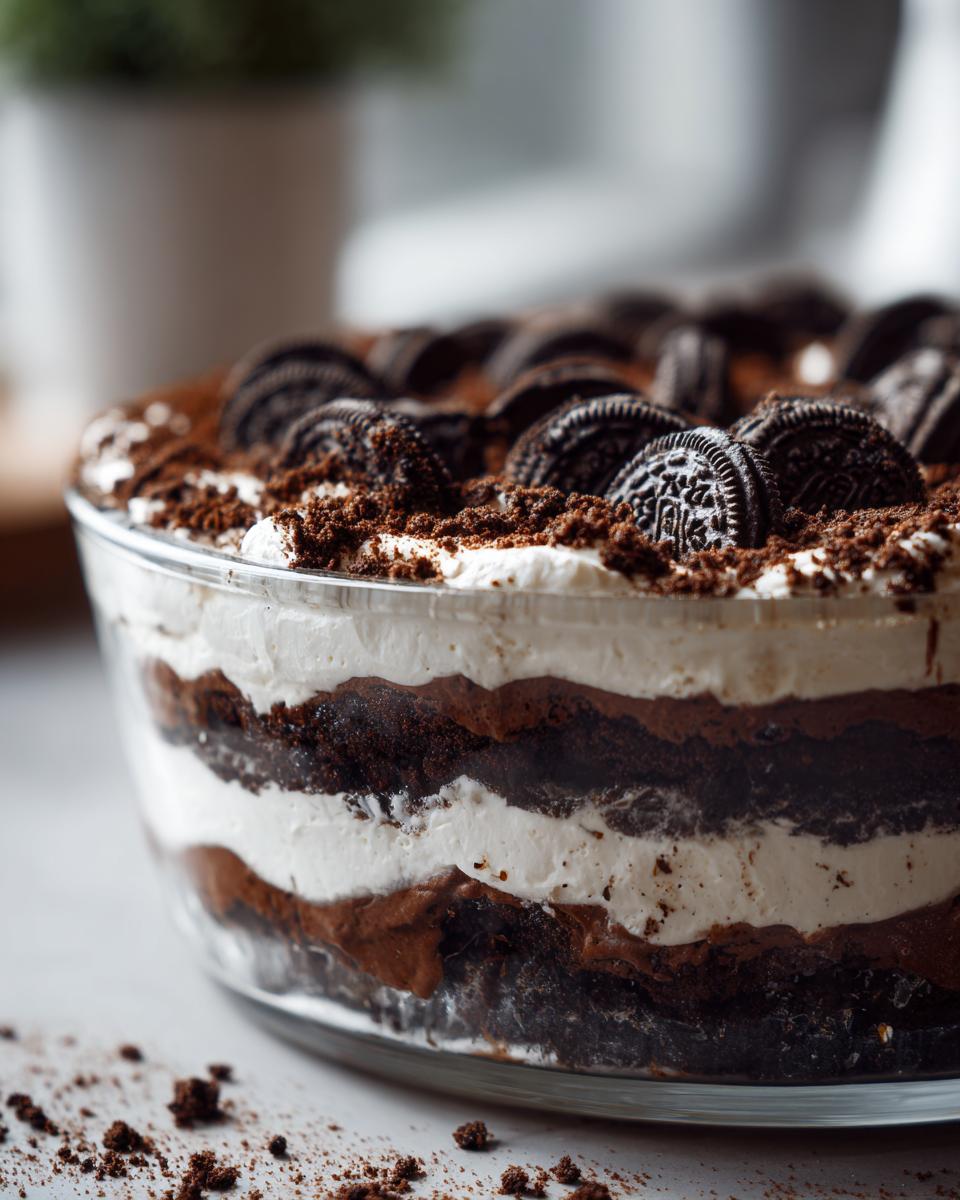
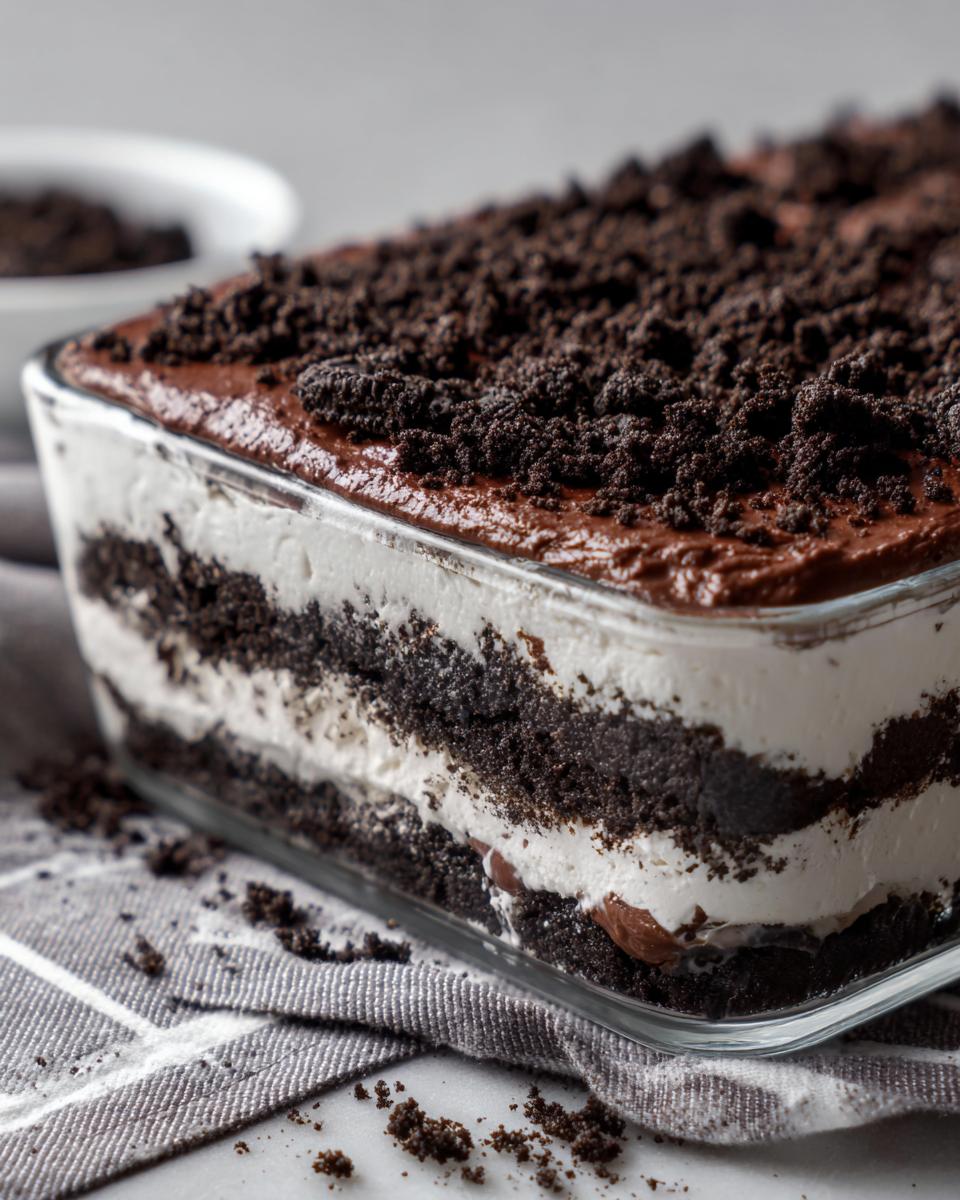
However, if you want that ‘wow’ factor, especially if kids are involved, you absolutely must make Dirt Cake Cups. Use clear glass jars or nice plastic cups. This displays those gorgeous layers we worked so hard to separate—the dark cookie crust, the pale cream cheese, the rich chocolate, and the creamy vanilla. When you place those little gummy worms peeking out of the top layer of ‘dirt,’ it just elevates the whole experience. Portion control is automatic, too!
Ingredient Notes and Simple Substitutions for Your Oreo Dessert
Look, I get it. Life is busy, and sometimes you need one less thing to worry about. That’s why, even though I sing the praises of this specific two-pudding combo for contrast, you absolutely have flexibility here. Remember, I come from a food science background, so my first thought is always structural integrity, but your real-life kitchen needs matter too!
If you are hosting a major chocolate lover’s gathering—maybe for a serious birthday party—you can swap out that vanilla pudding layer for another batch of chocolate pudding. It turns this into a seriously dense and Decadent Chocolate Dessert because you get two thick chocolate layers! It won’t have the vanilla lightness, but wow, the flavor payoff is intense.
Another point of flexibility is the cookies. If you’re in a real pinch and baking the treats for the kids seems more important than crushing 45 cookies by hand, you *can* absolutely buy pre-crushed Oreo crumbs. Just make sure you are buying the kind that don’t have a cream filling already mixed in, or you might throw off the balance of fat in your layers. It means you’ll need slightly less in volume since the store-bought ones are usually finer, so start with a bit less and add more if the pan looks too bare. Transparency is key here at Alchemy Chef; we make the recipe work for you!
Make Ahead Dessert and Storage for Your Dirt Cake
Because this is the absolute best kind of Make Ahead Dessert, let’s talk about planning ahead! This recipe is actually designed to wait for you, which is just wonderful when you’re hosting a big event or trying to manage a busy week. The magic truly happens after the first few hours in the fridge, so don’t rush the chilling process one tiny bit!
If you assemble this on a Saturday morning, it will be perfectly set for serving after dinner that night. But here’s my professional tip: let it chill overnight, covered tightly with plastic wrap. When you make it the day before, the moisture from the pudding layers has time to soften the cookies *just* right, blending the flavors without dissolving the crunch entirely. It creates this beautifully cohesive, spoonable texture that is miles better than if you try to serve it just after the mandatory four hours.
Now, what if you have leftovers? Lucky you! This Dirt Cake keeps incredibly well, thanks to that stabilizing cream cheese layer. Store it covered in the refrigerator, and it should stay fantastic for three to four days. The downside is that the cookie layer on the bottom will continue to soften the longer it sits.
Can you freeze it? You can, but I usually don’t recommend it unless you absolutely have to prep super far in advance. If you decide to freeze it, place it in the freezer airtight for up to a month. When you thaw it in the fridge (plan for a full day of thawing!), the texture of the whipped topping layer can sometimes get a little weeping or break down slightly when it fully thaws. It’s still tasty, but it won’t have that pristine, firm texture it has when freshly chilled from the fridge.
Serving Suggestions for This Kid Friendly Dessert
Because our Ultimate No-Bake Dirt Cake is so rich—we’ve got butter, cream cheese, chocolate, and vanilla all hanging out together—you want to think about what you serve alongside it very carefully. If you’re presenting this showstopper at a big kids’ party—and it truly is the best Kid Friendly Dessert imaginable—you want to balance out all that delicious, heavy creaminess.
For the little ones running around after playing ‘digging’ for worms, I always try to serve a very simple, bright counterpoint. A simple bowl of fresh, slightly tart berries like raspberries or sliced strawberries offers such a nice, clean contrast to the Oreos. It gives them something refreshing to cleanse the palate between spoonfuls of chocolate goodness.
Now, when you’re serving this incredible Party Dessert to the adults—and trust me, they love it just as much as the kids do!—you need a beverage pairing. You can’t go wrong with a strong cup of black coffee or espresso on the side. The bitterness of the coffee just cuts through the sweetness of the pudding and cream cheese layer perfectly. It makes every bite taste even better, I promise! It’s just a small piece of culinary balancing that makes a huge difference.
Frequently Asked Questions About Classic Dirt Cake
I always get a flood of questions anytime I post this recipe because people want to make sure their Classic Dirt Cake turns out perfect! It’s a heavy-hitter dessert, and I want to make sure you avoid any pitfalls. Here are the things folks ask me most often about getting this rich, creamy dessert just right. If you’ve got more specific questions, drop them in the comments below, and I’ll try to answer!
Can I use homemade chocolate pudding instead of instant for this dirt cake?
That’s a great thought if you love making everything from scratch! But for this specific recipe, I really, really advise sticking to the instant pudding mix. Why? Because this dirt cake relies on layers that have to set up fast and firm enough to hold the weight of the next layer without mixing together. Homemade pudding, even when stovetop-cooked and cooled, just doesn’t set up with that same snappy firmness as instant does when mixed with cold milk. If you use homemade, you’re basically making a slightly thicker pudding layer, and that risks everything getting runny and muddy before it has time to chill properly. Stick with instant for the structure!
How long does the Oreo Dirt Cake Recipe need to chill?
This is the key to success, hands down! While the instructions say a minimum of four hours, that’s the bare minimum needed just to keep the pudding from running when you scoop it. If you want that beautifully set, sliceable texture that makes a great Layered Pudding Dessert, you need to give it time for the cream cheese layer to firm up against the set pudding. For the absolute best experience, cover the dish tightly and chill it overnight if you can. It seriously tastes ten times better when the flavors have had a chance to mingle peacefully in the fridge!
What is the difference between this and Oreo Mud Cake?
That’s a clever question, and they are related, but definitely not the same! When people talk about an Oreo Mud Cake, they are often referring to a dessert that has a baked, dense, fudgy cake layer at the bottom, sometimes involving hot fudge melted into it. Our recipe is completely different; it’s the pure No Bake Dirt Cake experience! We are focusing on creamy, fluffy layers supported by crushed cookies. The mouthfeel is lighter and more refreshing, relying almost entirely on the pudding and cream cheese blend for its texture, rather than flour and eggs like a traditional cake.
Estimated Nutritional Information for This Dirt Cake
Now, I know you aren’t making this Ultimate No-Bake Oreo Dirt Cake because you’re counting calories—let’s be real! But because I believe in being completely transparent with all the science and testing that goes into making something this wonderfully decadent, here is the breakdown. Remember, this is based on splitting the standard 9×13 pan evenly into 12 generous servings. If you make individual Dirt Cake Cups, your serving size details might shift a bit!
This information is calculated using standard package sizes for the ingredients listed, so please treat these figures as solid estimates. They give you a good ballpark idea of what you’re serving up!
- Serving Size: 1 serving (1/12th of the dish)
- Calories: 420
- Sugar: 45g (That’s the fun part, isn’t it?)
- Fat: 24g
- Saturated Fat: 13g
- Carbohydrates: 52g
- Protein: 5g
- Cholesterol: 45mg
Take a look at that sugar count—that tells you immediately this is a treat designed for special occasions! But hey, every bite of this Classic Dirt Cake is worth it when you see the smiles it brings. Enjoy it responsibly, and maybe chase those rich flavors with some strong black coffee!
Share Your Ultimate Dirt Cake Creation
Okay, now that you’ve mastered the alchemy of transforming simple cookies and pudding into this majestic, creamy Dirt Cake, I really, truly want to see what you created! Since this recipe comes straight from my professional development work here at Alchemy Chef, your feedback is major; it helps me ensure everything is as reliable and delicious as possible for the next person who tries it.
Did you use the pan, or did you make those adorable individual Dirt Cake Cups? Did the gummy worms look spooky or silly poking out? Don’t keep the delicious results to yourself!
When you get a chance, jump back here and leave this recipe a five-star rating. It helps other home cooks find this ultimate no-bake treasure! Also, if you shared a photo of your fantastic creation on social media, please tag me! I love seeing my recipes come to life in your kitchens. You can share your finished masterpiece, whether you followed my exact steps or tried a little substitution—I love seeing the variations!
If you want to check out even more tried-and-true favorites from my recipe files, you can always browse over at Recipes by Betty for more inspiration.
PrintUltimate No-Bake Oreo Dirt Cake with Cream Cheese Layer

Make this classic, creamy no-bake Dirt Cake featuring rich layers of crushed Oreos, chocolate pudding, and a smooth cream cheese filling. This easy Oreo Dessert is a guaranteed potluck favorite.
- Prep Time: 25 min
- Cook Time: 0 min
- Total Time: 25 min
- Yield: 12 servings 1x
- Category: Dessert
- Method: No-Bake/Refrigerated
- Cuisine: American
- Diet: Vegetarian
Ingredients
- 1 package (14.3 ounces) Oreo cookies, finely crushed (about 3 cups crumbs)
- 1 package (8 ounces) cream cheese, softened
- 1 cup unsalted butter, softened
- 1 cup powdered sugar
- 1 container (12 ounces) frozen whipped topping, thawed
- 2 packages (3.9 ounces each) instant chocolate pudding mix
- 3 cups cold milk
- 1 package (3.4 ounces) instant vanilla pudding mix
- 2 cups cold milk
- Gummy worms for decoration (optional)
Instructions
- Reserve about 1 cup of the finely crushed Oreo cookies for topping. Place the remaining crushed cookies in the bottom of a 9×13 inch baking dish or divide among individual serving cups. Press the crumbs lightly into the bottom layer.
- In a large bowl, beat the softened cream cheese, softened butter, and powdered sugar together until the mixture is smooth and creamy. This forms your cheesecake layer.
- Gently fold in half of the thawed whipped topping into the cream cheese mixture until just combined. Spread this mixture evenly over the Oreo base layer.
- In a separate medium bowl, whisk together the instant chocolate pudding mix and 3 cups of cold milk until the mixture thickens, about 2 minutes. Spread the chocolate pudding layer over the cream cheese layer.
- In another medium bowl, whisk together the instant vanilla pudding mix and 2 cups of cold milk until thickened. Gently spread this vanilla layer over the chocolate pudding.
- Top the vanilla layer with the remaining half of the thawed whipped topping, spreading it evenly.
- Sprinkle the reserved 1 cup of crushed Oreos over the top layer to resemble dirt.
- If using, insert gummy worms into the top layer for decoration.
- Cover the dish and refrigerate for at least 4 hours, or preferably overnight, to allow the layers to set firmly. This make ahead dessert chills well.
Notes
- For individual servings, use small clear cups to show off the layers. This makes for great Dirt Cake Cups.
- If you prefer a richer chocolate flavor throughout, use chocolate pudding for both pudding layers instead of chocolate and vanilla.
- To crush Oreos easily, place them in a large zip-top bag and crush them with a rolling pin or the bottom of a heavy pan.
Nutrition
- Serving Size: 1 serving
- Calories: 420
- Sugar: 45g
- Sodium: 350mg
- Fat: 24g
- Saturated Fat: 13g
- Unsaturated Fat: 11g
- Trans Fat: 0.5g
- Carbohydrates: 52g
- Fiber: 1g
- Protein: 5g
- Cholesterol: 45mg