
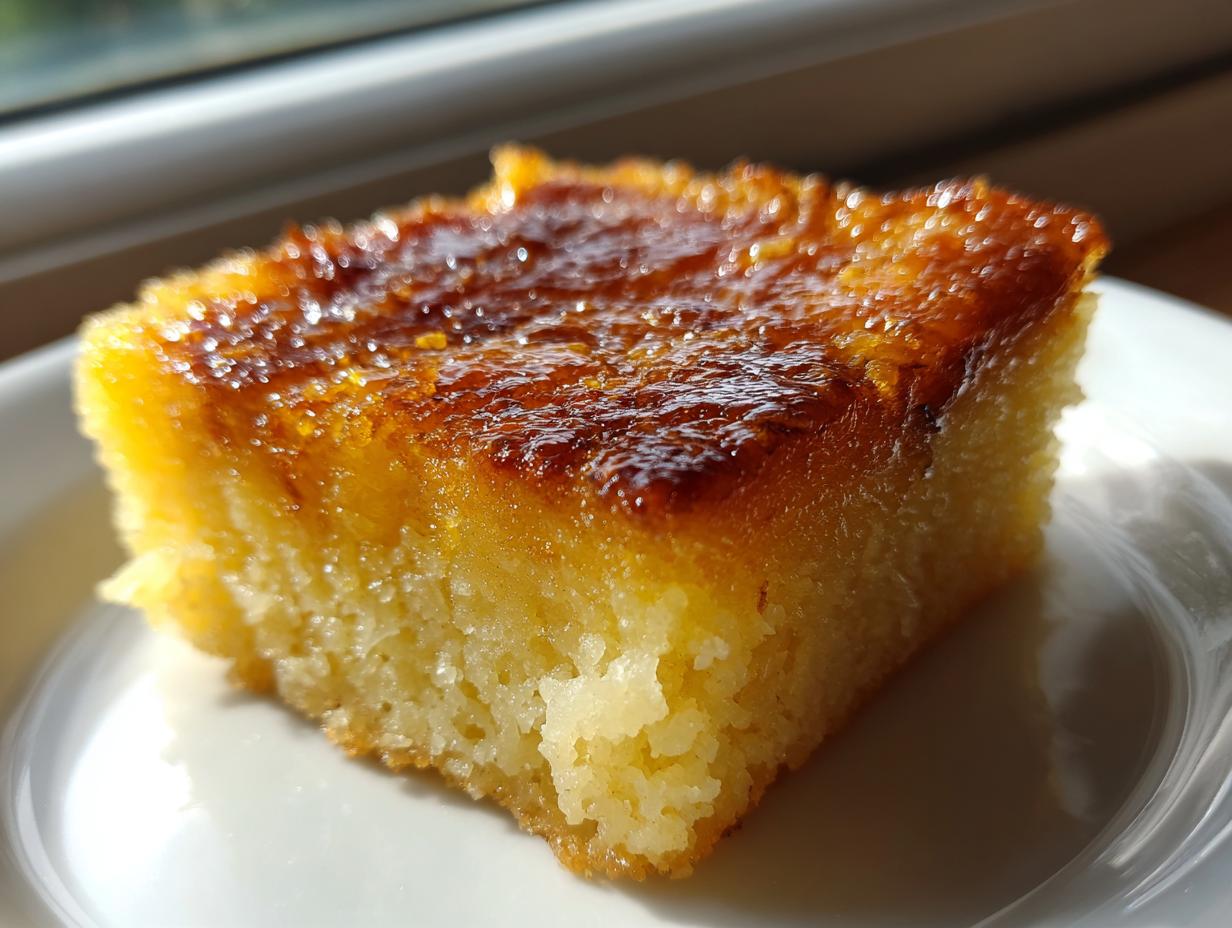
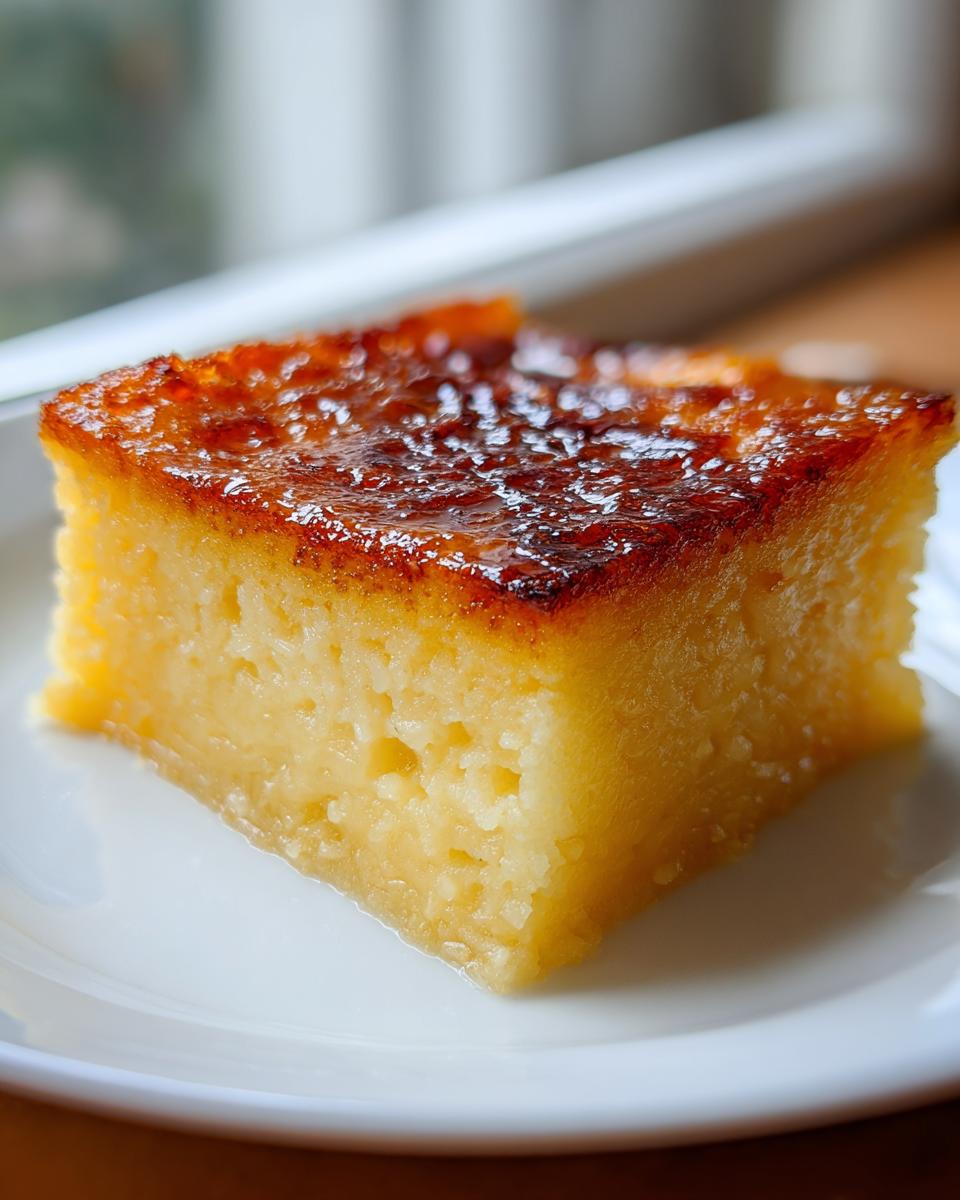
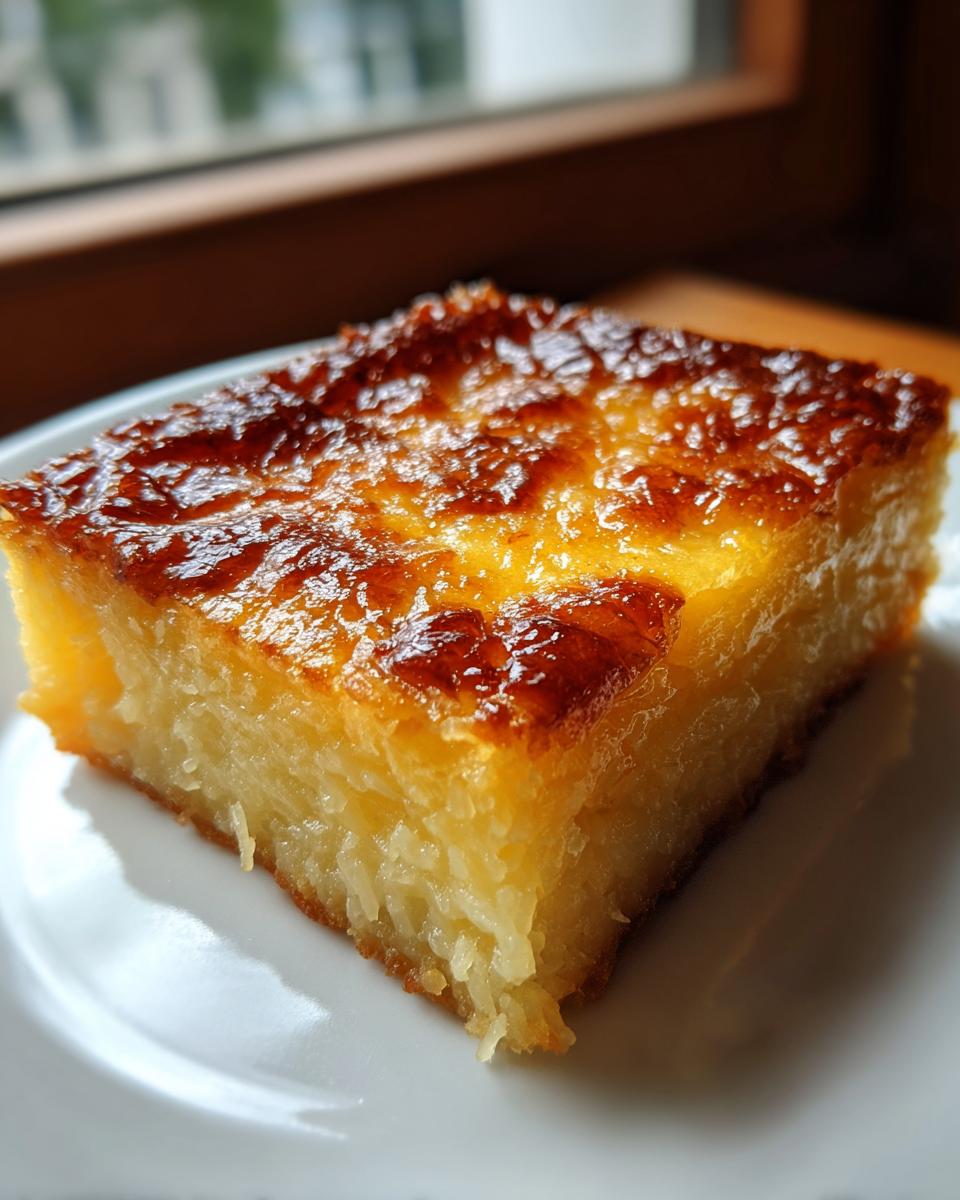
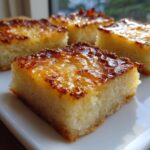
When I think about comfort food, my mind instantly goes to the warm, earthy sweetness of Filipino desserts. There’s just something about that blend of coconut milk and root crops that feels like home, no matter where I am. That’s why I put so much precision into creating what I honestly believe is the foolproof cassava cake recipe you’ve been searching for: the Easy Baked Filipino Cassava Cake with Creamy Custard Topping. Growing up balancing my mother’s rich traditions with my father’s structured Navy discipline, I learned that the best food combines feeling with fact. This recipe marries the soulful texture of a Traditional Filipino Dessert with the reliability of careful food science. Trust me, achieving that perfect chewy foundation and velvety top layer is simpler than you think!
- Why This Easy Cassava Cake Recipe Works Every Time
- Ingredients for Your Homemade Cassava Cake Baking
- The Best Cassava Cake Method: Step-by-Step Instructions
- Tips for Success with Your Traditional Filipino Dessert
- Cassava Cake Variations: Macapuno and Cheesy Cassava Cake
- Storage and Reheating Instructions for Moist Cassava Dessert
- Frequently Asked Questions About Cassava Cake
- Nutritional Estimates for This Baked Cassava Dessert
- Share Your Everyday Alchemy Creations
Why This Easy Cassava Cake Recipe Works Every Time
You know I’m a total stickler for reliability in the kitchen. When I develop a recipe, I test the variables until I know exactly *why* it works. This Filipino Cassava Cake Recipe isn’t just good; it’s consistent. We manage to keep the active time low enough to qualify as a Quick Cassava Recipe while delivering peak flavor.
- It features that gorgeous, set Cassava Cake with Custard Topping that browns beautifully.
- The balance of fats and starches guarantees that signature dense, comforting chewiness.
- It’s simple enough for a weeknight treat but elegant enough for Mother’s Day gatherings.
If you want reliability, this is the one to bookmark!
Achieving the Perfect Chewy Coconut Cake Texture
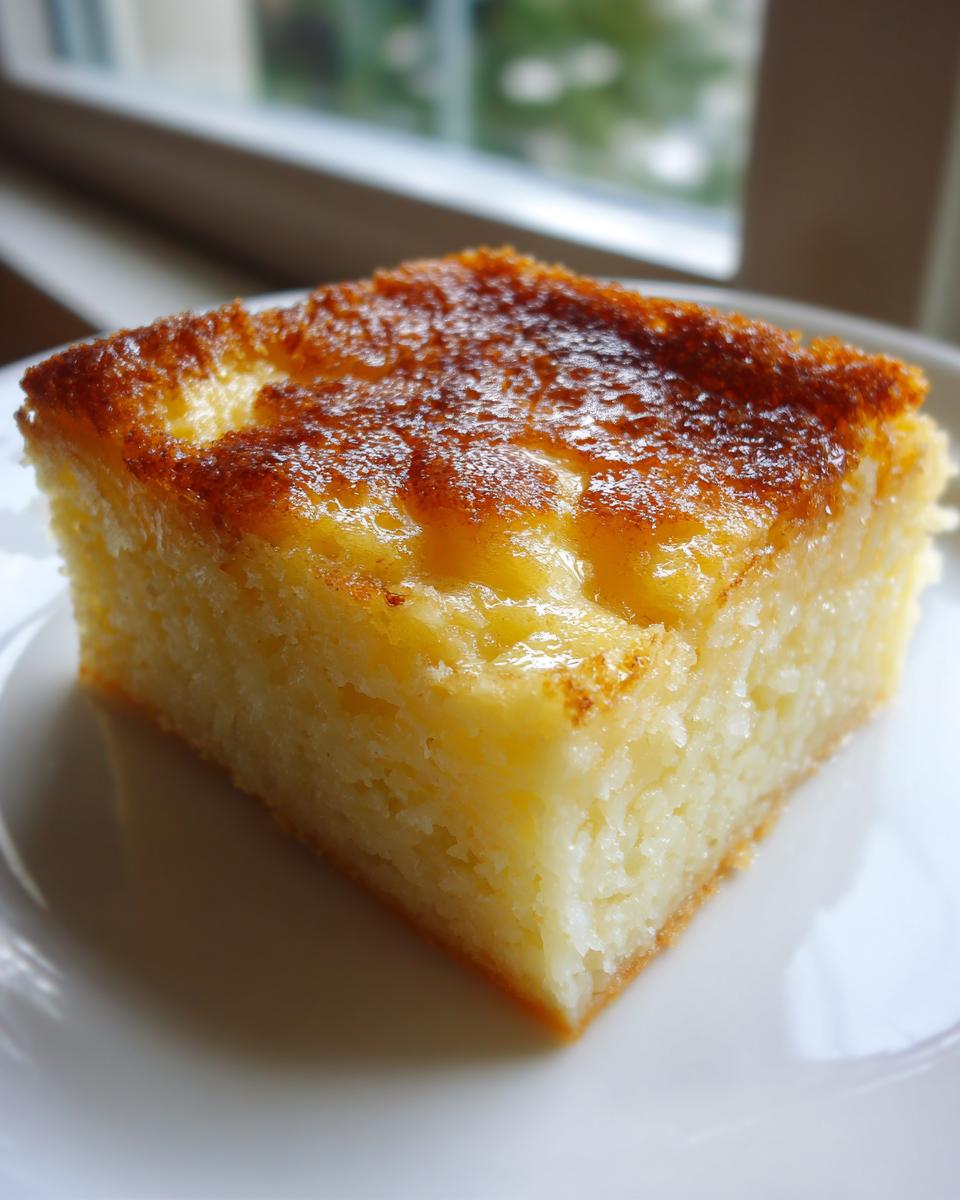
The secret to that satisfyingly chewy bite comes down to liquid management. Cassava naturally holds a lot of water, right? If we add too much liquid too fast, it steam-bakes instead of setting properly. My testing showed that the precise ratio between the grated cassava and the fats—the coconut milk and condensed milk—locks in moisture without making it soupy.
This careful control is what elevates it beyond a simple pudding into what I consider the Best Cassava Cake Method. It ensures every slice registers as a phenomenal, Moist Cassava Dessert Recipe. If you want to see how others have trusted this foundational technique, you can check out other great bakes here: Homemade Cassava Cake.
Ingredients for Your Homemade Cassava Cake Baking
Okay, let’s talk ingredients! This is where the science meets the comfort, making sure we have the right components for that perfect set. Because we’re aiming for a truly authentic taste, I’m very specific about using full-fat coconut milk; please don’t skip that—it’s what makes the topping so rich. Remember, measurement matters here!
We also need to talk about those fun mix-ins! If you love that sweet, stringy texture, grabbing some Macapuno strings is a game-changer. If you’re feeling savory, feel free to add cheese into the base, too. This adaptability is why this cassava cake has stuck around for generations!
Base Ingredients for the Cassava Cake
- 4 cups grated fresh or frozen cassava, fully thawed and drained of excess liquid
- 1 can (13.5 oz) full-fat coconut milk
- 1 can (14 oz) sweetened condensed milk
- 1/2 cup granulated sugar
- 1/2 cup melted unsalted butter (make sure it’s cooled slightly!)
- 2 large eggs, just lightly beaten—don’t go crazy whipping them
- 1 teaspoon vanilla extract
- 1/4 teaspoon salt
- Optional additions: 1/2 cup Macapuno strings OR 1 cup shredded cheddar cheese for mixing directly into the batter
For the Creamy Cassava Cake with Custard Topping
This custard is what seals the deal and gives us that beautiful golden brown finish you’re hoping for!
- 1 can (13.5 oz) full-fat coconut milk (make sure this can is cold if you’re skimming for extra solids, but for simplicity here, just use the whole can!)
- 1/2 cup condensed milk
- 1 large egg yolk (we’re just using the yolk here for extra richness in the set)
- 1/4 cup granulated sugar
- Optional flourish: 1/2 cup shredded cheese to sprinkle right on top before the final bake
The Best Cassava Cake Method: Step-by-Step Instructions
Now for the fun part! Following this exact process is what turns simple ingredients into that unbelievable chewy coconut cake texture. Remember, baking this Baked Cassava Dessert is a two-stage show. Efficiency is key here, so get your oven warmed up first! You can find a similar quick technique over at Inspire Spire.
Preparing the Cassava Cake Base
First things first—preheat your oven to 350°F (175°C). Grab your 9×13 inch baking pan, grease it up, and definitely line it with parchment paper. This is a non-negotiable step for an easy release, trust me!
In your biggest bowl (you need room to gently combine!), mix the cassava, the first can of coconut milk, condensed milk, sugar, melted butter, eggs, vanilla, and salt. I need you to stir this only until everything is *just combined*. If you overmix that cassava, it gets tough, and we definitely don’t want that. If you’re adding Macapuno or cheese to the base, fold it in right now.
Pour that batter evenly into your prepared pan. Now, slide it into the oven for about 45 to 55 minutes. You’re looking for the edges to look set and just starting to kiss that light golden color. While that’s going, we whip up the topping!
Layering and Baking the Cassava Cake with Custard Topping
For the custard topping, whisk together the second can of coconut milk, condensed milk, that single egg yolk, and the sugar until it’s totally smooth. It should look lovely and creamy. If you want more detail on achieving that perfect set, check out the tips from Recipe Ni Juan.
When your base is done baking, carefully pull the pan out. Gently, gently pour that creamy custard mixture right over the hot cassava base layer. This two-layer approach is fundamental to the classic Cassava Cake with Custard Topping!
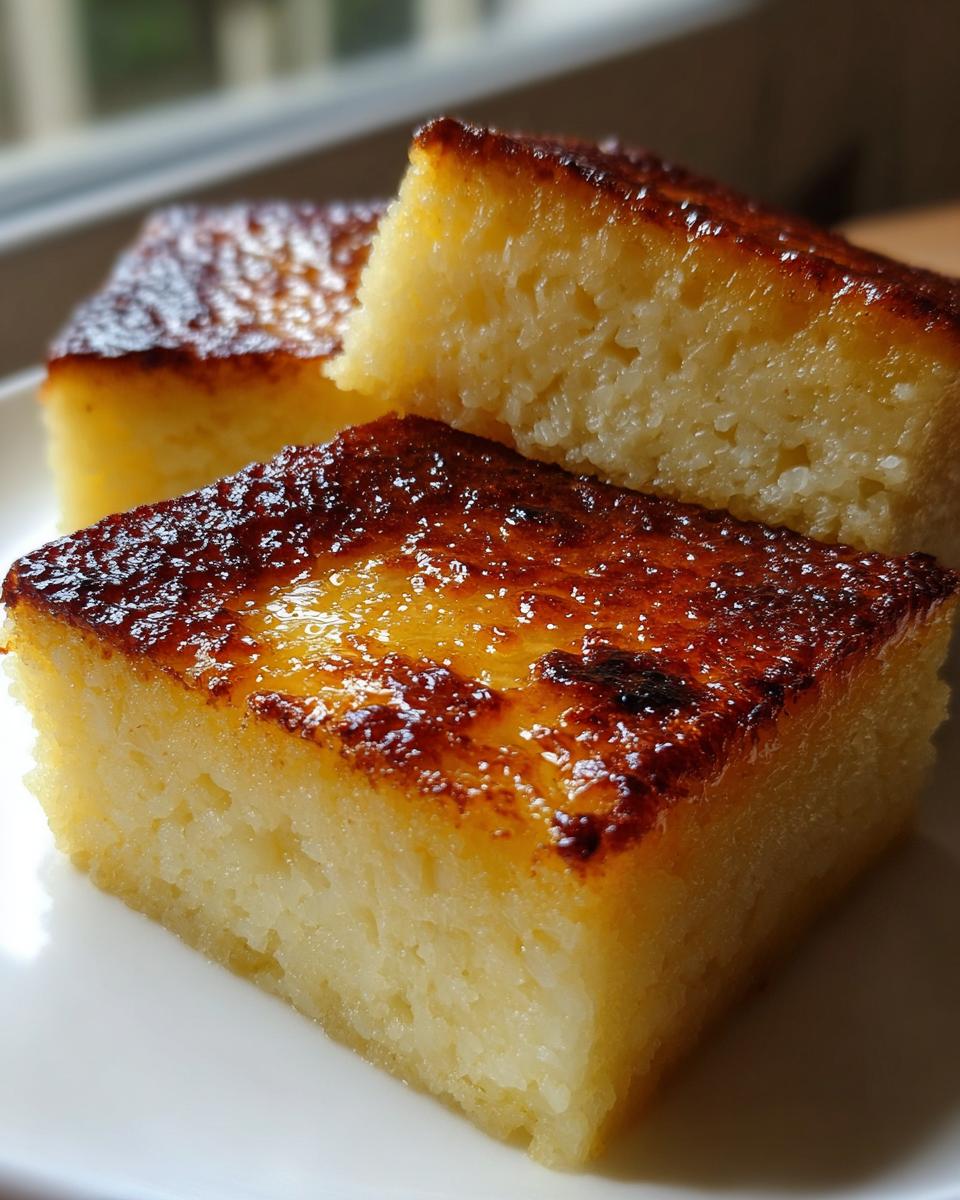
Back into the oven it goes for another 15 to 20 minutes. This second bake sets the custard. As a pro tip from my development work—if you want that intense golden color like you see on the best recipes like those from Manila Spoon—carefully switch your oven to the broiler for just the last minute or two. Watch it like a hawk, though, or you’ll burn it!
Finally, take it out and let it cool completely on a rack. I know, I know, waiting is the hardest part! But cooling is critical for that signature chewy texture. If you slice it hot, it falls apart. For the best results, chill it overnight—you won’t regret it!
Tips for Success with Your Traditional Filipino Dessert
Since I approach baking with a scientist’s eye, I want to make sure you get professional results, even if you’re just whipping this up for a casual weeknight treat. My testing ensured that even small details make a huge difference on this cassava cake!
First, let’s talk about that gorgeous color. To get that perfect, Instagrammable golden brown finish on the custard top, I sometimes use the broiler trick I mentioned earlier. But you have to be fast! Five minutes maximum, because it moves from golden to burnt in about thirty seconds flat.
If you’re using frozen cassava, which is often the most accessible option, make sure it is totally thawed. More importantly, you need to squeeze out any excess moisture. Think about it: too much water means the starches can’t set correctly. Check out The Baker’s Whisk for visuals on how much liquid you should drain away.
And finally, patience! I know it smells amazing coming out of the oven, but you absolutely must let this cool completely. If you try to slice it warm, you’ll have sweet, sticky mush. Chilling it, ideally overnight, transforms this dessert into the perfect chewy treat. That cooling time is non-negotiable for the best Traditional Filipino Dessert experience!
Cassava Cake Variations: Macapuno and Cheesy Cassava Cake
One thing I love about this cassava cake base is how perfectly it handles fun additions! This recipe is wonderfully versatile, especially when you want to amp up that tropical flavor profile. If you’re looking for that signature sweetness, you definitely need to try adding Macapuno strings. Just fold them right into the main batter before the first bake. They soften up beautifully and give you those delightful, sweet coconut pockets.
And we can’t forget the cheese lovers! Adding shredded cheddar cheese transforms this into a fantastic sweet-and-savory experience. For the base mix-in, I suggest a sharp cheddar for the best tang. If you want cheese both in the base *and* on top, make sure you reserve about half a cup for sprinkling on the custard before the final bake. For more ideas on incorporating sweet coconut texture, check out the amazing work from Recipes Tasteful, or explore this classic take on Mama’s Guide!
Storage and Reheating Instructions for Moist Cassava Dessert
Here’s a tip straight from my kitchen notebook: patience pays off! While you are dying to eat this wonderful cassava cake warm, you really shouldn’t slice it until it’s fully cooled. In fact, for that ultimate, satisfyingly chewy coconut cake structure, cover the whole cooled cake and stick it in the fridge overnight. It sets up beautifully!
When you store leftovers, keep them tightly covered in the refrigerator for up to four days. When you’re ready for a slice later, I usually let it sit on the counter for about 30 minutes to take the deep chill off. If you must reheat, a quick 15-second zap in the microwave is all you need to soften it up again without drying out the custard topping!
Frequently Asked Questions About Cassava Cake
I know you might have a few burning questions after seeing how many steps are involved in this two-layer beauty. That’s totally okay! I’ve been fielding these questions from my readers for years as I developed this perfect cassava cake method. I want to make sure your baking experience is smooth science, leading to pure deliciousness.
Can I use pre-shredded cassava instead of fresh for this cassava cake?
Listen, I know convenience calls to us! But if you want the best texture for your Moist Cassava Dessert Recipe, stick to fresh or fully thawed frozen cassava that you squeeze dry yourself. Pre-shredded stuff—the kind that comes in a bag—has preservatives and is often too dry. If you absolutely must use pre-shredded, measure carefully after squeezing out as much liquid as humanly possible, and remember you might not get that signature chewiness.
How do I make this a Quick Cassava Recipe?
That’s a great question that really focuses on active versus total time! You’ll see me quote 45 minutes of baking for the base, which is fast! However, this is a two-stage bake, plus cooling time. If you consider “quick” to mean minimal hands-on effort, then yes, this is a Quick Cassava Recipe because you just mix the base and pour. But for the best possible texture as a Baked Cassava Dessert, you need that full cooling time.
Is this cassava cake gluten-free?
Yes! This is one of the fantastic, inherent benefits of using cassava as the base. Cassava is a root vegetable, not a grain, so naturally, this recipe qualifies as a wonderful Gluten Free Cassava Dessert! It’s one of the reasons it’s so popular for folks who need grain-free options but still want something rich and sweet.
Nutritional Estimates for This Baked Cassava Dessert
Because I approach cooking with a bit of a food science background, I always want to share what I know about what goes into our plates! While this cassava cake is definitely a celebration dessert and packed with rich coconut goodness, getting a general idea of the nutritional breakdown is important.
Here are the estimates I’ve calculated based on the standard ingredient amounts for this Easy Baked Filipino Cassava Cake. Please remember these are just approximations! If you start swapping in Macapuno or using extra cheese, those numbers are definitely going to shift a little bit. This cake is rich, so one slice goes a long way!
- Serving Size: 1 slice
- Calories: Approximately 350
- Fat: 18g (with most coming from that rich coconut milk)
- Carbohydrates: 45g
- Sugar: 35g (It’s a dessert, after all!)
- Protein: 5g
- Sodium: 150mg
This kind of result is what you expect from a satisfying, dense dessert like this one. It’s packed with energy from the starch and sweetness, making it perfect with a cup of coffee or tea for an afternoon snack!
Share Your Everyday Alchemy Creations
Now that you have the blueprint for this incredibly rich and satisfying cassava cake, it’s your turn to make the magic happen in your own kitchen! This journey from humble root crop to creamy, caramelized delight is exactly what Alchemy Chef is all about—turning the ordinary into something truly special.
When you bake this, please come back and tell me how it went! Leaving a quick rating is super helpful for other home cooks looking for that reliable recipe. If you managed to get that beautiful golden top, I really want to see it! Snap a picture and share it on social media, tagging me so I can cheer you on.
Remember, every time you create something delicious from scratch, you are practicing everyday alchemy. It doesn’t have to be perfect, it just has to be made with love and a willingness to experiment. Try making this for your next gathering!
If you need a little extra inspiration or want to check out how others simplified their baking process, take a look at the fantastic, easy bake shared over at Fambake. Go on, get that cassava ready, and enjoy the delicious transformation!
PrintEasy Baked Filipino Cassava Cake with Creamy Custard Topping
Make this authentic Filipino Cassava Cake, a sweet, chewy, and moist tropical dessert. This simple recipe includes a rich coconut custard topping and is perfect for beginners or gatherings.
- Prep Time: 15 min
- Cook Time: 75 min
- Total Time: 90 min
- Yield: 12 servings 1x
- Category: Dessert
- Method: Baking
- Cuisine: Filipino
- Diet: Vegetarian
Ingredients
- 4 cups grated fresh or frozen cassava, thawed
- 1 can (13.5 oz) full-fat coconut milk
- 1 can (14 oz) sweetened condensed milk
- 1/2 cup granulated sugar
- 1/2 cup melted unsalted butter
- 2 large eggs, lightly beaten
- 1 teaspoon vanilla extract
- 1/4 teaspoon salt
- Optional: 1/2 cup Macapuno strings or 1 cup shredded cheddar cheese for mixing in
For the Custard Topping:
- 1 can (13.5 oz) full-fat coconut milk
- 1/2 cup condensed milk
- 1 large egg yolk
- 1/4 cup granulated sugar
- Optional: 1/2 cup shredded cheese for topping
Instructions
- Preheat your oven to 350°F (175°C). Grease and line a 9×13 inch baking pan with parchment paper.
- In a large bowl, combine the grated cassava, 1 can of coconut milk, condensed milk, sugar, melted butter, eggs, vanilla extract, and salt. Mix until just combined. Do not overmix.
- If using, fold in the Macapuno strings or shredded cheese into the batter now.
- Pour the cassava mixture evenly into the prepared baking pan.
- Bake the base layer for 45 to 55 minutes, or until the edges are set and lightly golden.
- While the base bakes, prepare the custard topping. In a small bowl, whisk together the second can of coconut milk, condensed milk, egg yolk, and sugar until smooth.
- Carefully remove the partially baked cake from the oven. Gently pour the custard mixture over the top of the hot cassava base.
- Return the cake to the oven and bake for another 15 to 20 minutes, or until the custard topping is set and golden brown. If desired, sprinkle the extra shredded cheese on top during the last 5 minutes of baking.
- Remove the cake from the oven and let it cool completely on a wire rack before slicing. Cooling allows the cake to firm up for a chewy texture.
- Slice and serve this moist cassava dessert.
Notes
- For a richer golden brown color on top, you can briefly switch the oven to the broiler setting for the last 1-2 minutes, watching closely to prevent burning.
- If you use frozen cassava, make sure it is fully thawed and squeezed of excess moisture before measuring.
- This cake achieves its best chewy texture when fully cooled, or even chilled overnight.
Nutrition
- Serving Size: 1 slice
- Calories: 350
- Sugar: 35g
- Sodium: 150mg
- Fat: 18g
- Saturated Fat: 15g
- Unsaturated Fat: 3g
- Trans Fat: 0g
- Carbohydrates: 45g
- Fiber: 2g
- Protein: 5g
- Cholesterol: 45mg