
If you’ve ever stared into the freezer, desperate for something sweet but terrified of blowing your whole day’s macros, I get it. That’s the exact spot where Alchemy Chef was born! My name is Juliana Cruz, and after years of professionally testing recipes—blending food science with the comfort food lessons from my parents—I landed on the secret to truly satisfying, rich frozen desserts. Forget those chalky, icy messes you might have tried before. This recipe for creamy, no-churn protein ice cream has the density and flavor you crave, built on tested precision that lets you indulge guilt-free. Trust me, this is going to revolutionize your dessert game.
- Why This No-Churn Protein Ice Cream is Your New Favorite Healthy Dessert
- Ingredients for the Creamiest Protein Ice Cream Base
- Mastering the No-Churn Protein Ice Cream Method
- Tips for the Best Creamy Protein Dessert Texture
- Flavor Variations for Your Protein Ice Cream
- Serving Suggestions for This High Protein Dessert
- Storage and Reheating Instructions for Protein Ice Cream
- Frequently Asked Questions About Protein Ice Cream
- Estimated Nutrition for This Macro Friendly Dessert
- Share Your Homemade Protein Ice Cream Creations
Why This No-Churn Protein Ice Cream is Your New Favorite Healthy Dessert
I know what you’re thinking: “Protein ice cream is always icy and full of fake sugar taste.” Nope! Not this batch. I spent ages tinkering until I nailed the science to give you the creamiest texture possible, all without warming up the kitchen with an ice cream maker. Seriously, this is pure magic in a freezer container.
It’s fantastic because:
- Seriously macro friendly dessert – amazing protein punch for very few calories.
- It’s a true no churn protein dessert; just blend and freeze.
- You get that decadent taste without any of the guilt. It’s the ultimate low calorie frozen treat!
If you want to see just how easy it is to make a few different versions of this, check out some fantastic four-ingredient recipes for inspiration. This base is just the start!
Ingredients for the Creamiest Protein Ice Cream Base
Getting this recipe right comes down to specific ingredients that provide structure and creaminess. We are ditching the heavy cream for ultra-lean, high-protein components. You’ll need Fairlife milk—that stuff is liquid gold for high protein desserts, trust me. The yogurt or cottage cheese is our secret weapon for that thick texture we all want in a protein ice cream.
Here is exactly what you need for this foolproof vanilla base:
- 1 cup Fairlife milk (or another high-protein milk option)
- 1 scoop vanilla protein powder (Whey or casein blends are best!)
- 1/4 cup non-fat plain Greek yogurt *or* cottage cheese (If you use cottage cheese, make sure you blend it completely smooth first!)
- 1 teaspoon vanilla extract
- 1 packet zero-calorie sweetener (Optional, taste first!)
- Pinch of salt
If you want to see how amazingly well cottage cheese works in frozen treats, check out some of the viral blender desserts people are raving about! It’s a game-changer!
Mastering the No-Churn Protein Ice Cream Method
Okay, this is the fun part, where we take those ingredients and turn them into actual protein ice cream! Because we aren’t using a machine, the blending is absolutely critical. If you see any dry powder lurking around, you’ll end up with gritty spots instead of that creamy protein dessert we are aiming for. My science background taught me that uniform mixing is everything here.
My big tip for you: After you think you’re done blending, stop the machine, scrape down the sides with a spatula—get right into the corners—and then blend for another 30 full seconds. That initial smooth base is what dictates how decadent it ends up. We want it looking like a very thick milkshake before it heads to the freezer. Check out this guide if you need visual tips on getting that perfect, pourable consistency!
Blending for a Smooth Protein Ice Cream
If you are using a powerful blender, this should take about 60 seconds total, plus the scraping time I mentioned. Make sure the protein powder is fully incorporated; it should look uniform in color and texture. No chunks, no streaks, just one homogenous, pale liquid.
Freezing Technique for Optimal Protein Ice Cream Texture
Here’s where most people mess up their no-churn attempts: the ice crystals. You have to wrap that container tightly! I press plastic wrap directly onto the surface of the liquid before putting the lid on. This stops condensation from forming on top, which turns into rock-hard ice crystals later and ruins the lovely texture of the protein ice cream. Give it at least six hours, but overnight is way better for the best scoop!
Tips for the Best Creamy Protein Dessert Texture
You’ve done the hard part with blending, but now we need to talk about maximizing creaminess. That’s the number one request I get from people trying to make healthy ice cream at home—they don’t want it to taste like a frozen shake! My professional background lets me tell you a science secret: Casein protein is your best friend here.
If you have casein powder, use it as your main scoop. Casein gels and thickens while it freezes, giving you the structural integrity of traditional ice cream. Whey is fine, but it tends to freeze a little harder. For a truly magnificent, creamy protein dessert, swapping just half your scoop for casein makes a noticeable difference.
Now, if you happen to own that popular countertop wonder, the Ninja Creami, you are in luck! This base recipe works perfectly in it. For the smoothest results, run the base on the ‘Lite Ice Cream’ setting first. Then, if it’s still a bit crumbly after the first spin, run it on the ‘Re-Spin’ function. It takes the texture from fine ice shavings to genuine scoopable goodness. You can see some fantastic examples of using that amazing machine for perfectly textured desserts and find more inspiration for your vanilla base right here!
Flavor Variations for Your Protein Ice Cream
Now that you’ve mastered the base, we can start having some real fun! The great thing about this simple vanilla protein ice cream is how easily it transforms. You don’t need a whole new recipe; you just need to switch up your powder or add an extra flavor boost right into the blender before freezing the mixture.
My favorite switch is making an easy **chocolate protein ice cream**. Just swap your vanilla powder for your favorite chocolate powder—use about 1 to 1.5 tablespoons of unsweetened cocoa powder if you enjoy a darker taste mixed in with unflavored or vanilla protein. It’s decadent!
If you’re feeling a little fancy, try for a salted caramel vibe. A drizzle of sugar-free caramel syrup in with the milk makes everything richer. Or, if you want that bright, summery taste, use orange protein powder or add a teaspoon of fresh orange zest for a surprise. You can check out this recipe if you want to dive deep into perfecting salted caramel—it’s seriously worth the effort!
Serving Suggestions for This High Protein Dessert
The best part about making your own healthy homemade ice cream is that you control the toppings, too! Since this is such a great post workout snack, I love loading mine up with fresh fruit. A handful of fresh raspberries or sliced strawberries makes it feel like a complete treat.
If you need something sweet but strictly guilt free sweets only, try a drizzle of sugar-free chocolate or caramel syrup over the top. Another fantastic idea is mixing in some sugar-free chocolate chips or cocoa nibs right before the final soft-scoop stage. If you like building your desserts, check out this guide on how to make an entire protein ice cream bowl—it’s so fun!
Storage and Reheating Instructions for Protein Ice Cream
This frozen treat is incredibly easy to store—that’s the beauty of the no-churn method! If you manage to have any leftovers (which I doubt, based on my family’s track record!), you need to put them away correctly right away. Make sure that container is air-tight. I cannot stress this enough—air is the enemy of good texture!
Because we didn’t churn the air into this mixture professionally, it freezes quite solidly, almost like a block of tasty, high-protein ice, which is totally normal. You can’t just dive in with your scoop right out of the deep freeze, or you’ll pull a muscle! Trust me on this one.
Here is my simple trick for when you want to enjoy your leftovers later in the week. Just pull the container out of the freezer and let it sit on the counter at room temperature for about 10 to 15 minutes. This process is called tempering, and it lets the frozen proteins and liquid components soften just enough so you can actually scoop it easily. It returns to that perfect, satisfying texture right before it starts melting down. If you’re in a hurry, a quick 15 seconds in the microwave works too, but watch it closely! You want it slightly softened, not liquid.
Frequently Asked Questions About Protein Ice Cream
I get so many questions about swapping ingredients when people try to make this for the first time, which is totally understandable! I want this easy recipe to work for everyone, whether you’re tracking macros strictly or just looking for a guilt-free sweets option. If you have a specific dietary need, chances are we can adjust it!
Can I use water instead of high-protein milk?
Oh, please don’t! If you skip the high-protein milk like Fairlife or use standard skim milk, you absolutely need to replace that lost protein and richness elsewhere, or you’re just going to get icy protein freezer smoothie that tastes… fine, but not great. You’ll end up with a very lean, icy dessert. For this recipe, I really recommend sticking to the high-protein milk or even using a carton of a thick, unsweetened almond milk plus an extra half-scoop of powder. We need that base liquid to provide structure!
What is the best protein powder to use for the creamiest texture?
This is where my science background comes in handy! For the absolute creamiest result, you want a casein or a casein/whey blend. Casein thickens up beautifully when frozen, turning into that amazing texture that feels like real ice cream. Pure whey protein tends to freeze a little harder, so if you only have whey, you might need a bit more blending time or perhaps a tiny bit more Greek yogurt to introduce some fat/structure. For the best results, check out some of the amazing Ninja Creami recipes that use casein for that perfect texture!
Can I make this a low sugar ice cream?
Absolutely! You’ll notice in the recipe I list zero-calorie sweetener as optional. That’s because most protein powders are already sweetened. If your powder uses stevia or sucralose, you might not need any extra sweetener at all. If you use totally unflavored protein powder, then yes, you’ll want to add your preferred sweetener to make this a true low sugar ice cream. Taste the blended shake right before you freeze it—that’s your last chance to customize the sweetness before it locks up!
Do I really need the cottage cheese or yogurt?
Yes, you do! That is key to getting a macro friendly dessert that isn’t just hard ice. That little bit of acid and thickness from the dairy helps stabilize the mixture as it freezes, fighting off those dreaded ice crystals. If you have a Ninja Creami, you can sometimes get away with slightly less dairy when running it through the machine, but for a guaranteed good result without a machine, don’t skip it. If you are worried about texture when using the machine, these Fairlife-based recipes offer great insights!
Estimated Nutrition for This Macro Friendly Dessert
One of the biggest perks of figuring out how to make your own frozen treat is seeing exactly what you are eating. Because we rely on high-protein milk and powder instead of heavy cream and sugar, the numbers look fantastic! This section is calculated based on the vanilla recipe serving two people—so feel free to double everything if you’re eating the whole pint yourself, you deserve it!
Please remember, since scoops of protein powder and even brands of Fairlife milk can vary slightly, these numbers are my best, tested estimate for this macro friendly dessert. They’re a great benchmark, but always treat them as close approximations.
Here is the breakdown per serving (half the total batch):
- Calories: Around 180. Isn’t that wild for ice cream?
- Protein: About 30 grams! That’s why I call this the ultimate post workout snack.
- Fat: Only 2 grams. We kept all the richness, but none of the heavy saturated fat!
- Carbohydrates: Roughly 12 grams.
- Sugar: Kept low, usually around 4 grams, depending on your protein powder.
It’s truly amazing what protein powder and precise blending can do for a low calorie frozen treat. You get to satisfy every sweet tooth craving without feeling any stress about your day’s intake!
Share Your Homemade Protein Ice Cream Creations
Now that you have the blueprint for truly amazing, creamy **protein ice cream**, I’d love to see what you whip up! Did you try the chocolate version, or maybe you experimented with a totally new flavor boost? Head over to social media, give this recipe a rating if you loved how easy and delicious it was, and tag me in your photos.
Baking is community, and I can’t wait to see how you transform this science-backed base into your own favorite dessert. Happy scooping!
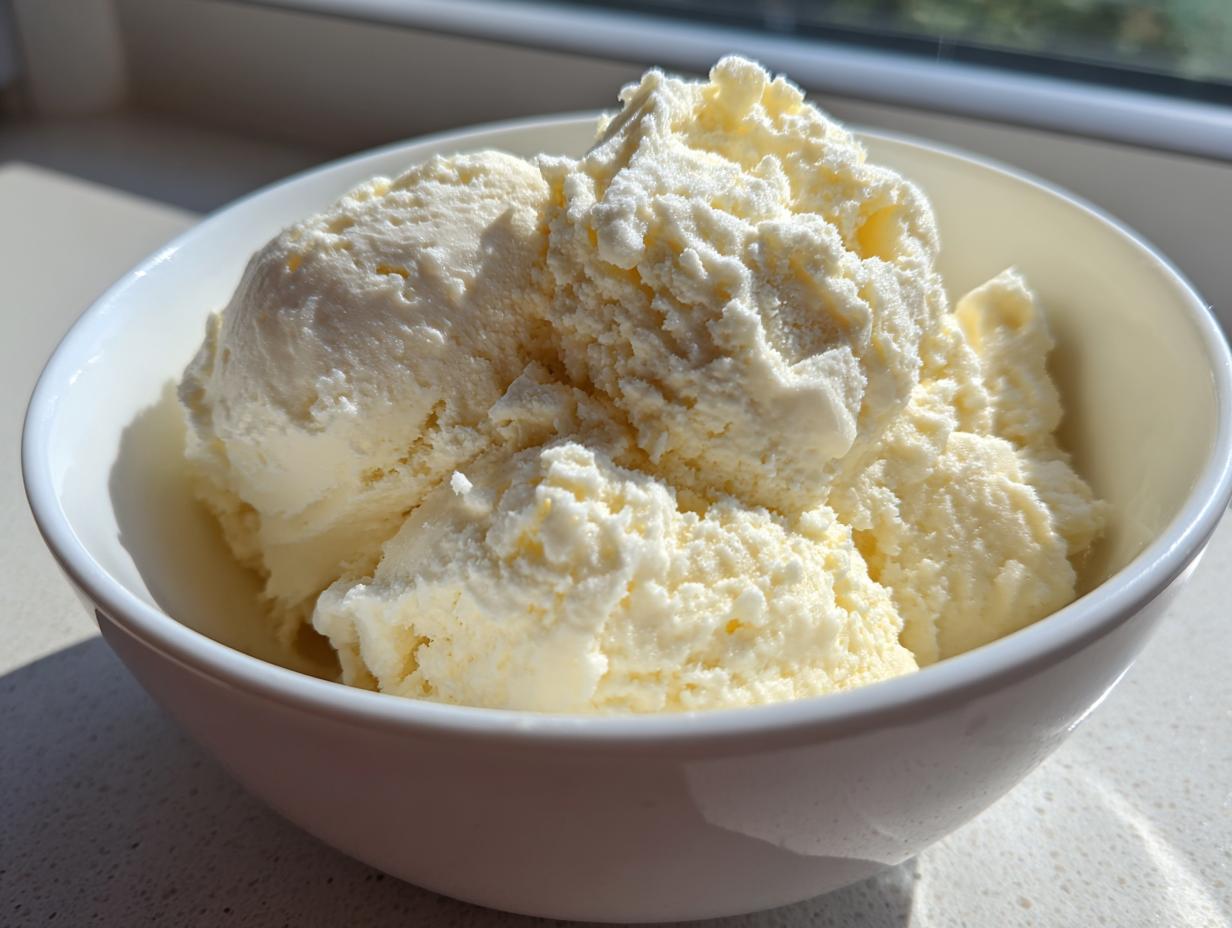
PrintCreamy No-Churn High-Protein Vanilla Ice Cream

Make this unbelievably creamy, high-protein ice cream without an ice cream maker. This vanilla base recipe is macro-friendly and perfect as a post-workout snack.
- Prep Time: 5 min
- Cook Time: 0 min
- Total Time: 6 hr 5 min
- Yield: 2 servings 1x
- Category: Dessert
- Method: No-Churn Freezing
- Cuisine: American
- Diet: Low Fat
Ingredients
- 1 cup Fairlife milk (or other high-protein milk)
- 1 scoop vanilla protein powder (whey or casein blend recommended)
- 1/4 cup non-fat plain Greek yogurt or cottage cheese (blended smooth)
- 1 teaspoon vanilla extract
- 1 packet zero-calorie sweetener (optional, adjust to taste)
- Pinch of salt
Instructions
- Combine the Fairlife milk, protein powder, Greek yogurt (or cottage cheese), vanilla extract, sweetener, and salt in a blender.
- Blend on high speed until the mixture is completely smooth and uniform. Scrape down the sides as needed.
- Pour the mixture into a freezer-safe container, such as a loaf pan or a sealable plastic container.
- Cover the container tightly with a lid or plastic wrap pressed directly onto the surface of the mixture to prevent ice crystals.
- Freeze for a minimum of 6 hours, or until firm.
- For the best texture, remove the container from the freezer 10 to 15 minutes before serving to allow it to soften slightly.
- Scoop and enjoy your healthy homemade ice cream.
Notes
- For a thicker, more decadent texture, use casein protein powder as the primary protein source, as it thickens better when frozen.
- If you own a Ninja Creami, process this base using the ‘Lite Ice Cream’ setting, then re-spin if necessary for maximum creaminess.
- Substitute vanilla with 2 tablespoons of unsweetened cocoa powder for an easy chocolate protein ice cream base.
Nutrition
- Serving Size: 1/2 pint
- Calories: 180
- Sugar: 4
- Sodium: 150
- Fat: 2
- Saturated Fat: 1
- Unsaturated Fat: 1
- Trans Fat: 0
- Carbohydrates: 12
- Fiber: 1
- Protein: 30
- Cholesterol: 10