
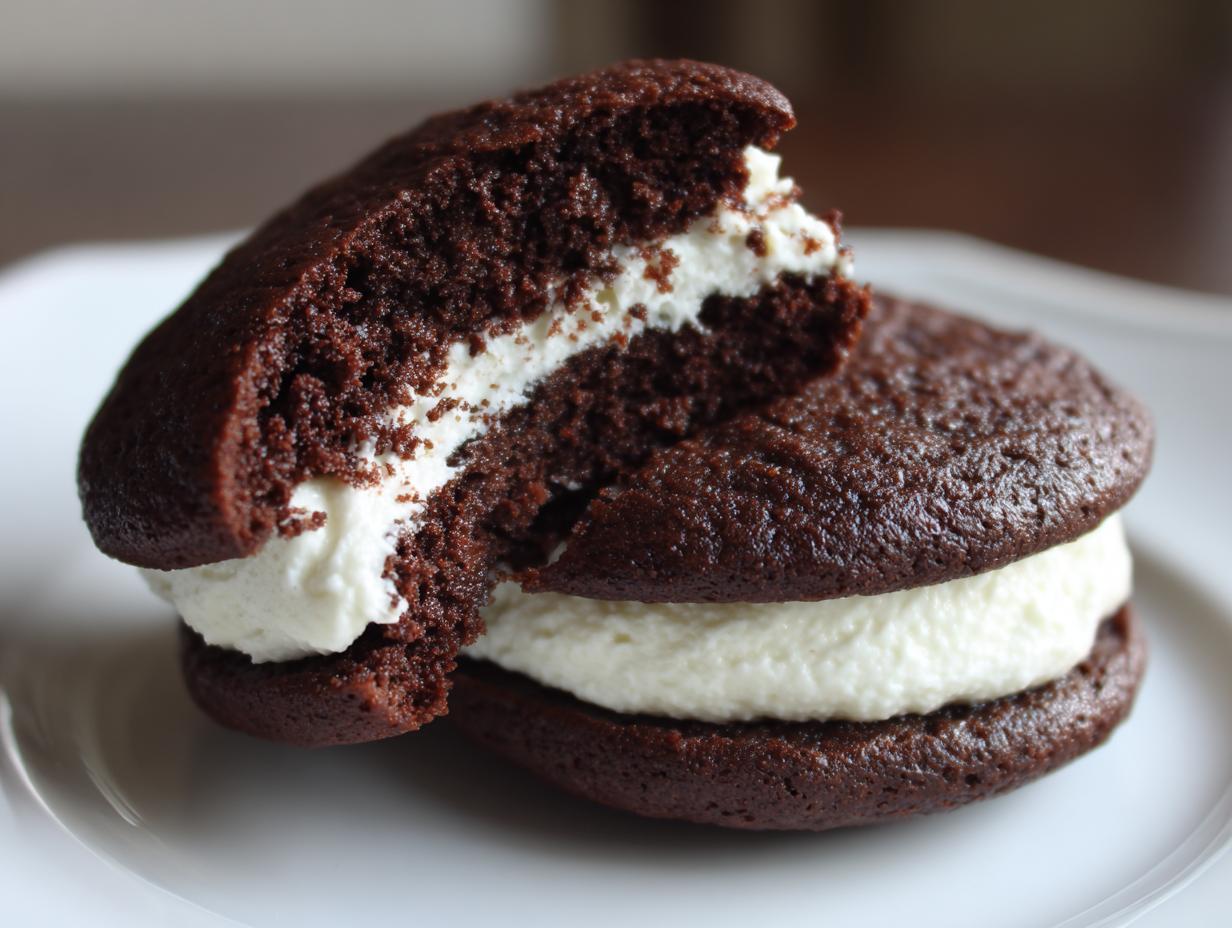
Oh, you know those desserts that just wrap you up in a warm hug? That’s exactly what we’re making today! Forget those dry, sad sandwich cookies you might have bought once; we are leveling up to the ultimate soft cakey dessert. These whoopie pies, specifically our Classic Chocolate Whoopie Pies, are a beloved staple of American baking, and I’m so excited to share them. As someone who spent years studying the science behind why things taste good, I can promise you this recipe is meticulously tested. We’re using buttermilk, for instance, to ensure that beautiful, tender crumb every single time. Get ready to bake something truly comforting!
- Why This Classic Whoopie Pie Recipe Works
- Ingredients for Homemade Chocolate Whoopie Pies
- Step-by-Step Instructions for Perfect Whoopie Pies
- Tips for Success with From Scratch Baking Recipes
- Storage & Reheating Instructions for Whoopie Pies
- Common Variations for Whoopie Pies
- Serving Suggestions for This Comfort Food Dessert
- Frequently Asked Questions About Whoopie Pies
- Nutritional Estimate for Classic Whoopie Pies
- Share Your Homemade Whoopie Pies Creations
Why This Classic Whoopie Pie Recipe Works
When I was perfecting these whoopie pies, I focused hard on reliability—that’s the Food Science coming out in me! The secret sauce here, beyond the rich cocoa, is definitely the buttermilk. Buttermilk brings the perfect amount of acid to the party, reacting beautifully with the baking soda to give you that signature structure. You want that soft cakey dessert feel, right? I tested ratios until I got this exact balance of leavening and fat. This recipe is proof you don’t need fancy tricks; just smart chemistry!
I know some folks look at recipes like those from Martha Stewart and think they must be overly complicated, but honestly, the beauty is in the simplicity of the ratios we’re using here.
Achieving the Perfect Soft Cakey Dessert Texture
The key to that pillow-like texture is how the batter handles the heat. We rely heavily on the baking soda and baking powder working together here. Don’t skimp or substitute those, please! Also, when you add that boiling water at the end? That’s crucial! It really blooms the cocoa powder, but more importantly, it keeps the batter super thin. Trust me on this one: thin batter for the cakes equals that wonderfully tender, almost cloud-like result when they bake up.
Ingredients for Homemade Chocolate Whoopie Pies
Okay, gathering your supplies is where the transformation truly starts! For these whoopie pies to hit that perfect sweet spot, we need precision, especially with the texture enhancers. I always pull my ingredients out early so everything is exactly ready to go. If you’re thinking about swapping flavors later for something like the chocolate peanut butter kind, you’ll still need these core components.
For the Chocolate Whoopie Pie Cakes
- 1 3/4 cups all-purpose flour
- 1 3/4 cups granulated sugar
- 3/4 cup unsweetened cocoa powder
- 1 teaspoon baking soda
- 1/2 teaspoon baking powder
- 1/2 teaspoon salt
- 2 large eggs
- 1 cup buttermilk
- 1/2 cup vegetable oil
- 1 teaspoon vanilla extract
- 1/2 cup boiling water
For the Fluffy Whoopie Pie Filling
Remember, the consistency of this filling is everything! Make sure that butter is perfectly softened, not oily.
- 1 cup (2 sticks) unsalted butter, softened
- 3 cups powdered sugar, sifted
- 1 teaspoon vanilla extract
- 1/4 cup milk or heavy cream
Step-by-Step Instructions for Perfect Whoopie Pies
Making these whoopie pies truly from scratch is such a rewarding process! We need to handle the cakes and the filling separately to ensure everything comes together just right. Preheat your oven right now to 350F (175C) and make sure you’ve lined those baking sheets with parchment paper—messy cleanup is not what we’re aiming for here! Trust me, following the order of these steps ensures you get that wonderful, soft texture that makes them famous.
Mixing and Baking the Chocolate Cakes
First, handle your dry things in one big bowl and your wet things—eggs, oil, the buttermilk for our classic buttermilk whoopie pies—in another. Then, pour the wet right into the dry, but only mix on low speed until they just barely come together. Stop mixing! Now for the weird, but totally necessary part: carefully pour in that 1/2 cup of boiling water. Watch it—the batter will look super thin, almost like soup, but that’s the trick! Drop tablespoon-sized dollops onto your sheets and bake them for just 10 to 12 minutes. They come out of the oven looking delicate, so let them hang out on the hot sheet for five minutes before moving them to a rack to cool completely. You can find some fun ideas for variations over at this site.
Creating the Fluffy Whoopie Pie Filling
While those are cooling, we attack the filling! This is where we build the cloud center. Start by beating that softened butter until it’s just smooth—no lumps allowed. Then, slowly start raining in your sifted powdered sugar, mixing on low so you don’t create a snowstorm in your kitchen. Once it looks like sandy paste, you can step up the speed and beat it hard until it’s genuinely light and airy. Add the vanilla and cream slowly until you achieve that perfect, spreadable, fluffy whoopie pie filling consistency. It’s almost like magic!
Assembling Your Dessert Sandwich Cookies
Once the chocolate cakes are stone cold—seriously, they must be cold or the filling melts everywhere—it’s time to play matchmaker. Look for two cakes that are roughly the same size and shape. Take one, spread a beautiful, generous swirl of that buttercream right onto the flat side, and gently top it with its twin to create your perfect sandwich cookie. If you’re looking for more inspiration on different types of whoopie pies, be sure to check out what Mommy Evolution has cooking!
Tips for Success with From Scratch Baking Recipes
When you’re moving beyond recipes that use cake mix, you need those little inside tricks that professional bakers use. Making these whoopie pies is easy, but little things make the difference between good and amazing! I want you to succeed on the first try, so keep these reliability tips close.
First, let’s talk about that buttermilk again. If, for some reason, you don’t have any in the fridge, don’t panic and run to the store! You can make a quick substitute. Just take a cup of regular milk and stir in one tablespoon of white vinegar or lemon juice. Let it sit on the counter for about five minutes until it looks slightly curdled. That acidity mimics the real thing perfectly! This simple swap keeps our whoopie pies wonderfully tangy. Also, remember the butter for the filling: it needs to be softened, not melted. You want to be able to press your finger lightly into it, but it shouldn’t smear easily. I learned the hard way that warm butter leads to runny filling, which means sliding all over the place! Check out these lovely strawberry alternatives while you’re waiting for the lesson on substitutions to sink in.
Storage & Reheating Instructions for Whoopie Pies
One of the best things about these incredible handheld sweet treats is that they actually taste even better the next day! It gives the flavors, especially that rich chocolate cake mingling with the vanilla cream, time to marry up perfectly. I know that sometimes we bake bigger batches than we can instantly devour, so storage is key to keeping that fluffy filling happy.
You absolutely must store them in an airtight container. Seriously, airtight is non-negotiable if you want to keep that cakey exterior soft and prevent it from drying out. Don’t worry about the fridge unless your kitchen is really hot; generally, room temperature is fine for a couple of days. If you’re trying to keep them pristine past day two, you can definitely pop them into the freezer!
If you freeze them, wrap each one individually in plastic wrap—tightly—then place them all into a freezer-safe bag or container. They should last about a month this way. When you wake up craving one of those chocolate sandwiches, just pull one out and let it sit on the counter for about 30 minutes to come back to room temperature. It thaws beautifully! For more fantastic baking ideas, you can look at traditionals like those chocolate chip versions.
Common Variations for Whoopie Pies
While this classic chocolate version is tough to beat—truly one of the best whoopie pies you’ll ever meet—I know we home bakers like to mix things up! It’s fun to explore the whole world of these delightful dessert sandwiches, isn’t it? We don’t have to stick to just cocoa powder, though it is my personal favorite.
If you are looking to move beyond the dark chocolate, the same cake base works wonders for so many flavors. For example, swapping out the cocoa for a little extra flour and vanilla yields a wonderful golden cake that pairs perfectly with fruit fillings. Think about making a homemade Strawberry Whoopie Pies Recipe for summer parties—it’s bright and so nostalgic.
But my real weakness? That’s the peanut butter version. If you want an intense, irresistible treat, you absolutely have to try modifying the filling for Chocolate Peanut Butter Whoopie Pies. The savory peanut butter cream against that rich, dark cake layers is just heaven. You can find a fantastic inspiration for that swap right here. It’s incredible how one simple substitute changes the whole vibe of the treat!
Serving Suggestions for This Comfort Food Dessert
When you have a batch of these beauties cooling on the rack, the question isn’t *if* you’ll serve them, but *how*! Since these are such perfectly portioned, handheld sweet treats, they are instantly a hit at any gathering. Honestly, they feel instantly homey, like something pulled straight from a classic American farmhouse kitchen.
They are absolute superstars as a low-fuss bake sale favorite. Forget messy slicing or fiddly plating; just pile them onto a big platter, and watch them disappear fast. Kids adore them, and adults secretly fight over the last one!
For parties or holidays, I love leaning into their inherent comfort-food status. Try serving them slightly chilled when paired with a hot beverage. A strong, hot cup of coffee cuts through the richness of the chocolate and buttercream filling so nicely. Or, if you’re feeling extra decadent, serve them alongside a scoop of good quality vanilla bean ice cream—it gets a little melty where the cake meets the filling, which is simply divine.
If you enjoy digging into the history of these wonderful baked goods, you might find some fascinating background reading over at Visit The Amish regarding the roots of authentic recipes that inspired this style of treat.
Frequently Asked Questions About Whoopie Pies
It’s funny how much confusion there can be over a simple sandwich cookie! I get so many questions about how to mimic that true comfort food dessert texture, and I understand why. People want to know every little secret to making these whoopie pies turn out perfect, just like the best ones they remember.
Can I make these Whoopie Pies ahead of time?
Yes, absolutely! These are one of the best treats because they improve overnight. As I mentioned before, store them airtight at room temperature; they stay just as soft. This makes them ideal bake sale favorites because you can prep them the day before the big event. If you want even more flexibility, you can freeze un-filled chocolate cakes readily, too!
Is there a difference between a Whoopie Pie and a dessert sandwich cookie?
That’s a great question! While they are technically dessert sandwich cookies because they are a filling between two baked items, whoopie pies are specifically characterized by those two cake-like rounds rather than a regular cookie texture. Ours are specifically designed to be soft and fluffy, not crisp!
Can I skip the buttermilk in this Classic Whoopie Pie Recipe?
You sure *can*—but it changes the final texture! If you need a swap, use the trick I mentioned earlier: milk with vinegar or lemon juice. It gives us the acidity needed to activate the baking soda for lift and softness. If you just use regular milk, you risk ending up with a denser, heavier cake that isn’t quite right for a true whoopie pie experience. Check out this link for comparison if you’re tempted to use cake mix instead of going fully from scratch.
What is the best way to get that light and fluffy filling?
The key is time and temperature! Make sure your butter is perfectly softened, and then beat it alone until it’s creamy, *before* you add any sugar. When adding the powdered sugar, do it slowly. Then, once it’s all combined, whip it on medium-high speed for a good 3 or 4 minutes until it literally triples in volume! That whipping incorporates air, giving you that incredible, fluffy whoopie pie filling you’re craving. Visit A Family Feast for more great baking perspectives!
Nutritional Estimate for Classic Whoopie Pies
I always get asked about the nutrition, and honestly, these are a decadent treat, so let’s look at what that rich chocolate and creamy filling gives us. Remember, I crunch the numbers here in the lab using standard estimates, but your exact results will shift based on what brand of cocoa or how much milk you use in that delicious filling. We’re prioritizing flavor and that comforting feeling, not calorie counting, but it’s good to have the baseline!
Here is the estimate for one single, glorious serving:
- Serving Size: 1 whoopie pie
- Calories: 450
- Sugar: 45g
- Sodium: 250mg
- Fat: 24g
- Saturated Fat: 10g
- Carbohydrates: 58g
- Protein: 5g
I must stress that these are guidelines, pure and simple. If you use a lighter cream or cut back slightly on the powdered sugar in the buttercream because you prefer a less sweet profile, those sugar counts will drop. This is real, from scratch baking, so your ingredients are in charge of the fine details! Don’t worry too much over the numbers; just enjoy the magic of turning simple ingredients into this amazing dessert sandwich cookie.
Share Your Homemade Whoopie Pies Creations
Alright, now it’s your turn! You’ve mixed the batter, you’ve tasted that gorgeous, fluffy filling, and you have a stack of the best whoopie pies cooling on the counter. I truly believe that the biggest magic happens when we share these kitchen successes together.
I absolutely live for hearing how your batch turned out! Did the buttermilk work its magic? Did you pipe the filling high like a professional baker, or did you just spread it on with a spoon like I usually do when nobody’s watching? Please, don’t be shy! Jump down into the comments below and tell me everything.
If you made these beautiful dessert sandwich cookies and snapped a photo, please tag me! Sharing pictures lets me see the transformation you created in your own kitchen, and it inspires the next home cook who might be nervous about trying their first batch of homemade chocolate whoopie pies. Your feedback means the world to me, and it helps me keep tweaking these recipes for you. Go on now, rate this recipe and start the conversation!
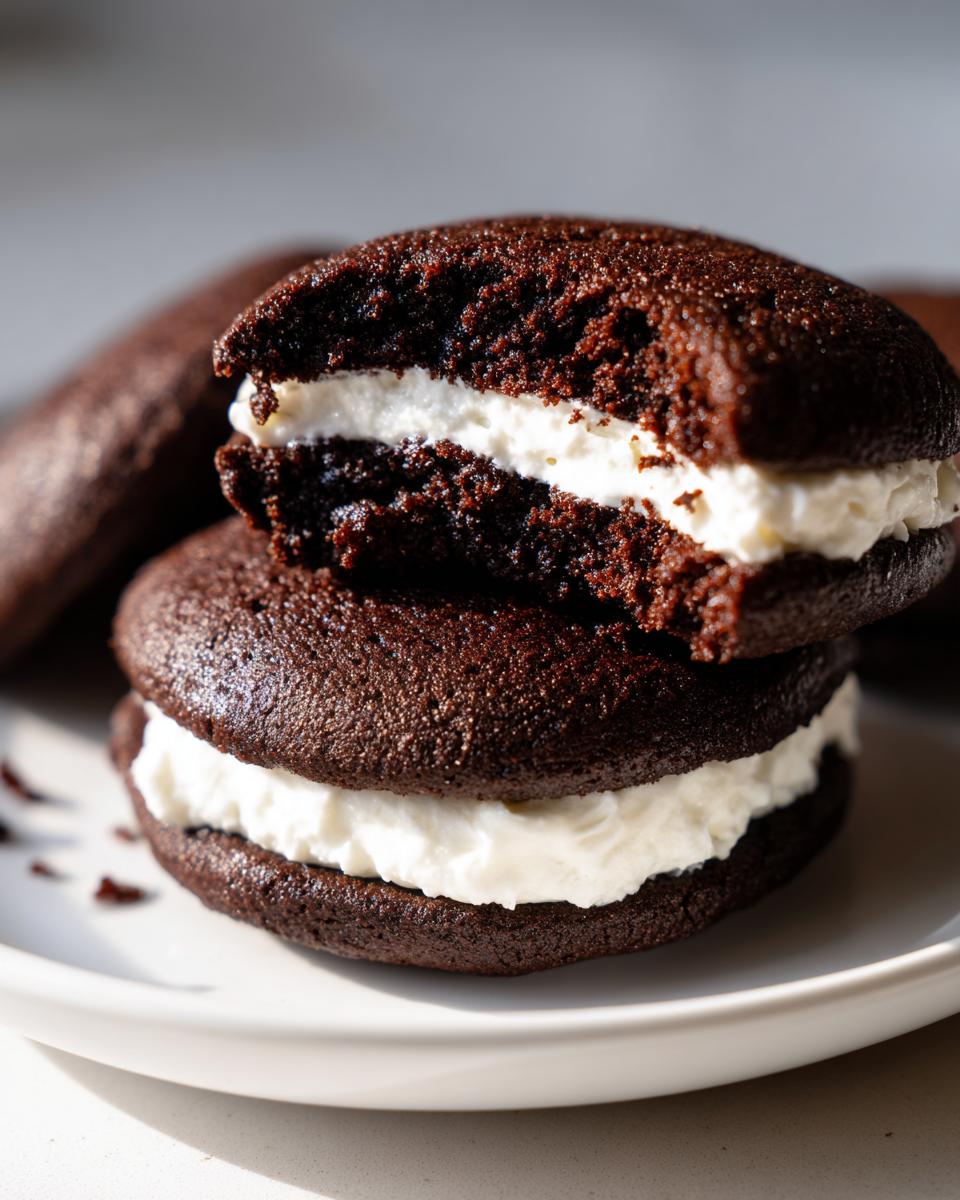
PrintClassic Chocolate Whoopie Pies with Vanilla Buttercream Filling

Make soft, cakey chocolate whoopie pies from scratch using buttermilk for a slight tang. These handheld dessert sandwich cookies feature a rich, fluffy vanilla buttercream filling, creating a comforting, vintage American treat.
- Prep Time: 20 min
- Cook Time: 12 min
- Total Time: 32 min
- Yield: 12 whoopie pies 1x
- Category: Dessert
- Method: Baking
- Cuisine: American
- Diet: Vegetarian
Ingredients
- 1 3/4 cups all-purpose flour
- 1 3/4 cups granulated sugar
- 3/4 cup unsweetened cocoa powder
- 1 teaspoon baking soda
- 1/2 teaspoon baking powder
- 1/2 teaspoon salt
- 2 large eggs
- 1 cup buttermilk
- 1/2 cup vegetable oil
- 1 teaspoon vanilla extract
- 1/2 cup boiling water
- 1 cup (2 sticks) unsalted butter, softened
- 3 cups powdered sugar, sifted
- 1 teaspoon vanilla extract
- 1/4 cup milk or heavy cream
Instructions
- Preheat your oven to 350F (175C). Line baking sheets with parchment paper.
- In a large bowl, whisk together the flour, granulated sugar, cocoa powder, baking soda, baking powder, and salt.
- In a separate bowl, whisk together the eggs, buttermilk, vegetable oil, and vanilla extract until combined.
- Pour the wet ingredients into the dry ingredients and mix on low speed until just combined. Do not overmix.
- Carefully pour the boiling water into the batter and mix on low speed until smooth. The batter will be thin.
- Drop rounded tablespoons of batter onto the prepared baking sheets, spacing them about 2 inches apart.
- Bake for 10 to 12 minutes, or until a toothpick inserted into the center comes out clean. The cakes will be soft.
- Let the chocolate cakes cool on the baking sheet for 5 minutes before transferring them to a wire rack to cool completely.
- To make the vanilla buttercream filling, beat the softened butter in a large bowl until creamy.
- Gradually add the powdered sugar, beating until smooth. Add the vanilla extract and milk or cream, beating until the filling is light and fluffy.
- Once the chocolate cakes are completely cool, match up similarly sized cakes. Spread a generous amount of buttercream filling onto the flat side of one cake and top with another cake to form a sandwich.
Notes
- Using buttermilk provides the necessary acidity to react with the baking soda, which helps create the signature soft, cakey texture of authentic Amish Whoopie Pies.
- For the best texture, ensure your butter for the filling is truly softened, but not melted.
- You can substitute the buttermilk with 1 cup of regular milk mixed with 1 tablespoon of white vinegar or lemon juice; let it sit for 5 minutes before using.
Nutrition
- Serving Size: 1 whoopie pie
- Calories: 450
- Sugar: 45
- Sodium: 250
- Fat: 24
- Saturated Fat: 10
- Unsaturated Fat: 14
- Trans Fat: 0
- Carbohydrates: 58
- Fiber: 2
- Protein: 5
- Cholesterol: 60