
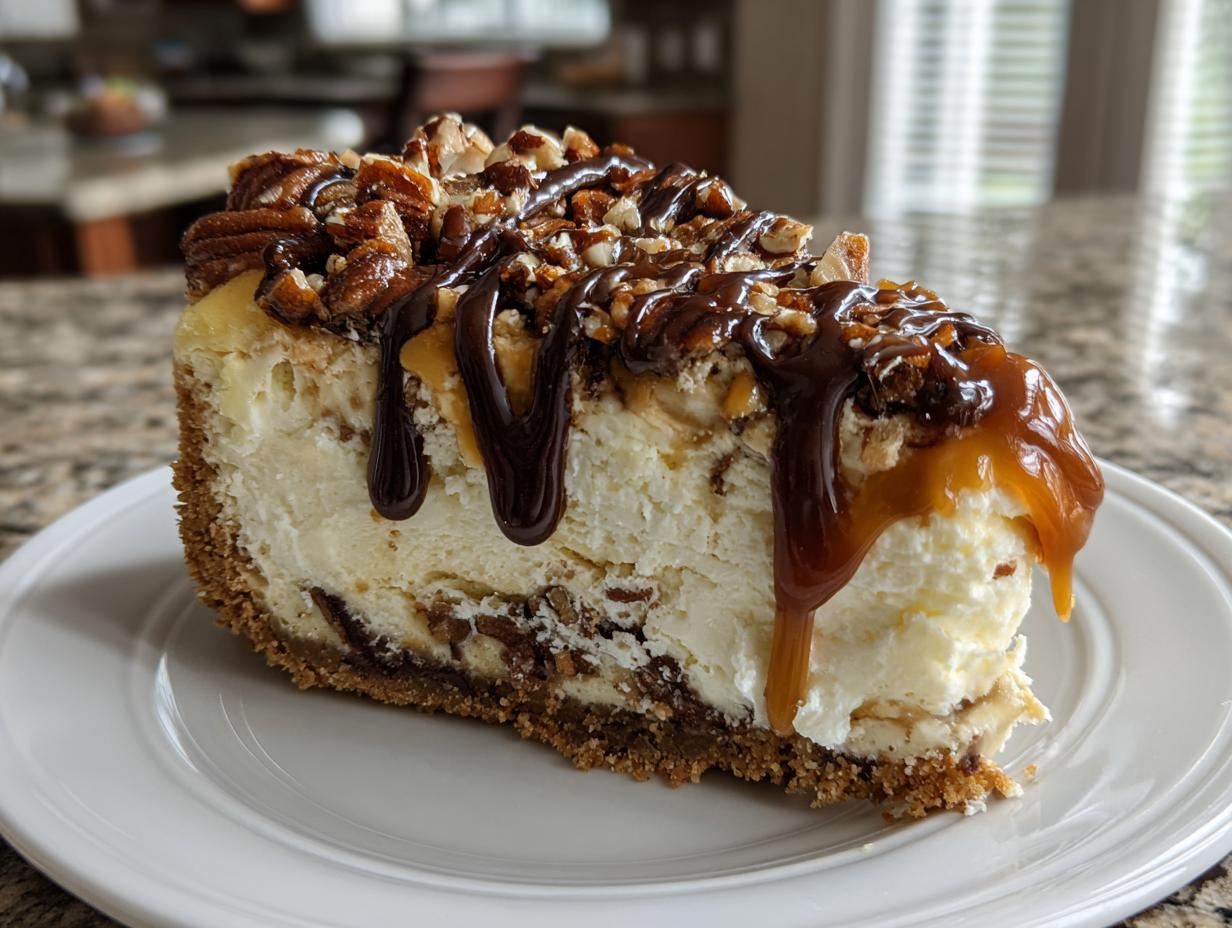
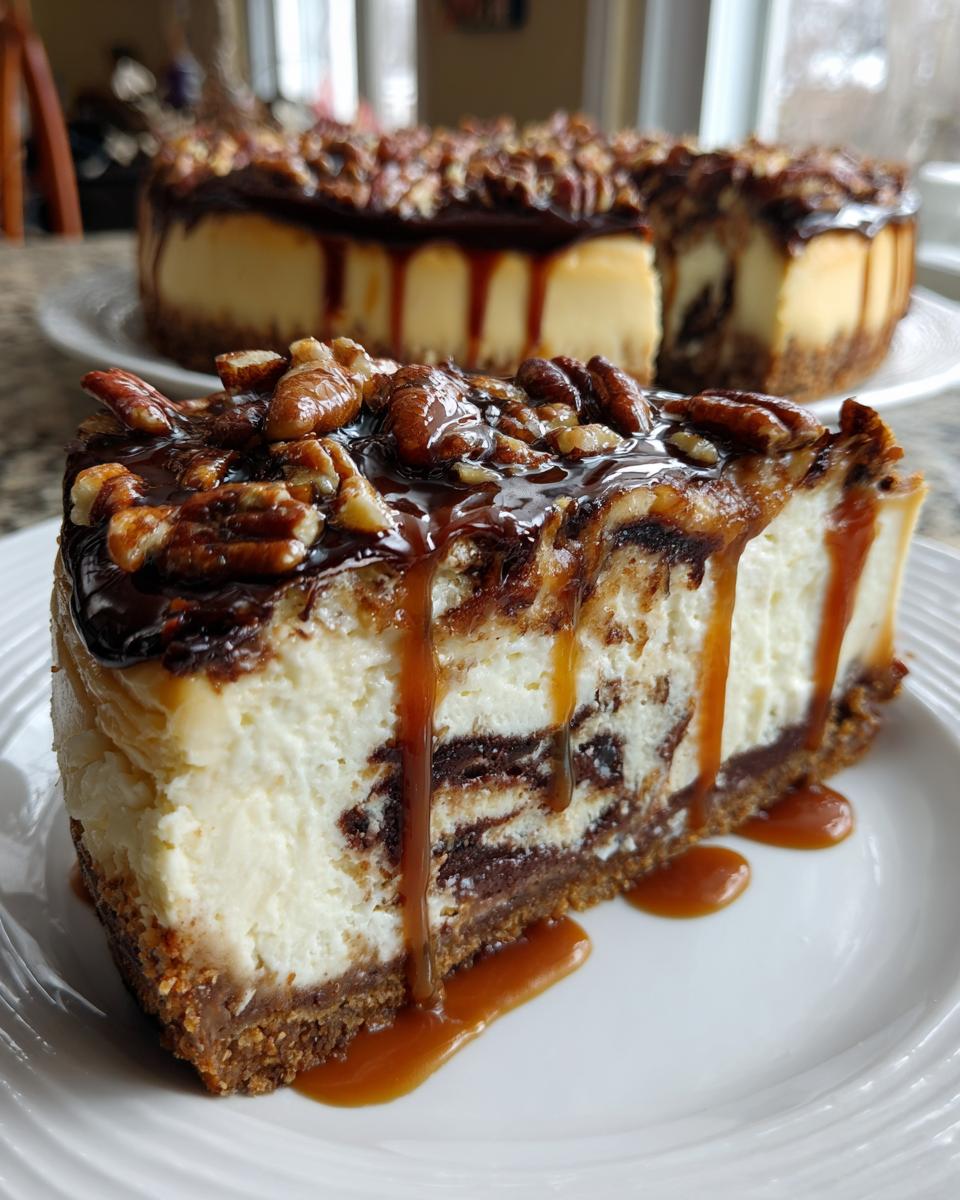
Oh, friends, let’s talk about desserts that stop conversations. We all need those show-stopping moments on the table, right? That’s exactly what this rich, utterly decadent turtle cheesecake delivers. It’s that luxurious blend of chocolate, salty caramel, and crunchy pecans that just screams ‘special occasion.’ My name is Juliana Cruz, and I spent years studying Food Science, trying to figure out the *why* behind kitchen magic, while simultaneously watching my Dad, a retired Navy chef, perfect the art of hearty American classics. That background means every recipe here, especially this one, is meticulously tested. Trust me when I say this foolproof method creates a gourmet experience that honestly feels too easy for how amazing the result is!
- Why This Is The Best Turtle Cheesecake Recipe You Will Make
- Ingredients for Your Decadent Turtle Cheesecake
- Mastering the Creamy Cheesecake Filling: Tips for Your Turtle Cheesecake
- Step-by-Step Instructions to Bake the Ultimate Turtle Cheesecake
- Essential Make-Ahead & Chilling Tips for Your Turtle Cheesecake
- Ingredient Notes and Substitutions for Caramel Chocolate Pecan Dessert
- Variations: From No Bake Turtle Dessert to Mini Cheesecake Bites
- Frequently Asked Questions About Making Turtle Cheesecake
- Storage and Reheating Instructions for Your Rich Chocolate Caramel Treat
- Estimated Nutritional Data for This Indulgent Sweet Treat
- Share Your Showstopper Turtle Cheesecake Creations
Why This Is The Best Turtle Cheesecake Recipe You Will Make
I hear you—you want indulgence without the stress. That’s the whole point of Alchemy Chef! This isn’t just another recipe; it’s a rock-solid guarantee for a perfect result. We took all the complexity out of achieving that bakery-quality finish.
- It’s genuinely reliable and virtually crack-free, thanks to the water bath technique.
- The texture is outrageously creamy because we nail the temperature of the dairy every time.
- It’s truly a show-stopping dessert that looks like it took days, not hours, to put together.
- If you’re looking for that easy homemade cheesecake that still tastes gourmet, you’ve found your new favorite.
If you want to see how this recipe stacks up against other great homemade versions, check out this guide for The Ultimate Easy Turtle Cheesecake Recipe!
Ingredients for Your Decadent Turtle Cheesecake
Okay, let’s talk about what you actually need! Because achieving that rich, creamy filling relies 100% on preparation, I have one HUGE tip before we dive into the list: make sure your cream cheese, eggs, and sour cream are completely at room temperature. Seriously, this changes everything about the final texture—it stops lumps before they even start! My Dad always hammered that into me as essential for any good batter.
For the crust and the topping, you’ll want to pre-toast those pecans first. Trust me, toasting makes a huge flavor difference, taking them from bland to wonderfully nutty. You can find great tips on perfecting that step in this wonderful recipe for Decadent Caramel Pecan Turtle Cheesecake.
Here is exactly what you need for this spectacular bake:
- 1 1/2 cups graham cracker crumbs
- 1/4 cup granulated sugar (for the crust)
- 6 tablespoons unsalted butter, melted
- 3 (8 ounce) packages cream cheese, softened (room temperature is key!)
- 1 1/2 cups granulated sugar (for the filling)
- 1 teaspoon vanilla extract
- 1/4 cup sour cream (also room temperature, please!)
- 3 large eggs (room temperature!)
- 1/2 cup semi-sweet chocolate chips, melted
- 1 cup caramel sauce, divided
- 1 cup chopped pecans, toasted
Mastering the Creamy Cheesecake Filling: Tips for Your Turtle Cheesecake
This is where we move from good to truly gourmet. The secret to that unbelievably creamy cheesecake recipe texture we all crave in a turtle cheesecake isn’t just the ingredients—it’s how gently we treat them! Remember how I stressed room temperature dairy? That’s your first defense against a lumpy filling. When you add the eggs, you need to be paying attention! Add them one at a time, and when they are just incorporated, you stop mixing. Overbeating after the eggs go in introduces too much air, which causes cracks later. We want dense and creamy, not puffy and fragile!
For a truly luxurious texture that rivals anything you’d pay too much for at a bakery, you have to respect the mixing time. I actually follow directions from one of my favorite recipe developers on this; you can read more about her reliable techniques for achieving a perfect texture here: Turtle Cheesecake: A Decadent Dessert Delight for Every Occasion.
Achieving the Perfect Swirls in Your Turtle Cheesecake
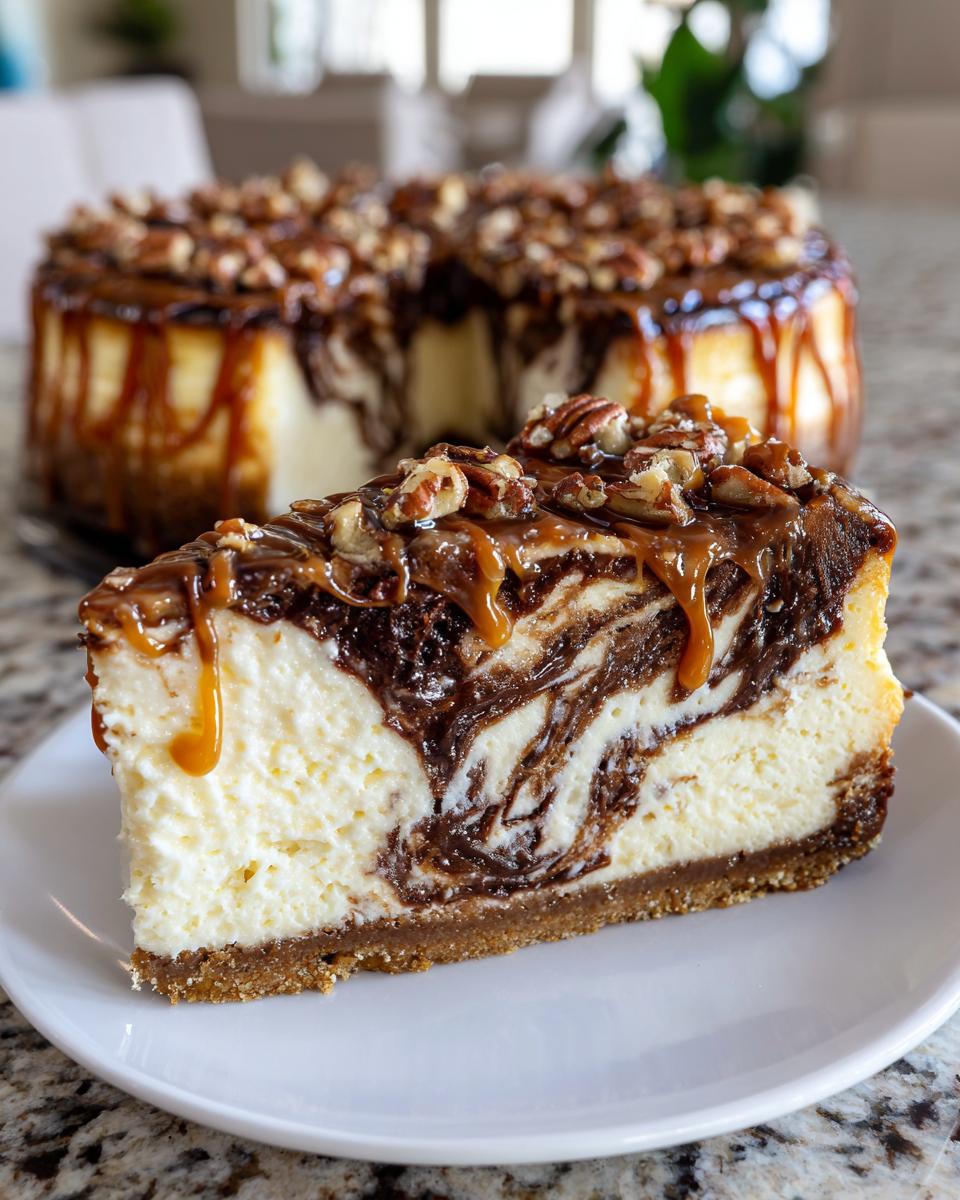
Now for the fun part that makes this a real showstopper! We are intentionally layering heavy ingredients into the batter. I always pour in two-thirds of the filling first, and then I drizzle half of that melted chocolate, half of the caramel, and half of those toasted pecans right on top. Think of it like a messy, delicious layer cake.
Take a knife—a thin one works best—and gently drag it through the layers. You don’t want to mix it completely! You’re aiming for long ribbons of chocolate and caramel running through the white batter. Then, top with the remaining one-third of the plain batter, and repeat the drizzle and swirl just lightly on the surface. This way, you get that fantastic visual pop when you slice into it!
Step-by-Step Instructions to Bake the Ultimate Turtle Cheesecake
Alright, let’s get this incredible turtle cheesecake into the oven! Preheat your oven right away to 325°F (160°C). Before you even think about mixing the filling, you need to prep the springform pan. This is crucial: wrap the outside of your 9-inch pan tightly, using *heavy-duty* aluminum foil. I use three layers, just to be totally certain no water seeps in during that all-important bake. It’s better to be safe than sorry when you’ve made something this decadent!
Make the crust first by mixing those graham cracker crumbs, 1/4 cup of sugar, and the melted butter. Press it down firmly into the bottom of the foiled pan—really pack it in there! Give it a quick 10-minute bake, then let it cool just a bit while you tackle the filling.
Once the filling layers are assembled (remember those gorgeous swirls?), it’s time for the big moment. You want to bake this slowly and gently. Don’t rush it! I always suggest setting a timer for 60 minutes, checking for the edge set, and then letting it continue until that center jiggles just slightly. Afterward, turn off the oven, crack the door, and let it coast inside for a full hour. This gradual cooling process is what keeps that top smooth. You can find more reliable baking timelines reviewed here: Turtle Cheesecake.
Water Bath Technique for Crack-Free Turtle Cheesecake
If you want that perfectly smooth, crack-free top—the sign of a professional bake—you have to use a water bath. Why? Cheesecake is basically a custard, and those love gentle, moist heat. Placing the foil-wrapped springform pan inside a larger roasting pan and filling the outer pan with hot water creates steam. This steam insulates the sides of the cheesecake, keeping the edges from baking faster than the center.
Once your cheesecake is sitting in the roasting pan, carefully pour in the hot water until it comes about halfway up the sides of the cheesecake pan. Be careful not to splash water onto the foil seal! When you transfer this whole setup to the oven, you’ve built a perfect little steam room that guarantees that rich, creamy cheesecake recipe texture.
Essential Make-Ahead & Chilling Tips for Your Turtle Cheesecake
Now, listen up because this part is non-negotiable if you want those show-stopping, clean slices! Making a turtle cheesecake is mostly about planning ahead. You absolutely cannot rush the chill time. I know you’re dying to dig in after smelling that caramel and chocolate filling, but you have to wait! We need a minimum of six hours in the fridge, but honestly? Overnight is when the magic truly sets.
Why the wait? Chilling allows the cheesecake proteins to fully firm up around all those gooey caramel swirls and pecan pieces. If you try to cut it warm or even slightly cool, it’ll just slump into a messy puddle on the plate. Planning it ahead makes serving a breeze for any party, and it lets the flavors meld perfectly. Don’t forget to check out these great tips for timing your bake from Turtle Cheesecake Recipe when you’re getting set up!
Ingredient Notes and Substitutions for Caramel Chocolate Pecan Dessert
Before you grab every ingredient off the shelf, let’s look closer at a few components that really elevate this into a truly gourmet dessert recipe. I’ve built in little tricks here from my development days that I think you’ll appreciate.
First, those pecans! I know the recipe just says ‘toasted,’ but give them a little extra love. Spread them out on a baking sheet and put them in the 350°F oven for about 6 to 8 minutes. You have to stand there and watch them, though, because they go from perfectly toasted to burnt junk surprisingly fast! This step is vital for that necessary crunch against the smooth filling.
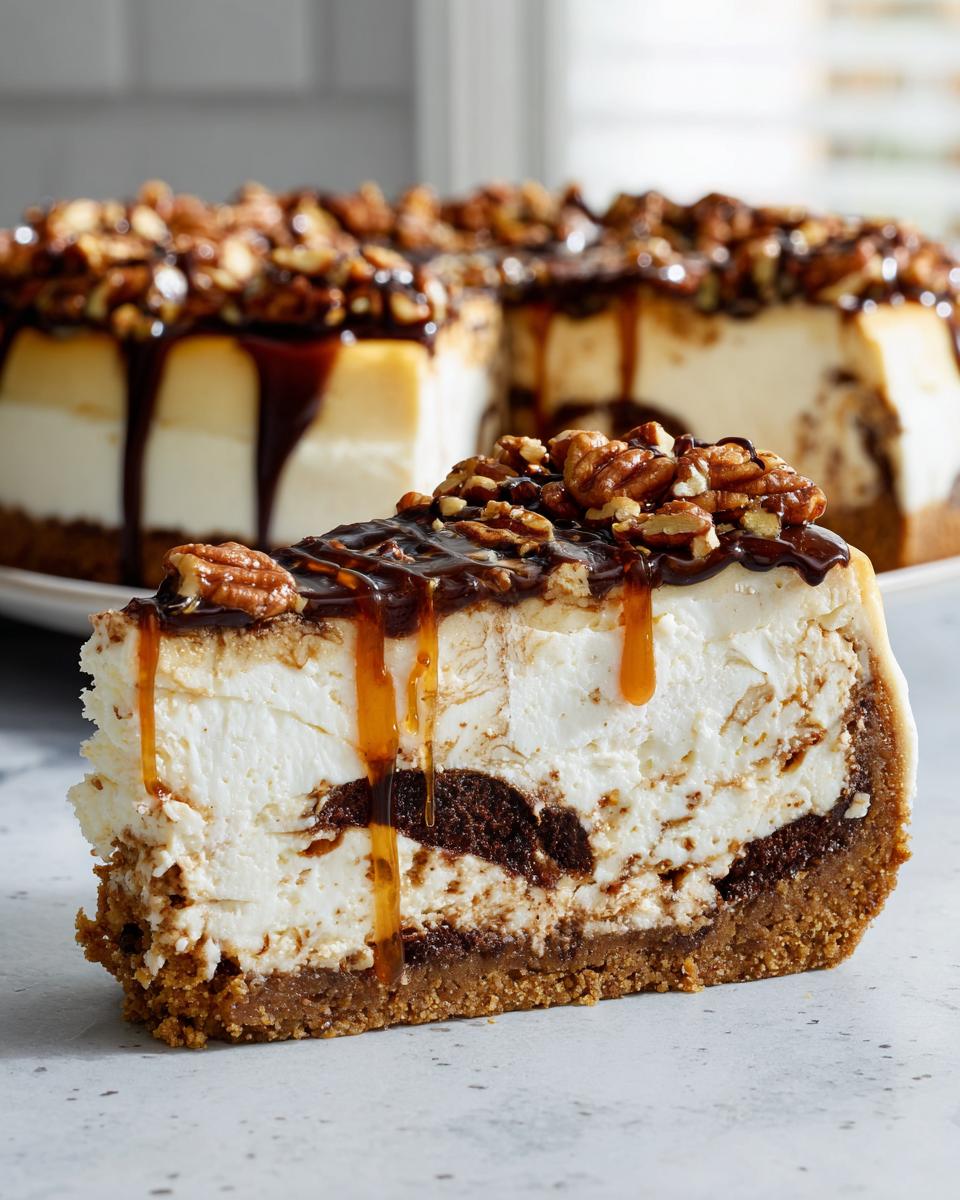
Now, if you see the mention of a Brownie Bottom Cheesecake and your heart skips a beat—I get it! If you’d rather ditch the graham crackers and go full-on chocolate decadence, you absolutely can. Instead of making the crust given, you’ll want to press a thin, pre-baked layer of fudgy brownie batter right into the bottom of your pan. Just make sure that brownie layer is completely cooled before you pour your cheesecake mixture over it. It turns this into an even more intense indulgent sweet treat!
Lastly, for ultimate creaminess—and this is a secret I picked up working with commercial recipes—make sure all your dairy (cream cheese and sour cream) and those eggs are totally relaxed at room temperature. Cold ingredients simply won’t blend smoothly, and you’ll end up fighting lumps. You can read a fantastic recipe that focuses heavily on layering flavors in their Turtle Brownie Cheesecake Recipe if you decide to go that route!
Variations: From No Bake Turtle Dessert to Mini Cheesecake Bites
While this baked recipe is my gold standard for a creamy cheesecake recipe, I know sometimes you need a dessert fast! If you are totally swamped and can’t turn on the oven, you can absolutely pivot to a No Bake Turtle Dessert. The modification is simple: you skip the initial crust bake. Instead, press your graham cracker, sugar, and butter crust firmly into the pan and chill it for about 30 minutes to set before you pour on the filling. Since there’s no oven heat, you thicken the no-bake filling slightly more, maybe by adding a tablespoon of cornstarch to the sugar mixture before whipping, though the high fat/cream cheese content often does most of the work!
If you’re making these for a party, you might want easy-to-serve portions. That’s where Mini Cheesecake Bites come in! You just use a standard 12-cup muffin tin lined with those little paper liners. You’ll want to bake them at slightly lower heat, maybe 300°F, and reduce the time significantly—check around 20 minutes. The process for layering the chocolate and caramel stays exactly the same; you just manage the swirl on a much smaller surface. For an even more indulgent adventure, remember that great option to switch out the crust for a brownie layer, turning it into a hybrid treat!
If you want to see amazing ideas for those tiny treats, check out how they handle the flavors in these Mini Turtle Cheesecake Bites. And if the brownie route is calling your name, this recipe for Turtle Brownie Bottom Cheesecake is heaven!
Frequently Asked Questions About Making Turtle Cheesecake
I totally get it; making a showstopper like this brings up a few technical worries! Since I’ve developed and tested hundreds of cheesecake recipes, I can usually solve those little baking anxieties before they even happen. Here are the questions I get asked most often about getting that perfect, decadent slice.
How do I guarantee my cheesecake doesn’t develop those dreaded surface cracks?
This is the #1 worry, and it all comes down to temperature fluctuation. Cracks happen when the outer edges bake and set too quickly while the center is still wobbly, causing it to shrink dramatically as it cools. The two defenses we use here are the water bath (which keeps the heat gentle and moist) and the slow cooldown inside the turned-off oven. Don’t skip those two steps! If you follow the baking method, you’re set up for a beautifully smooth surface that allows that caramel topping to really shine.
Can I use store-bought caramel sauce, or must I make my own Homemade Pecan Caramel Sauce?
Please, use store-bought caramel sauce if you need to save time! We’re aiming for easy indulgence here. If you use a quality, thick caramel sauce, it works perfectly fine for the swirls. The main thing is making sure it’s warm enough to drizzle easily but not piping hot, which could melt the cream cheese batter too much. If you *do* decide to make your own, remember that balancing the saltiness is key to cutting through all the richness of this Creamy Cheesecake Recipe.
If I want a richer flavor, what happens if I skip the graham crust and use brownies?
That’s a fantastic idea, especially if you love the Rich Chocolate Caramel Treat combination! If you opt for the brownie bottom variation, you’re just swapping out the graham cracker layer for a thin, pre-baked, fudgy brownie layer. The flavor profile gets much deeper, leaning heavier on chocolate than pure cheesecake. Just make sure that brownie layer is completely cooled and firm before you add your filling on top, or you risk seepage.
How long does this cheesecake stay fresh in the refrigerator?
Because cheesecakes essentially love the cold, they last quite a while! Keep it covered tightly with plastic wrap (to avoid picking up any fridge smells) for up to five days. The flavors, especially the caramel and pecan notes, actually seem to get richer overnight. If you’re storing slices, you can keep them separate for even easier serving later on.
For the absolute best advice on keeping your baked goods top-tier, I always refer back to professional development tips, like those found on Decadent Turtle Cheesecake.
Storage and Reheating Instructions for Your Rich Chocolate Caramel Treat
Okay, maybe you—like me—can’t finish this entire masterpiece in one sitting. (Though I’ve certainly tried!) Storing these leftover slices of pure indulgence is easy, but you have to respect the cheesecake’s needs. The goal here is protecting that crunchy pecan topping and keeping the filling perfectly creamy.
First things first: don’t try to slice it until it has chilled completely, because we talked about that earlier, right? Once you have your slices, the best storage method is the quiet, contained coldness of the refrigerator. Make sure you cover each piece tightly with plastic wrap—I mean *tightly*—to keep any stray fridge smells out. This helps protect that gorgeous topping and ensures your rich chocolate caramel treat tastes just as good the next day.
Here’s the biggest tip for serving leftovers, though: never eat cheesecake straight from the fridge! It dulls the flavor and the texture gets too firm. You need to pull your slices out onto a serving plate about 30 to 45 minutes before you plan to eat them. Letting them come up slowly to room temperature really wakes up all those caramel and chocolate notes. It makes a huge difference! For more great tips on presentation and storage for heavy desserts like this, I always look at what others are doing with their creations, like this decadent post at Creamy Turtle Fudge Cheesecake Recipe.
Estimated Nutritional Data for This Indulgent Sweet Treat
Now, I know many of you are interested in the whole picture when you’re baking something this magnificent. Since we are dealing with cream cheese, chocolate, and caramel, this is definitely filed under my ‘Indulgent Sweet Treats’ category—it’s not an everyday snack, that’s for sure! Nutrition is tricky business, though, especially when you’re making substitutions or using homemade caramel versus store-bought, like we discussed.
Because of that variability, I need to be super clear: these numbers are my best professional estimate based on standardized portions and the ingredients listed in the main recipe. Think of this as a helpful guideline, not a rigid commitment. When I was developing recipes professionally, we always had to include a disclaimer, and I stick to that principle here because transparency builds trust!
For context, based on 12 generous slices, here is the estimated breakdown for one serving:
- Serving Size: 1 slice
- Calories: 550
- Sugar: 45g
- Fat: 35g
- Carbohydrates: 55g
- Protein: 10g
- Sodium: 350mg
We’ve got fats from the butter and cream cheese, and of course, the sugar is high because we’re using both granulated sugar *and* caramel sauce! Don’t sweat the numbers too much; this is meant for celebrations. Just enjoy every creamy, crunchy bite knowing you made something wonderful from scratch. If you’re curious how different recipe developers track their data, you can look into guides like the one offered on No Bake Caramel Turtle Cheesecake for comparative insight.
Share Your Showstopper Turtle Cheesecake Creations
Well, you’ve done it! You’ve navigated the water bath, mastered the chill time, and created what I know is a truly spectacular turtle cheesecake. But the alchemy isn’t complete until you share that joy! I live for seeing your successes in the kitchen.
Did you try the brownie bottom variation? Did you serve it warm or perfectly chilled? Did you go overboard with the caramel drizzle (I’m guilty of this all the time!)? Please, don’t be shy! Head down to the comments below and let me know how it went. Leaving a quick rating or sharing your experience helps other home cooks feel confident tackling this amazing dessert.
If you took a picture—and I sure hope you did, because these are gorgeous—I’d love for you to tag us! Sharing your finished product helps us all celebrate the fact that we can take simple ingredients and transform them into something unforgettable.
We cheer you on when you create these incredible, indulgent bakes! For more ideas on plating and presentation that truly make a dessert shine, take a look at this resource: Turtle Cheesecake. And if you’re already thinking about making another easy, decadent treat soon, this site has some wonderful options: No Bake Caramel Turtle Cheesecake!
PrintThe Ultimate Easy Baked Turtle Cheesecake with Caramel Swirls and Toasted Pecans
Create a show-stopping, decadent turtle cheesecake featuring a rich, creamy filling, chocolate, gooey caramel swirls, and crunchy toasted pecans. This reliable recipe delivers gourmet flavor for any special occasion.
- Prep Time: 30 min
- Cook Time: 75 min
- Total Time: 10 hours 45 min
- Yield: 12 servings 1x
- Category: Dessert
- Method: Baking
- Cuisine: American
- Diet: Vegetarian
Ingredients
- 1 1/2 cups graham cracker crumbs
- 1/4 cup granulated sugar
- 6 tablespoons unsalted butter, melted
- 3 (8 ounce) packages cream cheese, softened
- 1 1/2 cups granulated sugar
- 1 teaspoon vanilla extract
- 1/4 cup sour cream
- 3 large eggs
- 1/2 cup semi-sweet chocolate chips, melted
- 1 cup caramel sauce, divided
- 1 cup chopped pecans, toasted
Instructions
- Preheat your oven to 325°F (160°C). Wrap the outside of a 9-inch springform pan tightly with heavy-duty aluminum foil.
- Prepare the crust: Mix graham cracker crumbs, 1/4 cup sugar, and melted butter until combined. Press the mixture firmly into the bottom of the prepared springform pan. Bake for 10 minutes. Let cool slightly.
- Prepare the cheesecake filling: In a large bowl, beat the softened cream cheese and 1 1/2 cups sugar until smooth. Beat in the vanilla extract and sour cream. Add the eggs one at a time, mixing just until combined after each addition. Do not overmix.
- Divide the batter: Pour about two-thirds of the cheesecake batter over the cooled crust.
- Create the chocolate layer: Gently warm the chocolate chips until melted. Drizzle half of the melted chocolate over the batter. Drizzle half of the caramel sauce over the chocolate. Sprinkle half of the toasted pecans over the top.
- Swirl: Use a knife or skewer to gently swirl the chocolate, caramel, and pecans into the batter.
- Pour the remaining one-third of the batter over the swirled layer. Top this layer with the remaining chocolate, caramel, and pecans. Use a knife to create a final, light swirl on the top surface.
- Bake using a water bath: Place the foil-wrapped springform pan into a larger roasting pan. Carefully pour hot water into the roasting pan until it reaches halfway up the sides of the springform pan.
- Bake for 60 to 75 minutes, or until the edges are set but the center still has a slight jiggle.
- Cool the cheesecake: Turn off the oven, crack the door open slightly, and let the cheesecake cool inside the oven for 1 hour. This prevents cracking.
- Chill: Remove the cheesecake from the water bath and foil. Cool completely on a wire rack, then cover and refrigerate for at least 6 hours, or preferably overnight, before serving.
Notes
- To toast pecans, spread them on a baking sheet and bake at 350°F (175°C) for 5 to 8 minutes, watching closely to prevent burning.
- For the creamiest texture, bring the cream cheese, eggs, and sour cream to room temperature before mixing.
- If you prefer a brownie bottom, substitute the graham cracker crust with a thin layer of baked brownie batter pressed into the pan before adding the cheesecake mixture.
Nutrition
- Serving Size: 1 slice
- Calories: 550
- Sugar: 45g
- Sodium: 350mg
- Fat: 35g
- Saturated Fat: 18g
- Unsaturated Fat: 17g
- Trans Fat: 0.5g
- Carbohydrates: 55g
- Fiber: 2g
- Protein: 10g
- Cholesterol: 95mg