
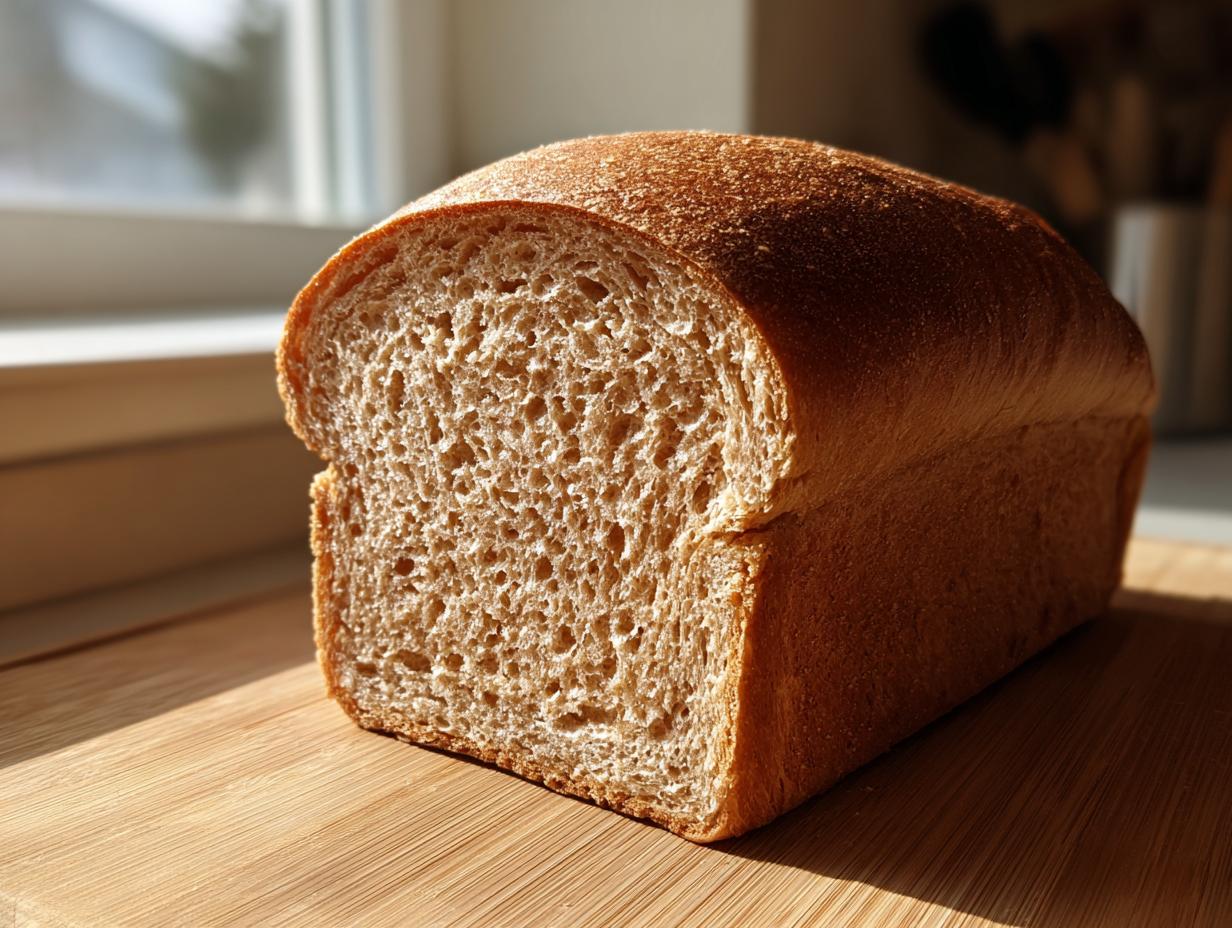
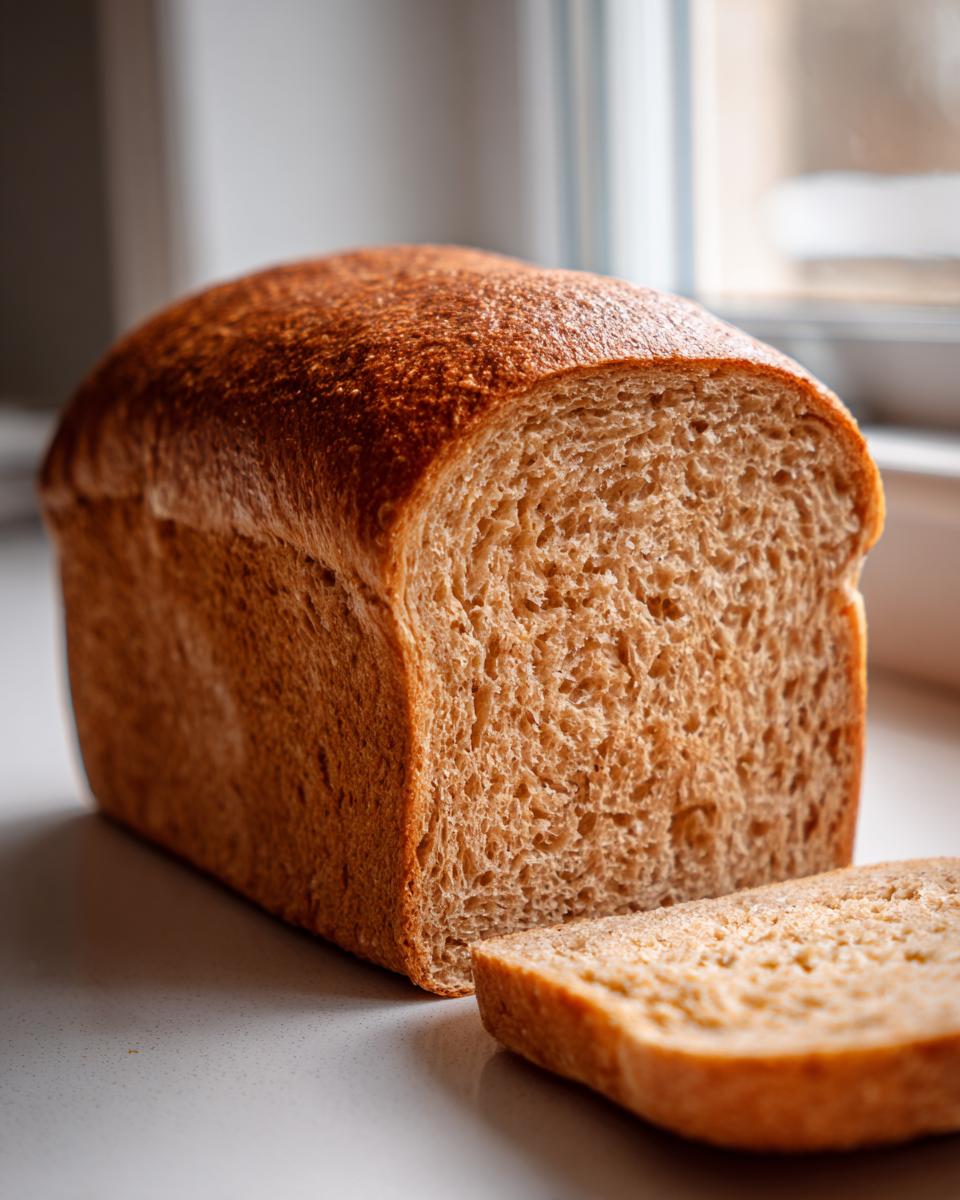
There is nothing—I mean absolutely nothing—that signals home quite like the smell of fresh whole wheat bread baking. It fills every corner, right? For me, as Juliana Cruz, that smell blends two parts of my life: my mom’s comforting, traditional Filipino meals and the sturdy, reliable American cooking my dad taught me. I took that heritage, mixed it with my formal Food Science background, and created this recipe. Trust me, if you’ve ever been scared of whole wheat loafs feeling dense or crumbly, this is the one that changes everything. It’s the softest, fluffiest, and surprisingly easy whole wheat bread recipe out there, perfect even if you’re just starting your baking from scratch bread journey!
- Why This is the Best Soft Whole Wheat Bread Recipe for Beginners
- Essential Ingredients for Your Honey Whole Wheat Bread Recipe
- Step-by-Step Instructions for Easy Whole Wheat Bread Recipe
- Tips for Success When Baking Whole Wheat Bread at Home
- Storing and Reheating Your Fresh Baked Bread at Home
- Variations on This Simple Yeast Bread Recipe
- Frequently Asked Questions About Homemade Whole Wheat Bread
- Estimated Nutritional Data for Whole Wheat Bread
- Share Your Whole Wheat Bread Baking Journey
- Estimated Nutritional Data for Whole Wheat Bread
- Share Your Whole Wheat Bread Baking Journey
Why This is the Best Soft Whole Wheat Bread Recipe for Beginners
I get it. You want that healthy, wholesome vibe from whole wheat bread, but you keep ending up with something that feels more like a brick than a sandwich slice. I hear you! That’s why I focused intensely during my recipe development—all that food science training went into making sure this loaf performs. This isn’t some fussy, high-maintenance 100 percent whole wheat bread; this is reliable and designed for real life. It’s truly the ultimate beginner bread recipe whole wheat solution.
- It hits that sweet spot: healthy bread recipes that actually taste amazing.
- We keep the hands-on time short—minimal kneading means less work for you!
- The results are consistently glorious, delivering that coveted fluffy homemade bread texture.
If you need a starting point for reliable baking, look no further. You can check out more foundational tips on essential ingredients right here: easy homemade bread with whole wheat flour and honey.
Achieving That Fluffy Homemade Bread Texture
The secret to keeping this whole wheat bread soft comes down to a couple of things. First, we are deliberately light on the kneading. You only need about five to seven minutes to activate the gluten; pushing it too long will make it tough, which is the opposite of fluffy! Second, pay attention to the honey and the melted butter. That sweet, fatty combination coats the whole wheat particles just right, preventing them from drying out during the bake. It’s the alchemy that gives us that perfect, tender crumb every single time.
Essential Ingredients for Your Honey Whole Wheat Bread Recipe
Okay, let’s talk about what actually goes into making this specific honey whole wheat bread recipe work! When I’m baking something wholesome like this, I treat the ingredients list like the structure of a building; every single piece matters. Getting these proportions right is key to avoiding that dense brick I mentioned earlier. Since we’re aiming for that delicious, naturally sweet flavor, the honey plays a starring role alongside the whole wheat flour.
- 1 cup warm water (Target: 105-115°F—needs to feel comfortably warm, not hot!)
- 2 teaspoons active dry yeast
- 1/4 cup honey
- 1/4 cup unsalted butter, melted
- 1 1/2 teaspoons salt
- 3 1/2 cups 100 percent whole wheat flour, plus more for dusting
- 1 large egg, lightly beaten
You can find a beautiful example of another lovely take on this classic flavor profile here: honey wheat bread.
Ingredient Notes and Substitutions for Whole Wheat Bread
If your goal is truly the 100 percent whole wheat bread experience—nutty flavor and all the fiber—stick to the recipe! Whole wheat flour absorbs liquid differently than all-purpose white flour does, so swapping in too much white flour will definitely change the texture we worked so hard for.
Now, about the honey: that’s your natural sweetener, and it also helps keep the loaf soft because it’s a liquid sugar. Don’t skip it! If you must use something else, maple syrup works in a pinch, but the overall flavor profile shifts slightly. If you find your dough is just too stiff when mixing in the flour, add water one tablespoon at a time. That’s the Food Science coming out—sometimes the moisture content in the flour changes depending on the weather, so you have to adapt slightly!
Step-by-Step Instructions for Easy Whole Wheat Bread Recipe
This is where the magic really happens, and I promise you, it’s a straightforward process. Since this is designed to be an easy whole wheat bread recipe, we keep the hands-on work short. You’ll see exactly how simple it is to get that tender crumb we talked about. We’ll move through mixing, allowing it to rest (the yeast does most of the hard work here!), a quick shape, and finally, the bake. This isn’t a scary recipe; it’s a welcoming one for anyone wanting to enjoy truly fresh baked bread at home.
You can follow along with these instructions, which are optimized for fantastic results: easy 100% whole wheat sandwich bread.
Activating the Yeast and Mixing the Dough
First things first: we need to wake up that yeast. In your big bowl—I love using a glass one so I can watch the action!—mix the warm water and yeast. Let that sit for about five minutes. If you don’t have a thermometer (and honestly, who always has one handy?), stick your finger in. It should feel comfortably warm, almost like bathwater, but definitely not hot enough to burn you. If it feels hot on your skin, it might kill the yeast, and then we’re stuck with sad, flat dough!
Once it’s foamy—that’s your cue that the yeast is happy—stir in the honey, the melted butter, and the salt until they look combined. Then, start adding the flour gradually. We start with 3 cups and mix it until it looks a little shaggy. Don’t stress if it doesn’t look like dough yet; we’re just getting things incorporated before we move to the counter. This slight incorporation keeps everything neat!
Kneading and First Rise for Your Whole Wheat Bread
Now we turn it out onto a lightly floured surface. This is the kneading phase, but remember, we’re not beating this dough into submission! You need to knead for just 5 to 7 minutes. What are you looking for? You want it to go from sticky and rough to smooth and elastic. Think of it like stretching taffy just until it holds its shape instead of tearing apart immediately. You’ll add that last half-cup of flour slowly while kneading, just enough so it’s not sticking to your hands constantly. If you leave too much flour out, you won’t get that soft texture we aim for—it has to be soft!
Once it feels springy, you put it into a lightly oiled bowl. Give it a flip so it gets coated in oil—that stops it from drying out while it balloons up. Cover it and let it rest in a warm spot for an hour to an hour and a half. You’ll know it’s ready when it’s doubled in size. Seriously, tape a piece of string around the bowl to mark where it started if you’re unsure!
Shaping, Second Rise, and Baking the Best Whole Wheat Sandwich Bread
After that first glorious rise, gently punch the air out—it’s surprisingly satisfying! Shape it into a nice, tight loaf, almost like you’re tucking it in for a nap, and place it snuggly into your greased 9×5 inch loaf pan. You want to keep that shape tight so the slices come out uniform later.
Cover it loosely this time and let it have its second rise, which is shorter, about 30 to 45 minutes. Here’s a crucial visual cue for your best whole wheat sandwich bread: the dough should crown about 1 inch above the rim of the pan. If it’s too puffy, it’ll collapse in the oven. Use this time to preheat your oven to 375°F (190°C). About 15 minutes before the dough is ready, start heating it up!
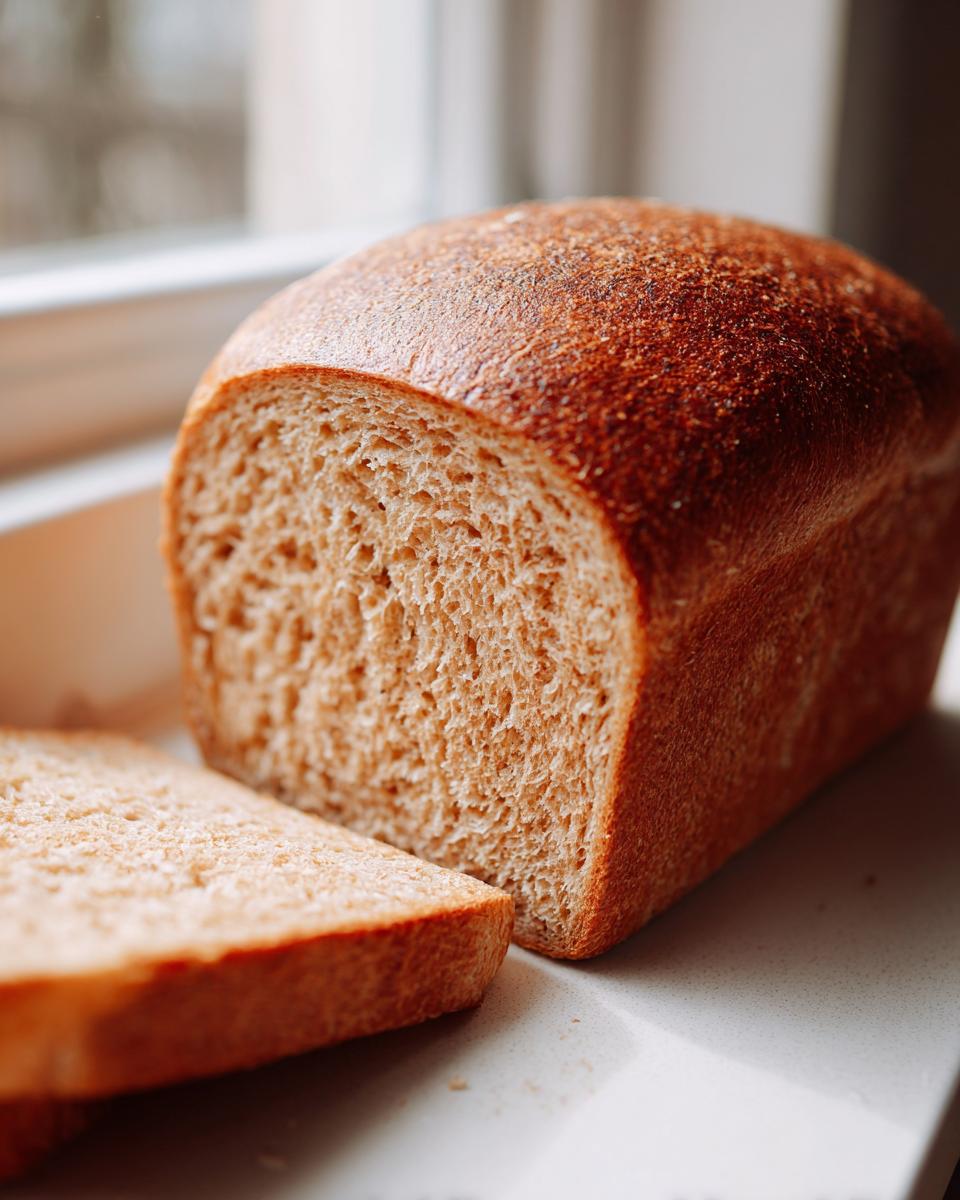
Before it goes in, take that beaten egg and brush it lightly over the top. That’s the secret to that beautiful, rich golden color we love on homemade whole wheat bread. Bake it for 30 to 35 minutes. Don’t just trust the timer, though! For absolute certainty, use an instant-read thermometer. We need the center of your whole wheat bread to hit 190°F (88°C). Once it’s done, pull it out immediately and let it cool completely on a wire rack. Slicing it warm guarantees a gummy texture, and warm slices are not great for perfect sandwiches!
If you need techniques for different shapes, exploring styles like a rustic whole wheat loaf can give you confidence in handling the dough, even though we are baking a sandwich loaf here.
Tips for Success When Baking Whole Wheat Bread at Home
When you’re baking from scratch bread, especially with 100% whole wheat flour, a couple of small hiccups can throw off the final result. Don’t let that stop you! After all my testing, I’ve learned a few tricks that ensure you get that soft, fluffy loaf every single time. These aren’t complex Food Science theories; they are just practical things I do in my own kitchen to guarantee success.
Here are my top pieces of advice for making sure your whole wheat bread rises beautifully and stays tender:
- Measure Your Flour by Weight (If You Can!): This is the single biggest game-changer for any loaf, but especially whole wheat. Flour settles in the cup! If you scoop directly, you end up with way too much flour, leading to a dry, dense loaf. If you have a kitchen scale, measure 3 1/2 cups of flour as 420 grams—that consistency is pure gold.
- Respect the Rise Temperatures: Yeast is picky! If your kitchen is cold, the yeast won’t wake up for the first rise, and you’ll end up with a small, sad hockey puck instead of a big fluffy dough. If your room is chilly, I pop the bowl (covered!) into my oven *while the oven light is on*. That tiny bit of residual warmth is often enough to get things moving smoothly.
- Don’t Over-Knead the Whole Wheat: Remember, this isn’t white bread! Whole wheat flour has sharp bran particles that start cutting the gluten strands quicker than white flour does. You only need to knead until the dough comes together and feels slightly elastic—about 5 to 7 minutes is plenty. Stop when you feel it smooth out, not when your arms get tired!
- The Cooling Period is Non-Negotiable: I know, I know, the smell is intoxicating, and you want to slice into that beautiful, golden loaf immediately. But if you slice it too soon, the steam rushes out, and the remaining structure collapses, leaving you with that gummy center, even if the temperature was perfect. Wait until it’s completely cool on the rack to slice. Seriously, go make a cup of coffee and wait!
Following these steps will set you up for an incredibly satisfying baking experience. For more insights on getting fantastic texture, you can read through some other great baker insights here: baking whole wheat bread.
Storing and Reheating Your Fresh Baked Bread at Home
Okay, you’ve successfully baked the most beautiful, soft whole wheat bread. Now, we want it to last! I can’t stress this enough: the most common mistake I see in home baking—and this is true for all yeast breads—is slicing it while it’s warm. Remember how I mentioned the steam rushing out? That steam is actually finishing the cooking process and setting the internal structure. If you slice it too early, that structure won’t set, and you end up with that gummy, slightly collapsed slice that nobody wants for their sandwiches.
Wait until that loaf is completely, totally cool—I mean room temperature—before you even touch it with a serrated knife. You can use a cooling rack like the one in the steps above for best airflow, or if you’re in a hurry, just set it on an open plate, but make sure air can get underneath it!
Countertop Storage for Everyday Slices
For day-to-day eating, your homemade whole wheat bread does best right on the counter. I usually wrap mine tightly in fresh plastic wrap (like the kind we used for the first rise!) or put it into a dedicated bread bag. Storing it cut-side down on a clean cutting board can also work well for a day or two.
Whole wheat bread tends to dry out faster than white bread because of the bran, so airtight storage is really important here. It should stay perfectly soft and sliceable for three days this way. If you find it starts getting a little stale around day three, don’t toss it! It’s still amazing for toast.
Freezing Your Whole Wheat Bread for Later
If you made this recipe and ended up with two loaves, or if you know you won’t finish this one within three days, you absolutely need to freeze it. Freezing is the best way to preserve that “just baked” texture. You can find some great long-term storage ideas for loaves just like this one over here: single loaf storage tips.
My technique is simple: wait until the bread is completely cold—no residual heat whatsoever. Then, wrap the entire loaf tightly first in plastic wrap, making sure you push the wrap right into every crevice. Then, wrap it again in aluminum foil or pop it into a heavy-duty freezer bag. This double layer prevents freezer burn, which is the enemy of fluffy bread!
When you’re ready to eat it, just pull the loaf out, still wrapped, and let it thaw on the counter for about 4 to 6 hours. Or, if you need just one slice right now, you can slice it while slightly frozen, put the slices back in the bag, and toss them straight into the toaster. It comes out perfect every time!
Variations on This Simple Yeast Bread Recipe
Even though this honey whole wheat bread recipe is built to be your reliable go-to, baking should always be fun, right? Sometimes you just want to mix things up a little, maybe add a bit more texture or chew to your whole wheat bread. I love experimenting with this base recipe because the structure we built is so sturdy—it handles extra ingredients really well without collapsing into a sad, flat disk!
If you’re aiming for that super wholesome bread baking experience, adding inclusions is the best way to go. Think of it as personalizing your loaf! For more ideas on making your whole wheat bread extra special after achieving that perfect soft texture, you can check out how others enhanced their loaves here: soft whole wheat bread homemade.
Adding Seeds and Grains for Texture
For a little crunch and extra nutrition, seeds are fantastic additions! I usually add about a half-cup total of seeds or oats to my dough right when I add the last bit of flour during the kneading process. My favorites are sunflower seeds, flax seeds, or even pumpkin seeds.
Here’s a small tip from my science brain: If you are adding hard seeds like flax or sesame, try soaking them in a tablespoon of warm water for about ten minutes first. This little trick plumps them up so they don’t draw moisture out of your dough while it proofs. It keeps that fluffy homemade bread texture consistent!
Making It Sweeter: The Cinnamon Swirl Option
If you want to lean into the sweeter side of this recipe—maybe you’re making this for weekend breakfast toast instead of just sandwiches—you can easily add a cinnamon swirl! This adds a beautiful visual element, too.
Instead of adding all of your dough into the pan straight after the second rise, gently roll the dough into a rectangle about 12 inches long. Mix together 1/4 cup of brown sugar (yep, that’s what I use for flavor!), 1 tablespoon of cinnamon, and 1 tablespoon of softened butter until it’s a thick paste. Spread that mixture evenly over the dough. Then, gently roll it up tightly like a jelly roll, starting from the short end. Pinch the seam shut to seal the swirl in, and then place that swirl-side-up into your loaf pan. It bakes up gorgeously!
Tips for Making a True 100 Percent Whole Wheat Loaf
If you are determined to make your loaf as healthy as possible and avoid any refined white flour, you certainly can! The key here is patience during the kneading process, as I mentioned before. Since 100% whole wheat loafs are naturally denser, they need a little extra encouragement to develop the structure to hold up the bran.
If you are struggling with the dough feeling too stiff, don’t be afraid to add another tablespoon or two of warm water during the kneading stage until it feels pliable again. A well-hydrated 100% whole wheat loaf will always be softer than one that’s been under-hydrated. This slight adjustment ensures you still get that wonderful homemade whole wheat bread that’s perfect for toast the next day!
Frequently Asked Questions About Homemade Whole Wheat Bread
I totally get it! When you’re trying a new whole wheat bread recipe, especially one that promises to be super soft, you inevitably have questions. That’s the joy of sharing recipes, though—we can figure out these little bumps together! I always try to anticipate what might trip up a new baker, so let’s run through a few things about getting this simple yeast bread recipe just right.
Why is my whole wheat bread dough so sticky?
Oh, that sticky dough! This is the most common issue when moving away from plain white flour, and I get messages about this all the time. Remember, whole wheat flour is made from the entire wheat kernel, which means it has sharp bits (the bran) that soak up moisture much faster than regular flour. If your dough feels way too sticky after you add the 3 cups of flour, don’t panic! This is what that final half-cup of flour is for.
Only add that last bit incrementally—a tablespoon at a time—while kneading until the dough pulls away cleanly from the sides of your bowl and your hands. It should feel tacky, yes, but not actively sticking to you like glue. If you add too much flour trying to fix the stickiness, you’ll end up with a dry loaf, and we definitely want that light, best whole wheat sandwich bread texture!
Can I skip the honey in this recipe?
You can technically skip it, but I really wouldn’t recommend it for this specific recipe. The goal here is a soft whole wheat bread that stays moist for days. Honey isn’t just sweetener here; it’s a humectant, meaning it pulls and holds onto moisture. White sugar doesn’t do quite as good a job. If you absolutely cannot use honey, you can substitute it with an equal amount of molasses or maple syrup. Both will give you that darker color and help with the texture. I’ve even seen people use brown rice syrup for a different take on wholesome bread baking!
Can I use bread flour instead of 100 percent whole wheat flour?
If you swapped the whole wheat flour out entirely for bread flour, you wouldn’t have whole wheat bread anymore, would you? (Ha! That sounds like a question I’d ask my Food Science professor!) So, no, you can’t swap it all out if you want the health benefits and flavor profiles we’ve designed this around. However, if you are a brand new baker and are nervous about the structure, sometimes using 2 cups of whole wheat flour and 1 1/2 cups of all-purpose or bread flour can give you a slightly lighter start. This is a good compromise until you build confidence in handling the 100% version. Check out this link for another reliable take on making whole wheat bread at home.
What’s the best way to get an even rise?
A lot of the ‘rise’ trouble comes down to temperature and impatience! Yeast needs a happy environment. If your kitchen is cold, the yeast just sleeps in. My favorite trick, which I use all the time when it’s winter, is to put the dough in a lightly oiled, covered bowl, place it on the counter, and then just turn my oven light on—no heat, just the warmth from the bulb. It creates a little warm incubator for your dough. Also, remember to watch the dough, not the clock! If the recipe says 1 to 1.5 hours, but it takes two hours to double, just let it go. That’s the spirit of homemade bread—it works on its own schedule!
Estimated Nutritional Data for Whole Wheat Bread
As a recipe developer with a background in science, I always want to give you the best information possible about what you’re eating! Keep in mind that because we’re using real ingredients and you might vary your honey or butter amounts slightly, these numbers are an estimate. They are based on dividing the recipe yield into 14 slices. This is a great comparison if you are trying to keep track of your macros while enjoying delicious, healthy bread recipes!
Here’s the breakdown for one slice:
- Serving Size: 1 slice
- Calories: 140
- Sugar: 4g
- Sodium: 200mg
- Fat: 3g
- Saturated Fat: 1.5g
- Trans Fat: 0g
- Carbohydrates: 25g
- Fiber: 4g
- Protein: 5g
- Cholesterol: 15mg
This data generally shows that our whole wheat bread is a fantastic source of fiber compared to standard white loaves. We kept the added sugar low by relying on the natural sweetness of the honey, which keeps the nutrition profile really wholesome!
Share Your Whole Wheat Bread Baking Journey
Now that you have all the insider tips and the foolproof methods, I really, truly want to know how it went! Baking bread is such a rewarding feeling, especially when you know you nailed that tricky soft texture. Did you achieve the fluffy homemade bread loft we were aiming for? Were your kids raving about their new favorite sandwich bread?
Please take a minute to leave a rating down below—I check every single one! And if you snapped a picture of that beautiful, golden-brown loaf, share it online and tag me! Nothing makes me happier than seeing my professional tested recipes turn into real-life triumphs in your kitchen. Your feedback helps me continue delivering reliable, delicious recipes like this one. You can see how others rated their experience making this loaf over here: whole wheat bread.
PrintSoft and Fluffy Honey Whole Wheat Sandwich Bread
Bake this easy, beginner-friendly whole wheat bread recipe for a soft, fluffy loaf perfect for daily sandwiches and toast. It uses simple ingredients and delivers wholesome flavor.
- Prep Time: 20 min
- Cook Time: 35 min
- Total Time: 2 hours 5 minutes
- Yield: 1 loaf 1x
- Category: Baking
- Method: Baking
- Cuisine: American
- Diet: Vegetarian
Ingredients
- 1 cup warm water (105-115°F)
- 2 teaspoons active dry yeast
- 1/4 cup honey
- 1/4 cup unsalted butter, melted
- 1 1/2 teaspoons salt
- 3 1/2 cups 100 percent whole wheat flour, plus more for dusting
- 1 large egg, lightly beaten
Instructions
- In a large bowl, combine the warm water and yeast. Let stand for 5 minutes until foamy.
- Stir the honey, melted butter, and salt into the yeast mixture.
- Add 3 cups of the whole wheat flour gradually, mixing until a shaggy dough forms.
- Turn the dough out onto a lightly floured surface. Knead for 5 to 7 minutes, adding the remaining flour as needed until the dough is smooth and elastic. This recipe requires minimal kneading for a soft texture.
- Place the dough in a lightly oiled bowl, turning to coat. Cover the bowl with plastic wrap or a clean kitchen towel. Let the dough rise in a warm place for 1 to 1 1/2 hours, or until doubled in size.
- Gently punch down the risen dough. Shape it into a uniform loaf and place it in a greased 9×5 inch loaf pan.
- Cover the pan loosely and let the dough rise again in a warm spot for 30 to 45 minutes, or until the dough has crowned about 1 inch above the rim of the pan.
- Preheat your oven to 375°F (190°C) during the last 15 minutes of the second rise.
- Brush the top of the loaf lightly with the beaten egg for a golden crust.
- Bake for 30 to 35 minutes, or until the top is deeply golden brown and the internal temperature reaches 190°F (88°C).
- Remove the bread from the pan immediately and cool completely on a wire rack before slicing for the best sandwich bread texture.
Notes
- For a slightly sweeter, richer loaf, use milk instead of water for the liquid component.
- If you want a crustier exterior, brush the loaf with water instead of egg before baking.
- This bread is excellent for making healthy bread recipes toast the next morning.
Nutrition
- Serving Size: 1 slice
- Calories: 140
- Sugar: 4g
- Sodium: 200mg
- Fat: 3g
- Saturated Fat: 1.5g
- Unsaturated Fat: 1.5g
- Trans Fat: 0g
- Carbohydrates: 25g
- Fiber: 4g
- Protein: 5g
- Cholesterol: 15mg