
There is simply nothing that says ‘home’ quite like the smell of fresh bread warming up your kitchen. I’m Juliana Cruz, and I’ve spent years turning my fascination with food science into reliable, delicious recipes for folks just like you. Forget those sad, tasteless things you pull out of a plastic bag—we are making the ultimate soft, fluffy, and buttery homemade dinner rolls today. Trust me, understanding the ‘why’ behind the yeast helps, but mostly, it’s about the richness of the butter and the care you put into the kneading. These classic yeast rolls are so far beyond store-bought that you’ll never look back!
- Why These Are the Best Homemade Dinner Rolls You Will Ever Make
- Ingredients for Ultimate Soft and Fluffy Dinner Rolls Recipe
- Step-by-Step Instructions for Perfect Dinner Rolls
- Baking and the Signature Buttery Finish for Your Dinner Rolls
- Variations: Making Texas Roadhouse Style Rolls Copycat
- Tips for Success with Your From Scratch Bread
- Make Ahead Dinner Rolls and Storage Instructions
- Frequently Asked Questions About Soft Dinner Rolls Recipe
- Nutritional Estimates for These Buttery Yeast Rolls
Why These Are the Best Homemade Dinner Rolls You Will Ever Make
Why bother with the store when we can achieve actual bakery magic right here? These are my go-to dinner rolls because they nail that trifecta everyone wants: soft, fluffy, and loaded with butter flavor. I’m able to get this texture because of a couple of specific requirements, which I’ll show you below. These aren’t just bread; they’re pure comfort food!
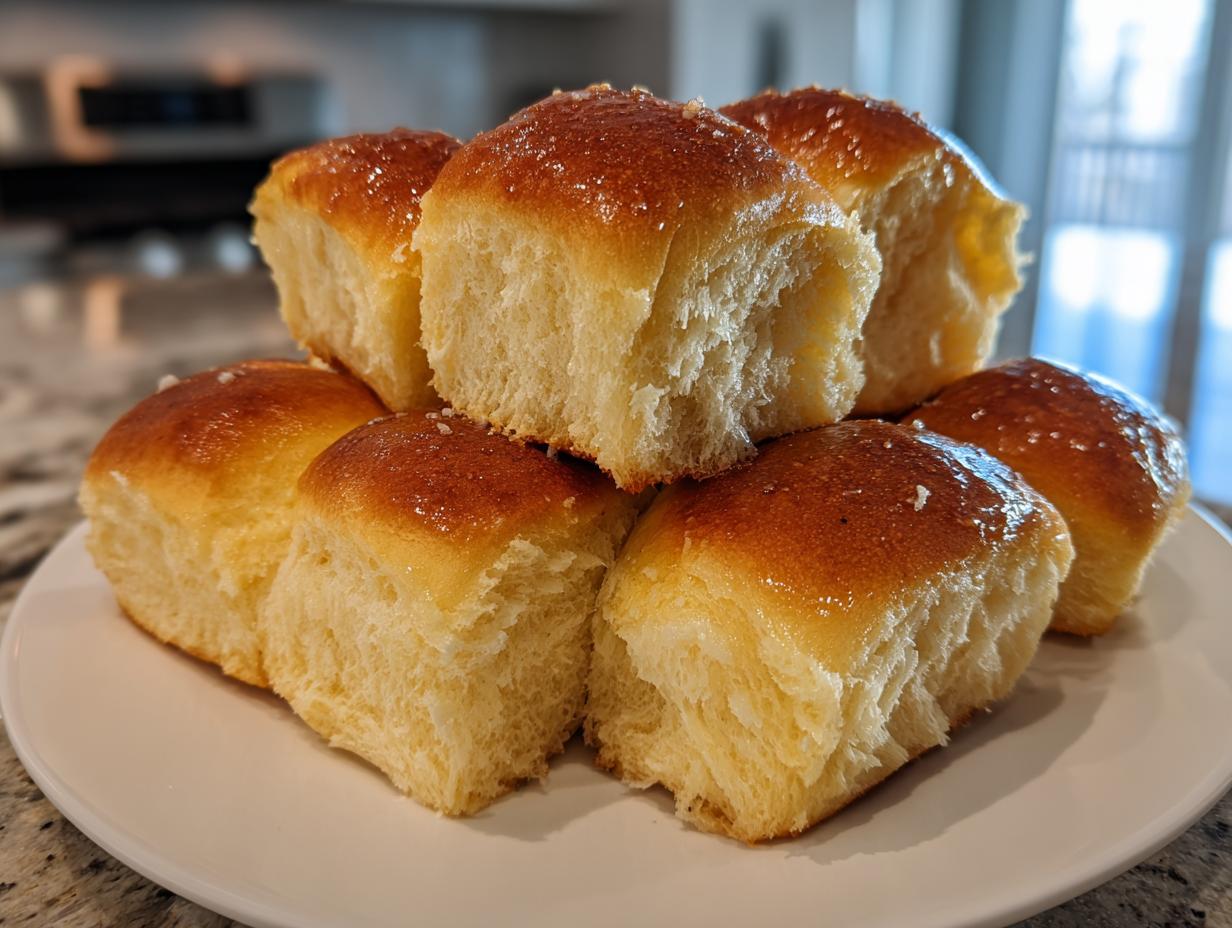
- They are incredibly rich thanks to the generous amount of melted butter both in the dough and slathered on top post-bake.
- The rise time is perfect—not so fast it tastes yeasty, but not so long it eats up your whole afternoon.
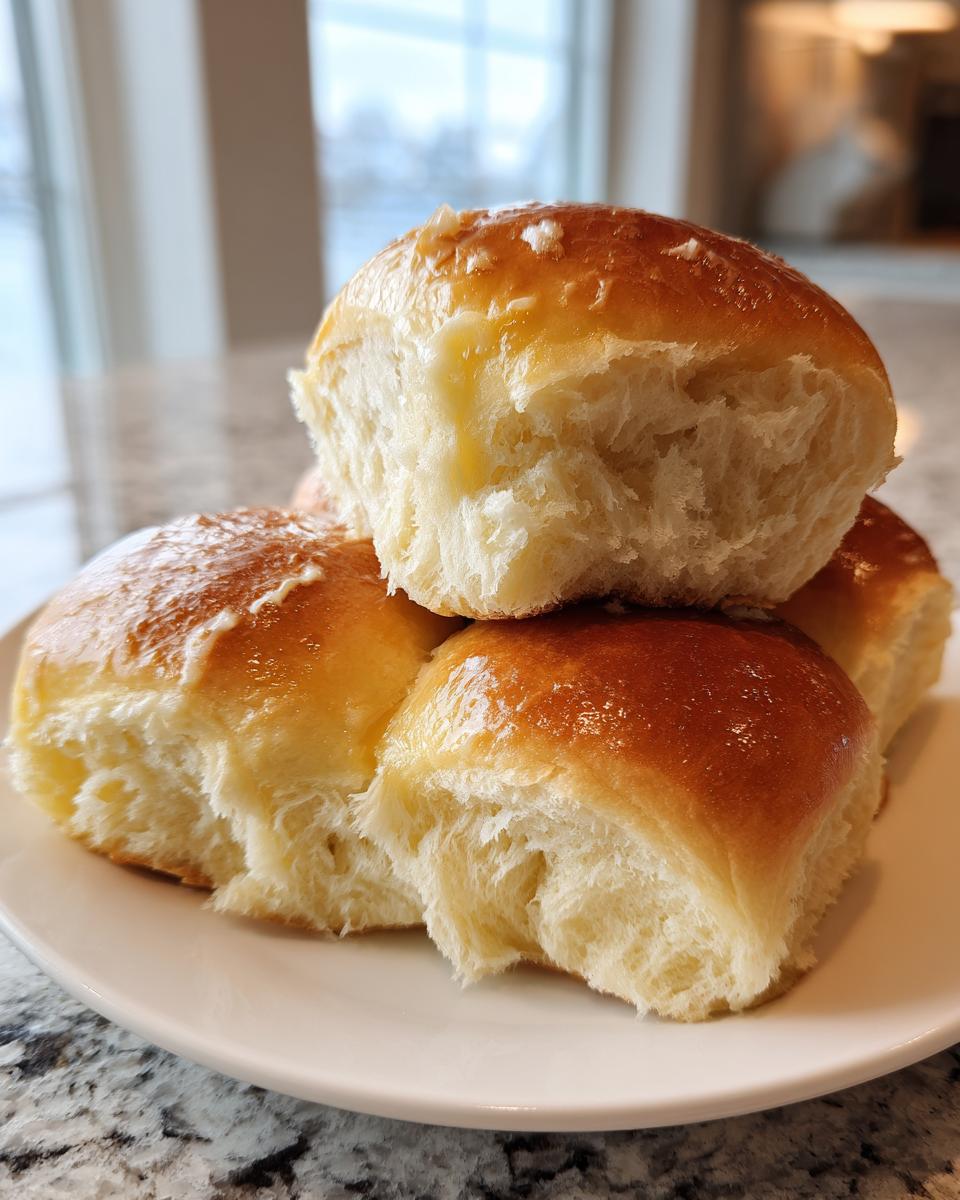
- They stick together slightly in the pan, meaning gloriously soft sides that melt in your mouth. Check out how soft these get!
Achieving That Fluffy Homemade Bread Texture
The secret to that airy cell structure in our Fluffy Homemade Bread isn’t luck; it’s gluten development! When we knead this dough for a solid 6 to 8 minutes, we are building strong, elastic protein chains. These chains trap the carbon dioxide released by the yeast during both rises. That’s the science! If you don’t knead enough, the gas escapes, and you end up with a dense brick instead of a cloud.
Ingredients for Ultimate Soft and Fluffy Dinner Rolls Recipe
Okay, let’s talk about what goes into making these phenomenal dinner rolls. The quality of what you use matters a ton here, especially when building that tender crumb! You’ll be surprised how simple the list is. Before you get started, make sure your milk is the right warmth—about 110°F—and that egg is sitting out for a bit so it’s room temperature. Gather everything you see here for the best results. This recipe is worth it!
Component Checklist for Buttery Yeast Rolls
- 1 cup warm milk (and I mean 110°F, that’s crucial!)
- 2 1/4 teaspoons active dry yeast
- 1/4 cup granulated sugar
- 1 large egg, room temperature, please!
- 1/4 cup unsalted butter, melted (this goes *in* the dough)
- 1 teaspoon salt
- 3 1/2 cups all-purpose flour, plus I always keep some extra for dusting the counter
- 1/2 cup (that’s one full stick!) unsalted butter, melted, reserved strictly for brushing the tops when they come out hot. That’s where the real buttery magic happens.
Step-by-Step Instructions for Perfect Dinner Rolls
Alright, buckle up! This is where the alchemy happens—turning a sticky mess into gorgeous, pillowy clouds. Follow these steps exactly, especially around the rising times, and you’ll have the best homemade rolls on the block. Trust me, understanding the ‘why’ behind the yeast helps, but mostly, it’s about the richness of the butter and the care you put into the kneading. These classic yeast rolls are so far beyond store-bought that you’ll never look back! If you need to see them in action before diving in, check out this easy homemade dinner rolls video guide.
Activating Yeast and Mixing the Dough for Dinner Rolls
First things first, we wake up the yeast! Pour your warm milk (remember, 110°F, like a warm bath) into a big bowl and sprinkle the yeast on top. Wait about five minutes until it gets nice and foamy—that foam tells you your yeast is alive and ready to work its magic. Once it’s active, swirl in the sugar, that room-temp egg, the melted butter (the first 1/4 cup!), and the salt. Then, start slowly adding the flour until you just can’t mix comfortably anymore. Don’t dump it all in at once! This careful mixing is one of the little secrets to reliable results.
Kneading and the First Rise for Perfectly Risen Rolls
Now comes the fun part: kneading! Dump that shaggy dough onto a lightly floured surface. You need to knead this for a solid 6 to 8 minutes. Don’t stop early! You are looking for a dough that feels smooth, bounces back when you poke it, and stretches cleanly without tearing too easily—that means your gluten is perfectly developed for those Perfectly Risen Rolls. Once it feels right, place it in an oiled bowl, turning it so it’s coated, cover it up tight, and let it hang out in a warm spot for 1 to 1.5 hours until it’s doubled. We need that big first rise!
Shaping and the Second Rise Before Baking Your Dinner Rolls
When the dough has grown beautifully, gently punch it down—that releases the gas so we can shape things up for the final bake. Divide that dough into exactly 12 equal pieces. Roll each piece tightly into a smooth little ball. I like to put them into a greased 9×13 pan, making sure they have about an inch of space between them. They need room to snuggle up! Cover them again and let them puff up while they enjoy their second rise for about 30 to 45 minutes. They should look puffy and soft before they ever go near the oven.
Baking and the Signature Buttery Finish for Your Dinner Rolls
Now that those little dough balls are puffy and ready to go—literally hugging each other in the pan—it’s time for the magic moment in the oven! Preheat your oven to 375°F (190°C). We’re looking for a nice, quick bake so they don’t dry out on us. Pop the pan in for about 15 to 18 minutes. You want them visibly golden brown on top, not pale.
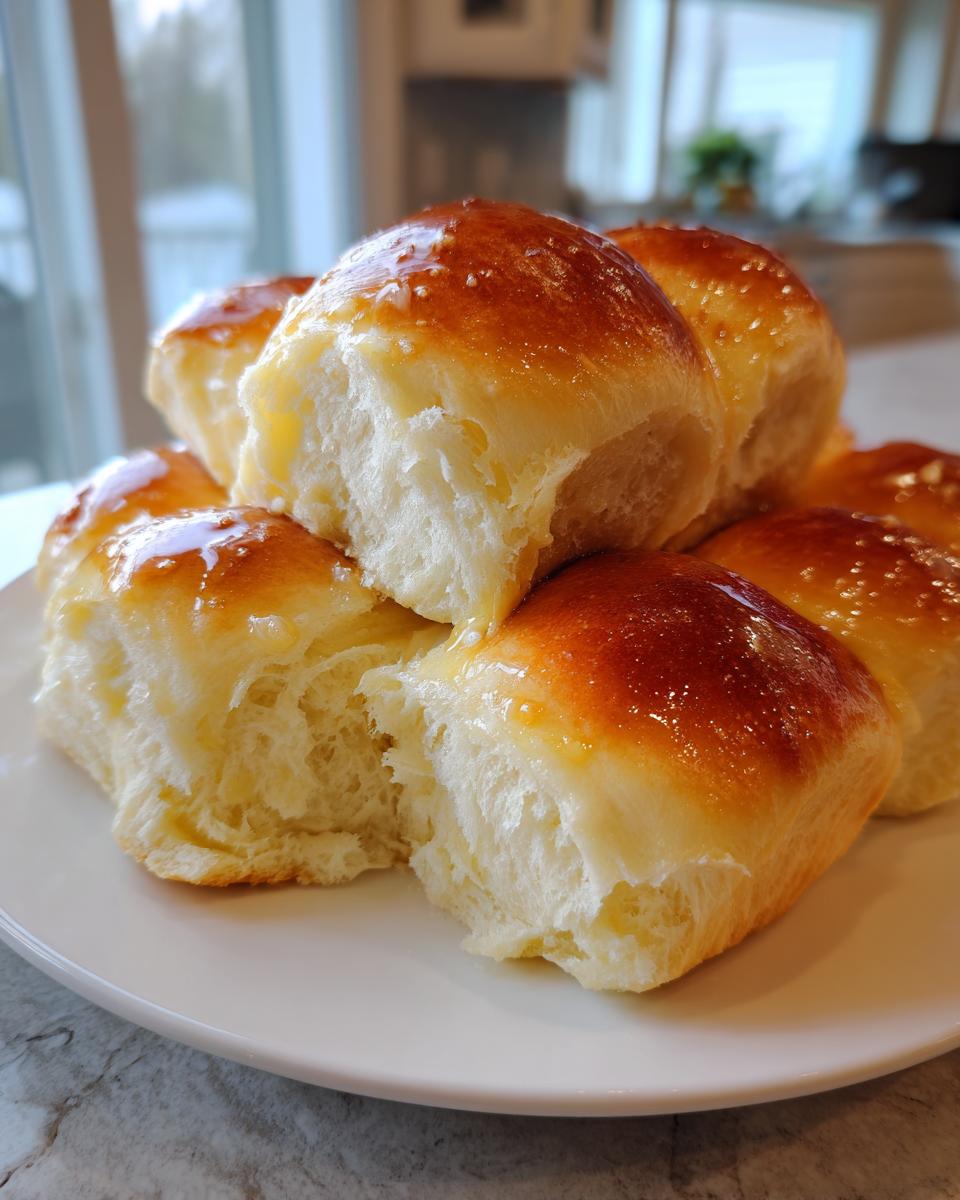
Here is the part where we lock in the moist, bakery-quality flavor: As soon as you pull those hot dinner rolls out of the oven, you need to work fast. Grab that reserved half-cup of melted butter and brush it generously all over the tops—don’t be shy! The heat from the rolls will soak up that butter instantly, making them shiny, tender, and incredibly rich. Seriously, this final brushing is what separates a good roll from the absolute best homemade rolls you’ve ever tried. See the full recipe for how I butter them up right here!
Variations: Making Texas Roadhouse Style Rolls Copycat
Okay, I know what some of you are thinking—you want those yeast rolls that taste like they came right out of that famous steakhouse! They have that slight sweetness and that signature coating, right? Well, don’t you worry, because we can absolutely morph our beautiful, soft dinner rolls into a fantastic copycat version in about two seconds flat!
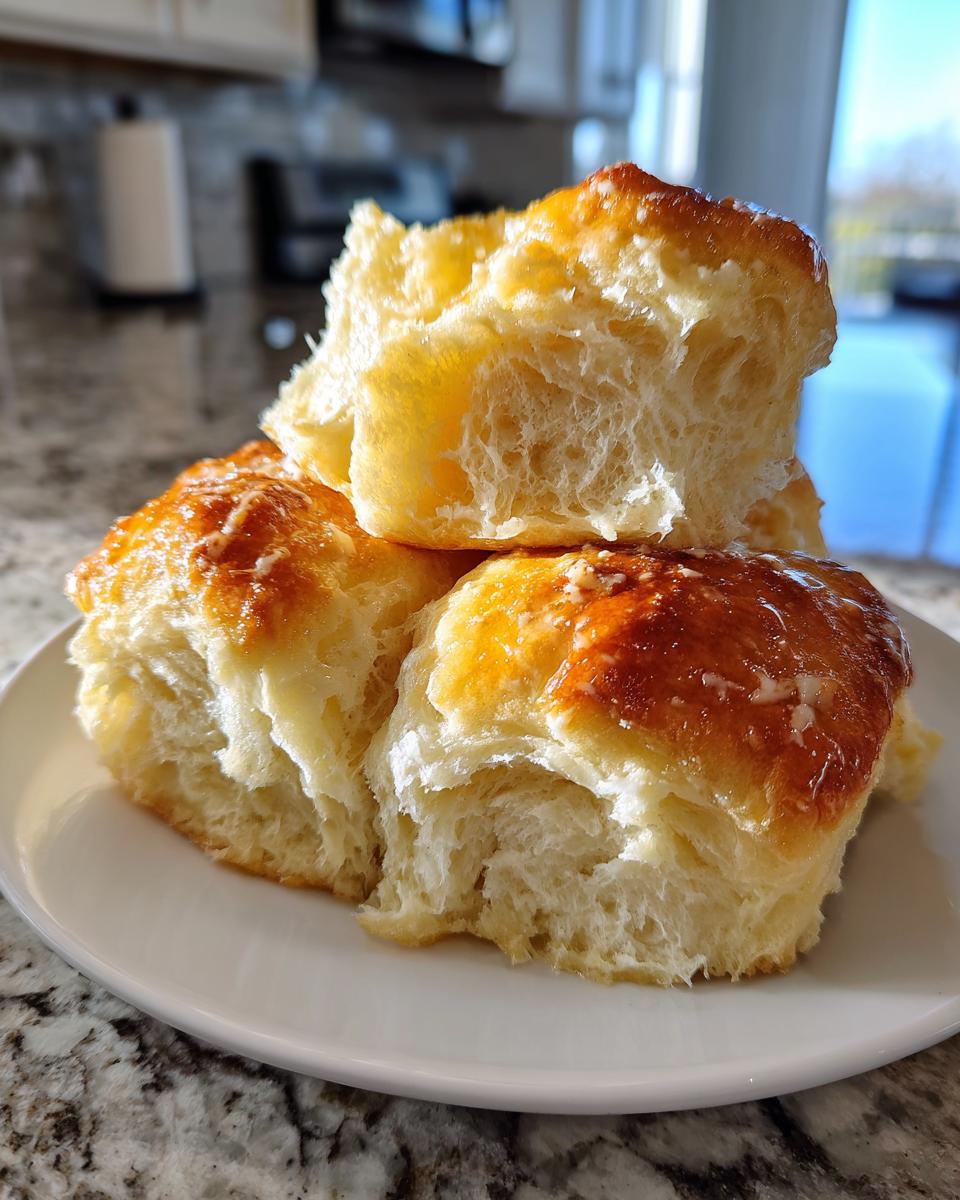
Instead of just brushing them with plain melted butter in that last step, we are going to jazz up that topping a little bit. This variation really hits that secondary search intent perfectly. For the Texas Roadhouse Style Rolls Copycat finish, combine 2 tablespoons of powdered sugar with just about 1/2 teaspoon of ground cinnamon. Whisk that together so there are no lumps.
Right after you pull the rolls out of the oven, brush them with whatever melted butter you have ready. Then, immediately dust them lightly with that cinnamon-sugar mixture! The heat melts it just enough to create that glossy, sweet little coating. It makes these rolls taste totally different but still keeps that incredible soft interior. Check out this amazing finish! If you want to skip the cinnamon, you can still get a sweet version like those found over here.
Tips for Success with Your From Scratch Bread
Baking From Scratch Bread, especially these delicate rolls, sometimes needs a little extra science backing it up to ensure that classic fluffiness. I’ve learned over the years that small details make all the difference between good rolls and the best rolls! Think of these as my professional tweaks to guarantee this Easy Dinner Roll Recipe works every single time you pull out your stand mixer.
First off, let’s go back to temperature. I cannot stress this enough: your milk must be warm (110°F), and your egg needs to be room temperature. Cold ingredients basically tell the yeast to take a nap, and we want them wide awake and bubbly! If your kitchen is chilly—say, winter baking—find a warm spot for rising, like inside an oven that’s turned OFF with the light on. That gentle warmth encourages a fast, even rise.
Also, when you punch the dough down after the first rise, be gentle! We put all that wonderful air in there; we don’t want to destroy it all at once. Just a gentle press is enough to deflate it before you divide and shape. If you handle them roughly, the final rolls will be tighter. For more handling tips like these, this guide on irresistible dinner rolls is actually fantastic for technique!
Make Ahead Dinner Rolls and Storage Instructions
I know, they’re so good you want to eat them all right now, but sometimes you need a plan! The beauty of these classic dinner rolls is that they are amazing for making ahead, which makes serving them for a big holiday or a busy Weeknight Bread Recipe so much less stressful. You don’t have to do all that rising time the day you serve them!
For true Make Ahead Dinner Rolls, complete all the steps right up until the second rise. Shape the balls and place them snugly in your greased 9×13 pan. Cover the whole pan tightly with plastic wrap—I sometimes use a second layer of foil over the wrap just to be safe—and pop the whole thing into the fridge. They can chill happily in there for up to 24 hours. When you’re ready to bake, take them out and let them sit on the counter for about an hour to warm up a bit before baking as normal. You might need an extra 5 minutes in the oven since they start colder —check my guide for the perfect temperature!

If you have leftovers (which is rare in my house!), store them in an airtight container. To bring back that fresh-out-of-the-oven fluffiness, just pop them on a baking sheet for just 5 minutes at 350°F. That quick blast of dry heat re-activates the interior steam, and BAM—they are soft again!
Frequently Asked Questions About Soft Dinner Rolls Recipe
I totally get it; sometimes you need a quick answer before you even start mixing! Baking yeast dough always brings up a few fun questions, especially when you’re aiming for that perfect soft texture. Here are the things I get asked the most about making these soft dinner rolls recipe champions!
Can I use bread flour instead of all-purpose flour?
Oh yes, you absolutely can! Bread flour has a higher protein content, which means you’ll develop even stronger gluten networks. This will result in rolls that are *slightly* chewier, maybe closer to what you get at a fantastic high-end bakery. If you use bread flour, you might even need to add just a tiny splash more milk, as the bread flour will absorb more liquid. It’s a great swap if you like a bit more structure in your fluffy homemade bread!
What happens if I skip the second rise?
Don’t skip it! Seriously! That second rise is non-negotiable if you want that pillow-soft texture. The first rise builds flavor and strength; the second rise is pure aeration. If you skip it, your easy dinner roll recipe will bake up much smaller, denser, and frankly, they’ll taste more like biscuits than fluffy yeast rolls. It’s worth the extra 30–45 minutes of waiting, I promise!
How can I make these rolls sweeter, like a sweet dinner rolls version?
That’s easy, and it ties right into the Texas Roadhouse variation we discussed! You can easily lean into the sweetness by increasing the sugar in the dough by about 1 tablespoon. But honestly, the best way to sweeten them is through the brushing process. Make sure you use that optional cinnamon-sugar topping, or even melt a splash of honey into your final butter brush. Sweetness really comes through when it’s sitting right on top of that soft outer crust. Need more quick baking ideas? Check out these 30-minute fluffy dinner rolls for speed tips!
Can I use instant yeast instead of active dry yeast?
You certainly can, but you need to adjust your technique slightly! Instant yeast is more forgiving. If you use instant yeast, you don’t have to proof it first in the warm milk. Just mix the yeast directly in with the flour and sugar, and then proceed with adding the wet ingredients. The final rise times might even be slightly shorter as well, which is great for a quick dinner rolls day!
Nutritional Estimates for These Buttery Yeast Rolls
Now, I want to be super clear: because I’m a recipe developer, not a nutritionist, these numbers are just my best professional guess based on standard USDA data for the ingredients listed. These values are calculated based on this recipe yielding 12 rolls. If you use extra butter or make them bigger, the numbers change! Enjoy the taste of these incredible Buttery Yeast Rolls, but use this data as a guide. Check out these quick rolls for comparison!
- Serving Size: 1 roll
- Calories: 220
- Fat: 9g
- Carbohydrates: 32g
- Protein: 5g
- Sugar: 5g
- Sodium: 240mg
The Ultimate Soft and Fluffy Homemade Dinner Rolls (Classic Buttery Recipe)

Bake incredibly soft, fluffy, and buttery yeast rolls from scratch. This reliable recipe delivers bakery-style comfort food perfect for holiday meals or weeknight dinners, tasting far better than store-bought options.
- Prep Time: 25 min
- Cook Time: 18 min
- Total Time: 148 min
- Yield: 12 rolls 1x
- Category: Side Dish
- Method: Baking
- Cuisine: American
- Diet: Vegetarian
Ingredients
- 1 cup warm milk (about 110°F)
- 2 1/4 teaspoons active dry yeast
- 1/4 cup granulated sugar
- 1 large egg, room temperature
- 1/4 cup unsalted butter, melted
- 1 teaspoon salt
- 3 1/2 cups all-purpose flour, plus more for dusting
- 1/2 cup (1 stick) unsalted butter, melted, for brushing
Instructions
- Combine the warm milk and yeast in a large bowl. Let it sit for 5 minutes until foamy. This activates the yeast.
- Stir the sugar, egg, 1/4 cup melted butter, and salt into the yeast mixture.
- Gradually add the flour, mixing until a shaggy dough forms.
- Turn the dough out onto a lightly floured surface. Knead for 6 to 8 minutes until the dough is smooth and elastic.
- Place the dough in a lightly oiled bowl, turning to coat. Cover the bowl with plastic wrap or a clean towel. Let the dough rise in a warm place for 1 to 1.5 hours, or until doubled in size. This is the first rise.
- Gently punch down the risen dough. Divide it into 12 equal pieces. Roll each piece into a smooth ball.
- Arrange the dough balls in a greased 9×13 inch baking pan, leaving about 1 inch between them for spreading.
- Cover the pan loosely and let the rolls rise again in a warm spot for 30 to 45 minutes, or until they are puffy. This is the second rise.
- Preheat your oven to 375°F (190°C).
- Bake for 15 to 18 minutes, or until the tops are golden brown.
- Immediately brush the tops of the hot rolls generously with the remaining 1/2 cup of melted butter.
- Serve these soft dinner rolls warm as a perfect comfort food side dish.
Notes
- For Texas Roadhouse Style Rolls Copycat: After brushing with melted butter, immediately sprinkle the tops with a mixture of 2 tablespoons powdered sugar and 1/2 teaspoon ground cinnamon for a sweet, buttery finish.
- To make ahead: Assemble the rolls in the pan, cover tightly, and refrigerate for up to 24 hours before the second rise. Allow them to sit at room temperature for 1 hour before baking, or add 5-10 minutes to the bake time if baking directly from the fridge.
- Use room temperature ingredients, especially the milk and egg, for the best yeast activation.
Nutrition
- Serving Size: 1 roll
- Calories: 220
- Sugar: 5
- Sodium: 240
- Fat: 9
- Saturated Fat: 5
- Unsaturated Fat: 4
- Trans Fat: 0
- Carbohydrates: 32
- Fiber: 1
- Protein: 5
- Cholesterol: 30