
Do you ever just crave that magic texture from your favorite Italian restaurant? That pull-apart soft, perfectly chewy breadstick that seems impossible to replicate at home? Trust me, I get it! That’s exactly why we focused years of testing into this recipe. Here at Alchemy Chef, our whole philosophy is about unlocking fantastic flavors without any complicated nonsense. We took the challenge to heart and formulated what I truly believe is the ultimate soft & chewy Olive Garden Copycat breadsticks recipe. We’re talking about rich, buttery, restaurant-style breadsticks made right here. Forget dry, crumbly attempts; these are the real deal, fresh from your own oven!
- Why Our Olive Garden Copycat Breadsticks Recipe Works (Experience & Trust)
- Gathering Ingredients for Homemade Breadsticks Recipe
- How to Prepare Easy Breadsticks: Step-by-Step Instructions
- Ingredient Notes and Substitutions for Chewy Breadsticks
- Tips for Success with Restaurant Style Breadsticks
- Serving Suggestions for Your Garlic Breadsticks Recipe
- Storage and Reheating Instructions for Homemade Breadsticks
- Frequently Asked Questions About Making Breadsticks
- Estimated Nutritional Data for These Breadsticks
Why Our Olive Garden Copycat Breadsticks Recipe Works (Experience & Trust)
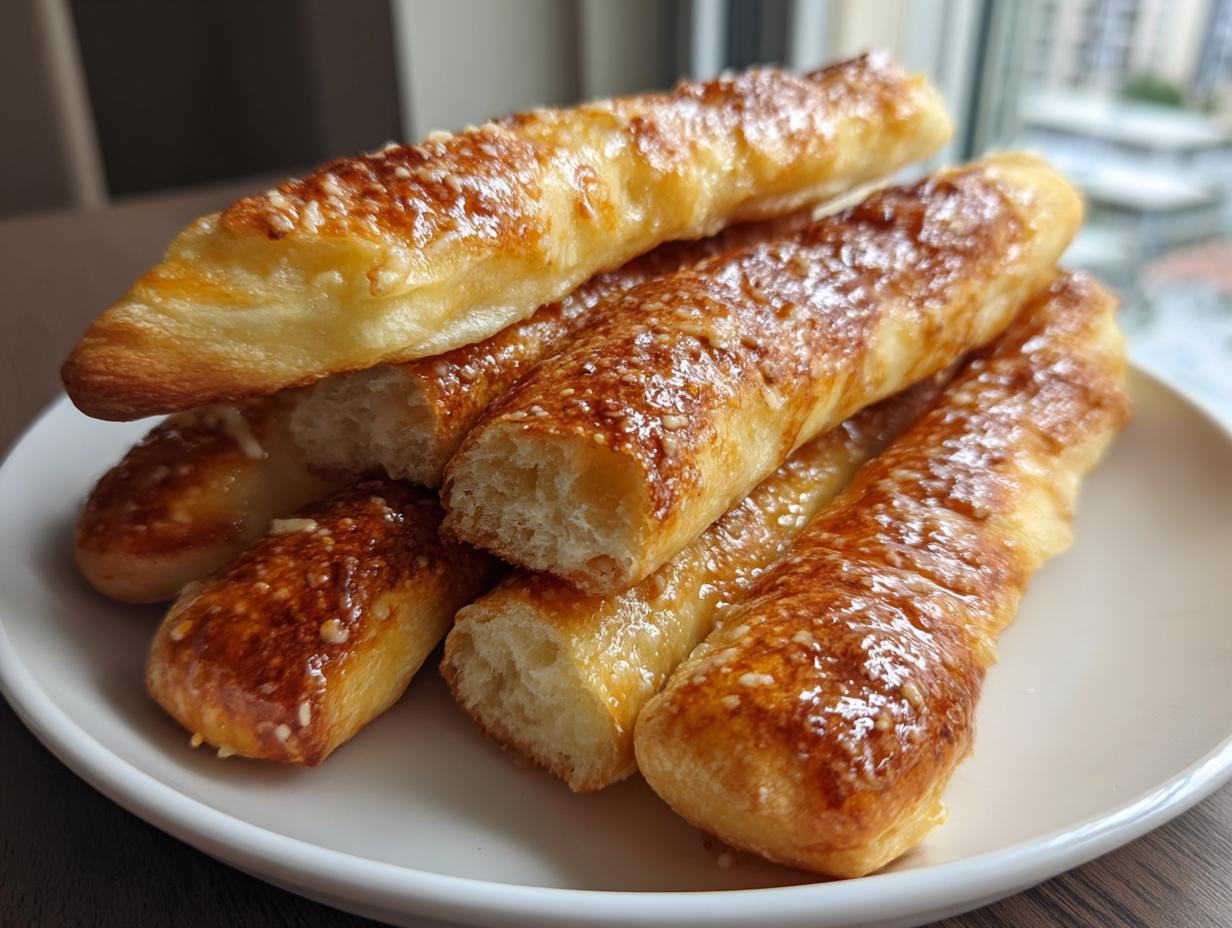
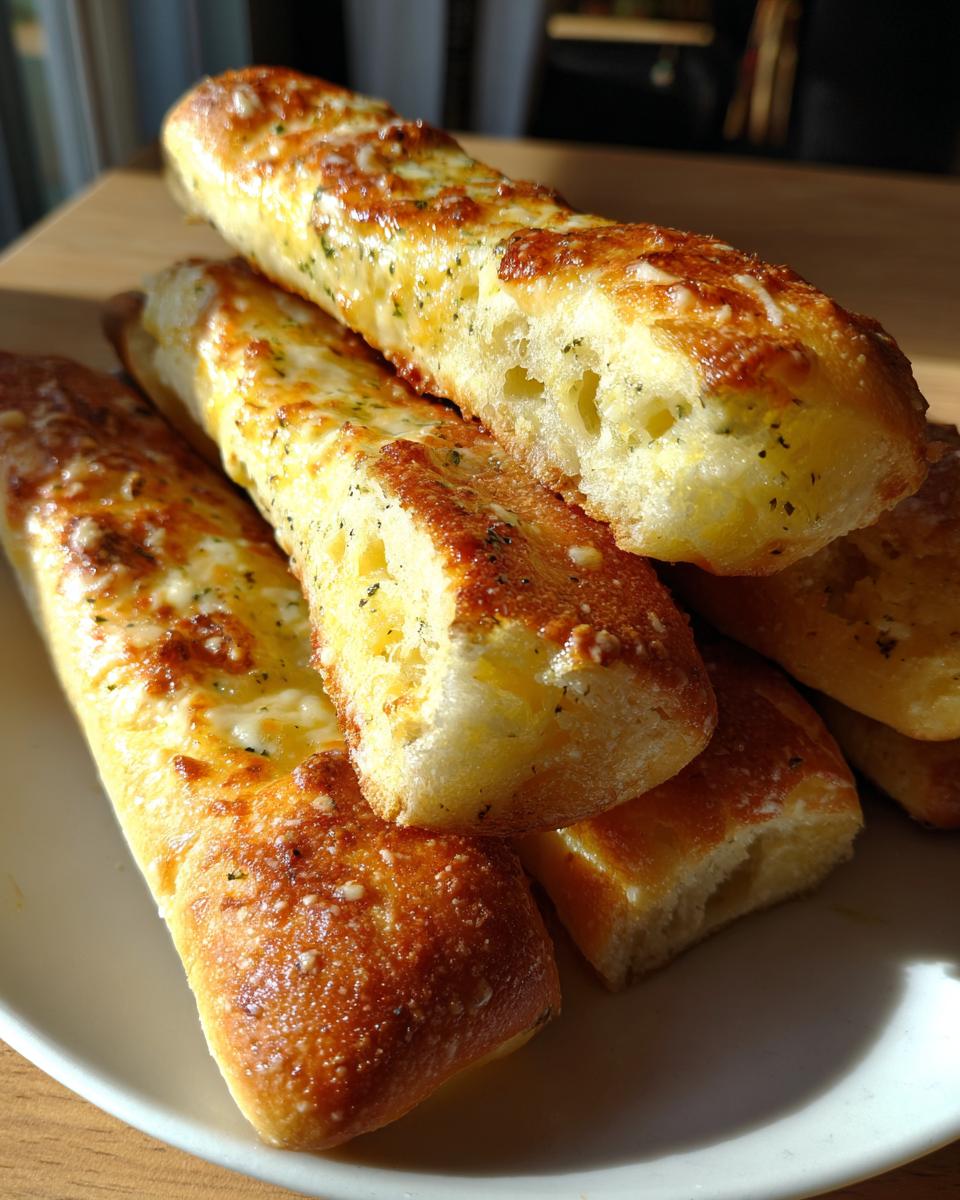
When you’re hunting for that perfect restaurant-style breadsticks experience, it’s not luck; it’s science! My time as a professional recipe developer taught me that texture is everything, and that’s why these are the best soft breadsticks you’ll ever make. We aren’t just throwing ingredients together. This formula is built on precise hydration and handling, guaranteeing that authentic chewiness without any tough spots. I’ve tested everything from slow rises to quick methods, and this process nails that signature pillowy center every single time. If you want to know the secret behind making bread that rivals the best spots, you have to start with the dough structure! Look at the amazing texture over here—it speaks for itself! These results are what happens when science meets comfort food.
Achieving the Perfect Soft Breadsticks Texture
The biggest pitfall people hit with homemade dough is under-kneading or using water that’s too hot. You absolutely need that lukewarm water—right around 110°F—to wake up the active dry yeast properly. This initial warmth kicks off the yeast to start feeding and producing just the right gasses. Then, don’t skimp on the kneading! Kneading builds the strong gluten network needed for those gorgeous, chewy strands rather than a crumbly mess. When you knead until the dough is smooth and elastic, you are essentially trapping steam inside, which keeps these chewy breadsticks beautifully soft even after they cool down a bit.
Gathering Ingredients for Homemade Breadsticks Recipe
Okay, listen up, because ingredient quality is where the alchemy really starts! You can’t fake that restaurant magic with second-rate stuff. We need specific things to get the perfect rise and the tangiest flavor. You’ll notice I list quantities precisely because tiny changes here affect the final chewiness of your breadsticks. I’ve put the full list below, but promise me you’ll pay close attention to the yeast activation—that’s step one! Getting the warmth of the water just right is non-negotiable for a successful dough. If you want to see another fantastic breakdown of ingredient needs, check out these helpful tips from Lily.
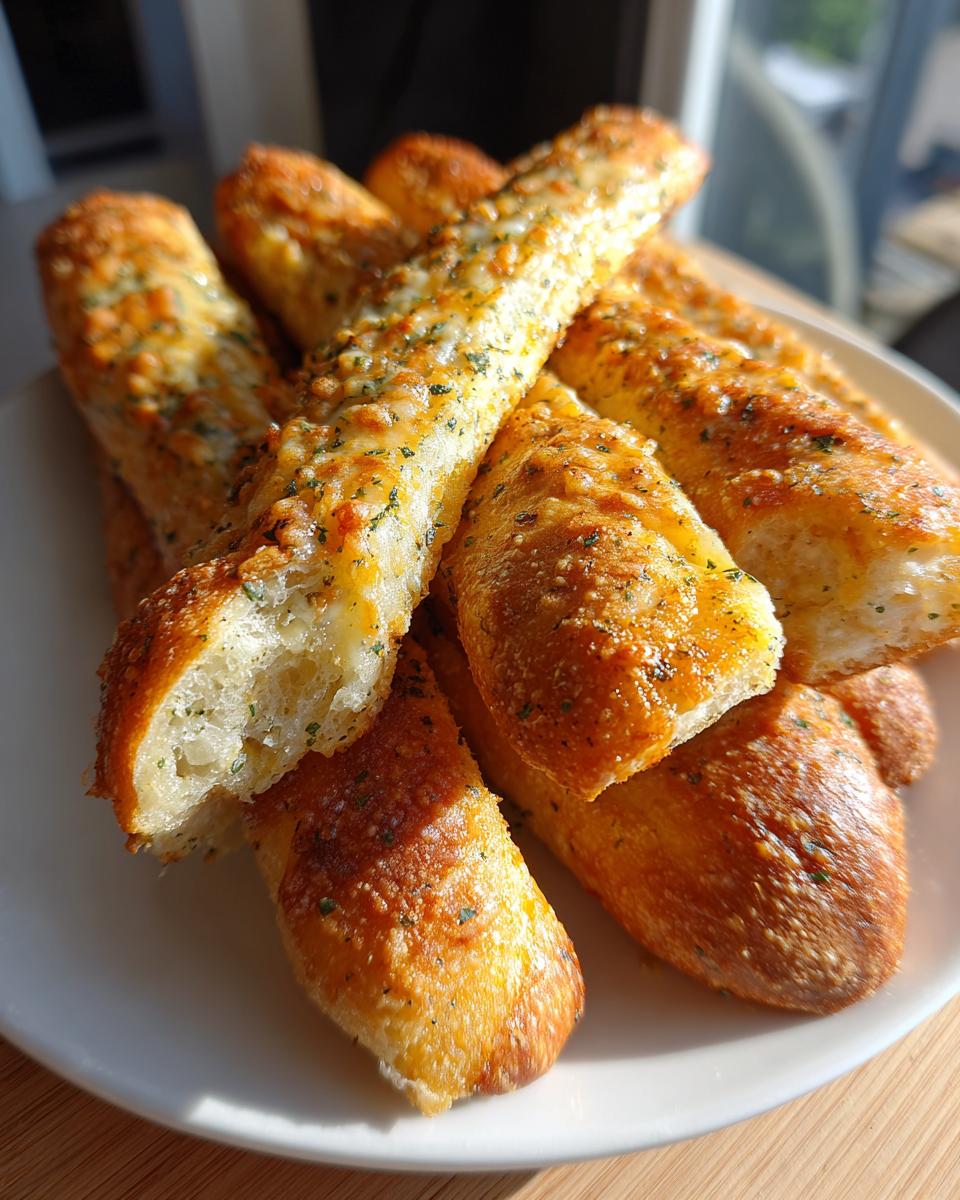
For the Buttery Garlic Parmesan Breadsticks Topping
Now, let’s talk about what makes these things absolutely addictive: the topping! This is where we layer in that incredible salty, garlicky punch that everyone craves. You need real unsalted butter that melts beautifully, obviously. But the real flavor bomb comes from fresh, minced garlic—don’t even think about using garlic powder for this part! We balance that potent garlic with classic Italian seasoning and, of course, finely grated Parmesan cheese. This simple but powerful mixture coats the breadsticks right out of the oven, capturing all that savory goodness in every bite. This topping is the reason people constantly ask for my Garlic Parmesan Breadsticks recipe!
How to Prepare Easy Breadsticks: Step-by-Step Instructions
Alright, this is where we put everything together! Making this dough is actually super straightforward, which is why I love calling it an easy breadsticks recipe, even though it involves a rise time. We need everything to happen in sequence for the best result. Before you even grab your measuring cups, though, make sure you preheat that oven to 400°F (200°C). Trust me, you don’t want to be scrambling when the dough is ready to go! If you want a great comparison for timing your steps, check out this guide to making homemade breadsticks.
Making and Rising the Homemade Dough Recipe
First things first, we need to wake up the yeast! Mix that warm water, yeast, and sugar together in a big bowl. If your water is too cold, nothing happens; too hot, and you kill the little guys—we want foamy, happy yeast in about five to ten minutes. Once it’s foamy, you start dumping in the dry stuff: most of the flour, the salt, and that oil. Mix it until it looks messy, and then turn it out onto your counter. This is where you knead it—about five to seven solid minutes—until it feels smooth and elastic. It should still be soft, but it won’t stick all over your hands anymore. Then, cover it up and let it hang out until it doubles in size, which usually takes about an hour to an hour and a half. This long rest is what makes them so pillowy! It’s the key difference in making a great quick bread recipe.
Shaping and Baking Your Breadsticks
Once your dough has had its nap, punch it down gently. I like to line two big baking sheets with parchment paper—it saves me scrubbing later! Divide that dough in half. Roll each half until it’s about a half-inch thick, kind of like a thick rectangle. Use a sharp knife or a bench scraper to cut those rectangles into strips, aiming for about 1 inch wide. Don’t worry if they aren’t perfectly uniform; that’s part of the homemade charm! Pop them onto the sheets, leaving a little space between them so they can breathe, and bake them for about 10 to 12 minutes. Keep an eye on them; you want light gold, not deep brown!
Applying the Final Garlic Butter Topping
The second they come out of the oven—literally, as soon as they hit the counter—it’s time for the magic melting action. Whisk together your melted butter, minced garlic, seasonings, and that beautiful grated Parmesan cheese. You need to brush this glorious mixture over every single hot breadstick immediately. That heat sucks the butter right in, coating every fiber and locking in that amazing flavor. This is the final step that makes them truly buttery breadsticks! Seriously, don’t wait, or the tops get crusty and the flavor won’t sink in as nicely. This recipe timeline shows exactly when the topping application is timed for best results!
Ingredient Notes and Substitutions for Chewy Breadsticks
Part of my job developing recipes is making sure you don’t panic if you’re missing one tiny thing. We’re aiming for consistency, so while sticking to the recipe helps create those perfectly chewy breadsticks, happy substitutions are definitely possible! For instance, if you’re out of vegetable oil, canola oil works just fine—they are both neutral fats excellent for adding tenderness without flavor interference. Now, if you were hoping to make these faster, you *could* try instant yeast, but you’d need to skip the blooming step and probably reduce your kneading time slightly, although I can’t promise the exact same pillowy texture without that full rise.
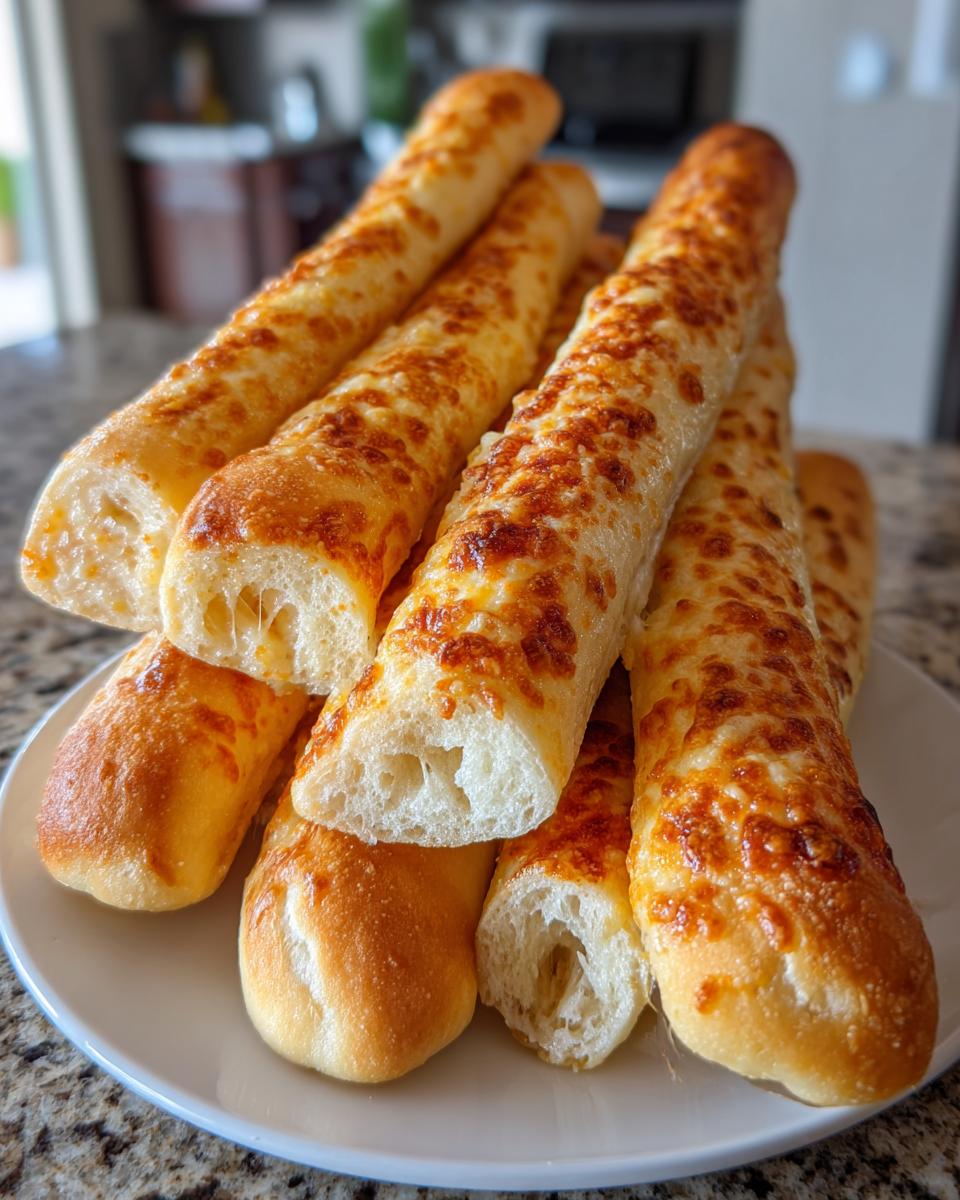
Tips for Making Mozzarella Breadsticks Variations
Since everyone seems to love that ooey-gooey factor, let’s talk about turning these into cheesy breadsticks! If you want to add mozzarella—and honestly, who wouldn’t?—the trick is timing. You want that breadstick dough mostly baked so it doesn’t steam under the cheese. During the last two minutes of baking, pull them out, sprinkle on about half a cup of shredded low-moisture mozzarella, and pop them back in until it’s perfectly melted and starting to brown just a little. Then, you brush that garlic butter over the melted cheese! The cheese might slightly bake into the butter, but trust me, it’s worth it. Check out how they handle cheese when bread is baked with less water over here for more ideas on varying dough hydration.
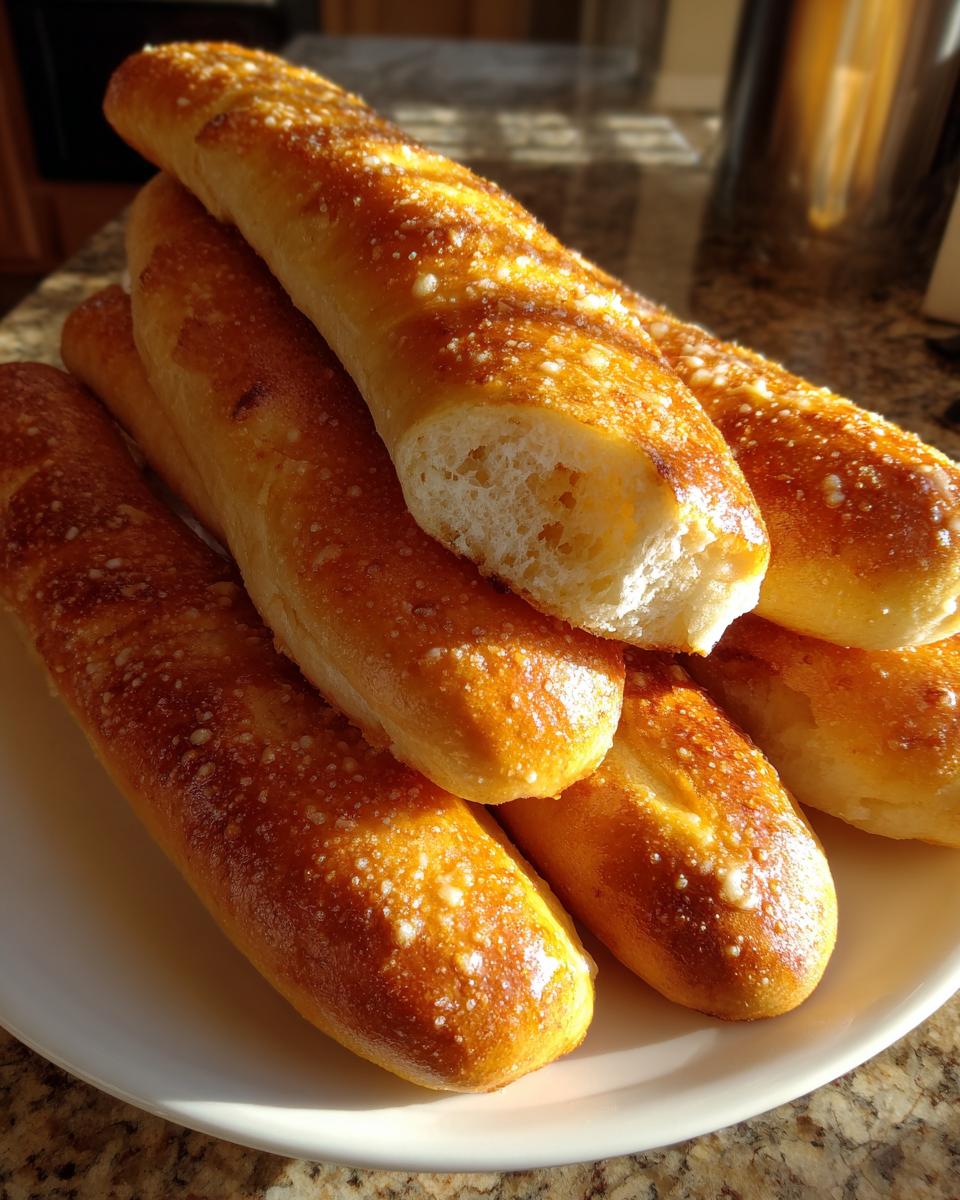
Tips for Success with Restaurant Style Breadsticks
Even though this recipe is designed to be foolproof, I’ve learned over the years that a couple of small habits separate a good batch from truly exceptional restaurant style breadsticks. I want you to avoid the mistakes I made early in my career! Baking bread is tactile, and you have to learn to feel what’s happening, not just rely on a timer.
Here are the three things I swear by now to guarantee that soft, chewy perfection:
- Don’t Over-Flour the Rolling Surface: This is my biggest historical mistake! When I was first testing bread recipes, I used way too much flour when rolling out the dough strips. This dries out the exterior of the breadstick, resulting in a tough, almost cracker-like crust instead of that delicate outer layer you want. Use just enough flour to keep it from sticking during the initial kneading, but keep your rolling surface nearly bare otherwise. It’s critical for getting that lovely, soft texture that defines great chewy breadsticks.
- Brush That Butter Immediately: I mentioned it before, but if you step away for even five minutes after they come out of the oven, the heat dissipates too much. The garlic butter needs that intense residual heat to melt, absorb, and essentially steam the exterior slightly, which locks in softness. If you’re distracted, you get flavor *on* the bread, not *in* the bread. I learned this the hard way when I paused to answer the phone during a big testing day, and the second batch turned out noticeably drier! Find a buddy to help brush if you need to focus on pulling them from the oven.
- Use Fresh Yeast, Every Time: This dough relies heavily on a vigorous rise to achieve that lofty, soft structure. If your yeast is more than six months old, or if you store it near the stove where it gets warm, you risk weak activation. You want vigorous foam when you bloom it! If you see just a few weak bubbles, toss it and open a fresh packet. A powerful rise equals that pillowy interior texture that makes these an amazing appetizer bread. For more on keeping your bread-making fresh, check out these fantastic tips from The Recipe Rebel! They have a great photo guide for checking yeast health.
Follow these small checks, and you’ll consistently nail that restaurant quality right at home!
Serving Suggestions for Your Garlic Breadsticks Recipe
Honestly, once these come out of the oven dripping with garlic butter, they disappear fast—they are completely addictive all on their own! But if you manage to hold some back (or make a double batch like you totally should!), they truly shine as a fantastic dinner side dish bread. They are the natural companion for any saucy Italian dish you can imagine. We always serve ours alongside big bowls of baked ziti or creamy fettuccine alfredo—perfect for soaking up every last bit of sauce on your plate. They aren’t just for pasta, though!
If you’re serving soup—think hearty minestrone or a simple tomato bisque—these make the absolute best dipping sticks. Forget boring crackers; you want something substantial to dunk! And speaking of dipping, if you made them cheesy breadsticks style, they are fantastic cut up into cubes and served with marinara sauce as a hearty appetizer bread sticks option before the main event. Since these are so flavorful already, they elevate whatever you pair them with. Need some ideas for a great dip? I found some inspiration for amazing cheese pairings over here!
Storage and Reheating Instructions for Homemade Breadsticks
One of the best things about making a massive batch of these breadsticks is that you can totally plan to have leftovers for lunch the next day! That is the beauty of a make ahead breadsticks strategy when you are busy during the week. However, the key here is *how* you store them, because nobody wants a stale breadstick, right?
These buttery beauties pretty much stay fresh for about two days if you treat them right. You need an airtight container, absolutely no exceptions! Storing them in a plastic baggie just lets them dry out faster because they aren’t truly sealed. I find that if I am making them for a party, I’ll put them in a large Ziploc bag, gently squeeze *most* of the air out, and then seal it tight. You want to avoid crushing them, of course, but eliminating air contact slows down staling significantly. If you are curious about storage that works for baked goods sold commercially, check out the packaging tips they share in this shop!
Restoring Softness: The Reheating Secret
If you notice they have firmed up even slightly on day two, don’t even think about microwaving them; that’s the fastest path to rubbery disappointment! The microwave heats the water molecules too aggressively, and they turn tough fast. We need gentle, dry heat to bring back that initial soft, steamy texture.
Here’s my absolute favorite way to revive them: pop them quickly into a toaster oven or a regular oven set to about 300°F (150°C) for just about five minutes. If you want that little burst of fresh flavor back, you can melt a tiny bit more butter—maybe a tablespoon—and whisk in a pinch of garlic powder right before you brush it over the warm sticks as they come out. That five-minute burst of heat relaxes the crumb again, and they taste almost as fresh as when they first came out of the oven. That little extra brush of warm butter seals the deal and makes them irresistible again!
Frequently Asked Questions About Making Breadsticks
I know you might still have a few burning questions! When you’re taking the plunge to make homemade breadsticks, wanting clarity is totally normal. After all, we are aiming for that perfect soft texture! Here are the top things people ask me when they’re tackling this recipe for the first time, especially if they are trying to nail that quick turnaround time for an impromptu dinner.
Can I use instant yeast instead of active dry yeast?
Oh, yes, you absolutely can! That’s a great way to streamline the steps if you’re looking for even easier breadsticks. Active dry yeast requires that initial blooming step in warm water to prove it’s alive, which takes about ten minutes. If you use instant yeast, you can skip that whole warming period! Just mix the instant yeast directly in with your dry ingredients—the flour and salt—and then add the warm water. You’ll notice the dough might come together a little faster, but you might need to slightly reduce your kneading time since the yeast is already ready to go. It’s a little shortcut, but you still get that fantastic rise needed for soft breadsticks.
How can I make these breadsticks faster than the total time listed?
I totally get the rush! That full rise time (an hour or more) is what creates the fluffiest texture, but sometimes you just need those garlic breadsticks *now*. To speed things up, you can use a slightly warmer water temperature—like 120°F instead of 110°F—which coaxes the yeast to work faster. You can also put the covered bowl in a slightly warmed (and then turned off!) oven, or even near a sunny window. This can sometimes cut the rising time down to 40 minutes, but keep a very close eye on it! This method is best for when you are desperate for appetizer bread sticks right away.
Is it okay to use store-bought refrigerated pizza dough?
If your goal is speed and simplicity, using refrigerated pizza dough is definitely an option for making easy breadsticks! It skips the whole yeast-activating and kneading process, which is wonderful when time is tight. However, I have to be honest: the texture won’t be *quite* the same as this from-scratch homemade dough recipe. Store-bought dough usually has more additives to keep it shelf-stable, which can lead to a slightly denser, less fluffy result compared to our fresh batch. If you go this route, just shape, bake for 8–10 minutes at 400°F, and then, absolutely drench them in that garlic butter topping! You can find great baking advice for sheet pan versions over here.
Can I make these ahead of time?
Yes! These are surprisingly good for planning ahead, which is perfect for big dinner nights. You can mix, knead, and complete the first rise, then punch the dough down and wrap it tightly in plastic wrap. Keep it in the fridge for up to 24 hours! When you’re ready to bake, let it sit on the counter for about 30 minutes to take the chill off, then shape and bake as usual. They will bake up beautifully, maintaining their chewy breadsticks quality!
Estimated Nutritional Data for These Breadsticks
Okay, deep breaths! When you are whipping up something this delicious, it’s easy to forget that we should check in on the nutrition, even if it’s just a quick peek. Since these are such an irresistible addition to any dinner, I wanted to give you a baseline so you know what you are working with. Remember, just like my Grandma’s famous cakes, every little ingredient choice affects the final tally. If you add extra Parmesan or go heavy on the mozzarella, things will shift slightly!
The figures below are calculated based on our standard recipe yielding 20 to 24 servings, meaning the serving size listed is two of these glorious breadsticks. For exact details on how another recipe developer calculated their counts, you can see variations in this recipe breakdown.
Here is the approximate nutritional breakdown per serving (2 Breadsticks):
- Serving Size: 2 breadsticks
- Calories: 180
- Total Fat: 8g
- Saturated Fat: 4g
- Unsaturated Fat: 4g
- Trans Fat: 0g
- Cholesterol: 15mg
- Sodium: 350mg
- Total Carbohydrates: 24g
- Fiber: 1g
- Sugar: 2g
- Protein: 4g
Keep in mind these are estimates! I use standard pantry staples when calculating, so if you use a very high-fat butter substitute or a different type of flour, these numbers will fluctuate. But honestly, when they are this buttery and soft, this is a low-worry scenario. They are just too incredible to stress over a few extra calories when they are served alongside your favorite pasta!
PrintThe Ultimate Soft & Chewy Olive Garden Copycat Breadsticks with Garlic Parmesan Butter
Make soft, chewy, restaurant-style breadsticks at home. This reliable recipe replicates the famous Olive Garden breadsticks, topped with a rich garlic parmesan butter sauce.
- Prep Time: 20 min
- Cook Time: 12 min
- Total Time: 92 min
- Yield: 20-24 breadsticks 1x
- Category: Appetizer
- Method: Baking
- Cuisine: American
- Diet: Vegetarian
Ingredients
- 1 1/2 cups warm water (about 110°F)
- 2 1/4 teaspoons active dry yeast
- 2 tablespoons granulated sugar
- 4 cups all-purpose flour, plus more for dusting
- 1 teaspoon salt
- 1/4 cup vegetable oil, plus more for greasing
- 1/2 cup (1 stick) unsalted butter, melted
- 4 cloves garlic, minced
- 1 teaspoon dried Italian seasoning
- 1/2 teaspoon salt
- 1/4 cup grated Parmesan cheese
Instructions
- Activate the yeast: In a large bowl, combine the warm water, yeast, and sugar. Let this mixture stand for 5 to 10 minutes until it becomes foamy.
- Mix the dough: Add 3 1/2 cups of the flour, 1 teaspoon of salt, and 1/4 cup of vegetable oil to the yeast mixture. Mix with a wooden spoon until a shaggy dough forms.
- Knead the dough: Turn the dough out onto a lightly floured surface. Knead for 5 to 7 minutes, adding the remaining flour as needed until the dough is smooth and elastic. It should be soft but not sticky.
- First rise: Lightly grease a large bowl with oil. Place the dough in the bowl, turning to coat. Cover the bowl with plastic wrap or a clean kitchen towel. Let the dough rise in a warm place for 1 to 1.5 hours, or until it has doubled in size.
- Shape the breadsticks: Preheat your oven to 400°F (200°C). Line two large baking sheets with parchment paper. Punch down the risen dough gently. Divide the dough into two equal pieces. Roll each piece into a rectangle about 1/2 inch thick. Cut each rectangle into 10 to 12 strips, about 1 inch wide.
- Bake: Place the strips onto the prepared baking sheets, leaving a small space between them. Bake for 10 to 12 minutes, or until lightly golden brown.
- Prepare the garlic butter topping: While the breadsticks bake, combine the melted butter, minced garlic, Italian seasoning, 1/2 teaspoon salt, and Parmesan cheese in a small bowl. Whisk well.
- Brush and serve: Immediately after removing the breadsticks from the oven, brush the garlic butter mixture generously over the warm breadsticks. Serve immediately as a delicious dinner side dish or appetizer bread.
Notes
- For an extra cheesy version, sprinkle mozzarella cheese over the breadsticks during the last 2 minutes of baking before applying the garlic butter.
- If you are short on time, you can use 1 cup of warm water instead of 1 1/2 cups and reduce the rising time to 30 minutes, though the texture will be slightly less soft.
- Store leftover breadsticks in an airtight container at room temperature for up to 2 days. Reheat briefly in the oven to restore softness.
Nutrition
- Serving Size: 2 breadsticks
- Calories: 180
- Sugar: 2
- Sodium: 350
- Fat: 8
- Saturated Fat: 4
- Unsaturated Fat: 4
- Trans Fat: 0
- Carbohydrates: 24
- Fiber: 1
- Protein: 4
- Cholesterol: 15