
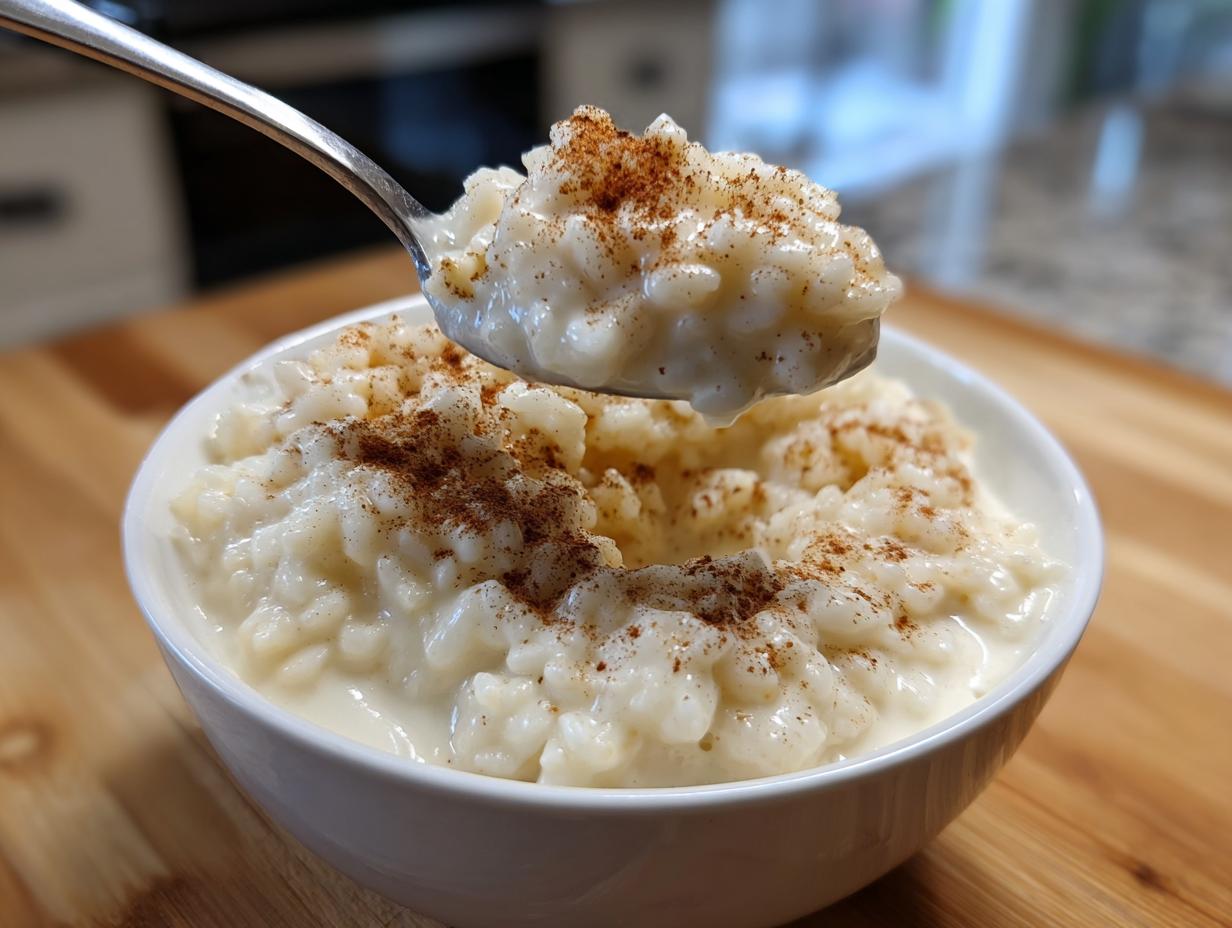
When you need something truly restorative, nothing beats that first, warm spoonful of creamy rice pudding. It’s pure comfort food magic, right? Here at Alchemy Chef, we believe that extraordinary flavor comes from simple, honest ingredients transformed—it’s everyday alchemy! That’s why I, Juliana Cruz, blend the precision I learned studying Food Science with the cherished flavors from my mother’s kitchen. I’ve spent years developing recipes that just *work*, every single time. Forget thin, watery results; this rice pudding recipe is my ultimate, foolproof, old-fashioned stovetop version that promises the richest, creamiest texture imaginable without ever having to turn on the oven.
- Why This Creamy Rice Pudding Recipe is Your New Comfort Food Dessert Staple
- Gathering Ingredients for Your Old Fashioned Rice Pudding
- Essential Equipment for the Perfect Stovetop Rice Pudding Recipe
- Step-by-Step Instructions: How to Make Creamy Rice Pudding Recipe
- Ingredient Notes and Simple 5 Ingredient Dessert Substitutions
- Serving Suggestions for Your Homemade Rice Pudding
- Storage and Reheating Instructions for Leftover Rice Pudding Recipe
- Frequently Asked Questions About This Rice Pudding Recipe
- Share Your Experience Making This Nostalgic Dessert
Why This Creamy Rice Pudding Recipe is Your New Comfort Food Dessert Staple
If you need a hug in a bowl, this is it. This stovetop method is so simple, yet it delivers results way beyond the effort involved. Seriously, it’s become my go-to easy homemade dessert whenever I need a boost. Everything about this recipe screams classic, cozy goodness. If you want foolproof results, check out my other guide on achieving smooth rice pudding textures!
- It’s done entirely on the stove—no fussy oven times!
- The result is an incredibly luscious comfort food dessert.
- It captures that perfect nostalgic taste we all crave.
Achieving the Best Rice Pudding Recipe Texture
The texture is everything, right? I call for Arborio rice because those starchy grains break down just perfectly during that slow, patient simmer. That low and slow process releases starch, naturally creating that signature velvety coating without needing heavy cream. That’s the science working for us!
Gathering Ingredients for Your Old Fashioned Rice Pudding
You know I love that ultra-creamy result, and trust me, it all starts right here with the simplest list of ingredients. There’s no fancy condensed milk or weird thickeners needed for this old fashioned rice pudding recipe! We’re keeping it pure, just like my mom taught me. You’ll want to make sure you have these essentials ready before you even turn on the burner. If you check out the process described on this great resource, you’ll see how critical quality matters here.
- 1 cup Arborio rice (don’t rinse it too aggressively!)
- 4 cups whole milk (seriously, use the whole fat kind for the best flavor!)
- 1 cup water
- 1/2 cup granulated sugar
- 1/4 teaspoon salt
- 1 teaspoon vanilla extract
- 1/2 teaspoon ground cinnamon, plus extra for that finishing dusting
- Optional: 1/2 cup raisins (if you’re adding these, soak them real quick first!)
Essential Equipment for the Perfect Stovetop Rice Pudding Recipe
Before we even think about turning on the heat, we need to make sure our tools are ready. If you try to rush the simmering part in a thin, cheap pot, you’re just asking for scorched rice stuck to the bottom. Trust me on this one—the right vessel makes all the difference when we’re coaxing out that incredible creaminess.
You don’t need a fancy electric setup or a double boiler for this homemade rice pudding. This is old-school cooking, so grab these basics:
- A large, heavy-bottomed saucepan. This is non-negotiable! The thick bottom distributes heat evenly, which is vital to prevent burning during the long simmer.
- A sturdy wooden spoon or non-scratch silicone spatula. You’ll be stirring nearly constantly toward the end, so you need something comfortable to grip that can scrape the bottom edges cleanly.
- A measuring cup set and spoons. Since this is a delicate process, accurate measurement matters, even for something as simple as salt and vanilla!
- A whisk (optional, but handy). I sometimes use a whisk just for the initial milk/rice/water part to make sure everything is evenly suspended before it starts heating up.
Seriously, if you have that great, heavy pot tucked away in your cabinet? Pull it out. It’s about to make the best milk and rice dessert you’ve ever tasted.
Step-by-Step Instructions: How to Make Creamy Rice Pudding Recipe
Okay, deep breath! This is where the magic happens, but you have to trust the process—specifically, the simmering process. For the absolute best rice pudding recipe, we’re working slow and low to coax out that starch. Get your heavy pot ready on medium heat now! You can see some great tips on timing over at Mom On Timeout; their method is similar to mine.
- First, put the rice, the four cups of whole milk, and the water right into that pot. Don’t let it sit! Bring that mixture up to a really gentle simmer. You need to stir this constantly at the start so nothing settles on the bottom and burns before we even get going.
- Once it starts doing its little bubble dance, immediately drop that heat down to low. I mean *low*. Now, you need to be patient. Continue cooking for about 45 to 60 minutes, stirring perhaps every 3 to 5 minutes. This is the key to keeping it smooth! If you decide to use those optional raisins, toss them in during the last 15 minutes of that cooking time so they plump up nicely without dissolving.
- When the rice is tender and the mix looks thick—like a slightly thin oatmeal—yank that pot off the heat! Right away, stir in your sugar, salt, and that gorgeous vanilla extract. It will look a little thin still, but trust me, it thickens up as it cools down. I always check for texture guidance when I’m not sure, like this piece on achieving perfect texture.
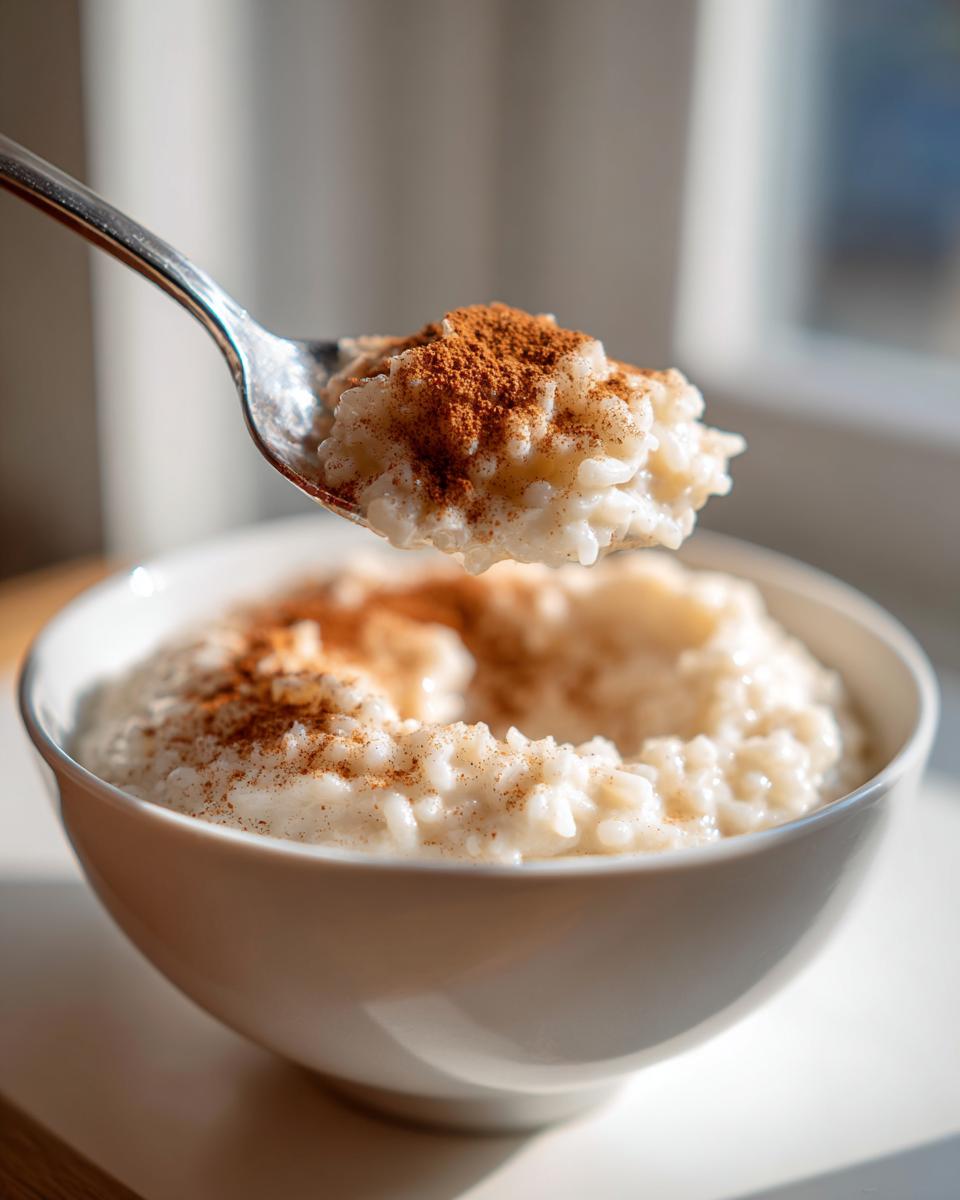
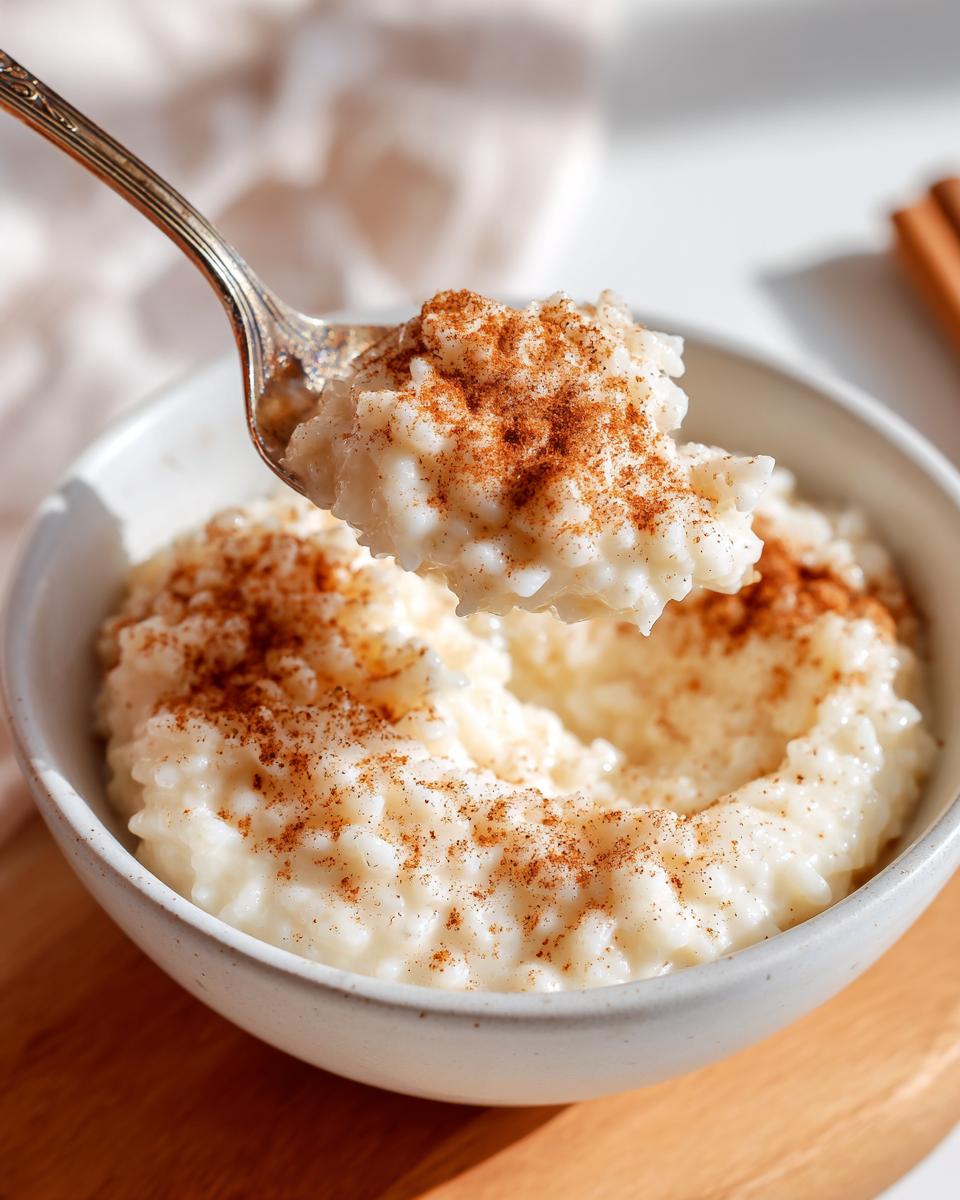
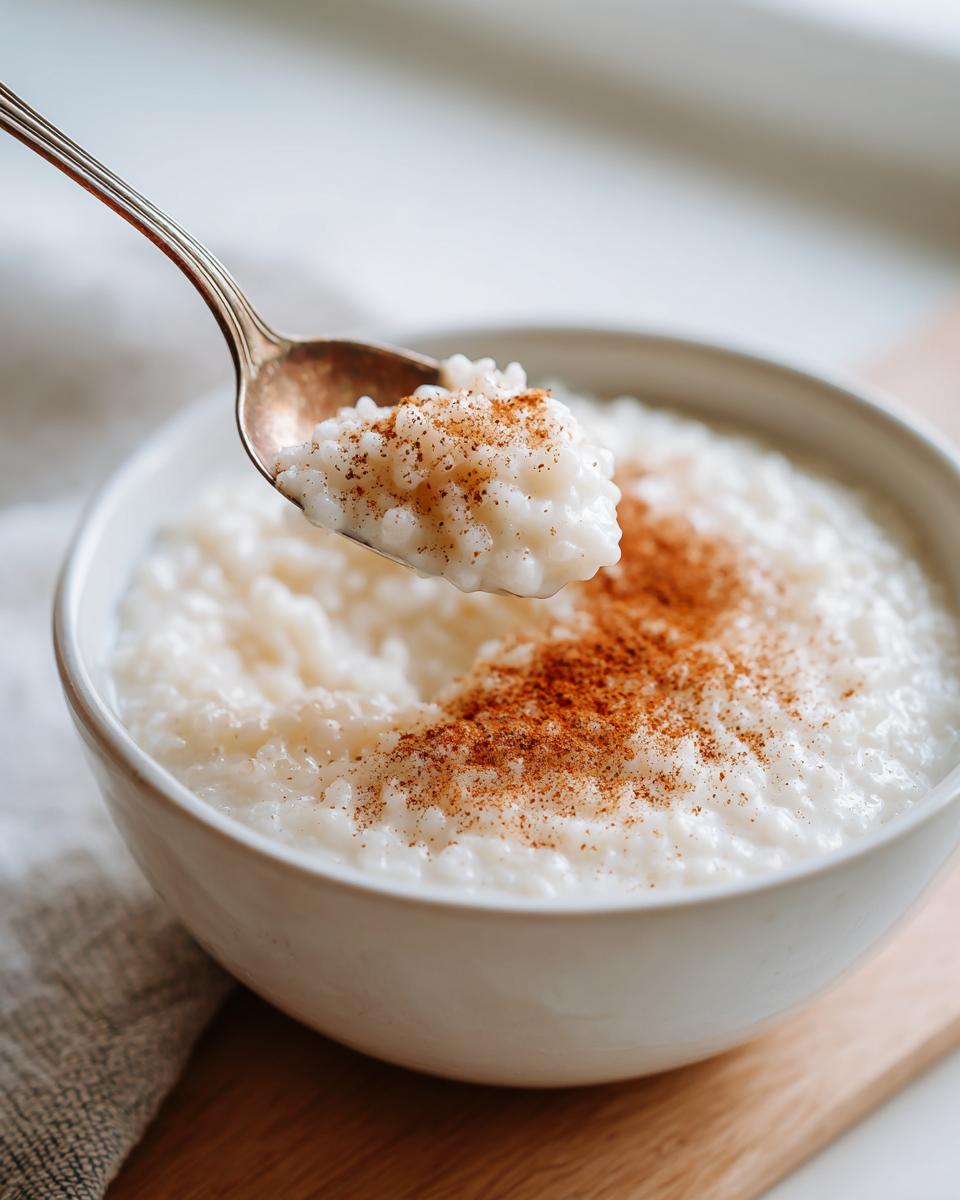
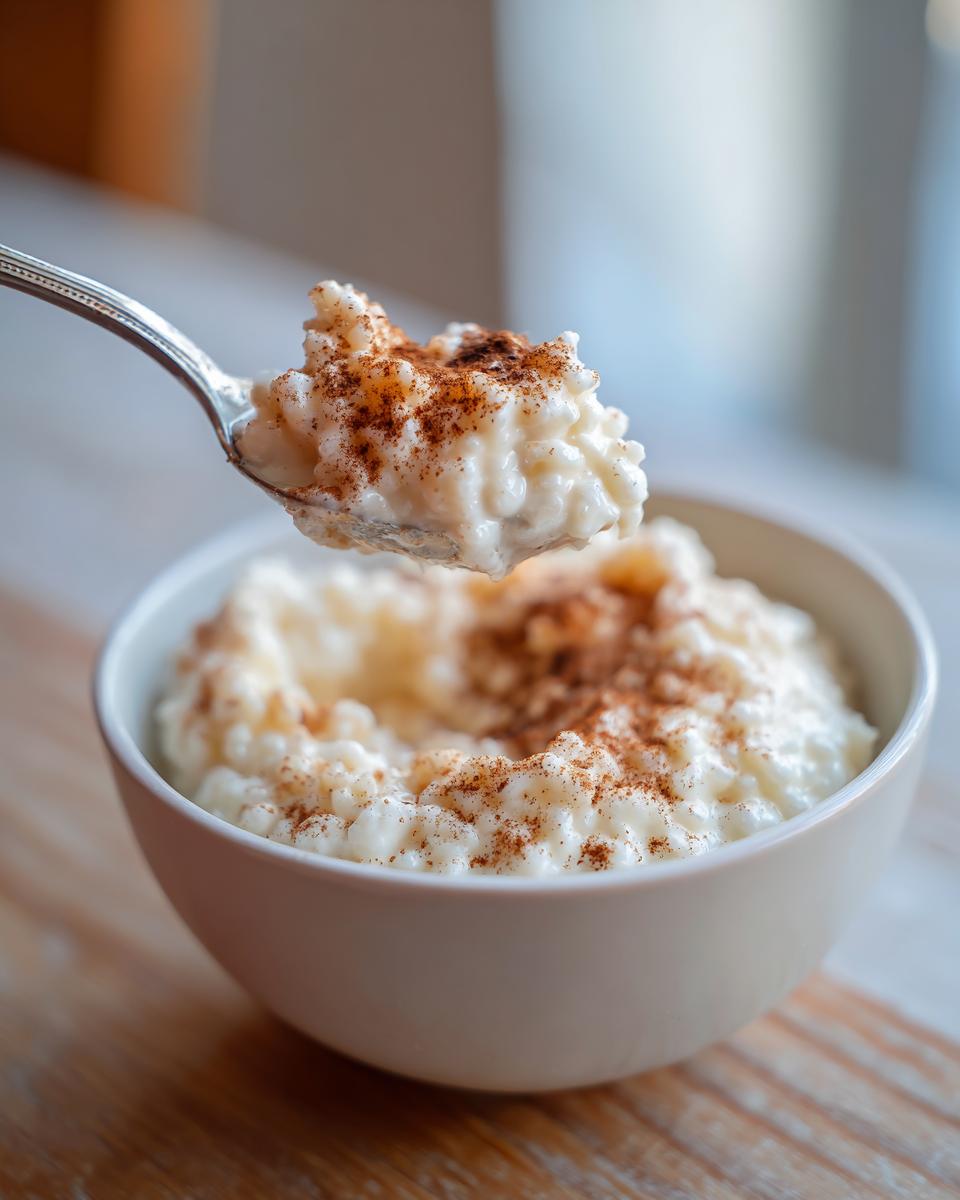
- Serve it warm, or pop it in the fridge for a couple of hours if you like it cool. Finish everything off with a generous sprinkle of extra cinnamon on top. Yum!
Tips for How to Make Creamy Rice Pudding
I learned a couple of critical tricks from my notes that ensure my stovetop pudding always turns out perfectly smooth. First, using that whole milk really pays off; the fat content helps carry the flavor and adds richness that water or low-fat milk just can’t match. Secondly, don’t panic if it sets up super thick once it’s chilled. Honestly, that’s kind of the sign of success! If you want to eat leftovers cold, you might be fine, but if you want that pourable pudding consistency again, stir in just a splash or two of extra milk while it’s warming up gently on the stove. It melts right back into perfection!
Ingredient Notes and Simple 5 Ingredient Dessert Substitutions
Now that you have your master rice pudding recipe mapped out, let’s talk about playing favorites—or, in this case, handling substitutions! While I swear by the original ingredient list for that classic, recognizable flavor, I totally get that pantries change. We want this to be easy, even if you’re missing one thing.
For the rice itself, Arborio is my ace in the hole because of its high starch content—it’s that starchy cloud that thickens everything beautifully. If you browse other resources, you might see medium-grain rice recommended, and that’s perfectly fine for a slightly different texture. Just know that Arborio gives you that rich, slow-cooked feel.
When it comes to the milk, using whole milk is the secret sauce for that luscious mouthfeel. If you absolutely have to swap—maybe you’re trying to make a slightly lighter version sometimes—you can try 2% milk, but you might need to cook it longer, and it won’t be quite as decadent. I’ve even had great luck replacing one cup of milk with evaporated milk; it really amps up the richness! Honestly, even with those small swaps, this still reads like a wonderful, satisfying simple 5 ingredient dessert when you strip it down to the core flavor builders: rice, milk, sugar, salt, and vanilla.
Serving Suggestions for Your Homemade Rice Pudding
The best part about making a big batch of this creamy dessert is deciding how you’re going to enjoy it next! This pudding is incredibly versatile. Do you want cozy warmth or refreshing cold? That’s the first choice you have to make.
When I serve it warm, it’s incredible right off the stove—just after stirring in that vanilla. It’s looser, almost like a thick custard, and it feels instantly comforting on a chilly evening. My dad, bless his Navy heart, always insisted on eating his warm like that, usually with just a generous dusting of fresh nutmeg instead of cinnamon on top. He said the nutmeg played nicer with the warm milk flavor.
If you let it chill overnight, it sets up completely, turning dense and spoon-able. That’s when I like to dress it up a little, perhaps just by swirling in a teaspoon of good quality raspberry jam—the tartness cuts through the richness perfectly. Don’t forget, you can find more great serving ideas over at Dishlyum!
If you’re feeling truly indulgent—and sometimes we deserve to be, right?—a tiny drizzle of warm honey or even a sprinkle of toasted pecans adds a lovely contrasting crunch to the soft rice. Honestly, though, even completely plain is always a winner. It’s a classic for a reason!
Storage and Reheating Instructions for Leftover Rice Pudding Recipe
Don’t you dare think you need to finish this all in one sitting! This rice pudding recipe is actually even better the next day, though you need to know how to wake it up from its chilled snooze. Rice absorbs liquid like crazy when it chills, which is why your pudding might look more like a brick in the fridge come morning. Don’t despair—we can fix that!
For storage, you need an airtight container, obviously. You can safely keep this deliciousness in the refrigerator for about four to five days, tops. I usually use glass containers because they don’t hold onto smells, but any container that seals tightly will work amazing.
Reviving Your Chilled Rice Pudding
When you’re ready to enjoy those leftovers, you absolutely must reheat them gently. Never microwave it straight from the fridge without adding liquid, or you’ll end up with hard little lumps of rice!
Here’s the trick I learned from my Food Science days: anytime you reheat rice pudding, you need to balance the moisture that wicked away overnight. Gently reheat the portion you plan to eat in a small saucepan over low heat, stirring constantly. As it warms, introduce small splashes of extra milk—a tablespoon at a time—until it smooths out again and reaches that creamy consistency you loved yesterday. Once it’s warm, it’s ready to eat!
If you’re in a hurry, the microwave works, but you *must* add that splash of milk first and heat it in short bursts (30 seconds), stirring well in between each burst. This gentle coaxing brings it right back to life, making it feel like you just made it fresh! You can find some extra tips on storing these treats over at Cooking with Rachel.
Frequently Asked Questions About This Rice Pudding Recipe
I get so many questions after people try this recipe for the first time—which is fantastic, it means you’re cooking! People often want to know about tinkering with the ingredients or wondering why their pot ended up a little thinner than expected. Since this is an old fashioned rice pudding recipe focused on the stovetop, some traditional questions pop up. Don’t worry if you need reassurance; that’s what the science background in me is here for!
Can I use short-grain rice for this rice pudding recipe?
That’s a lovely question! While I highly recommend Arborio rice because those plump grains release the perfect amount of starch for that signature ultra-creamy hug, you absolutely can use short-grain white rice. Short-grain rice tends to break down even more easily than Arborio, so you might find you need to cook it for less time, maybe stopping closer to the 45-minute mark. Keep tasting it! The key to this classic dessert recipe is stopping when the rice is perfectly tender, not mushy, but definitely yielding. If you are looking specifically for the baked version, you can find a great alternative here.
Why is my homemade rice pudding too thin?
Oh darn, the dreaded thin pudding phase! This usually happens for one of two reasons, but it’s almost always fixable. First, maybe you rushed the simmer and didn’t let enough liquid evaporate. Second, and most commonly, it’s just very hot. Once you remove it from the heat and stir in the sugar and vanilla, it looks like gravy, right? That’s exactly how it should look! It sets significantly as it cools. If, after chilling overnight, it’s still too runny for your liking—and certainly thinner than what I’d consider a true creamy rice pudding recipe—just stir in a tiny splash of extra whole milk and gently warm it on the stove for five minutes. It will smooth right out!
Is it possible to adapt this for baked rice pudding?
While this beauty is designed for the hands-free, gentle cooking of the stovetop, you can convert it! If you prefer a baked rice pudding that gets that lovely browned skin on top, simply pour the mixture into a baking dish *after* bringing it to a simmer on the stove, as per Step 2. Then, bake it at 350°F (175°C) until set and golden, usually about 45 minutes to an hour. Just keep an eye on it so it doesn’t dry out!
What makes this better than a simple 5 ingredient dessert?
That’s a fair comparison since at its core, it *is* almost a simple 5 ingredient dessert! The reason this rises above the very basic versions is the balance. We use salt to enhance the sweetness, vanilla to deepen the flavor profile, and crucially, we use rice (Arborio!) that actually *creates* the creaminess through starch release rather than just relying on sugar and fat. It’s that intentional chemistry that makes this recipe truly the best rice pudding recipe for texture.
Share Your Experience Making This Nostalgic Dessert
Now that you have the secret to this ultimate creamy stovetop pudding, I really, really want to hear about it! That’s the beautiful part of sharing recipes, isn’t it? Seeing how this cozy classic transforms in *your* kitchen is what keeps me excited about recipe development.
Did you add the optional raisins? Did you spike yours with a touch of bourbon like my mother sometimes did for grown-up gatherings? Or maybe you went full-on Kozy Shack copycat style, which you can find tips for over here!
Please take a moment to rate this nostalgic dessert below using the star counter. If you have any questions about technique, like how to avoid that thin breakfast-cereal texture you sometimes get (I linked another great classic recipe for reference!), drop a comment! I truly read every single one and I love troubleshooting flavor and texture with you all. Happy cooking, and enjoy that creamy goodness!
PrintThe Ultimate Creamy Stovetop Old-Fashioned Rice Pudding Recipe

Make this classic, comforting, creamy rice pudding recipe right on your stovetop using simple ingredients. This easy homemade dessert is flavored with vanilla and cinnamon and is perfect for cozy nights.
- Prep Time: 5 min
- Cook Time: 60 min
- Total Time: 65 min
- Yield: 4 servings 1x
- Category: Dessert
- Method: Stovetop
- Cuisine: American
- Diet: Vegetarian
Ingredients
- 1 cup Arborio rice (or medium-grain white rice)
- 4 cups whole milk
- 1 cup water
- 1/2 cup granulated sugar
- 1/4 teaspoon salt
- 1 teaspoon vanilla extract
- 1/2 teaspoon ground cinnamon, plus extra for topping
- Optional: 1/2 cup raisins
Instructions
- Combine the rice, whole milk, and water in a large, heavy-bottomed saucepan.
- Bring the mixture to a gentle simmer over medium heat, stirring frequently to prevent the rice from sticking to the bottom.
- Once simmering, reduce the heat to low. Continue to cook, stirring often (every 3 to 5 minutes), for 45 to 60 minutes. The pudding is done when the rice is tender and the mixture has thickened to your desired consistency. If using raisins, add them during the last 15 minutes of cooking.
- Remove the saucepan from the heat. Stir in the granulated sugar, salt, and vanilla extract until fully combined. The pudding will thicken more as it cools.
- Serve the rice pudding warm, or chill it in the refrigerator for at least 2 hours for a cold dessert.
- When serving, sprinkle the top with extra ground cinnamon.
Notes
- For the creamiest texture, use whole milk and stir consistently during the low simmer phase.
- If the pudding becomes too thick upon cooling, stir in a splash of extra milk to reach your preferred consistency.
- This recipe makes a wonderful nostalgic dessert that tastes great warm or chilled.
Nutrition
- Serving Size: 1 serving
- Calories: 350
- Sugar: 25g
- Sodium: 150mg
- Fat: 8g
- Saturated Fat: 4g
- Unsaturated Fat: 4g
- Trans Fat: 0g
- Carbohydrates: 60g
- Fiber: 1g
- Protein: 10g
- Cholesterol: 25mg