

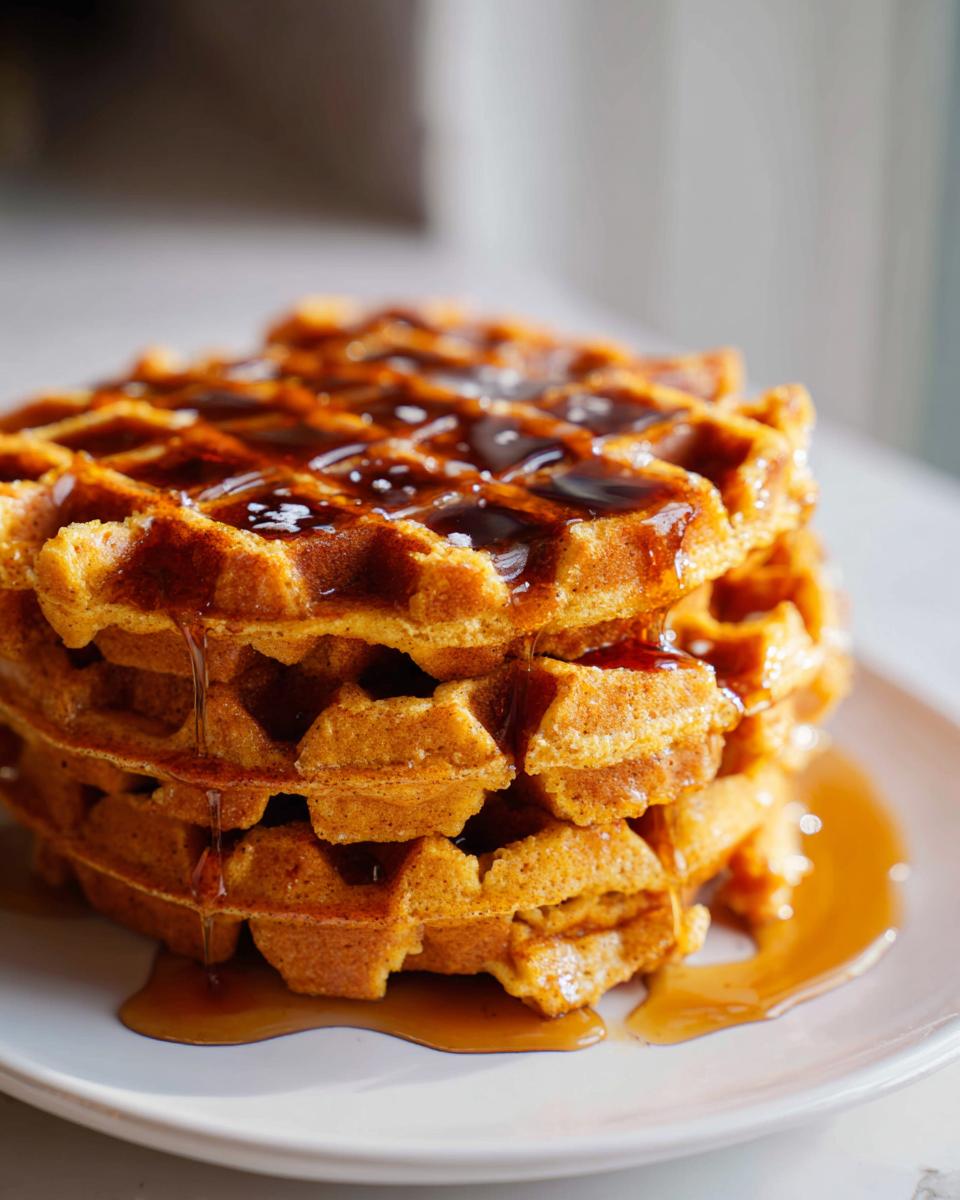
When that first crisp breeze whispers through the air, you know it’s time to trade in light summer breakfasts for something truly cozy. For me, that means transforming the kitchen into a haven of warm spices—and there’s no cozier star than the perfect pumpkin waffle. I’m Juliana Cruz, and having studied Food Science and worked for years developing reliable recipes, I can promise you this isn’t just another waffle recipe. We’re making the absolute fluffiest pumpkin waffles imaginable, perfectly paired with a creamy Brown Butter Maple Syrup topping that will change your brunch game forever. Trust me, this technique ensures you get that fantastic crispy outside and pillowy soft inside every single time.
- Why These Are the Best Pumpkin Waffles You Will Make
- Gathering Ingredients for Fluffy Pumpkin Waffles
- Step-by-Step Instructions for Perfect Pumpkin Waffles
- Tips for Making the Most Reliable Pumpkin Waffles
- Variations on Classic Pumpkin Waffles
- How to Store and Reheat Leftover Pumpkin Waffles
- Storing and Reheating Homemade Pumpkin Waffles
- Frequently Asked Questions About Pumpkin Waffles
- Share Your Pumpkin Waffles Creations
Why These Are the Best Pumpkin Waffles You Will Make
I spent so much time testing my waffle iron settings and ratios to nail this texture. Seriously, who wants a soggy waffle? Nobody! My goal with these pumpkin waffles was achieving that crackly, golden exterior that practically sings when you cut into it, giving way to an incredibly light and fluffy interior. That’s the secret to all the best pumpkin waffles out there.
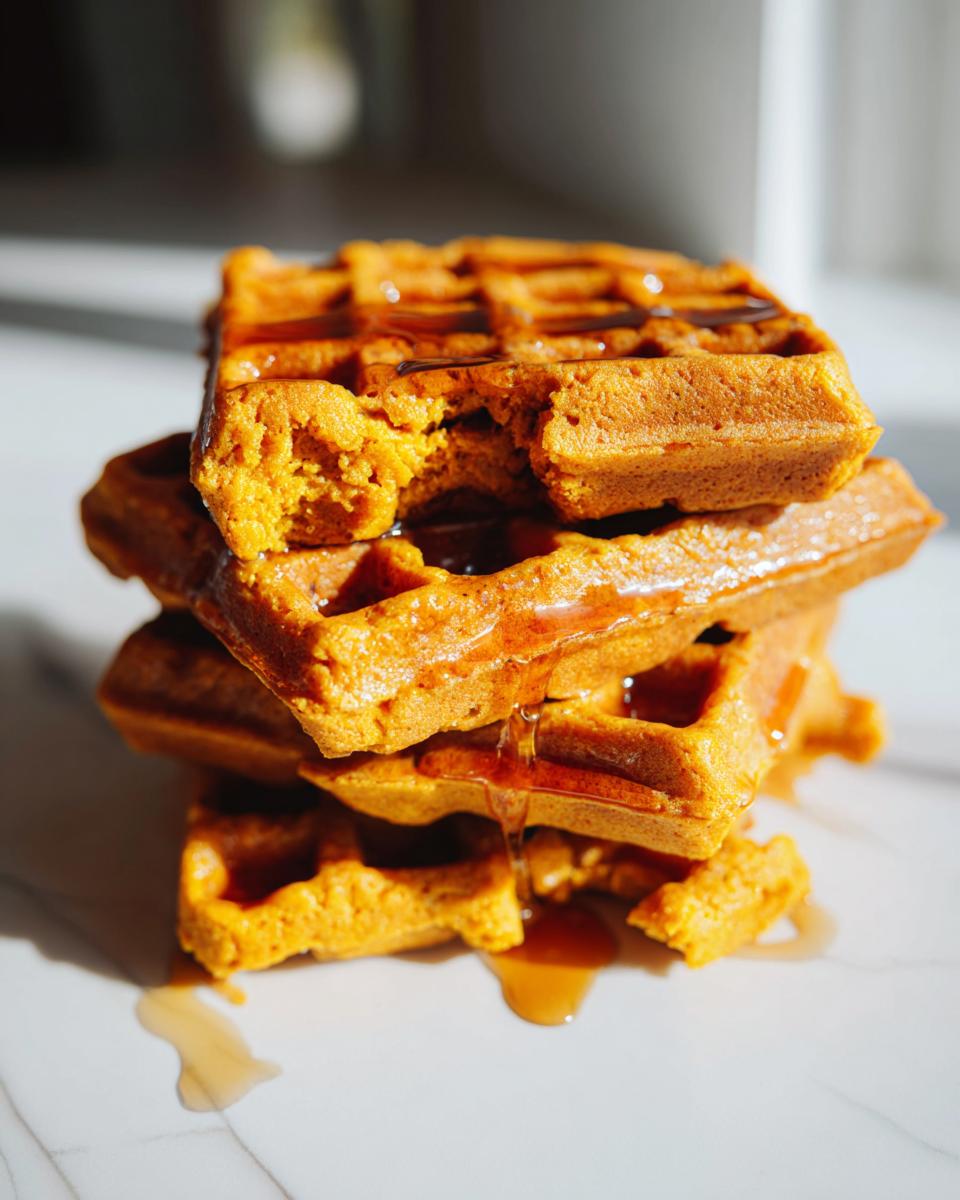
It’s all about the spice blend, too. We aren’t messing around with weak flavor here; we’re hitting that classic cinnamon and nutmeg profile perfectly. If you want true crispy outside fluffy inside waffles that taste like a holiday morning even in October, this is the tested recipe you need. Don’t just take my word for it; these are the ones that I always send home with my family after a big brunch. Find out why they are so popular at other home kitchens too!
Gathering Ingredients for Fluffy Pumpkin Waffles
Alright, let’s talk ingredients! Because these are homemade pumpkin waffles that really shine, we need to be precise, especially with our leavening agents. If you treat these measurements right, you are guaranteed those fluffy waffles we love. I always keep my notes handy, and I highly recommend you check your pantry now before getting started. For even more reliable fall inspirations, check out what others are making right here: seasonal breakfast ideas.
We have two main groups: the waffle batter itself and the show-stopping syrup!
For the Homemade Pumpkin Waffles
Remember, we are using pure pumpkin puree—not that sugary pie filling! That’s key for texture control.
- 1 3/4 cups all-purpose flour
- 2 teaspoons baking powder (Make sure this is fresh, it’s what makes them puff up!)
- 1 teaspoon baking soda
- 1 teaspoon ground cinnamon
- 1/2 teaspoon ground nutmeg
- 1/4 teaspoon ground cloves
- 1/4 teaspoon salt
- 1 cup pumpkin puree (not pumpkin pie filling)
- 1 cup milk
- 2 large eggs
- 1/4 cup melted unsalted butter, plus more for the waffle iron
- 1/2 cup packed light brown sugar
- 1/4 cup pure maple syrup (yes, in the batter too!)
- 1 teaspoon vanilla extract
For the Brown Butter Maple Syrup Topping
This topping is non-negotiable if you want the BEST flavor experience. Don’t skip browning the butter!
- 1/2 cup unsalted butter
- 1/2 cup pure maple syrup
Step-by-Step Instructions for Perfect Pumpkin Waffles
Okay, this is where the alchemy happens! We’re using the two-bowl method, which professional bakers swear by, and I promise it keeps everything tidy. Getting this right means you avoid that dense, gummy texture nobody wants in their pumpkin waffles. Before you even think about mixing, get that waffle iron warmed up. You are aiming for *hot*!
Step 1: Prep and Warm Up! Prepare your waffle iron according to whatever your machine likes to do, and make sure you grease those plates really well. For these to get that perfect crisp, the iron needs to be truly screaming hot before the batter hits it. You can find some great general timing tips for different makers over at this great resource.
Mixing the Dry and Wet Components for Pumpkin Waffles
First bowl, the dry stuff: whisk together the flour, baking powder, baking soda (don’t forget the soda!), salt, and all those lovely spices—cinnamon, nutmeg, cloves. Whisk it really well so everything is evenly spaced! In your second bowl, whisk together the pumpkin puree, milk, eggs, melted butter, brown sugar, vanilla, and that extra splash of maple syrup. Now, pour the wet ingredients right into the dry. And here’s the crucial part that separates the good waffles from the *great* ones: whisk gently only until they are *just* combined. I mean it—a few specks of flour peeking through are totally fine! Overmixing kills the fluffiness.
Cooking Your Crispy Outside Fluffy Inside Waffles
Ladle your batter onto the hot iron. Seriously, don’t crowd it; let your iron tell you when it’s full enough. Now, watch the magic happen. Depending on your machine, these usually take about 4 to 6 minutes. You want them deeply golden brown, not pale yellow. If you pull them too early, you lose that crispy outside we are working so hard for! When they release easily, they are done.
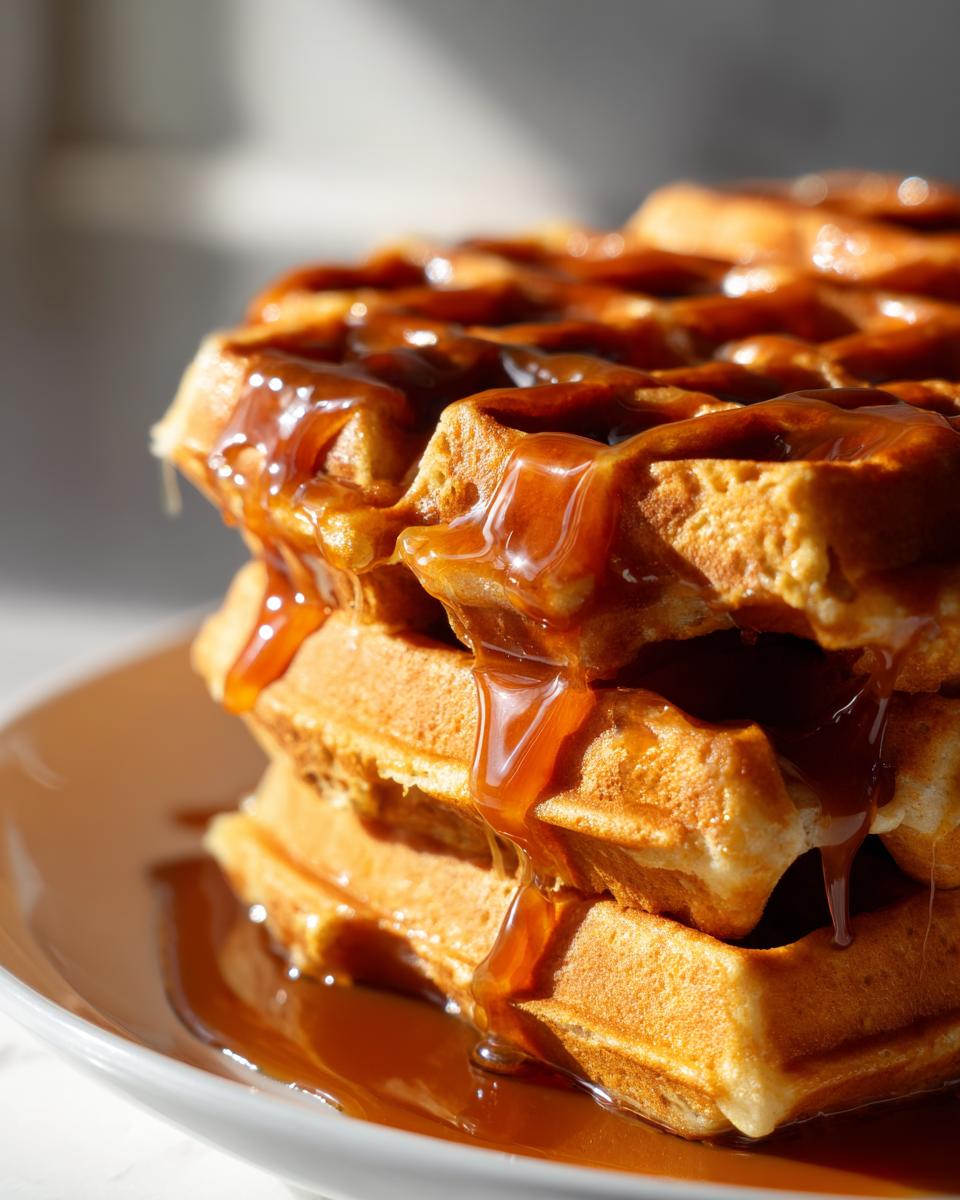
Creating the Brown Butter Maple Syrup Topping
While those babies are cooking, let’s make that incredible brown butter topping. Melt that half-cup of butter in a small saucepan over medium heat. Keep stirring and swirling! You’ll see it foam up, then the foam quiets down, and tiny brown flecks form at the bottom. When it smells wonderfully nutty—like toffee—pull it off the heat instantly! Whisk in the other half-cup of maple syrup right away. That hot butter helps the syrup emulsify beautifully. Drizzle this over your warm, glorious pumpkin waffles.
Tips for Making the Most Reliable Pumpkin Waffles
Even with the best recipe, a few expert nudges ensure these pumpkin waffles turn out absolutely perfect every time. My biggest tip, which I learned doing recipe development professionally, is ingredient management. Make sure your milk isn’t ice cold straight from the fridge and that your butter is just melted, not scorching hot, before you add it to the wet ingredients. This small adjustment keeps the batter happy!
But honestly, the most crucial step for getting that coveted crisp exterior is temperature control. You need a searing hot waffle iron. If you have an older one, you might need to grease it a little bit between batches. Don’t be tempted to pour the batter in before it’s fully up to temp; that’s how you end up with soft, steamed waffles instead of easy waffle recipe winners. Keep an eye on the indicator light. For more ways to make your pumpkin spice waffles shine, check out these tips from other home cooks!
And just to repeat myself because it’s that important: Lumps are good! Squish them out, and you’ve ruined the structure. When you’re mixing, stop right when the flour disappears. That slightly lumpy batter is exactly what gives you the light interior that everyone raves about. If you’re looking for other reliable breakfast recipes, these experts have you covered too!
Variations on Classic Pumpkin Waffles
While I really hope you try this recipe exactly as written first—because the **pumpkin spice waffles** are perfect—I know my fellow cooks love to tweak things! If you want to make these even more decadent for a special weekend brunch, feel free to fold in about a half-cup of mini chocolate chips right at the very end of mixing. Don’t stir them much!
Also, toasted pecans or walnuts add the best crunch. If you are feeling adventurous with your spice mix, maybe add just a tiny pinch more clove for a deeper flavor note, almost like a cinnamon nutmeg breakfast profile but bolder. For all the best inspiration on making your meal special, check out this amazing recipe post about their version with brown butter syrup!
How to Store and Reheat Leftover Pumpkin Waffles
Nobody wants day-old soggy waffles, right? That would defeat the whole purpose of making these perfect homemade pumpkin waffles in the first place! If you actually manage to have any left over—which I highly doubt—storing them is super simple.
Let them cool completely first, then stack them in a single layer separated by sheets of wax or parchment paper inside an airtight container. You’ll want to store them in the fridge for up to three days.
But here’s the real secret for crispiness later: the freezer! Pop them in the freezer for a lightning-fast, easy breakfast recipe later on. When you are ready to eat them, skip the microwave! Reheat them directly in your toaster or a hot oven for just a few minutes. That heat brings back that beautiful golden crispiness we worked so hard for! See more cozy meal ideas like these over at this favorite spot.
Storing and Reheating Homemade Pumpkin Waffles
Nobody wants day-old soggy waffles, right? That would defeat the whole purpose of making these perfect homemade pumpkin waffles in the first place! If you actually manage to have any left over—which I highly doubt—storing them is super simple.
Let them cool completely first, then stack them in a single layer separated by sheets of wax or parchment paper inside an airtight container. You’ll want to store them in the fridge for up to three days.
But here’s the real secret for crispiness later: the freezer! Pop them in the freezer for a lightning-fast, easy breakfast recipe later on. When you are ready to eat them, skip the microwave! Reheat them directly in your toaster or a hot oven for just a few minutes. That heat brings back that beautiful golden crispiness we worked so hard for! See more cozy meal ideas like these over at this favorite spot.
Frequently Asked Questions About Pumpkin Waffles
I get so many emails asking about little adjustments, and that’s fantastic! It means you’re getting ready to make these amazing pumpkin waffles right now. From texture troubles to spice preferences, I’ve gathered the most common questions I get from folks planning their perfect fall breakfast recipes.
We absolutely want you to succeed here, whether this is your first time using a waffle maker or you’re prepping these for a big holiday brunch. Keep reading for the quick answers to make sure your brunch ideas turn out perfectly golden! For more weekend inspiration, check out these gorgeous takes on pumpkin waffles over at this link.
Can I use pumpkin pie spice instead of separate cinnamon and nutmeg?
Oh, absolutely! That’s a great way to speed things up. My recipe calls for 1 teaspoon of cinnamon, 1/2 teaspoon of nutmeg, and 1/4 teaspoon of cloves. A standard store-bought pumpkin pie spice blend is usually about 1 teaspoon of cinnamon, 1/2 teaspoon of ginger, 1/4 teaspoon of nutmeg, and a pinch of cloves/allspice. If you use a standard 2-teaspoon blend, you might want to add just a tiny extra pinch of cinnamon to match the flavor depth of my exact mix. It’s very forgiving!
How do I make these pumpkin waffles dairy-free?
That’s an easy fix! We just have a couple of dairy items to swap out. For the milk, I highly recommend using unsweetened almond milk or oat milk; they work beautifully and don’t impact the flavor much in a spiced recipe like this. For the melted butter in the batter and for greasing the iron, just use an equal amount of your favorite neutral-flavored vegetable oil or a high-quality vegan butter substitute. You’ll skip the browning required for the syrup, of course, but the waffles themselves hold up perfectly!
What’s the best way to store leftover pumpkin spice waffles?
Listen, they taste best fresh, but if you have extras, we need to handle them correctly so they don’t get sad and soft. Cool them completely first—this is non-negotiable for preventing condensation in the container. Then, stack them in a single layer separated by sheets of wax paper inside an airtight container. You’ll want to store them in the fridge for up to three days.
But here’s the real secret for crispiness later: the freezer! Pop them in the freezer for a lightning-fast, easy breakfast recipe later on. When you are ready to eat them, skip the microwave! Reheat them directly in your toaster or a hot oven for just a few minutes. That heat brings back that beautiful golden crispiness we worked so hard for! You can find more great advice on holiday eats over at this resource.
Share Your Pumpkin Waffles Creations
Now that you’ve made this incredible batch of pumpkin waffles, I absolutely want to hear about it! Did you manage to pull off that perfect crispy exterior? Let me know in the comments below how this easy waffle recipe worked for you—I love seeing your beautiful fall breakfast recipes come to life! If you snapped a picture of your stack drizzled in brown butter syrup, please tag me! I’m always looking for new ways to enjoy these cozy morning treats. You can see how much others love this style of topping over at this amazing site! Happy cooking!
Print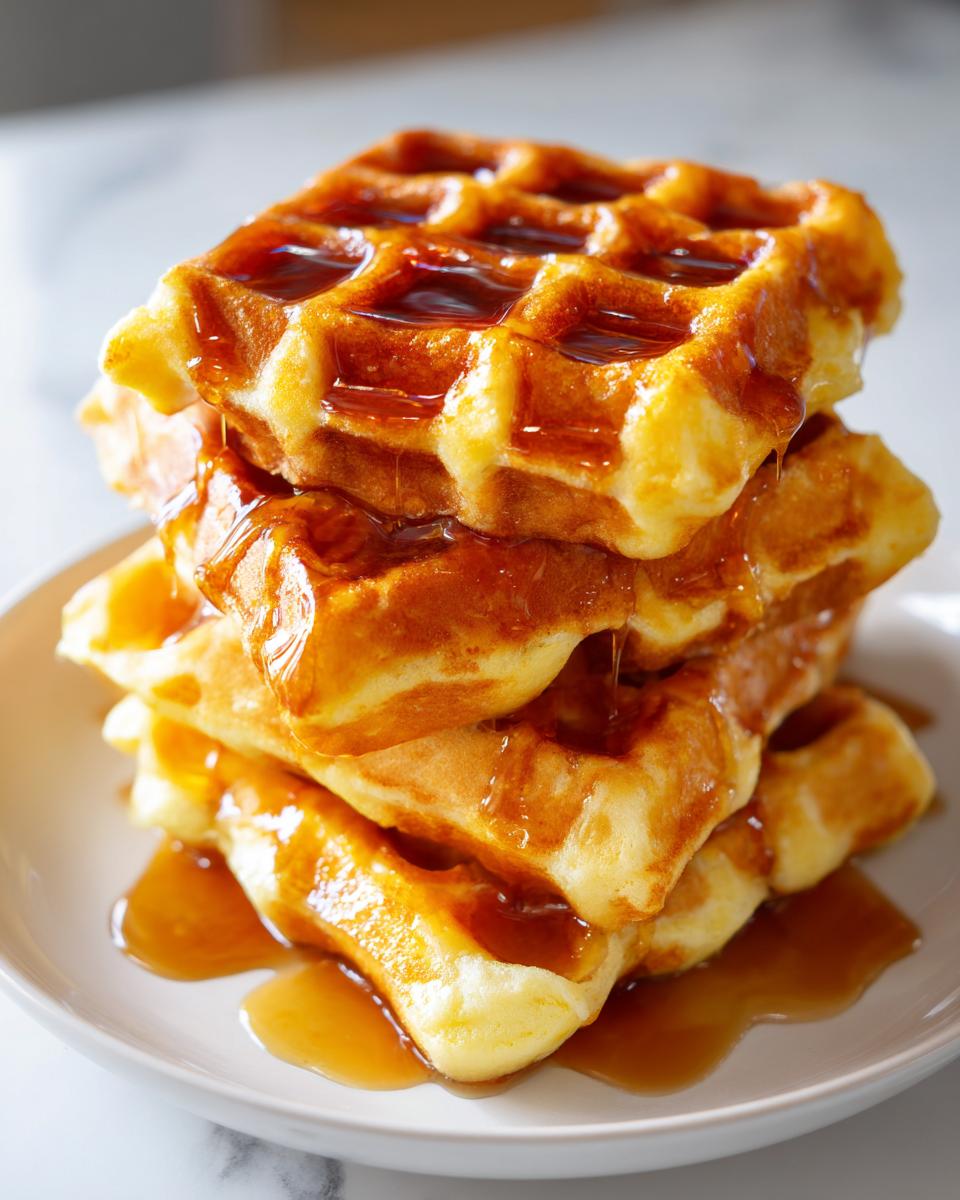
Fluffy Pumpkin Waffles with Brown Butter Maple Syrup
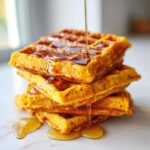
Create extraordinary pumpkin waffles that are crisp outside and fluffy inside. This reliable recipe delivers classic fall spice flavor, perfect for a cozy weekend brunch or holiday breakfast.
- Prep Time: 15 min
- Cook Time: 20 min
- Total Time: 35 min
- Yield: 6 large waffles 1x
- Category: Breakfast
- Method: Waffle Iron
- Cuisine: American
- Diet: Vegetarian
Ingredients
- 1 3/4 cups all-purpose flour
- 2 teaspoons baking powder
- 1 teaspoon baking soda
- 1 teaspoon ground cinnamon
- 1/2 teaspoon ground nutmeg
- 1/4 teaspoon ground cloves
- 1/4 teaspoon salt
- 1 cup pumpkin puree (not pumpkin pie filling)
- 1 cup milk
- 2 large eggs
- 1/4 cup melted unsalted butter, plus more for the waffle iron
- 1/2 cup packed light brown sugar
- 1/4 cup pure maple syrup (for the batter)
- 1 teaspoon vanilla extract
- For the Brown Butter Maple Syrup: 1/2 cup unsalted butter
- 1/2 cup pure maple syrup
Instructions
- Prepare the waffle iron according to the manufacturer’s directions and lightly grease the plates.
- In a large bowl, whisk together the flour, baking powder, baking soda, cinnamon, nutmeg, cloves, and salt. This is your dry mix.
- In a separate medium bowl, whisk together the pumpkin puree, milk, eggs, melted butter, brown sugar, 1/4 cup maple syrup, and vanilla extract until combined. This is your wet mix.
- Pour the wet mix into the dry mix. Whisk gently until just combined. Do not overmix; a few lumps are acceptable for fluffy waffles.
- Cook the waffles in the preheated waffle iron until golden brown and crisp, typically 4 to 6 minutes, depending on your machine.
- While the waffles cook, prepare the topping. Melt the 1/2 cup of butter in a small saucepan over medium heat. Continue cooking, swirling occasionally, until the butter foams, then subsides, and brown bits form at the bottom, releasing a nutty aroma. This takes about 5 minutes.
- Remove the brown butter from the heat immediately and whisk in the 1/2 cup of maple syrup.
- Serve the warm pumpkin waffles immediately, drizzled generously with the brown butter maple syrup.
Notes
- For extra crispiness, lightly brush the waffle iron plates with melted butter before pouring each batch of batter.
- You can substitute the pumpkin spice blend with 2 teaspoons of a pre-mixed pumpkin pie spice.
- Store leftover waffles in a single layer in the freezer, then reheat in a toaster for a quick, crisp breakfast.
Nutrition
- Serving Size: 1 waffle
- Calories: 450
- Sugar: 35g
- Sodium: 350mg
- Fat: 22g
- Saturated Fat: 13g
- Unsaturated Fat: 9g
- Trans Fat: 0g
- Carbohydrates: 55g
- Fiber: 3g
- Protein: 10g
- Cholesterol: 85mg