
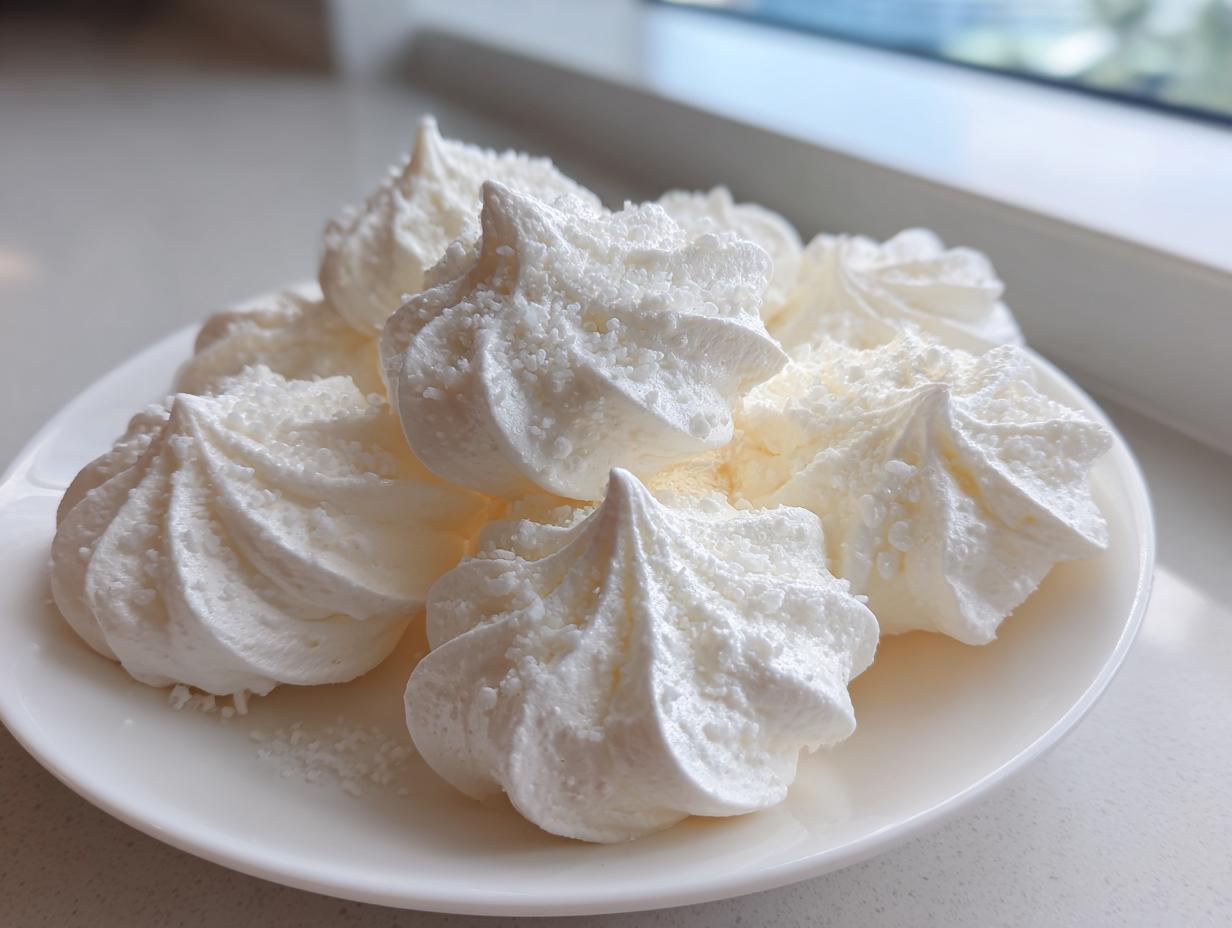
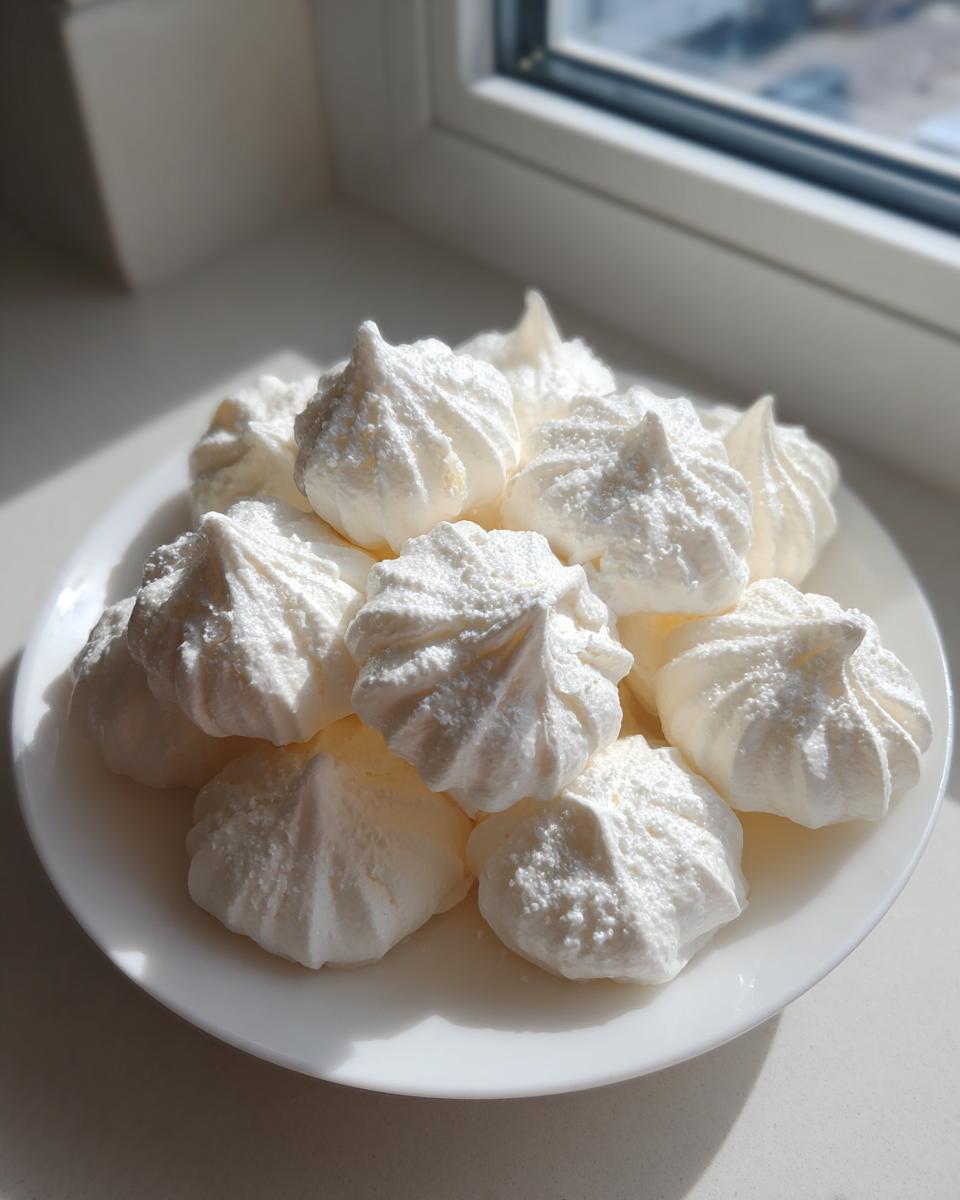
It’s funny how the simplest things in the kitchen can turn into pure magic, isn’t it? We’re talking about turning just egg whites and sugar into something that shatters perfectly when you bite it. That’s the alchemy I love, transforming the ordinary into something extraordinary. Growing up with my Filipina mom’s traditions and my dad’s steady Navy cooking, I realized food is just science wrapped in love. That background is why I’m so certain about this recipe for meringue cookies.
Forget those sticky, weepy disasters you might have had before! Using the classic French method, we are going to achieve those unbelievably crisp, melt-in-your-mouth cookies that look elegant but are honestly beginner-friendly. Trust me, mastering these light and airy clouds is easier than you think when you understand the structure.
- Why This Foolproof Recipe Guarantees Perfect Meringue Cookies
- Essential Ingredients for Your Meringue Cookies
- Step-by-Step Instructions for Crispy Meringue Recipe
- Tips for Perfectly Piped Cookies and Elegant Dessert Presentation
- Variations for Your Sweet Meringue Kisses Recipe
- Storage and Keeping Your Meringue Cookies Crisp
- Frequently Asked Questions About Meringue Cookies
- Nutritional Snapshot of These Delicate Sweet Treats
- Share Your Success Making Meringue Cookies
Why This Foolproof Recipe Guarantees Perfect Meringue Cookies
Look, I spent years studying Food Science, and what I learned is that baking meringue is literally chemistry in action! When you nail the ratios, you get results that are just stunning. This recipe for meringue cookies isn’t about luck; it’s about following proven, tested steps. I promise you’ll get that perfect texture—crisp on the outside and that melt-in-your-mouth center every single time. If you want to see the exact results we’re aiming for, check out this guide on foolproof meringue cookies.
- It uses the rock-solid French meringue base, which is super reliable for beginners.
- We focus on low and slow baking to dry them out completely, eliminating chewiness.
- The ingredient list is short, meaning there’s less chance for error!
The Science Behind Light and Airy Dessert Creation
The key is creating a strong protein structure. That little pinch of cream of tartar sounds minor, but it stabilizes the egg whites, letting you whip them way up higher. When you beat them until you get those stiff, glossy peaks, you’re trapping thousands of tiny air bubbles. That’s what turns simple egg whites into a beautiful light and airy dessert!
Essential Ingredients for Your Meringue Cookies
When you’re making meringue cookies, every single ingredient matters, especially since there are so few of them! I make sure everything is measured perfectly because there isn’t much room for error here. Don’t worry about complicated sourcing; these are pantry staples, but how you use them is what counts. Here’s what you’ll need for this ultra-crisp batch:
- 4 large egg whites, they absolutely must be room temperature!
- 1 cup superfine (caster) sugar – don’t use granulated if you can help it.
- 1/2 teaspoon cream of tartar (this is important stabilization!)
- 1 teaspoon pure vanilla extract
- Pinch of salt
Ingredient Notes and Substitutions
Let’s talk specifics for our Meringue Cookie Tips and Tricks. First up: egg whites. Cold ones won’t whip up to the volume we need, so pull them out about an hour before you start. The second big rule is cleanliness. If even one tiny drop of egg yolk or grease is in your bowl, the whole thing won’t peak right. I mean it—your bowl and whisk must be spotless!
Also, please use the superfine sugar. Granulated sugar crystals are too big, and if they don’t dissolve completely, your finished cookies will taste gritty instead of smooth. That’s the secret to that perfect “melt in your mouth” feeling!
Step-by-Step Instructions for Crispy Meringue Recipe
Okay, now for the fun part—turning that lovely liquid into clouds! When making meringue cookies, patience during the mixing is just as important as the slow bake later on. First things first: get your oven heating to that super low 200°F (95°C). Line your baking sheets with parchment paper because trust me, nothing sticks to parchment, and we want these to lift off cleanly!
Start by whisking those clean, dry egg whites with the cream of tartar until they get foamy. Then, you start adding the sugar. This is where you can’t rush! I mean it—add it one tablespoon at a time, waiting about 30 seconds between each addition, all while the mixer is running. This allows the sugar to dissolve properly into those forming air bubbles. If you dump it all in at once, you’ll deflate everything we just worked for!
How to Make Stiff Meringue Peaks
This is the make-or-break moment for your How to Make Stiff Meringue Peaks! You keep beating until the meringue looks incredibly glossy and holds its shape perfectly when you stop the mixer and pull the whisk out. The peaks should stand straight up without flopping over. If you take a tiny bit between your thumb and forefinger and rub it, it shouldn’t feel gritty at all. If you feel sugar granules, keep beating!
Low Temperature Baking Cookies Technique
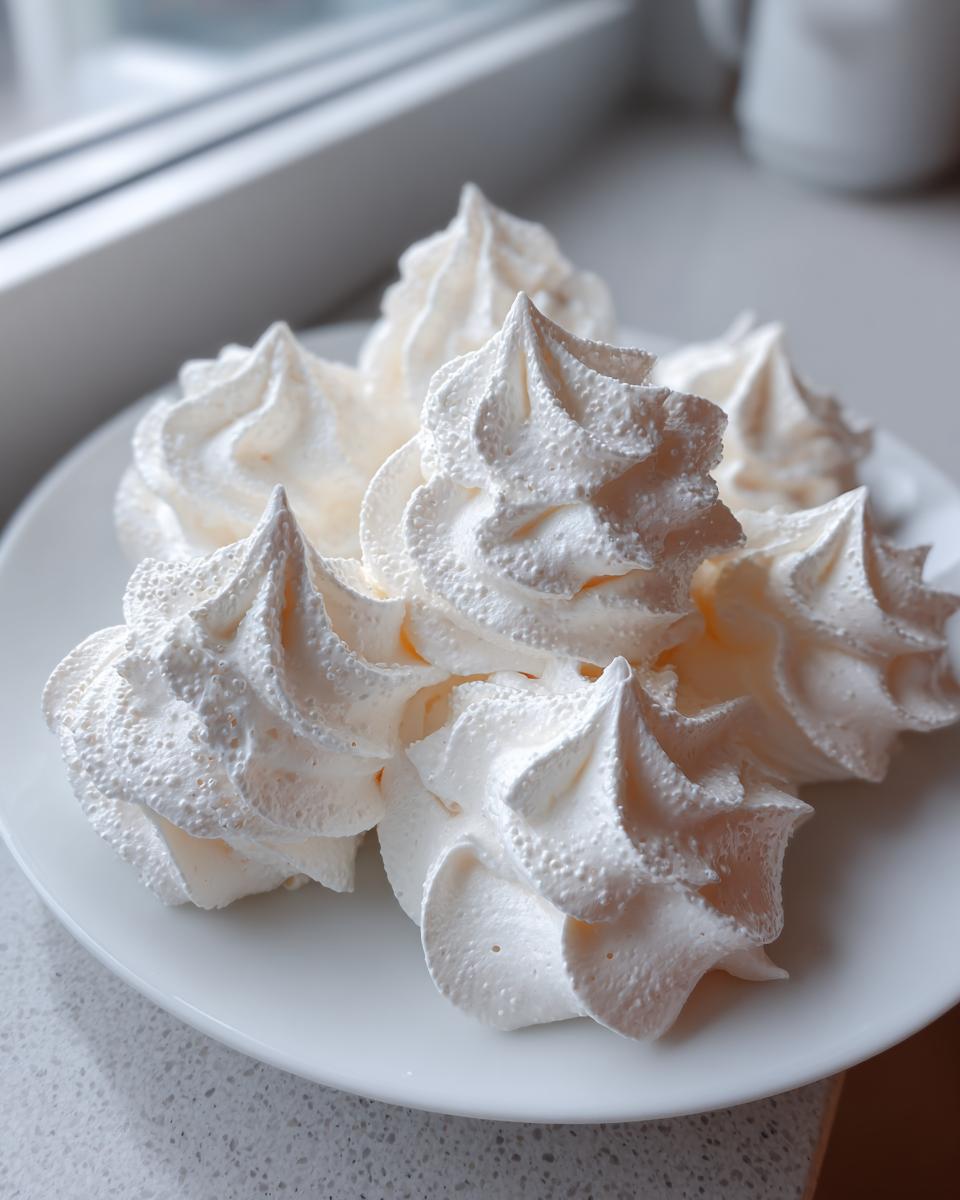
This is the secret to those beautiful, crisp exteriors we want. We aren’t really baking these; we are drying them into delicate shells. That low heat of 200°F (95°C) is achieved through the Low Temperature Baking Cookies method, typically for about an hour to an hour and 15 minutes. They shouldn’t brown at all—they should stay pure white or pale ivory. Once that time is up, switch the oven OFF. Seriously, turn it off, prop the door open just a crack with a wooden spoon, and leave them in there for at least an hour, or better yet, overnight. This slow cooling process guarantees that shatteringly crisp finish you’re dreaming of. Don’t skip this part if you want to emulate the texture on these light and airy delights!
Tips for Perfectly Piped Cookies and Elegant Dessert Presentation
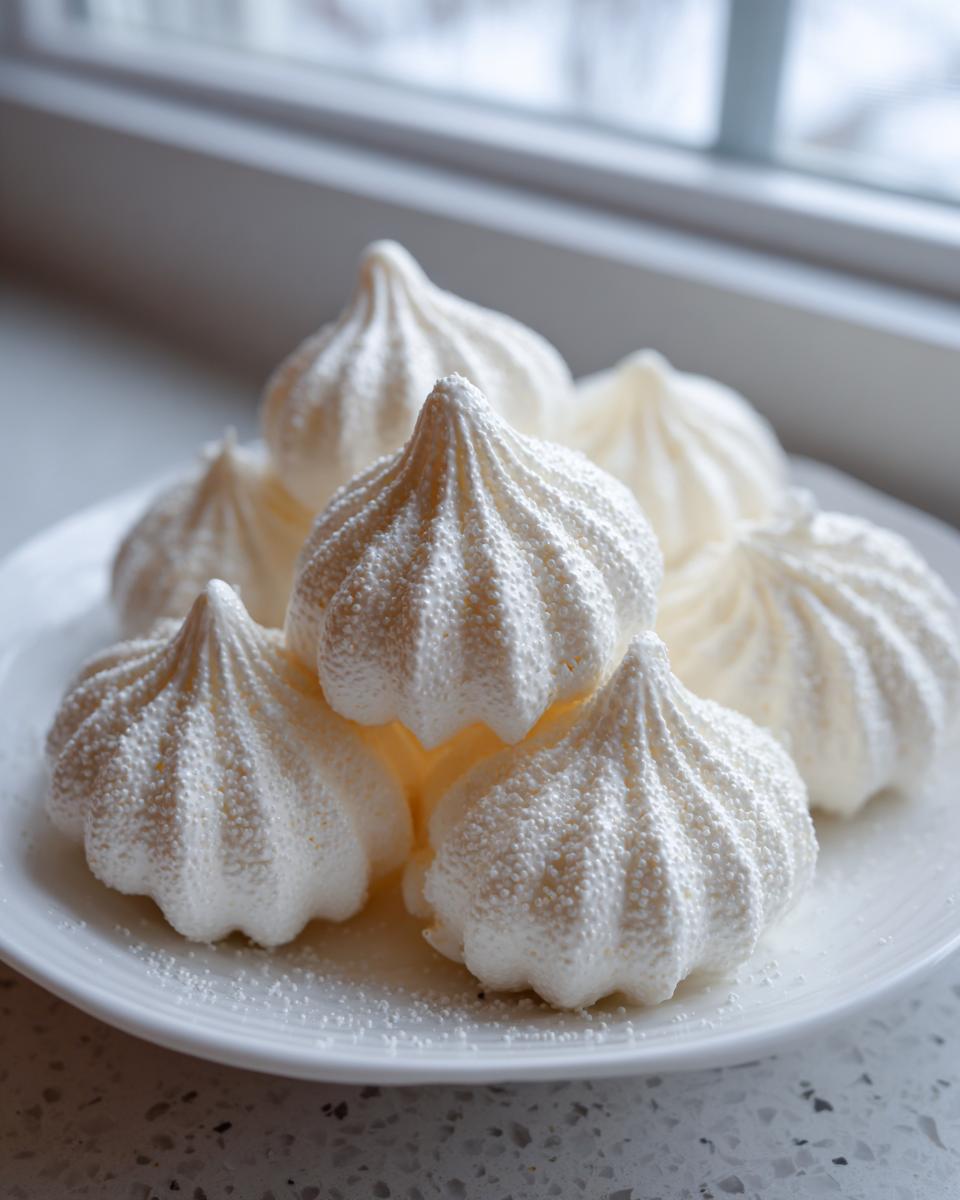
Once your meringue is beautifully stiff, you get to play decorator! This is where we turn simple drops into stunning little creations worthy of any fancy party. If you’re new to this, just grab a piping bag fitted with a large star tip—the Wilton 1M is my absolute favorite for getting those gorgeous ridges on your meringue cookies. Pipe them like little kisses or stand them up tall for edible Christmas trees if the holidays are rolling around!
But hey, don’t panic if you don’t have tips! A big spoon works just fine. You can just scoop the meringue onto the tray; those rustic, uneven dollops look charmingly homemade and still taste exactly the same. For a truly elegant dessert presentation, keep them all uniform in size so they bake evenly. Check out how pretty these look over at this site—they have fantastic shaping inspiration!
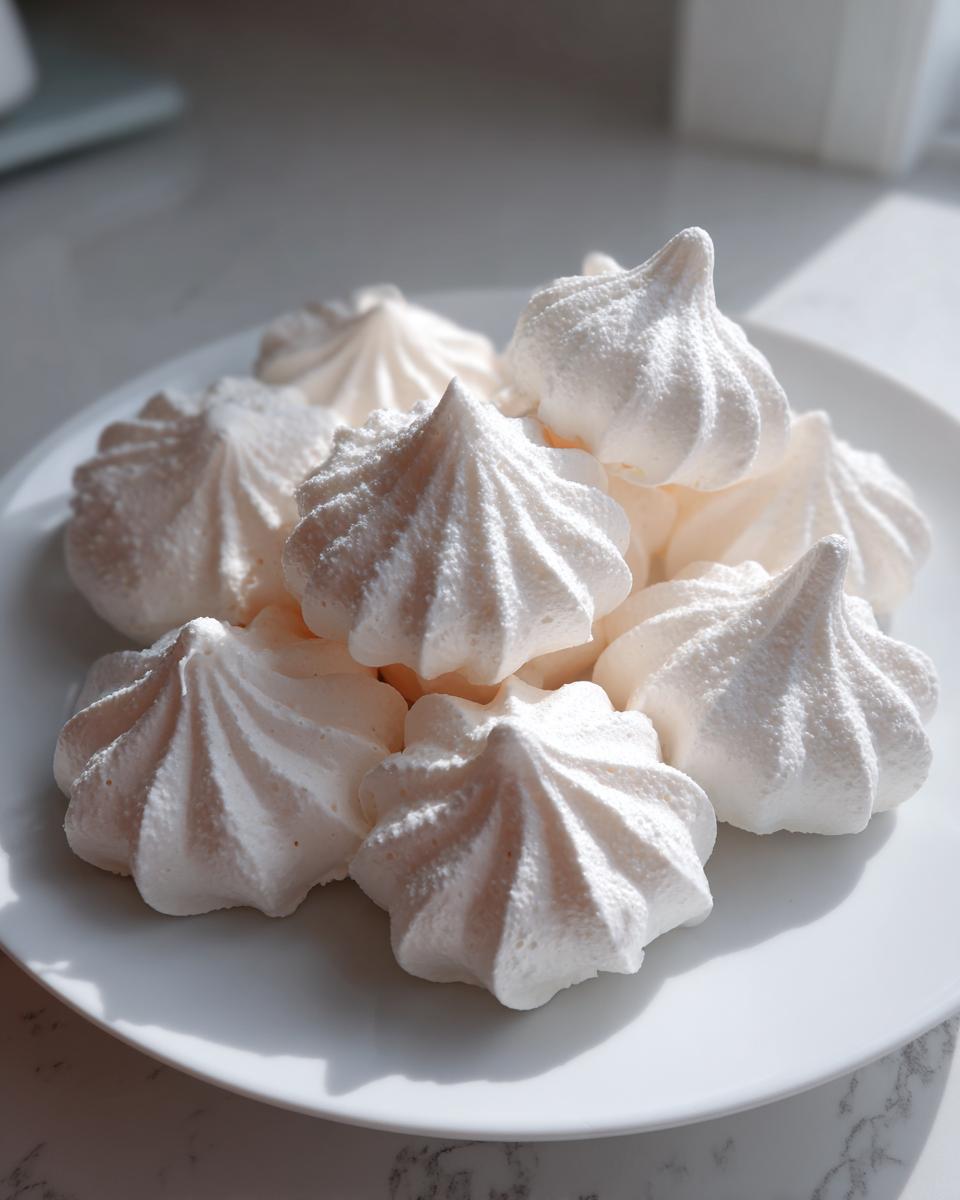
Variations for Your Sweet Meringue Kisses Recipe
You’ve mastered the basic vanilla meringue cookies, but now it’s time to experiment with colors and flavors! This recipe is a fantastic blank canvas for mixing things up. If you want to transition from a basic white treat to something really special, follow the guidance in the notes section.
For your Sweet Meringue Kisses Recipe, you can go for fruit or chocolate easily. To get that lovely strawberry color and tartness, just add a few drops of quality gel food coloring—and I mean *gel*, not liquid, or it will thin out your meringue! A little bit of freeze-dried strawberry powder works wonders too if you have it.
If you’re dreaming of chocolate, you can carefully fold in about two tablespoons of unsweetened cocoa powder right at the end, just after the vanilla. Just be careful not to overmix it! For other fun ideas, you can look at recipes like Jello Meringue Cookies if you want that vibrant look. If you want chocolate chips worked in, check out the technique they use over at Once Upon a Chef, though be warned, adding too much heavy mix-in can sometimes deflate the volume just a bit!
Storage and Keeping Your Meringue Cookies Crisp
You’ve done the hard part—the low and slow bake—now we have to protect our beautiful meringue cookies from their number one enemy: humidity! The second these delicate treats become even slightly exposed to moist air, they will start to get sticky and soft, and we sure can’t have that!
You must store them in a truly airtight container. I mean one with a good seal. Keep this container stored at cool room temperature—never stick them in the fridge, as that’s just a sauna for meringues! If you notice they’ve softened up after a couple of days, dust them off and pop them back in the low oven (200°F) for about 15 minutes just to dry them out again. That brings back the crunch!
Frequently Asked Questions About Meringue Cookies
I know when you first look at a recipe this simple, you get a million questions! That’s totally fine! When you’re making meringue cookies, small details make a huge difference between a crispy success and a sticky puddle. I’ve gathered the ones I hear most often to help you feel confident moving forward.
Can I substitute the sugar in this Easy Meringue Cookies Recipe?
Sweetness is essential here, but for structure, no, I really don’t recommend swapping out the sugar for alternatives in this No Fail Meringue Recipe. Sugar does more than just sweeten these treats; it actually surrounds the protein strands in the egg white foam as you beat them. If you use liquid sweeteners or things like honey, they add too much moisture and prevent those stiff peaks from forming properly, resulting in weepy cookies. For the best texture, stick to that superfine sugar!
Are these cookies suitable for a Holiday Cookie Tray Ideas?
Absolutely! These are fantastic for any Holiday Cookie Tray Ideas you might be planning. They add height, brilliant white contrast against darker cookies, and they look incredibly elegant. Plus, because a Crispy Meringue Recipe relies only on egg whites and sugar, they are naturally gluten-free, which is a huge bonus for guests with dietary restrictions. They freeze relatively well too, sealed tight!
If you want some other great options for your tray, you can find some fun inspiration over at this baking blog!
Nutritional Snapshot of These Delicate Sweet Treats
Even though these little clouds—our amazing meringue cookies—seem like pure sugar, they are surprisingly light on calories because they are mostly air! Because they are made purely from egg whites and sugar, they are naturally gluten-free, which is a win for so many people. I always love seeing how such an elegant dessert can be so clean ingredient-wise. Remember, the science behind transforming egg whites means we get incredible volume without any fat whatsoever.
Here is a general snapshot based on the recipe proportions. Keep in mind these are estimates, as actual counts can vary slightly based on the size of your eggs and the exact type of sugar you use. But this gives you a good idea of how light these delicate sweet treats really are:
- Serving Size: 1 cookie
- Calories: About 45
- Sugar: 11g (This is where the structure comes from!)
- Fat: 0g
- Protein: 1g
- Sodium: 5mg
Since we aren’t adding any butter or oils, these are naturally zero-fat! That’s one of the reasons they are perfect for spreading around generously at parties. They look fancy, they taste divine, and they keep the nutrition profile surprisingly low for a sweet swap!
Share Your Success Making Meringue Cookies
Now that you know the science and the simple steps for these meringue cookies, I truly want to see what you create! Did you pipe little trees for Christmas or keep them simple? Head down to the comments below to tell me how they turned out, and please be sure to give the recipe a rating if you loved that crisp, melt-in-your-mouth texture. Your feedback helps this little community of alchemists!
If you want to see other people who are loving this recipe, you can check out what others are saying over at this site!
PrintFoolproof Easy Meringue Cookies: Crisp, Light, and Melt-in-Your-Mouth
Create perfect, naturally gluten-free meringue cookies using this simple French method. These treats feature a crisp exterior and a light, airy center that melts in your mouth. This reliable recipe is ideal for beginners and holiday cookie trays.
- Prep Time: 20 min
- Cook Time: 75 min
- Total Time: 1 hour 35 min
- Yield: About 3 dozen cookies 1x
- Category: Dessert
- Method: Baking
- Cuisine: American
- Diet: Gluten Free
Ingredients
- 4 large egg whites, room temperature
- 1 cup superfine (caster) sugar
- 1/2 teaspoon cream of tartar
- 1 teaspoon pure vanilla extract
- Pinch of salt
Instructions
- Preheat your oven to a low temperature, 200°F (95°C). Line two large baking sheets with parchment paper.
- Ensure your mixing bowl and whisk attachment are completely clean and dry. Add the room-temperature egg whites and cream of tartar to the bowl.
- Beat the egg whites on medium speed until they become foamy. Increase the speed to medium-high and continue beating until soft peaks form.
- Gradually add the superfine sugar, about one tablespoon at a time, while continuing to beat on high speed. Wait about 30 seconds between additions.
- Continue beating until the meringue is very stiff, glossy, and holds sharp peaks when the whisk is lifted. Rub a small amount between your fingers; if it feels gritty, continue beating until the sugar dissolves completely.
- Beat in the vanilla extract until just combined.
- Transfer the meringue to a piping bag fitted with a large star tip (like a Wilton 1M) or use a large spoon for rustic drops.
- Pipe or drop mounds onto the prepared baking sheets, leaving about one inch between each cookie. For elegant desserts, pipe them into kiss shapes or small trees.
- Bake for 1 hour to 1 hour 15 minutes. The goal is to dry them out, not brown them.
- Turn off the oven, prop the door slightly ajar with a wooden spoon, and allow the meringue cookies to cool completely inside the oven for at least 1 hour, or preferably overnight. This step is crucial for achieving a perfectly crisp texture.
- Store the finished, cooled meringue cookies in an airtight container at room temperature.
Notes
- Use room temperature egg whites; they whip to a higher volume than cold ones.
- Ensure absolutely no trace of fat (yolk or grease) is in your bowl, as fat prevents the egg whites from reaching stiff peaks.
- Baking low and slow creates the signature crisp exterior and melt-in-your-mouth interior. Do not rush the drying process.
- If you want colored or flavored meringues, add a few drops of gel food coloring or 1/4 teaspoon of strawberry or chocolate flavoring during the final mixing stage.
Nutrition
- Serving Size: 1 cookie
- Calories: 45
- Sugar: 11
- Sodium: 5
- Fat: 0
- Saturated Fat: 0
- Unsaturated Fat: 0
- Trans Fat: 0
- Carbohydrates: 11
- Fiber: 0
- Protein: 1
- Cholesterol: 0