
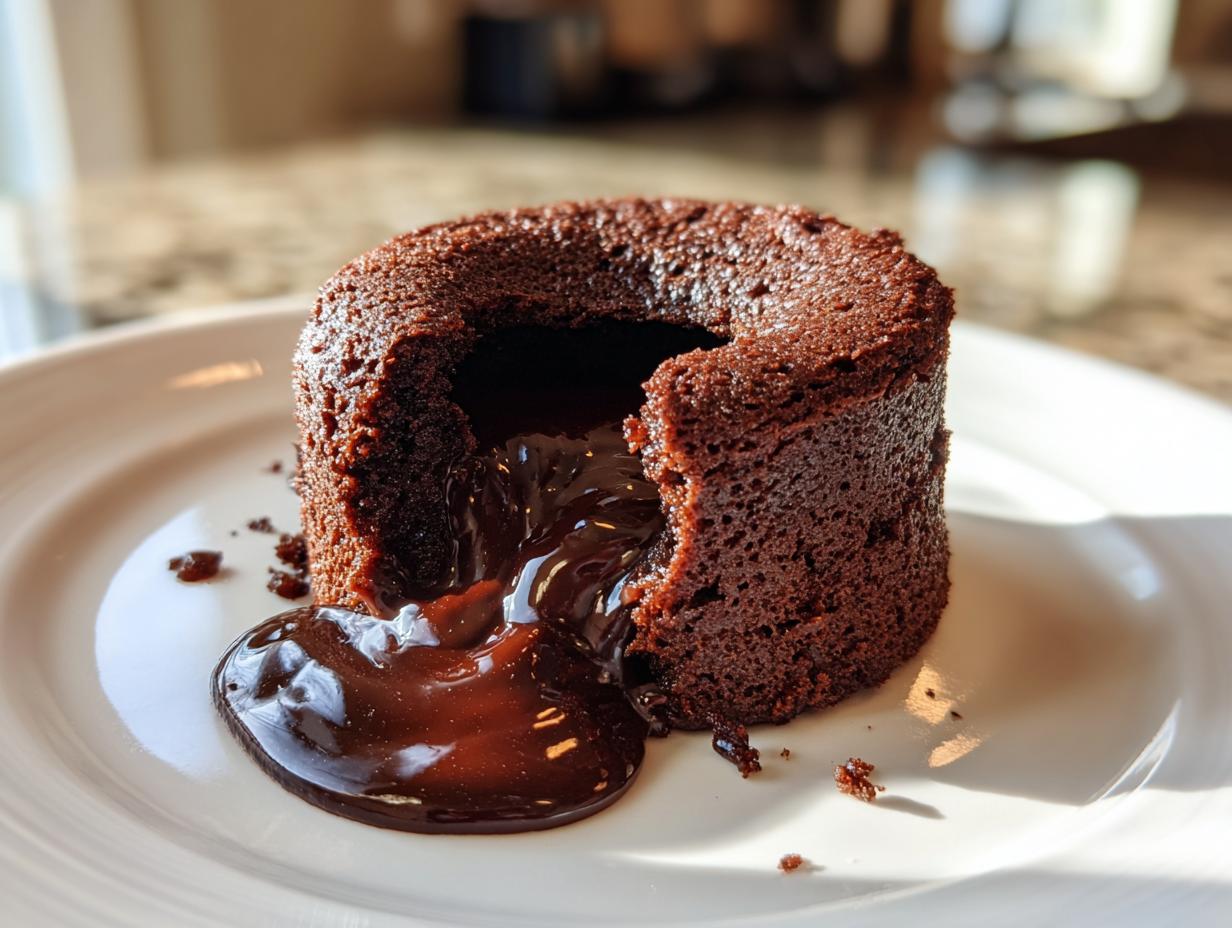
Oh, let’s talk about chocolate. Forget everything you thought you knew about needing a pastry chef’s training to make a truly show-stopping dessert. When that craving for dark, warm chocolate hits, you need instant magic, and that’s where the ultimate Chocolate lava cake comes in! My goal here at Alchemy Chef—born from my background studying Food Science and years spent developing reliable recipes professionally—is to make the impossible accessible. We promise you a perfect, gooey molten center every single time. Trust me, this recipe is the shortcut to feeling like a baking genius without any of the stress!
- Why This Chocolate Lava Cake Recipe Delivers Heavenly Bliss
- Essential Ingredients for the Best Lava Cake
- Mastering the Chocolate Lava Cake Recipe: Step-by-Step
- Tips for Success When Making a Restaurant Style Dessert at Home
- Serving Suggestions for Your Warm Chocolate Dessert
- Storage and Reheating Instructions for Leftover Lava Cake
- Frequently Asked Questions About This Chocolate Lava Cake Recipe
- Nutritional Estimates for Your Rich Chocolate Treat
- Share Your Homemade Molten Cake Creations
Why This Chocolate Lava Cake Recipe Delivers Heavenly Bliss
When I was developing recipes in the test kitchen, the one thing people begged for most was a lava cake that actually worked. Most recipes are just dense chocolate cake; they aren’t satisfying! This version is different. It’s my cheat sheet for making a dessert that looks like a million bucks but takes almost no effort. Seriously, it’s pure alchemy.
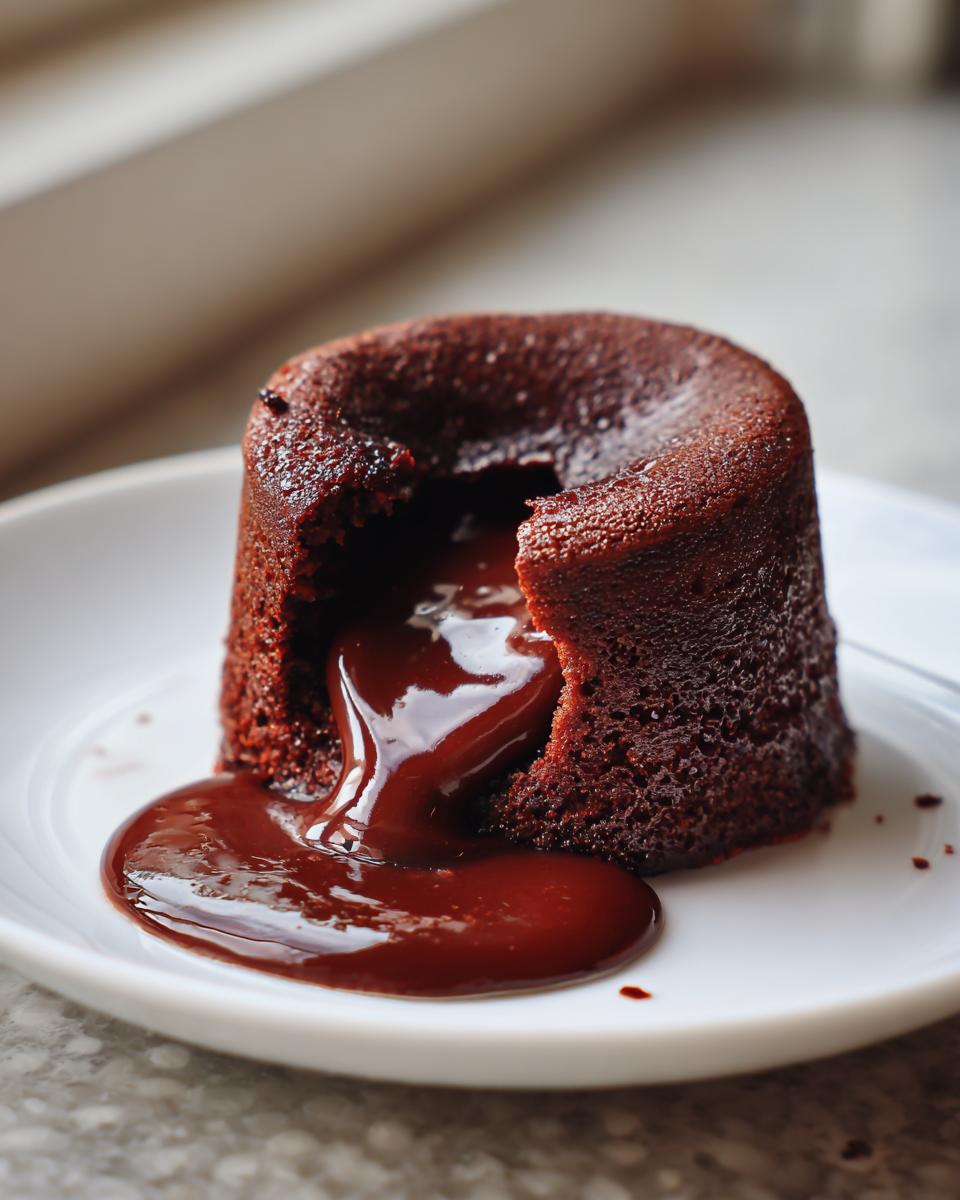
- You get the crisp, warm outer shell contrasting perfectly with that incredible flow.
- You can get dessert on the table in under 25 minutes total.
- We aren’t messing around with fussy steps; this is straightforward baking! If you’re looking for reliable inspiration, check out some great tips from other home cooks over at this fantastic recipe.
Guaranteed Gooey Chocolate Dessert Center
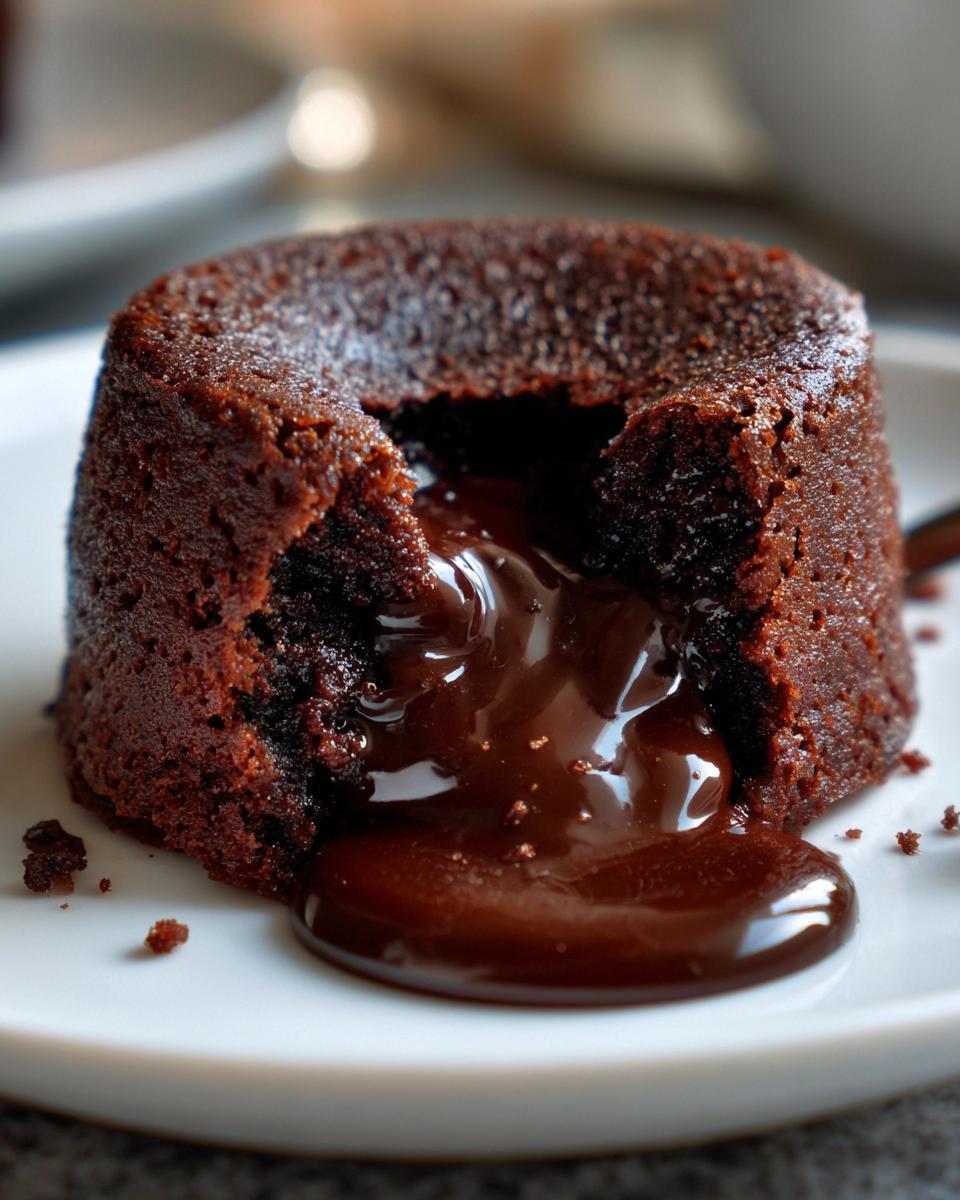
The absolute secret sauce here—and I mean this scientifically, thanks to my Food Science background—is the ratio of whole eggs to extra egg yolks. Those extra yolks give us richness and structure without baking fully solid. That’s the key difference between a nice little chocolate muffin and a true gooey chocolate dessert that oozes out when you cut into it. It’s all about that perfect emulsification!
Quick Decadent Desserts Ready in Under 30 Minutes
If you need an impressive finale for a surprise date night or just decided at 8 PM that you deserve chocolate, this is your answer. With only 10 minutes of prep and about 14 minutes in the oven, this qualifies as one of the best quick decadent desserts out there. You’re looking at pure indulgence with minimal time commitment!
Essential Ingredients for the Best Lava Cake
For a cake this simple, ingredient quality really matters. Since we aren’t using tons of flour or rising agents, the chocolate and butter are doing the heavy lifting to give you that deep, rich flavor. I’ve listed exactly what I use every time, and keeping these checked off your list means you avoid last-minute trips to the store! Remember, these individual portions bake so fast!
- 4 ounces bittersweet chocolate, chopped finely
- 4 ounces unsalted butter, cut into chunks
- 2 large eggs, full size
- 2 large egg yolks, just the yolks
- 1/4 cup granulated sugar
- 2 tablespoons all-purpose flour
- Pinch of salt
- Butter and cocoa powder for dusting the ramekins (this is important!)
Ingredient Notes and Substitutions for Your Lava Cake
When it comes to chocolate, please use the best you can find, especially since this is all about the chocolate flavor! I highly recommend a bittersweet chocolate with about 60% to 70% cocoa content; anything less sweet just doesn’t give that gorgeous, dark edge we want in a great lava cake. Now, here’s an easy flavor boost: if you want to try the variation I mentioned, you can substitute 2 tablespoons of that melted bittersweet chocolate with 2 tablespoons of creamy Nutella. It takes our simple recipe and turns it into a fantastic Nutella lava cake instantly!
Mastering the Chocolate Lava Cake Recipe: Step-by-Step
Okay, deep breath! This is where the magic happens, and I promise you, achieving that perfect flow isn’t just luck—it’s science and technique woven together. First thing first, get your oven cranking up to 425\u00b0F (220\u00b0C). Seriously, preheat is not optional here; these little beauties need a blast of heat to set the outside quickly!
Once your oven is screaming hot, we move to the next crucial step. Folding versus whisking is everything in this recipe. You want air incorporated when you mix the eggs and sugar, which we already did, but once you add that melted chocolate and especially the flour, you switch to folding. We’re gently combining everything; overmixing develops gluten, and gluten means you get cake, not molten gold. That’s the secret to a great lava cake!
Preparing Ramekins for Easy Release
If you skip this preparation phase, you’re setting yourself up for heartbreak when you try to tip these gorgeous treats onto your plate later. Don’t just use butter; you need to double-down for these rich desserts. I spread soft butter generously inside every single ramekin—get into all those edges! Then, I dust them heavily with cocoa powder, tapping out the extra. Why cocoa and not flour? Because plain flour leaves white streaks on your perfect dark individual chocolate cakes. The cocoa dust gives you a beautiful matte finish and acts like non-stick armor. Now, place those prepared dishes right onto a sturdy baking sheet!
Baking Time: The Secret to the Molten Center of Your Lava Cake
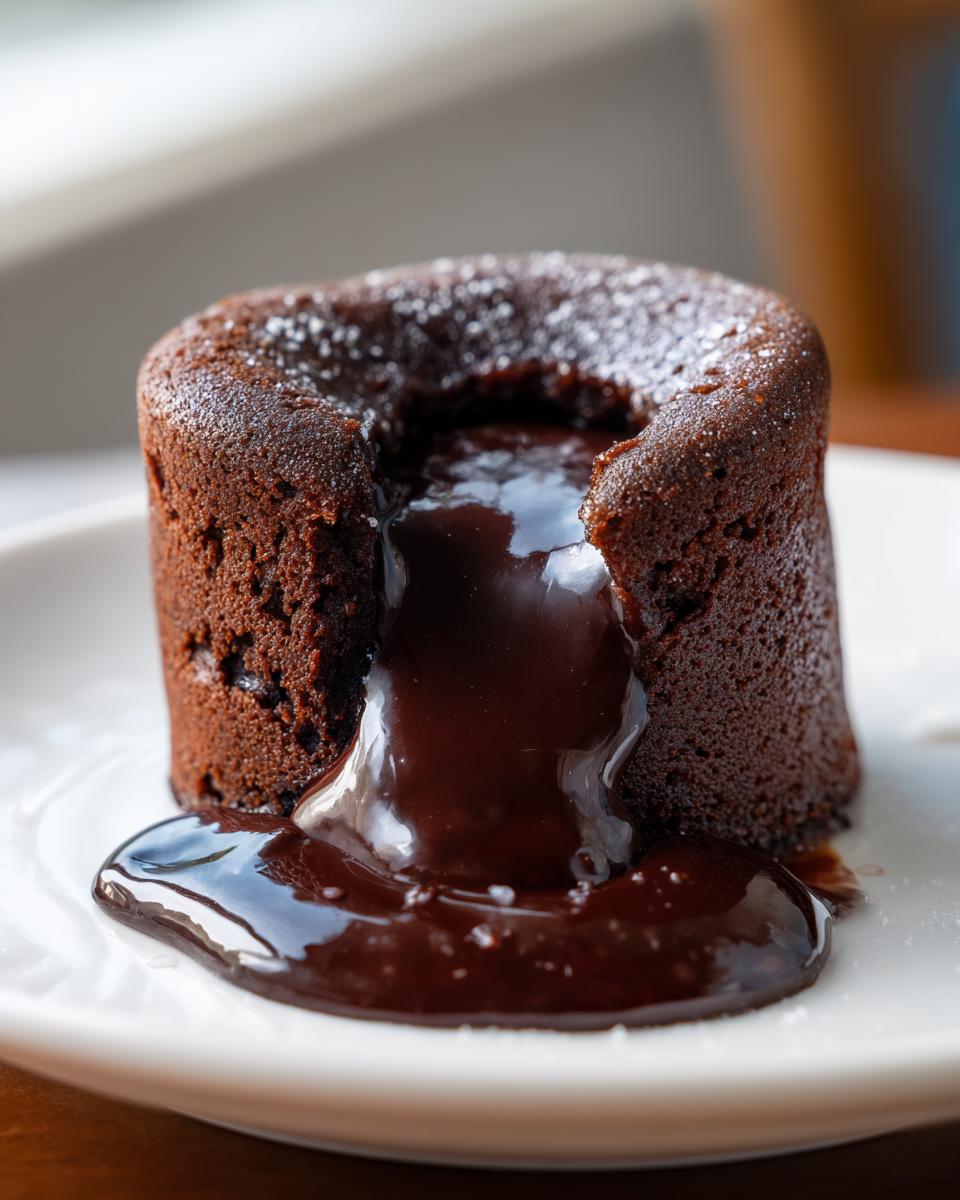
This is the highest-stress part, but I’ve done the testing so you don’t have to. For 6-ounce ramekins, you are looking for 12 to 14 minutes, period. If you’re using a convection setting, start checking at 11 minutes! How do you know they’re done? The edges should look firm, maybe slightly pulling away from the ramekin wall, but the absolute center should still look soft and jiggly when you nudge the pan. If it looks solid, you’ve overbaked your lava cake! You want that lava flow. For the first batch, test just one cake first; this lets you dial in the exact minute required for your specific oven. Once they’re done, let them rest for just one minute before inverting them. Don’t wait longer, or that liquid center might just bake itself solid! Remember, for more insights on achieving that perfect gooey middle, you can check out the science behind these fantastic molten chocolate cakes.
Tips for Success When Making a Restaurant Style Dessert at Home
Even though this is an easy recipe, getting that high-end look when serving your lava cake takes just a couple of little professional tricks. My time developing recipes taught me that presentation is half the battle for any luxurious treat. If you want something that truly reads like a restaurant style dessert at home, presentation matters!
First up: the chocolate quality again. If you use waxy or cheap chocolate chips, your melt won’t be silky; it’ll seize up. You want smooth, pure melted chocolate, which is why using good quality chopped baking chocolate is worth the small investment. Also, please, do not skip that one-minute rest after taking them out of the oven. It seems insignificant, but that minute allows the exterior structure to firm up just slightly so it doesn’t collapse entirely when you invert it.
And while you are eyeing up impressive ideas, if you are interested in seeing how the big guys do it, check out Gordon Ramsay’s approach to molten cakes for inspiration!
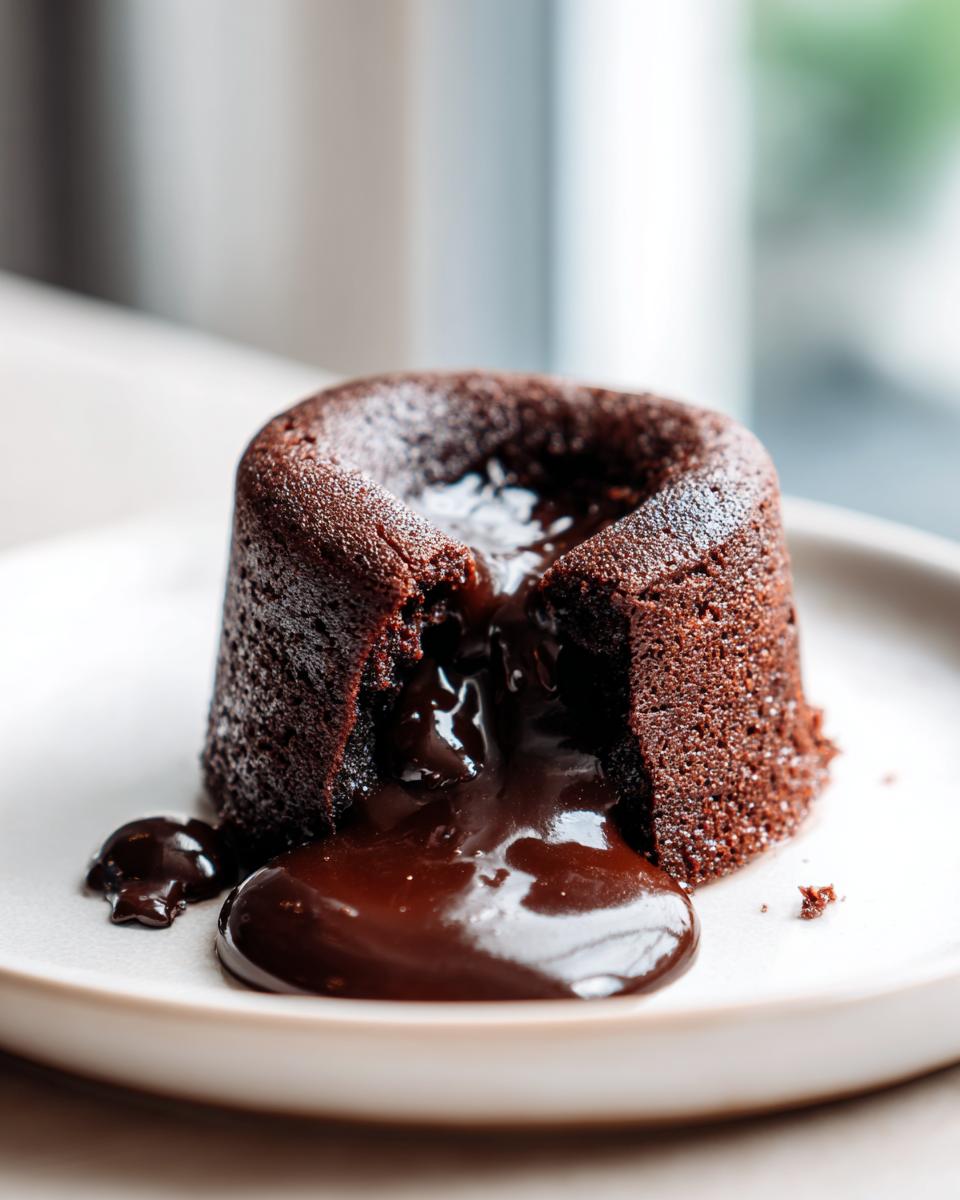
Serving Suggestions for Your Warm Chocolate Dessert
Finally, the best part! You pull that beautiful lava cake out, invert it onto the plate, and now you need the perfect accompaniment. Because this dessert is so intensely rich and served warm, you absolutely need contrast—something cold and/or something tart to cut through the deep chocolate flavor. This is what elevates it from just a good dessert to something truly spectacular.
My recommendation, year-round, is always high-quality vanilla bean ice cream. The temperature contrast when the cold scoop meets the hot, flowing center? Absolute heaven! You get richness, warmth, and coolness all in one bite. For an extra elegant finish, drizzle just a little bit of rich caramel sauce over the top. If you want to see some beautiful plating ideas, you should absolutely check out this inspiration; it really helps set the stage.
If you prefer something lighter than ice cream but still want that contrasting temperature and texture, fresh raspberries or strawberries are incredible. Their natural acidity sings when paired with this warm chocolate dessert. Dust the plate lightly with powdered sugar before placing the cake down for a professional touch. Remember, the presentation makes this an impressive homemade dessert!
Storage and Reheating Instructions for Leftover Lava Cake
Okay, sometimes you just can’t finish four incredible chocolate lava cakes in one sitting, even if you really, really try! Don’t stress about leftovers because, lucky for you, this rich chocolate treat stores surprisingly well, provided you keep them in their cozy little ramekins.
If you have any un-inverted lava cake batter left in the dishes, cover those ramekins tightly with plastic wrap—I mean *tightly* so no air gets in—and pop them straight into the fridge. They should be good for about two days like this. Storing them un-inverted is key because it keeps the delicate molten core protected.
The Trick to Reheating for That Perfect Gooey Center
The biggest worry when you reheat a lava cake is that you’ll end up with a dried-out, uniform chocolate cake instead of that beautiful flow. I’ve cracked the code to avoid that tragedy! You need gentle heat, not a sudden blast.
To reheat a chilled cake, you want to pop the covered ramekin into a preheated 350\u00b0F (175\u00b0C) oven. Don’t uncover it yet! Let it warm up for about 8 to 10 minutes. This gentle warming thaws the center slowly while crisping the edges just enough. Once you smell that intense chocolate aroma, take it out, let it rest for just 30 seconds (seriously, 30 seconds!), then invert it onto your serving plate. It should ooze perfectly, bringing that melt-in-your-mouth dessert experience right back to life!
Can I freeze the batter for later?
Yes! This is one of my favorite secrets for emergency dessert situations. Fill your prepared ramekins entirely, cover them well with plastic wrap, and then slip the whole thing into a zip-top freezer bag. You can freeze this batter for up to three weeks. When you go to bake, just add about 5 to 7 extra minutes to the original bake time since you are going from frozen solid to hot oven. That way, you always have the option for a quick, decadent dessert ready to go!
Frequently Asked Questions About This Chocolate Lava Cake Recipe
I get so many wonderful questions after folks try this recipe, and honestly, that means you’re paying attention to the details, which I love! Getting those little nuances right is what separates a good dessert from a truly unforgettable one. Here are some of the things I hear most often about making the best lava cake at home. If you’ve just finished baking, check out these tips for ensuring your result looks just as amazing as the photo!
Can I make this lava cake ahead of time?
Yes, you absolutely can! This is perfect for dinner parties where you don’t want to fuss while guests are waiting. You can prepare the batter, pour it into your buttered and cocoa-dusted ramekins, cover them tightly, and pop them into the fridge. I find they do best if you keep them refrigerated for no more than 24 hours before baking. When you’re ready to bake, just follow the recipe, but you need to add about 3 to 5 extra minutes to the baking time since you’re starting from cold. Keep a close eye on that center, though!
What if I don’t have ramekins? Can I use a different pan?
Ramekins are the best vessel because they are small and single-serving, which helps us hit that perfect baking time for the molten center. If you don’t have them, you can scale this up into a 6-inch round cake pan or even an 8×8 inch pan, but here’s the big warning—it won’t be a molten center anymore. When you spread the batter out into a larger dish, the heat hits all surfaces evenly, and it all bakes through. You’ll end up with a fantastic, rich, chocolate treat, kind of like a fudgy flourless cake, but you won’t get the ooze. Baking in a larger pan usually takes around 20-25 minutes at the same high temperature, so test frequently!
How can I make this a Nutella Lava Cake?
Oh, I love when people bring in a little extra hazelnut magic! It’s super simple, just like I mentioned in the ingredient notes section. When you are melting your chocolate and butter together, simply pull 2 tablespoons of that melted chocolate mixture out and swap it in directly with 2 tablespoons of your favorite Nutella. Whisk the Nutella in gently with the chocolate. That little nutty flavor addition creates an unbelievably decadent experience! It’s such an easy way to create a custom lava cake variation.
Nutritional Estimates for Your Rich Chocolate Treat
I always get asked about the nutrition, which is fair when you’re dealing with sheer chocolate decadence! Remember, these numbers are just estimates based on standard ingredients, because once you add a scoop of ice cream, things change fast, right? But for a baseline look at this rich chocolate treat, here’s what we’re looking at per individual cake. If you are looking to customize and want more flavor notes, definitely peek at this amazing Nutella variation for comparison!
- Serving Size: 1 cake
- Calories: 380
- Sugar: 25g
- Fat: 26g
- Protein: 7g
Share Your Homemade Molten Cake Creations
Alright, pastry pioneers, you’ve mastered the alchemy! You have successfully turned butter, eggs, and chocolate into pure, flowing gold in your own kitchen. Making my lava cake recipe work is a huge accomplishment, and I genuinely want to hear all about it! Knowing that this simple chocolate magic is happening in homes all over is what keeps me excited to keep testing and perfecting these recipes.
I poured all my knowledge from professional recipe development into this guide so that you could confidently produce a truly show-stopping, homemade molten cake. Now it’s your turn to share your success!
Please, leave a rating below! Let me know exactly how long you baked yours for—oven timings are always a little different, and your input helps the next home cook nail it on their first try. If you used a fun topping or paired it with a great wine, tell me about that too!
Have a picture of your gorgeous, oozing creation? Tag me! I love seeing those perfect little rivers of chocolate flowing onto the plate. If you ended up trying a different method, like a Crock Pot lava cake, I’d be fascinated to hear how that worked out for you!
Happy baking, and thank you for joining me in the kitchen!
PrintThe Ultimate Easy Chocolate Lava Cake: Perfect Molten Center Every Time
Create a restaurant-style chocolate lava cake at home with this reliable recipe. You achieve crisp edges and a warm, gooey molten center quickly, making it ideal for date nights or any decadent chocolate craving.
- Prep Time: 10 min
- Cook Time: 14 min
- Total Time: 24 min
- Yield: 4 servings 1x
- Category: Dessert
- Method: Baking
- Cuisine: American
- Diet: Vegetarian
Ingredients
- 4 ounces bittersweet chocolate, chopped
- 4 ounces unsalted butter
- 2 large eggs
- 2 large egg yolks
- 1/4 cup granulated sugar
- 2 tablespoons all-purpose flour
- Pinch of salt
- Butter and cocoa powder for dusting ramekins
Instructions
- Preheat your oven to 425°F (220°C). Generously butter four 6-ounce ramekins. Dust the inside of each buttered ramekin with cocoa powder, tapping out any excess. Place the prepared ramekins on a baking sheet.
- In a heatproof bowl set over a saucepan of simmering water (or in a microwave in short bursts), melt the chopped chocolate and butter together until smooth. Stir until fully combined, then remove from heat and let cool slightly.
- In a separate medium bowl, whisk together the whole eggs, egg yolks, and granulated sugar until the mixture is pale and slightly thickened, about 2 minutes.
- Gently whisk the slightly cooled chocolate mixture into the egg mixture until just combined.
- Sift the flour and salt over the chocolate mixture. Fold gently with a spatula until no streaks of flour remain. Do not overmix.
- Divide the batter evenly among the four prepared ramekins.
- Bake for 12 to 14 minutes. The edges should look set, but the center should still appear soft and jiggly. This timing is crucial for a gooey chocolate dessert center.
- Let the lava cakes cool in the ramekins for 1 minute. Carefully run a thin knife around the edge of each cake. Invert each cake onto a serving plate.
- Serve immediately while warm with ice cream or fresh berries for a truly impressive homemade dessert.
Notes
- For a Nutella lava cake variation, substitute 2 tablespoons of the melted chocolate with 2 tablespoons of Nutella.
- If you prefer a richer flavor, use dark chocolate. This recipe delivers rich chocolate treat results.
- Baking time varies by oven; test one cake first to find the exact time needed for your perfect molten center.
Nutrition
- Serving Size: 1 cake
- Calories: 380
- Sugar: 25g
- Sodium: 120mg
- Fat: 26g
- Saturated Fat: 15g
- Unsaturated Fat: 11g
- Trans Fat: 0.5g
- Carbohydrates: 30g
- Fiber: 2g
- Protein: 7g
- Cholesterol: 145mg