
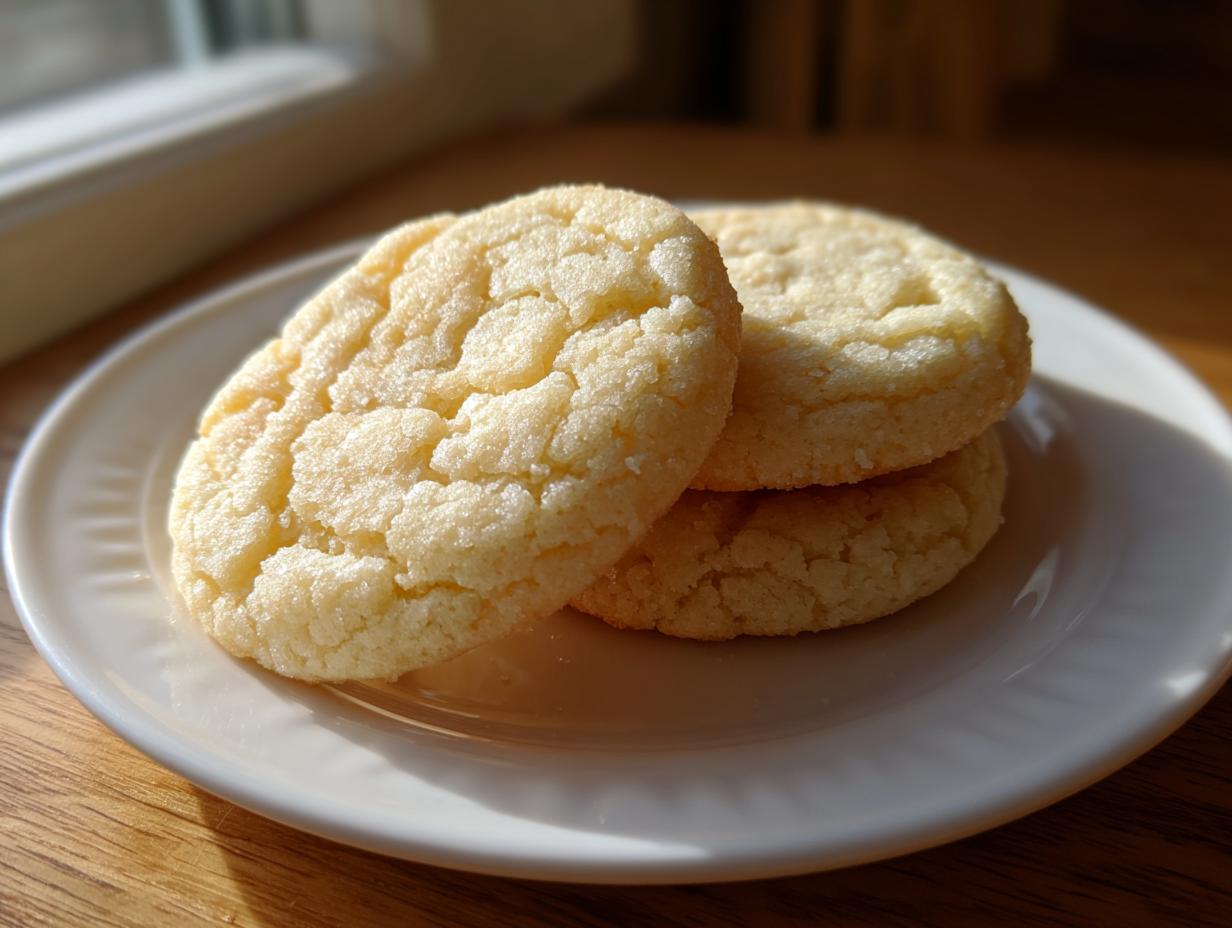
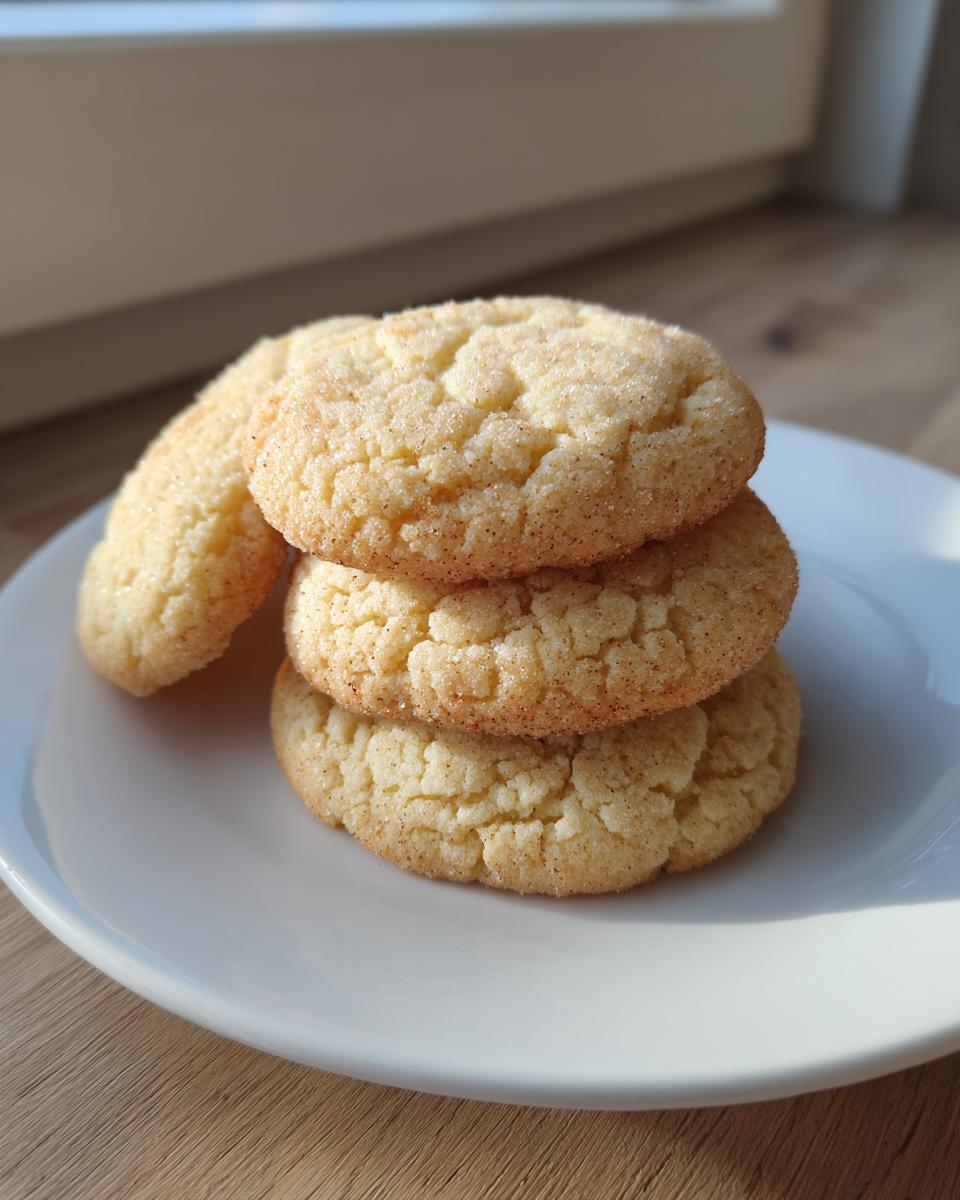
There’s just something truly magical about the alchemy that transforms simple butter, sugar, and flour into a perfect, holiday-ready treat. If you’ve ever wrestled with dough that spreads into sad, misshapen puddles right when you need those clean edges, trust me, I get it! That’s why I spent years, blending my Food Science background with the practical wisdom from my father’s kitchen, to engineer this exact recipe. What you’re getting here is hands-down the best soft and chewy sugar cookie recipe that actually holds its shape for gorgeous cutouts. This isn’t just another recipe; it’s a promise of reliability, tested and perfected so that your homemade sugar cookies turn out exactly right, every single time.
- Why This Is the Best Sugar Cookie Recipe for Cutouts
- Gathering Ingredients for Your Homemade Sugar Cookies
- Step-by-Step Instructions for the Easiest Sugar Cookie Recipe
- Baking Tips for Perfect Sugar Cookies That Don't Spread
- Cooling and Preparing Your Sugar Cookies for Decorating
- The Best Frosting for Sugar Cookies: A Quick Companion Recipe
- Storage and Reheating Instructions for Classic Sugar Cookie Recipe
- Frequently Asked Questions About Soft Sugar Cookies
- Understanding the Nutritional Data for This Sugar Cookie
Why This Is the Best Sugar Cookie Recipe for Cutouts
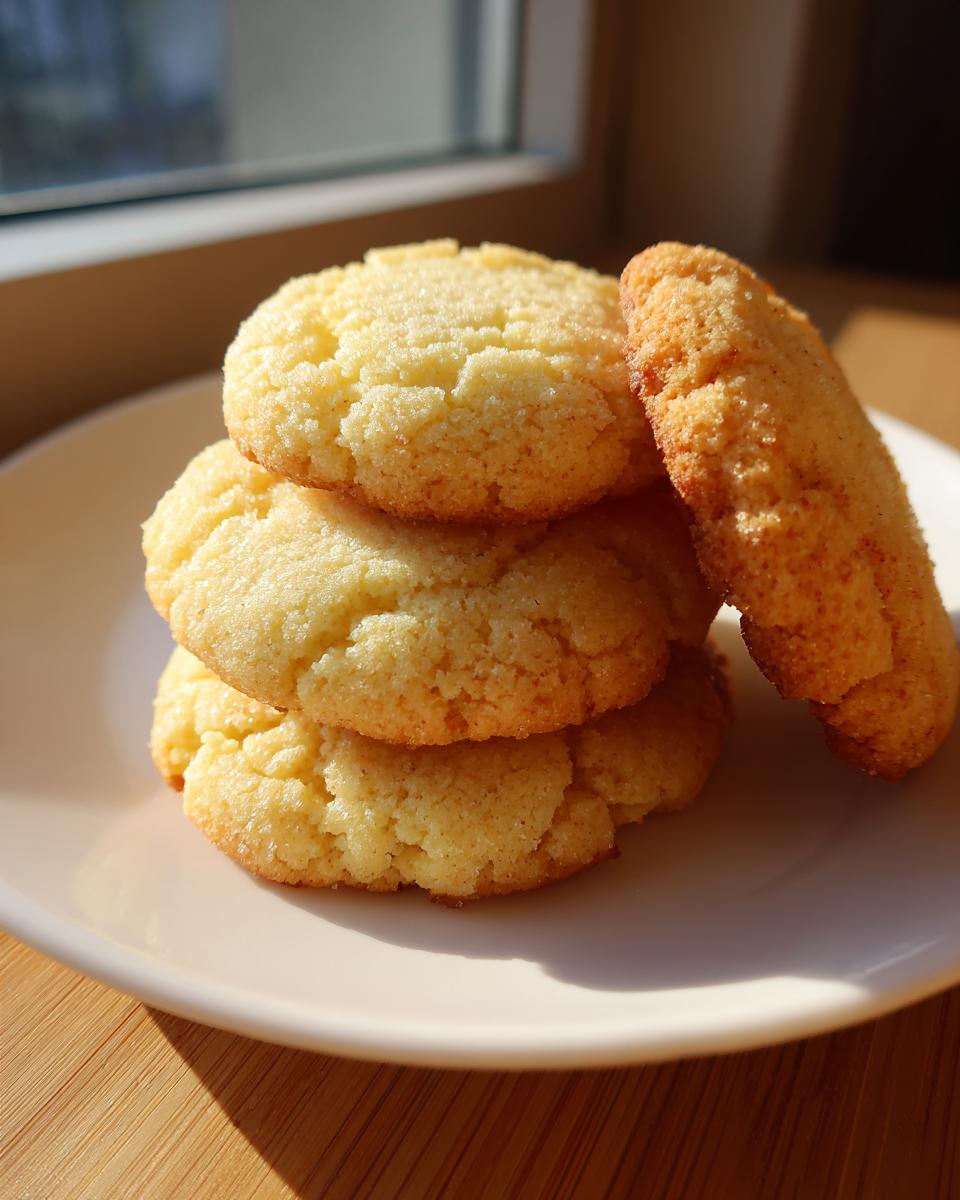
I know you’re looking for a rock-solid recipe, and I’m telling you, this one just doesn’t quit. It hits that sweet spot between tender and sturdy, which is the real magic we’re after when baking for holidays or detailed decorating projects. You can see the amazing results over at this guide, but here’s why mine shine:
- They stay true to shape! No more sad, puffy blobs thanks to smart chilling and butter temperature control.
- The centers are perfectly soft and chewy, not shortbread-crispy.
- They have that amazing, rich buttery flavor that makes people ask for the recipe.
These are the soft sugar cookies you’ve been dreaming about—they’re truly the solution for cut out sugar cookies that don’t spread!
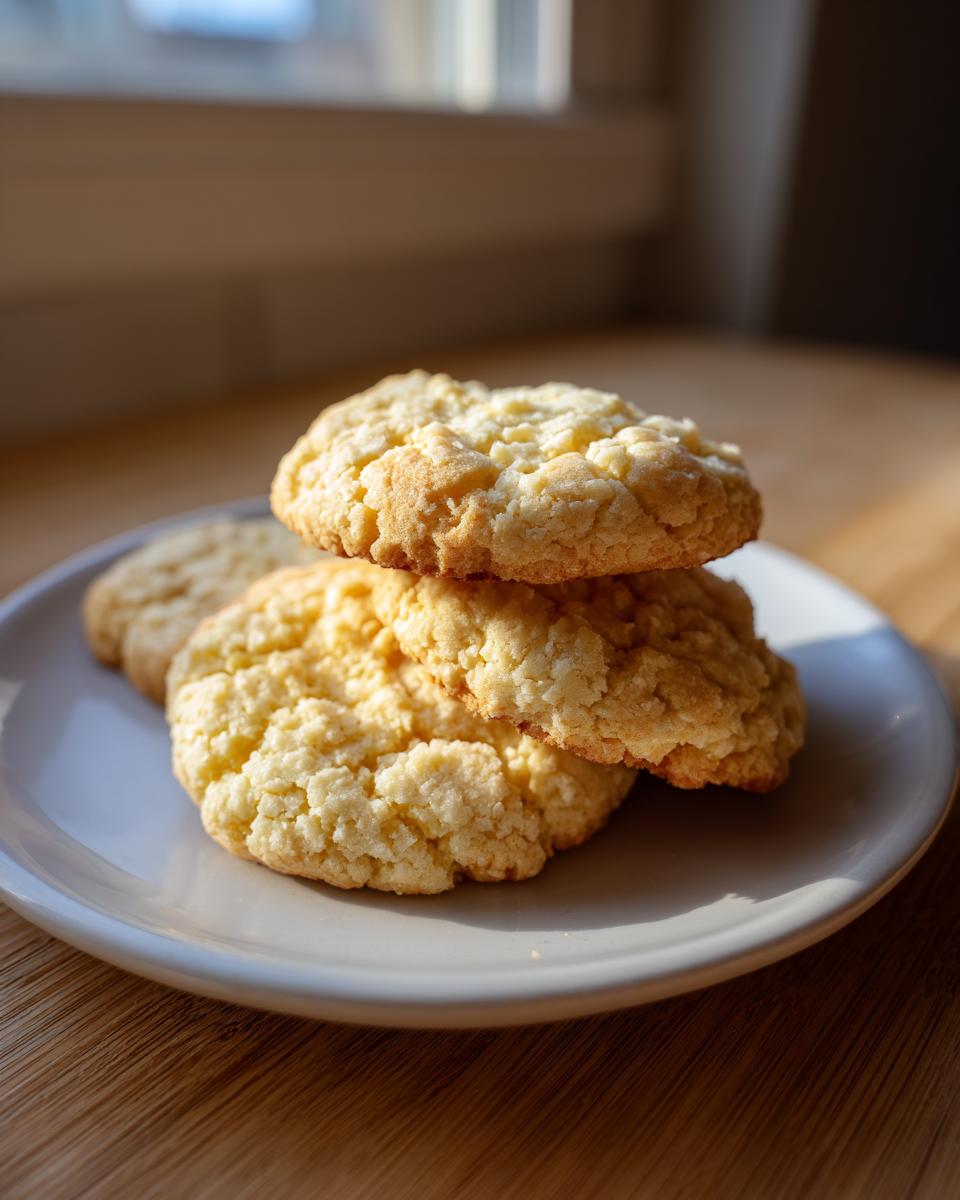
Achieving That Perfect Buttery Sugar Cookie Recipe Texture
Texture is where we win or lose! We want that lovely, soft melt-in-your-mouth quality, but we also need the edges to hold up against the rolling pin and the oven heat. The secret sauce for that robust yet tender crumb is twofold: proper creaming of the butter and sugar, which locks air into the dough for softness, and that mandatory chill time. This combination ensures you get that ideal buttery sugar cookie recipe texture where the cookie melts beautifully on your tongue after you bite it.
Gathering Ingredients for Your Homemade Sugar Cookies
Okay, let’s talk supplies. For this recipe to earn the title of the absolute best, we need to be precise here. Precision is how we ensure your homemade sugar cookies turn out perfectly and we avoid any spreading disasters!
Here is exactly what you need on your counter before you even turn on the mixer:
- 2 1/4 cups all-purpose flour
- 1 teaspoon baking powder
- 1/2 teaspoon salt
- 1 cup (2 sticks) unsalted butter, softened
- 1 1/2 cups granulated sugar
- 1 large egg
- 1 teaspoon vanilla extract
See? Simple ingredients, but the quality matters tremendously if we want that delicious, buttery result!
Ingredient Notes and Substitutions for Your Sugar Cookie Dough
Because I love that science behind the baking, I have to stress two things about temperature. Make sure that butter is truly just softened—you should be able to press an indent easily, but it shouldn’t feel greasy or melted at all! Same goes for your egg; room temperature eggs mix much better into the creamed butter and sugar, creating a stable emulsion that traps air. This gives you that superior texture. Also, please, please don’t skimp on the vanilla extract. A good quality extract really wakes up the buttery flavor, making these simple cookies taste like they came straight from a professional bakery.
Step-by-Step Instructions for the Easiest Sugar Cookie Recipe
Alright, let’s get these amazing sugar cookies mixed up! Remember how I preached precision with the ingredients? Now we apply that to the technique. The overall process is incredibly quick, which is fantastic, but don’t rush that one crucial step—we’ll get to it!
First things first, get your dry stuff whisked together in a bowl. That’s your flour, baking powder, and salt ready to go. Next, grab your mixer for the creaming—we need that butter and sugar to beat together until they look light and fluffy, almost like creamy clouds. Beat in the egg and vanilla just until it disappears. Then, we add the flour mixture slowly, mixing only on low speed. Stop as soon as it comes together; seriously, do not overmix!
Now for the non-negotiable part for achieving no spread sugar cookies: divide that dough into two disks, wrap them tight, and put them in the fridge for a minimum of two hours. I know it feels like forever when you want cookies *now*, but that chilling solidifies the fat, and that’s the secret sauce for success!
Mastering the Rolled Sugar Cookie Dough Technique
Once your dough is perfectly chilled—it should feel firm to the touch—it’s time to roll! Lightly flour your clean work surface; you don’t want too much, or it ends up baking into the cookie bottom. Roll that disc out evenly to about a solid 1/4-inch thickness. This thickness is key if you’re aiming for those thick, satisfying bakery style sugar cookies!
When you press your cookie cutters down, push straight down and then stop. Don’t twist! Twisting is what makes the edges tear or start to spread later. If your cutter gets sticky, just dip the edges in a little bit of flour. Place your shapes gently onto your parchment-lined baking sheets; they are ready to bake!
Baking Tips for Perfect Sugar Cookies That Don’t Spread
Okay, the dough is rolled, the shapes are cut—now don’t let your guard down! Ovens are grumpy, and they all bake differently, which is true for every sugar cookie recipe out there. I actually use an oven thermometer because I refuse to trust the dial, which is often off by 25 degrees! We need that 375°F to be exact so the fat sets quickly, which is what prevents spreading.
When you bake them, watch closely. You’re looking for the edges to just barely start looking set, maybe just the tiniest hint of golden brown, but the very center should still look slightly underdone—almost pale. Pull them out then! Trust me, they finish cooking on the hot pan.
If you skipped the chilling step earlier, guess what? They will spread! That initial chill is the single biggest thing that stops our lovely cutouts from turning into sad, flat pancakes. These tips ensure you get the beautiful cut out sugar cookies that don’t spread you wanted.
Cooling and Preparing Your Sugar Cookies for Decorating
We’re so close to the fun part—the decorating! But you have to manage the cooling process perfectly, or all that work setting the shape goes out the window. I use a two-step system here, which is just another little piece of professional know-how that makes a huge difference.
The first few minutes out of the oven are critical. Let those hot cookies sit right there on the baking sheet for exactly five minutes. If you try to move them immediately, they are still super delicate, and you risk snapping off that perfectly cut edge. They need those five minutes on the sheet to firm up just enough.
After those five minutes, gently slide them onto a wire cooling rack using a thin offset spatula. They have to cool completely on that rack. And I mean *completely*! If you try to spread icing onto warm sugar cookies for decorating, you are going to have a beautiful, runny, colorful mess as the frosting melts right into the cookie surface. Be patient! An hour of cooling time is worth it to save your artwork.
The Best Frosting for Sugar Cookies: A Quick Companion Recipe
Now that we have perfected our cookie base—buttery, soft, and strong enough to handle artistic vision—we absolutely need the right crowning glory! You can’t wrap up this incredible baking project with just anything; it needs a frosting that sets beautifully but tastes amazing too.
This small batch of simple buttercream is what I use almost every time for my best frosting for sugar cookies. It pipes beautifully, dries just enough so it doesn’t smear everywhere, but stays wonderfully creamy in your mouth. Forget those rock-hard royal icings that chip your teeth!
It’s so quick because we only need enough to coat a batch of cookies, not an entire cake. You’ll need about half a cup of very soft butter, two cups of powdered sugar, a splash of milk or heavy cream, and a teaspoon of good vanilla. Beat the butter until it’s pale, then slowly start adding that powdered sugar on low speed—otherwise, you’ll wear sugar dust all over your kitchen!
Once it looks thick, add your vanilla and then add your liquid just a teaspoon at a time until you reach that perfect consistency for spreading or piping decorations. If you’re feeling fancy for a holiday batch, stir in a tiny pinch of almond extract along with the vanilla; it seriously elevates the flavor profile!
Storage and Reheating Instructions for Classic Sugar Cookie Recipe
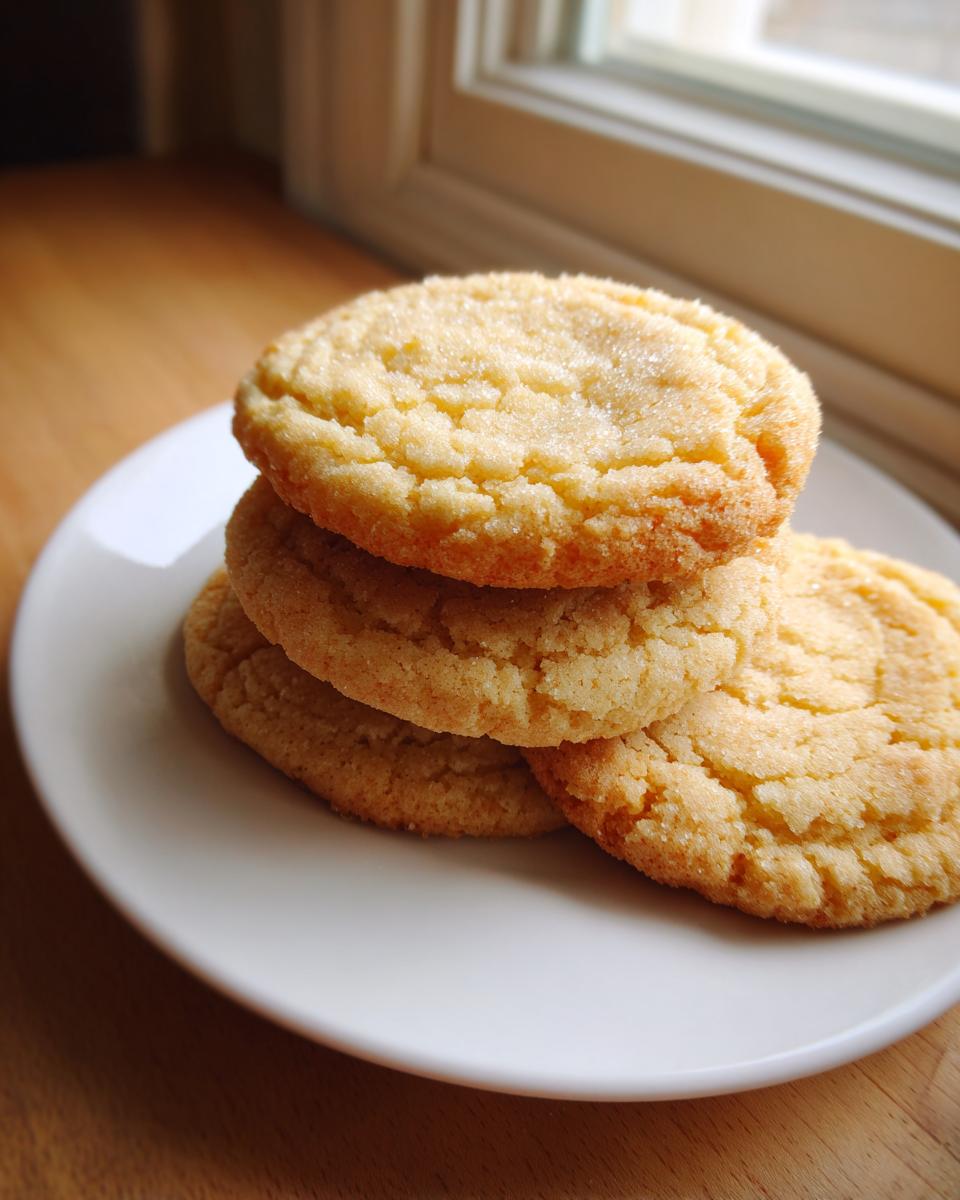
We’ve done all the work, right? We don’t want these beautiful sugar cookies to go stale by tomorrow! The way you store them really impacts that soft, chewy texture we worked so hard to achieve. If you made cutouts for the holidays and haven’t frosted them yet, great news. You can keep the plain cookies in a single layer in an airtight container at room temperature for up to five days. I tell everyone I know this, because finding a great best sugar cookie recipe is worth remembering how to store it!
Now, if they are fully decorated—especially with that buttercream I just showed you—you need to be a little more strategic. Wait until the frosting is completely set, maybe by letting them sit out for an hour after icing. Then, store them in a container, but try to separate layers with parchment paper if you have to stack them. This keeps the frosting from smearing. They’ll be amazing for a week, though honestly, my family rarely lets them last that long!
Frequently Asked Questions About Soft Sugar Cookies
I know you might still have a few lingering thoughts after tackling a batch of these, especially if you’re newer to the world of decorative baking. Don’t worry! Dealing with cut-outs can feel intense, but once you know the answers to these common stumbling blocks, you’ll feel totally confident making these every time. These questions pop up all the time when folks are trying to nail that perfect texture whether they want chewy sugar cookies or their new favorite simple sugar cookies.
Why did my cut-out sugar cookies spread out the sides?
Ah, the dreaded spread! Honestly, 99% of the time this comes down to three things, and we solved them in the recipe, but it’s worth repeating: Your butter was too warm when you mixed the dough, you overmixed the flour resulting in too much gluten development, or—and this is the big one—you didn’t chill the dough long enough. That chilling step is what keeps the fat hard so it melts slowly in the oven instead of immediately spreading everything out. If you find your dough warming up while you are rolling, pop the entire sheet back into the fridge for 15 minutes before cutting again!
Can I use baking soda instead of baking powder in this recipe?
Please don’t swap those out in this specific recipe! We specifically used baking powder because it’s the gentler leavening agent here. Baking soda reacts much faster and more aggressively with ambient temperature, which causes cookies to puff up quickly and, yes, spread way more. Sticking to the baking powder ensures those slow, controlled air bubbles that result in a thick, soft, chewy cookie rather than a thin, crispy one.
How long is too long to chill the dough? Can I chill it for days?
You absolutely can chill the dough for days—that’s one of the huge advantages of this recipe! Flavor actually deepens nicely when it sits overnight. I usually say you can chill the wrapped discs for up to three days safely. If you go longer, say four or five days, you might notice the dough gets a little dry or crumbly when you start rolling, but it’ll still bake fine. If it feels stiff straight from the fridge, let it sit on the counter for about 15 minutes just to take the deep chill off before you try rolling it. It’s perfect that you can prepare this ahead of time for your holiday baking schedule!
Are these cookies good enough to eat without frosting?
I love this question! Yes, 100% yes. Because we used a good amount of butter and the recipe relies on simple granulated sugar rather than brown sugar, these have a beautiful, clean buttery taste all on their own. They are perfectly sweet and soft enough that I often just stack the cooled ones on a plate and call it a day if I’m not decorating for a specific event. They are fantastic plain, honestly!
Understanding the Nutritional Data for This Sugar Cookie
Now, I know that when we’re deep in the joy of holiday cookie baking, we aren’t usually keeping a running tally of macros, but as a food science nerd, I always appreciate knowing what we’re working with! Transparency is key in the kitchen, and I want you to feel confident about what you’re sharing with your family and friends.
The figures below are my best professional estimates based on the exact ingredients and amounts listed in the recipe above—that means they assume standard ingredient densities and don’t account for any frosting you might add later, so keep that in mind!
Here’s the breakdown per one cookie slice:
- Serving Size: 1 cookie
- Calories: 150
- Sugar: 12g
- Sodium: 75mg
- Fat: 7g
- Saturated Fat: 4g
- Unsaturated Fat: 3g
- Trans Fat: 0g
- Carbohydrates: 20g
- Fiber: 0g
- Protein: 2g
- Cholesterol: 25mg
This is just a baseline, remember! If you use salted butter or add that delicious buttercream I shared earlier, the numbers will shift slightly. But this gives you a solid foundation to work from when planning your dessert table. Happy baking!
PrintThe Best Soft and Chewy Sugar Cookie Recipe That Holds Its Shape for Cutouts
Follow this reliable recipe to create buttery, soft sugar cookies that stay perfectly shaped for decorating. This is the classic, easy recipe you need for flawless cutouts every time.
- Prep Time: 20 min
- Cook Time: 10 min
- Total Time: 130 min
- Yield: 3 dozen 1x
- Category: Dessert
- Method: Baking
- Cuisine: American
- Diet: Vegetarian
Ingredients
- 2 1/4 cups all-purpose flour
- 1 teaspoon baking powder
- 1/2 teaspoon salt
- 1 cup (2 sticks) unsalted butter, softened
- 1 1/2 cups granulated sugar
- 1 large egg
- 1 teaspoon vanilla extract
Instructions
- In a medium bowl, whisk together the flour, baking powder, and salt. Set aside.
- In a large bowl, use an electric mixer to beat the softened butter and granulated sugar together until light and fluffy, about 3 minutes. This step incorporates air for a softer cookie.
- Beat in the egg and vanilla extract until just combined. Scrape down the sides of the bowl as needed.
- Gradually add the dry ingredients to the wet ingredients, mixing on low speed until just combined. Do not overmix the dough.
- Divide the dough in half, flatten each half into a disk, wrap tightly in plastic wrap, and chill in the refrigerator for at least 2 hours, or up to 3 days. Chilling is key for cut out sugar cookies that don’t spread.
- Preheat your oven to 375°F (190°C). Line baking sheets with parchment paper.
- On a lightly floured surface, roll out one disk of chilled dough to about 1/4-inch thickness. Use your favorite cookie cutters to cut shapes.
- Place the cutouts onto the prepared baking sheets, spacing them about 1 inch apart.
- Bake for 8 to 10 minutes, or until the edges are set but the centers still look slightly soft.
- Let the cookies cool on the baking sheet for 5 minutes before transferring them to a wire rack to cool completely before frosting.
Notes
- For the best results when decorating, use a simple royal icing or a thick buttercream frosting.
- If the dough becomes too warm while rolling and cutting, return it to the refrigerator for 15 minutes before continuing.
- This recipe makes classic sugar cookies perfect for holiday cookie baking.
Nutrition
- Serving Size: 1 cookie
- Calories: 150
- Sugar: 12g
- Sodium: 75mg
- Fat: 7g
- Saturated Fat: 4g
- Unsaturated Fat: 3g
- Trans Fat: 0g
- Carbohydrates: 20g
- Fiber: 0g
- Protein: 2g
- Cholesterol: 25mg