
If you notice one dish vanishing before anything else at a party, you know it must be those incredible little bites of sunshine: the deviled eggs! Making the absolute best is not luck; it’s chemistry, and that’s where the magic happens. I’m Juliana Cruz, and after years of developing recipes professionally and studying food science, I’ve mapped out the perfect formula. This recipe, the Best Ever Classic Deviled Eggs, is built on reliable testing. Forget dry filling or slimy whites; this formula is designed to produce that beautifully smooth, tangy flavor every single time you make them. They’re dependable party food!
- Why This Classic Deviled Eggs Recipe Guarantees Success
- Gathering Ingredients for the Best Deviled Eggs
- Step-by-Step Instructions for Foolproof Deviled Eggs
- Making Deviled Eggs for Parties and Holidays
- Creative Variations on Classic Deviled Eggs
- Storage and Reheating Instructions for Deviled Eggs
- Frequently Asked Questions About Perfect Deviled Eggs
- Estimated Nutritional Data for Classic Deviled Eggs
- Share Your Perfect Deviled Eggs Creations
Why This Classic Deviled Eggs Recipe Guarantees Success
Look, I’ve seen too many sad platters where the filling is lumpy or those tell-tale green-gray rings have formed around the whites. Ugh. That’s why this recipe is truly special; it’s built like fortress—solid and completely reliable. We cut out the guesswork so you get that creamy, perfectly tangy flavor kick every single time. This is what I call my Foolproof Deviled Eggs method. You’re not just getting a recipe; you’re getting a proven system that delivers elegance on a platter.
If you want to learn more about locking in that classic flavor, check out some other great foundational techniques from fellow recipe developers over at purecookingjoy.
The Science Behind Perfect Hard Boiled Eggs for Deviled Eggs
The absolute foundation of great deviled eggs starts with getting an egg that peals beautifully and doesn’t turn that scary shade of green. To nail this, you follow my two-step cooking process exactly. Bring the water to a full, rolling boil, and then—this is important—pull it off the heat immediately, cover it, and let it stand for exactly 12 minutes. That controlled heat cooks the white perfectly without overdoing the yolk.
Right after the 12 minutes are up, you plunge them into a rock-solid ice bath. This sudden cold shock is the science part! It stops the carryover cooking right away, preventing the sulfur in the yolk from reacting with the iron and creating that nasty grayish-green ring we hate. Plus, the rapid temperature change helps the inner membrane separate from the egg white, making peeling a dream!
Gathering Ingredients for the Best Deviled Eggs
Okay, let’s get down to the supplies! Honestly, great **deviled eggs** are simply great eggs plus the right enhancers. I used twelve large eggs for this batch—enough to share, but not so many that I’m staring at leftovers for days! You’ll need the standard creamy players: good quality mayonnaise and yellow mustard for that necessary zip. Don’t forget the secret weapon for that tangy finish! You can peek at a few other helpful ingredient guides over at easybesthealthy.recipes if you want some inspiration.
Ingredient Notes and Substitutions for Creamy Deviled Egg Filling
The magic is really in the balance here. That tiny splash of white vinegar? Don’t skip it; it brightens everything up! I highly, highly recommend the sweet pickle relish, even if you think you hate it. It adds just a hint of acid we need to cut through the richness of the mayo. And here’s a pro tidbit: use eggs that aren’t brutally fresh—slightly older eggs (maybe a week old) peel so much cleaner, which keeps your whites looking beautiful!
Step-by-Step Instructions for Foolproof Deviled Eggs
Now for the assembly! Once your whites are cooled and peeled (wasn’t that easy?), slice them neatly in half lengthwise and scoop every speck of that golden yolk into a medium bowl. This is where we turn yolks into magic. You’re going to want to mash these yolks with a fork until they are absolutely uniform. No lumps allowed if you want that classic, rich texture!
Next, pile in the mayo, the mustard, that splash of vinegar, and any relish you are using. Mix it vigorously—we are not just stirring; we are creating a beautiful emulsion here. This is what makes these the Easy Deviled Eggs everyone asks for the recipe to. Mix until that filling is completely uniform, glossy, and ready to go!
Once mixed, transfer your filling into those empty egg white cups. If you want to wow your company, grab a piping bag with a star tip; it makes them look restaurant-ready. If piping isn’t your jam, just use a small spoon to mound the filling high in the cups. For more tips on making this process even smoother, check out how they do it over at butterwithasideofbread.com.
Achieving the Smoothest Deviled Egg Filling
The secret weapon against lumpy filling is elbow grease right at the start. Mash those yolks first until they are basically powder before you add *any* wet ingredients. I mean, really work them over with a sturdy fork until there are zero crumbs left visible. If you are feeling extra fussy, or if you just want that unbelievably creamy deviled egg filling texture that melts in your mouth, press the mashed yolks through a fine-mesh sieve. It takes an extra minute, but trust me, it creates an unbelievably silky texture.
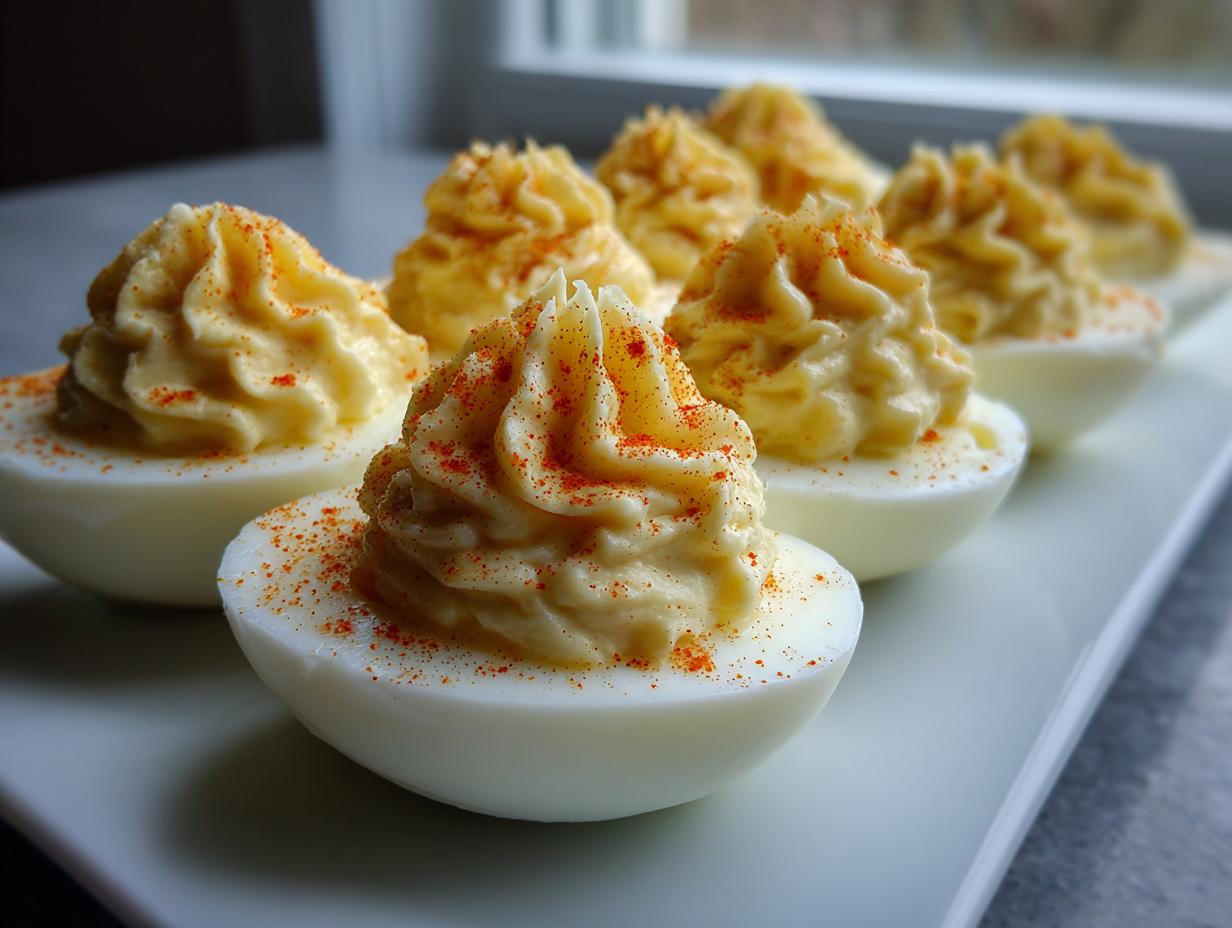
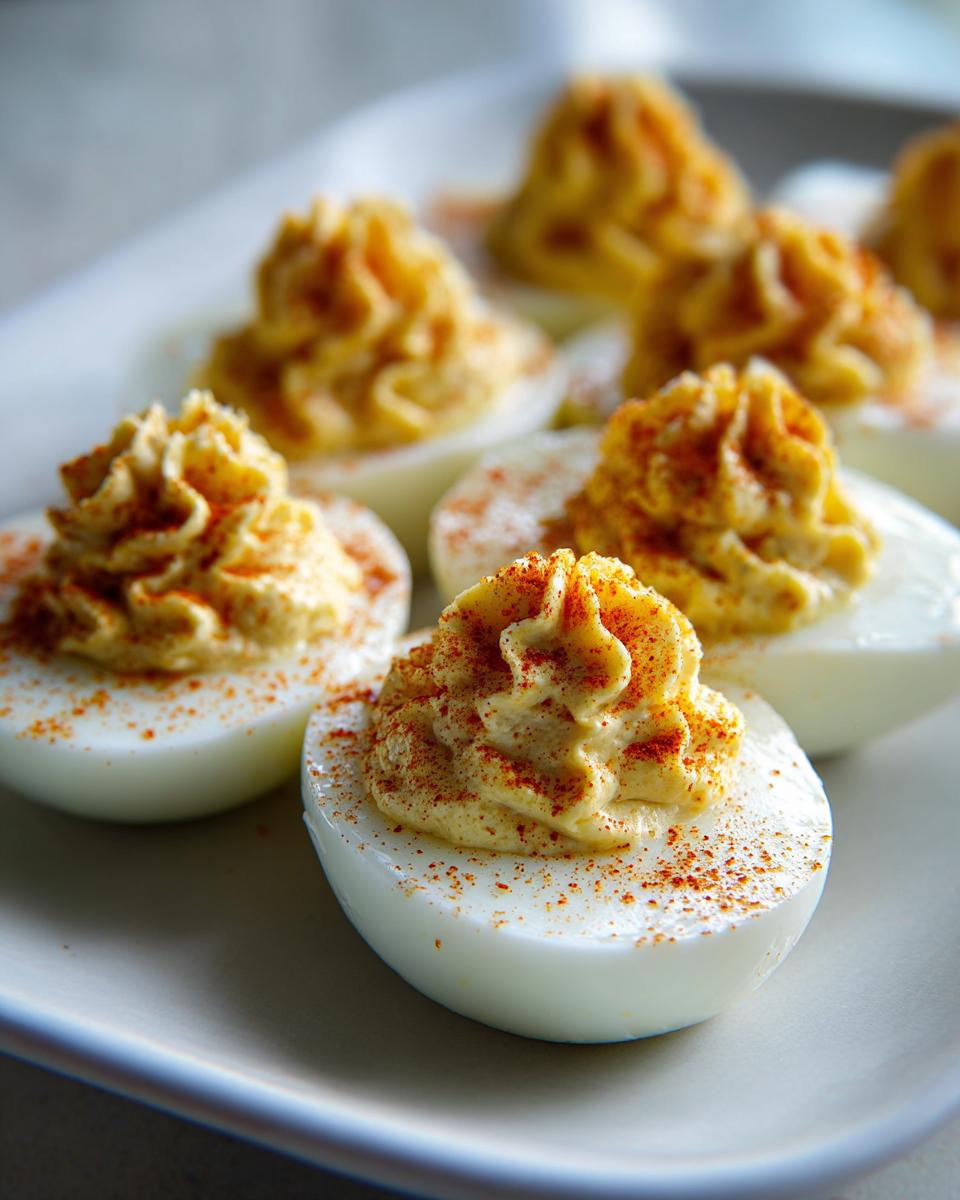
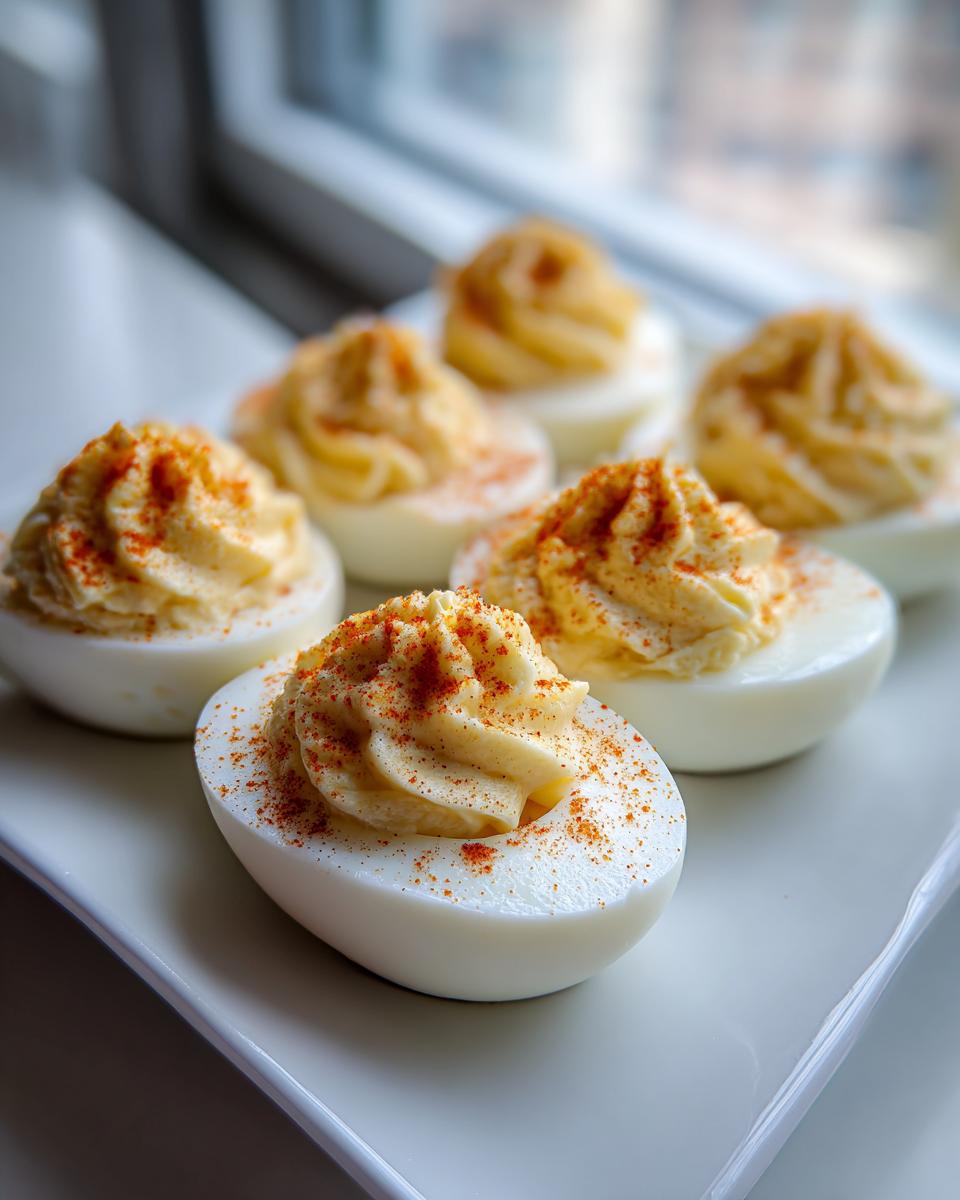
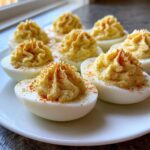
Presentation Tips for Perfect Deviled Eggs with Paprika Topping
Once they are filled up, don’t serve them straight away! Pop the platter into the fridge for about 15 minutes. Chilling helps that rich filling firm up just enough so they hold their shape beautifully when you carry them out. This is crucial if you are trying to create gorgeous party platter ideas!
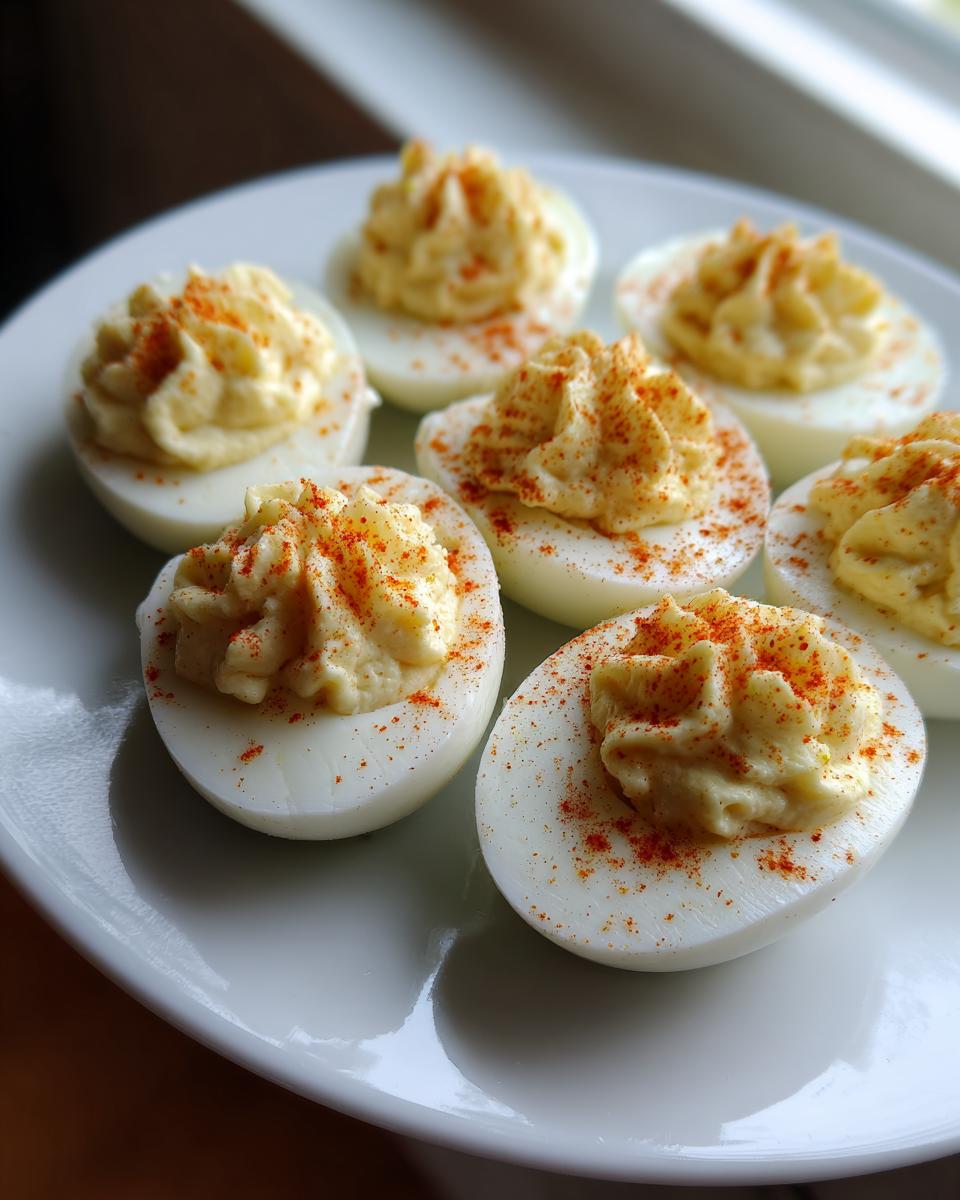
Finally, the garnish! A light, even dusting of paprika across the top brings that classic color contrast we all expect. Don’t go nuts with the paprika; a delicate dusting is elegant. You can also sprinkle on some fresh chopped chives if you have them handy!
Making Deviled Eggs for Parties and Holidays
These **deviled eggs** aren’t just some random snack; they are the undisputed champions of any gathering! Seriously, they are the ultimate best appetizer for parties because they are bite-sized, protein-packed, and everyone reaches for them first. Whether it’s a casual Sunday football spread or the big Easter or Christmas dinner, these are always requested.
One of the best things about this recipe is how well they work as make ahead appetizers. Life gets hectic when you’re entertaining, right? You don’t want to be fussing with mayonnaise jars while guests are walking in the door. The good news is you can prepare the hard-boiled eggs and even mix the filling ahead of time. I usually just store the filling covered tightly in the fridge and only put them into the whites right before I need to serve or chill them again.
If you want to see how others make their holiday spreads using this timeless recipe, check out the inspiration over at The Cozy Cook. They always have such lovely ideas for festive platters!
Creative Variations on Classic Deviled Eggs
Now that we’ve mastered the tried-and-true classic, we can have some real fun! The beauty of a perfect base recipe for **deviled eggs** is that it becomes a fantastic canvas for whatever flavor moods strike you. We aren’t stopping at paprika today! People go wild for Gourmet Deviled Egg Variations, and honestly, once you know the foundation, you can easily pivot.
If you’re feeling adventurous, you can lean into a rich Southern Style Deviled Eggs profile by adding a touch of hot sauce or using Duke’s Mayo if you can find it. Or, let’s be honest, loading them up with bacon makes them instant winners! I’ve seen amazing ideas out there that take this simple bite and turn it into a flavor bomb. For tons of inspiration on shaking things up, you absolutely have to check out the roundup over at Over The Big Moon.
If you want to see just how many directions you can take this appetizer, run over and browse the huge list of ideas linked from Lentil Loving Family. It’s amazing what you can do!
Keto Deviled Eggs and Healthy Egg Appetizers Options
The great news is that our basic structure is already wonderfully low-carb! If you are counting macros, you are mostly good to go. Just skip that optional sweet pickle relish, as the small amount of sugar might trip you up depending on your strictness level. Also, make sure the mayonnaise you choose is low-carb or keto-friendly, since mayo is the big player here.
These become fantastic Keto Deviled Eggs just by swapping out ingredients like that sometimes, making them perfect healthy egg appetizers that still feel indulgent. You are getting tons of protein, and they fill you up!
Storage and Reheating Instructions for Deviled Eggs
Nobody wants sad, sweaty deviled eggs, right? Since these are meant to be served cool, storage is really important. Once they are filled and dusted with paprika, you need to keep them chilled until company arrives. An airtight container is your best friend for keeping that creamy filling fresh and safe. I typically give mine about 30 minutes of solid fridge time before I put them on the table.
If you are dealing with a huge holiday spread and need to make these truly ahead of time, remember my tip from earlier: only prepare the filling! Keep the filling covered tightly in the fridge, and then, only about an hour before you plan to serve them, scoop the yolk mixture back into the clean, peeled whites. This keeps the whites from weeping and the filling looking its absolute best—super sharp and fresh!
Frequently Asked Questions About Perfect Deviled Eggs
It’s totally normal to have questions when you’re trying to achieve perfection! I know I did when I was first mastering this appetizer. Here are the questions I get asked most often about making sure these **deviled eggs** always turn out right for the crowd.
For more background and tips on handling eggs, even the pickled kind, you can check out the helpful guide over at Downshiftology.
How long do deviled eggs last in the fridge?
If they are perfectly chilled and covered, they are generally considered safe for about 3 to 4 days. However, honestly, I doubt they’ll last that long at your party! For the *best* texture and flavor, I always aim to eat them within 24 hours of filling them. If you’ve made them further ahead, remember my advice: keep the filling separate until just before serving!
What is the secret to tangy egg appetizer flavor?
The tang is absolutely intentional! It’s the perfect counterbalance to the richness of the egg yolks and the mayonnaise. The secret lies in balancing the acid. We use both Dijon or yellow mustard AND a splash of white vinegar in the base mix. If you taste the mixture and it feels heavy but not bright, add vinegar half a teaspoon at a time until it sings! That bright, tangy egg appetizer flavor is non-negotiable for me.
Can I use pre-cooked eggs for my deviled eggs?
Oh, please don’t! If you’re using pre-cooked hard-boiled eggs that you bought at the store, you stand a high risk of a rubbery white and a yolk that doesn’t break down properly. To get that truly perfect texture, you need eggs cooked using our specific boil-and-ice-bath method. That process ensures the whites are tender and yields yolks that mash into the smoothest paste needed for that iconic filling.
Estimated Nutritional Data for Classic Deviled Eggs
Now, nobody is making these for a salad, right? They are pure appetizer joy! I wanted to give you an idea of what’s packed into each bite of these delicious **deviled eggs** so you know what you’re serving up. Keep in mind that this nutritional breakdown is just an estimate based on the standard ingredients we used in this foolproof recipe. Real numbers can change slightly depending on your choice of mayo or if you add in extras.
Here is the breakdown per half serving:
- Calories: 70
- Fat: 6g
- Carbohydrates: 0.5g
- Protein: 3g
- Cholesterol: 85mg
The great thing? They are naturally gluten-free and hold together beautifully as a wonderful keto deviled eggs option if you stick to low-carb mayo!
Share Your Perfect Deviled Eggs Creations
I truly hope this recipe brings that same magic to your table that it brings to mine! If you’ve followed these steps and achieved that perfect, creamy filling, I’d love to hear about it! Please take a moment to leave a rating below. And if you get fancy with your toppings—maybe you tried some smoked salmon or used bacon—snap a picture for social media! Don’t forget to tag me so I can see all your beautiful spreads. You can also find inspiration for serving at Spend With Pennies!
Print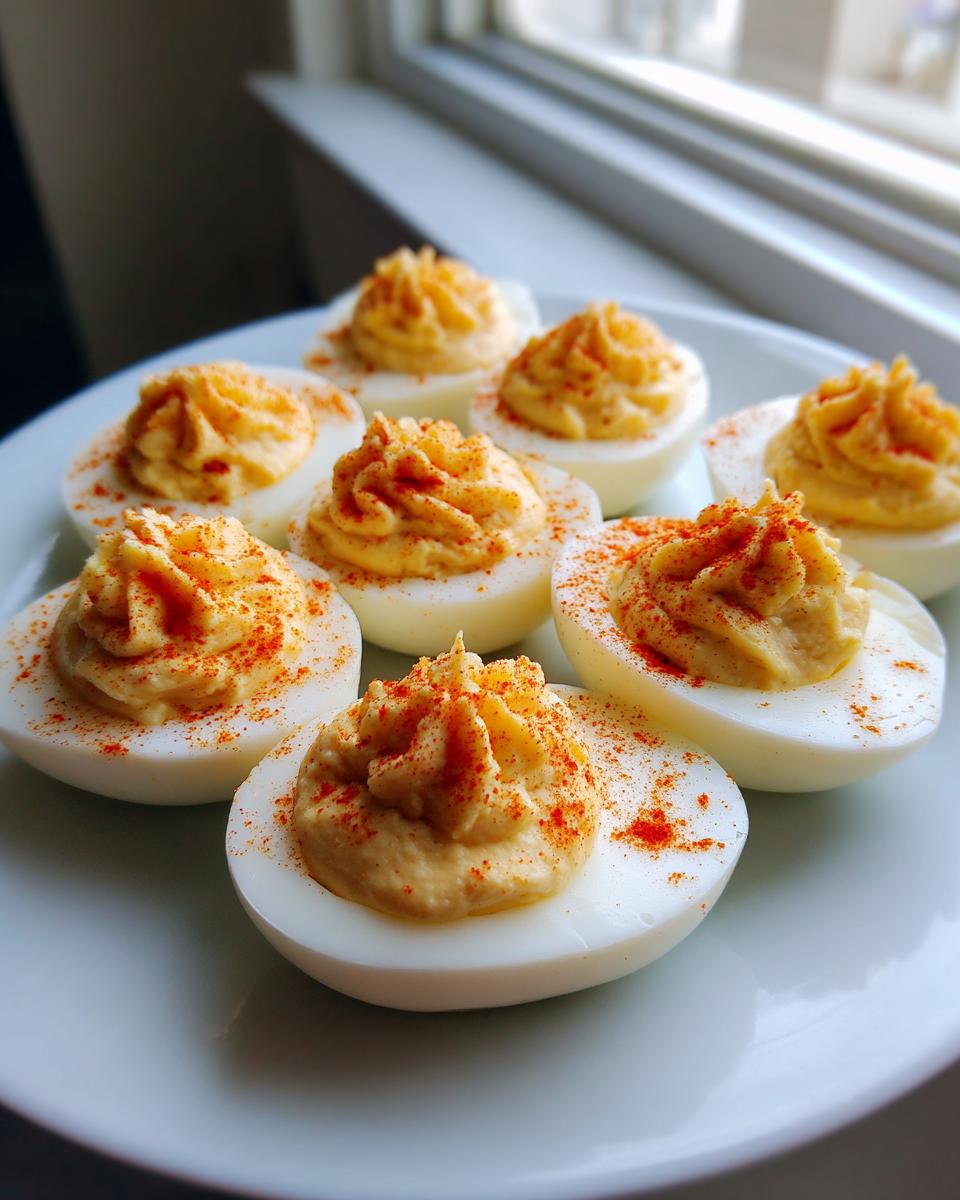
The Best Ever Classic Deviled Eggs: Creamy, Tangy Crowd-Pleaser
Achieve perfectly smooth, creamy, and tangy deviled eggs every time with this foolproof recipe. This classic appetizer is ideal for parties, holidays, and gatherings.
- Prep Time: 20 min
- Cook Time: 12 min
- Total Time: 47 min
- Yield: 24 halves 1x
- Category: Appetizer
- Method: Boiling and Mixing
- Cuisine: American
- Diet: Gluten Free
Ingredients
- 12 large eggs
- 1/2 cup mayonnaise
- 2 tablespoons yellow mustard
- 1 tablespoon white vinegar
- 1 teaspoon sweet pickle relish (optional)
- 1/4 teaspoon salt
- 1/8 teaspoon black pepper
- Paprika, for garnish
Instructions
- Place eggs in a saucepan and cover with cold water by one inch. Bring water to a full, rolling boil over high heat.
- Once boiling, immediately remove the pan from the heat, cover it, and let the eggs stand for exactly 12 minutes.
- Prepare an ice bath by filling a large bowl with ice and cold water. Immediately transfer the eggs to the ice bath to stop the cooking process. Let them cool completely, about 15 minutes.
- Peel the cooled eggs. Slice each egg in half lengthwise. Gently scoop the yolks into a medium bowl. Place the egg white halves on a serving platter.
- Use a fork to mash the egg yolks until they are completely smooth. This step is key for a creamy filling.
- Add the mayonnaise, mustard, vinegar, pickle relish (if using), salt, and pepper to the mashed yolks. Mix thoroughly until the filling is silky smooth.
- Spoon or pipe the yolk mixture back into the hollows of the egg white halves. For a refined look, use a piping bag fitted with a star tip.
- Chill the filled eggs for at least 15 minutes before serving. This helps the filling set.
- Just before serving, sprinkle the tops lightly with paprika.
Notes
- For easy peeling, use slightly older eggs (about one week old) rather than very fresh eggs.
- To achieve the absolute smoothest filling, press the mashed yolks through a fine-mesh sieve before mixing in the wet ingredients.
- If you are making these ahead, store the filling separately and fill the egg whites up to 24 hours in advance. Keep covered in the refrigerator.
Nutrition
- Serving Size: 1 half
- Calories: 70
- Sugar: 0.5
- Sodium: 110
- Fat: 6
- Saturated Fat: 1.5
- Unsaturated Fat: 4.5
- Trans Fat: 0
- Carbohydrates: 0.5
- Fiber: 0
- Protein: 3
- Cholesterol: 85