
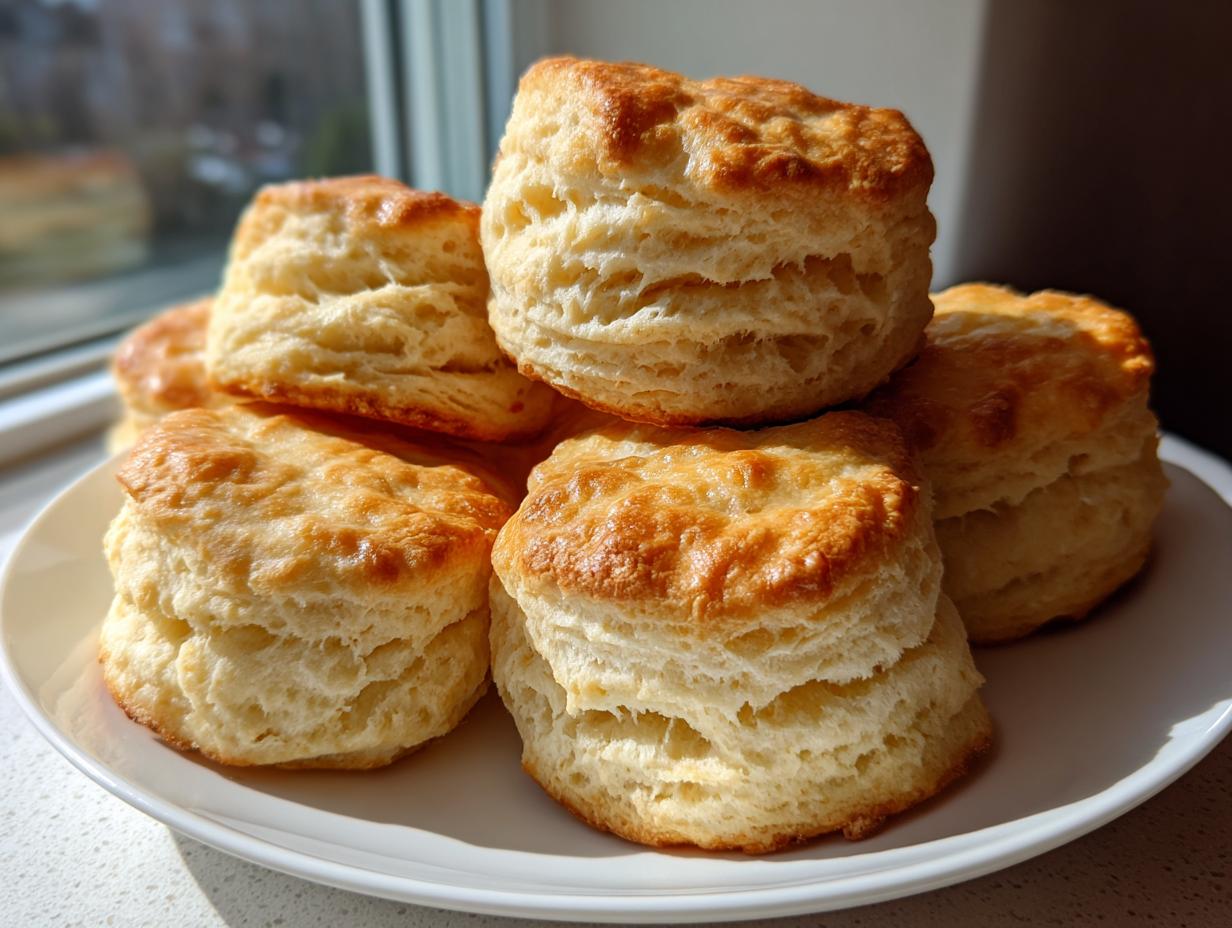
There is truly nothing in this world quite like the satisfaction of pulling a tray of perfect, steamy buttermilk biscuits from the oven. They are the gold standard of comfort food, right? I’m Juliana Cruz, and after years of developing recipes professionally and digging deep into the science of baking, I promise you this is the Best Buttermilk Biscuit Recipe you’ll ever need. Forget flat, sad little hockey pucks; we are making tall, tender, and wonderfully flaky biscuits that just melt in your mouth. We’re building layers with simple ingredients, and trust me, the results are pure alchemy!
- Why This Is the Best Buttermilk Biscuit Recipe You Will Make
- Gathering Ingredients for Fluffy Southern Buttermilk Biscuits
- The Technique for Tender Flaky Biscuits: Step-by-Step Instructions
- Baking Your Buttermilk Biscuits to Golden Perfection
- Tips for Success Making Easy Homemade Biscuits
- Serving Suggestions for Classic Southern Buttermilk Biscuits
- Storage and Reheating Buttermilk Biscuits
- Frequently Asked Questions About Buttermilk Biscuits
- Nutritional Estimate for Your Homemade Buttermilk Biscuits
Why This Is the Best Buttermilk Biscuit Recipe You Will Make
I want you to stop chasing those dry, dense biscuit recipes that leave you disappointed. This batch right here is built differently. We are aiming for that incredible texture you remember from the best Southern kitchens—the ones that are so buttery, they just melt in your mouth. This isn’t just baking; it’s serious comfort food baking!
- They are unbelievably Tall Flaky Biscuits. You won’t believe the height we get!
- The crumb is perfectly Tender Flaky Biscuits; soft inside but with a lovely structure.
- They have that rich, buttery flavor that screams ‘homemade.’
Achieving Fluffy Buttermilk Biscuits Every Time
The secret to the fluffiness is physics, plain and simple! To harness that lift, every single cold ingredient—the butter, the buttermilk—must be kept ice cold right up until it hits the hot oven. When those tiny, distinct cold butter pockets hit the heat, they release steam rapidly. That steam is what forces the dough layers apart, giving you those dramatic, high rises we’re famous for. Handle the dough as little as possible—that’s the golden rule!
Gathering Ingredients for Fluffy Southern Buttermilk Biscuits
Okay, let’s talk about what you need to pull off these Fluffy Southern Buttermilk Biscuits. The list is short, which I love because it means fewer chances to mess up! But here is where the precision comes in. Every single ingredient must be COLD. I mean, it should feel like it just came out of a January morning—especially that butter and those little gems of buttermilk. That icy temperature is what guarantees those crispy edges and the truly flaky centers we are aiming for.
Make sure your butter is cut into little cubes, not mashed up with your hands, okay? We need defined pieces. Here is exactly what you’ll need:
- 2 cups all-purpose flour
- 1 tablespoon baking powder
- 1 teaspoon salt
- 1 teaspoon sugar
- 6 tablespoons cold unsalted butter, cut into small pieces (Do this first!)
- 3/4 cup cold buttermilk
- 1 tablespoon melted butter for brushing
Ingredient Notes and Substitutions for Buttermilk Biscuits
If you don’t have buttermilk, don’t panic! I learned this trick years ago. You can make your own right now! Just take 3/4 cup of regular milk and stir in one teaspoon of white vinegar or lemon juice. Let it sit for about five minutes until it looks a little curdled. Perfect!
Also, to make those super Simple Ingredient Biscuits people talk about, you can swap out the flour, baking powder, and salt for 2 cups of self-rising flour. Just use the self-rising flour, sugar, cold butter, and buttermilk. But for the absolute best buttermilk biscuit recipe, stick to the full ingredient list first. It gives you a better, more reliable lift!
The Technique for Tender Flaky Biscuits: Step-by-Step Instructions
This is where the magic happens, folks! Getting big, beautiful buttermilk biscuits that stack up high takes just a few specialized movements. Remember, we are treating this dough gently. Don’t rush the temperature checks, and definitely don’t fall in love with the dough too much—we want it to stay shaggy! This method is what separates a good biscuit from the truly great homemade ones.
- First things first, get that oven cranked up to 425 degrees Fahrenheit. You want it screaming hot. And line that tray with parchment paper—it saves cleanup time, which means more time eating!
- In a big bowl, whisk together your dry things: flour, baking powder, salt, and sugar. Give it a good swirl so everything is evenly distributed before we add the fats.
- Now, drop in those cold cubes of butter. I prefer using my fingertips for this part, squishing the butter into the flour until it looks like coarse crumbs with a few tiny pea-sized butter chunks still visible. That’s our insurance policy for flakiness!
- Make a little crater in the middle of that mix and dump in all your cold buttermilk at once. Stir it gently with a fork until it *just* holds together. I mean it—shaggy is good!
- Turn that messy dough onto a lightly floured surface. Gently pat it into a rectangle, about 3/4 of an inch thick. Be kind to it!
Mastering the Fold for Layered Buttermilk Biscuits
This folding step is non-negotiable if you want those gorgeous layers. Take the short side of your dough rectangle and fold it over so it meets the middle, then fold the other side over that, just like folding a business letter. Turn the dough 90 degrees and pat it down again gently to that same 3/4 inch thickness. This process traps the cold butter right where it can create dramatic steam pockets. You can see exactly how this layering technique works over at this great guide!
When you cut them, use a sharp 2-inch biscuit cutter. Here is the *most* important part for height: push the cutter straight down and pull it right back up. Do not twist the cutter! Twisting seals the edges shut, and then your biscuit can’t rise tall. Place them close together on the sheet if you want soft sides, or spread them out for those crispy edges you can find over at this heavenly recipe. Remember, these folding/cutting steps are crucial for getting those Tall Flaky Biscuits!
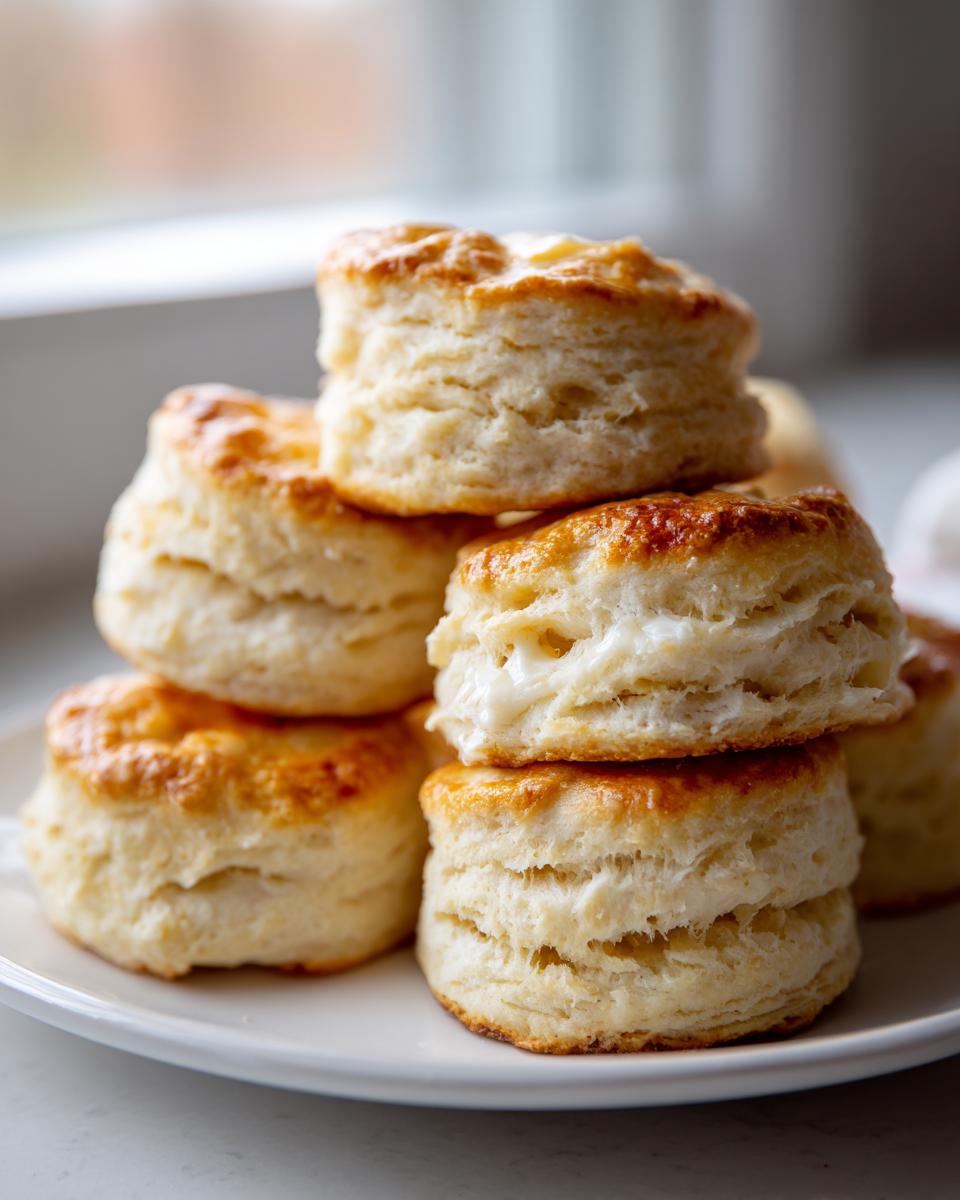
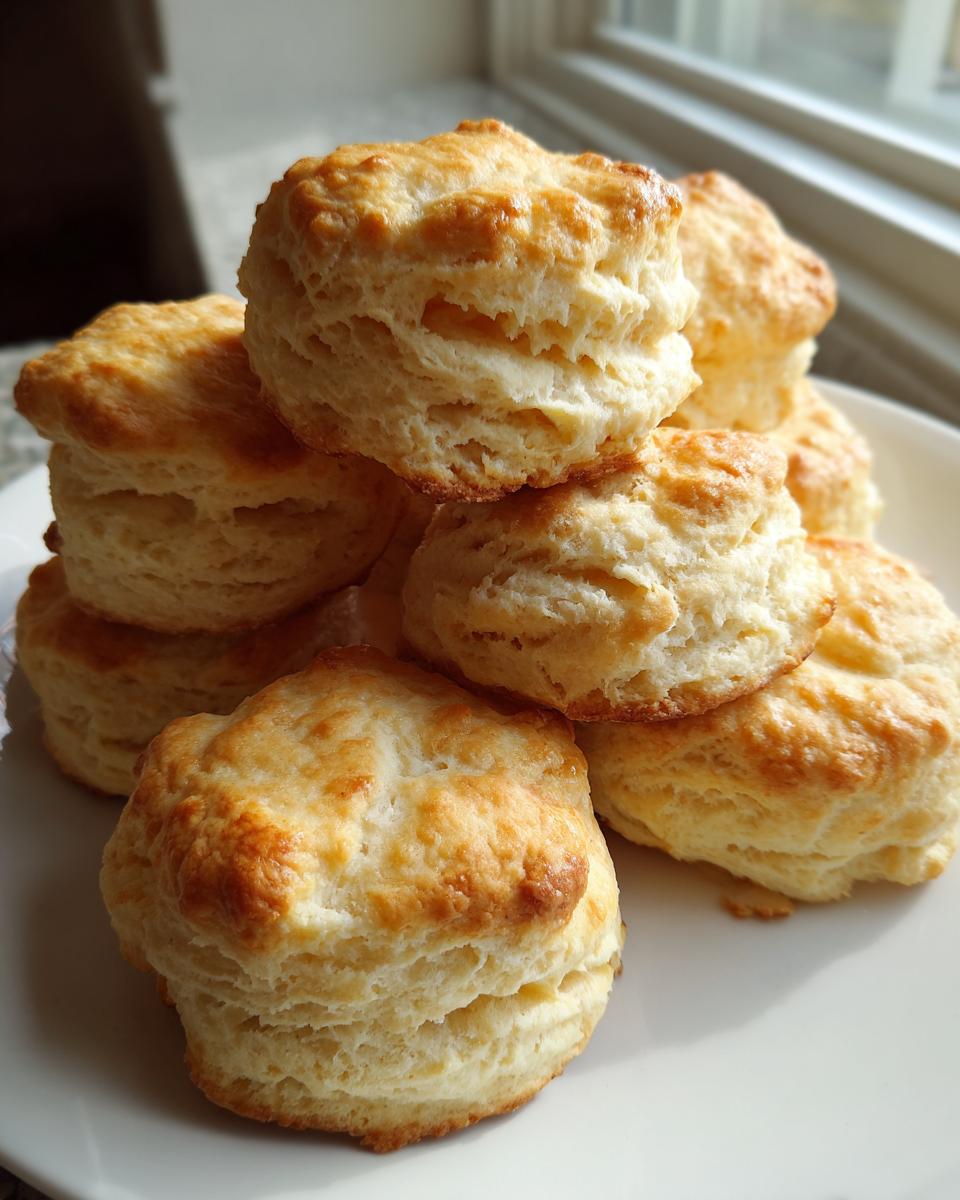
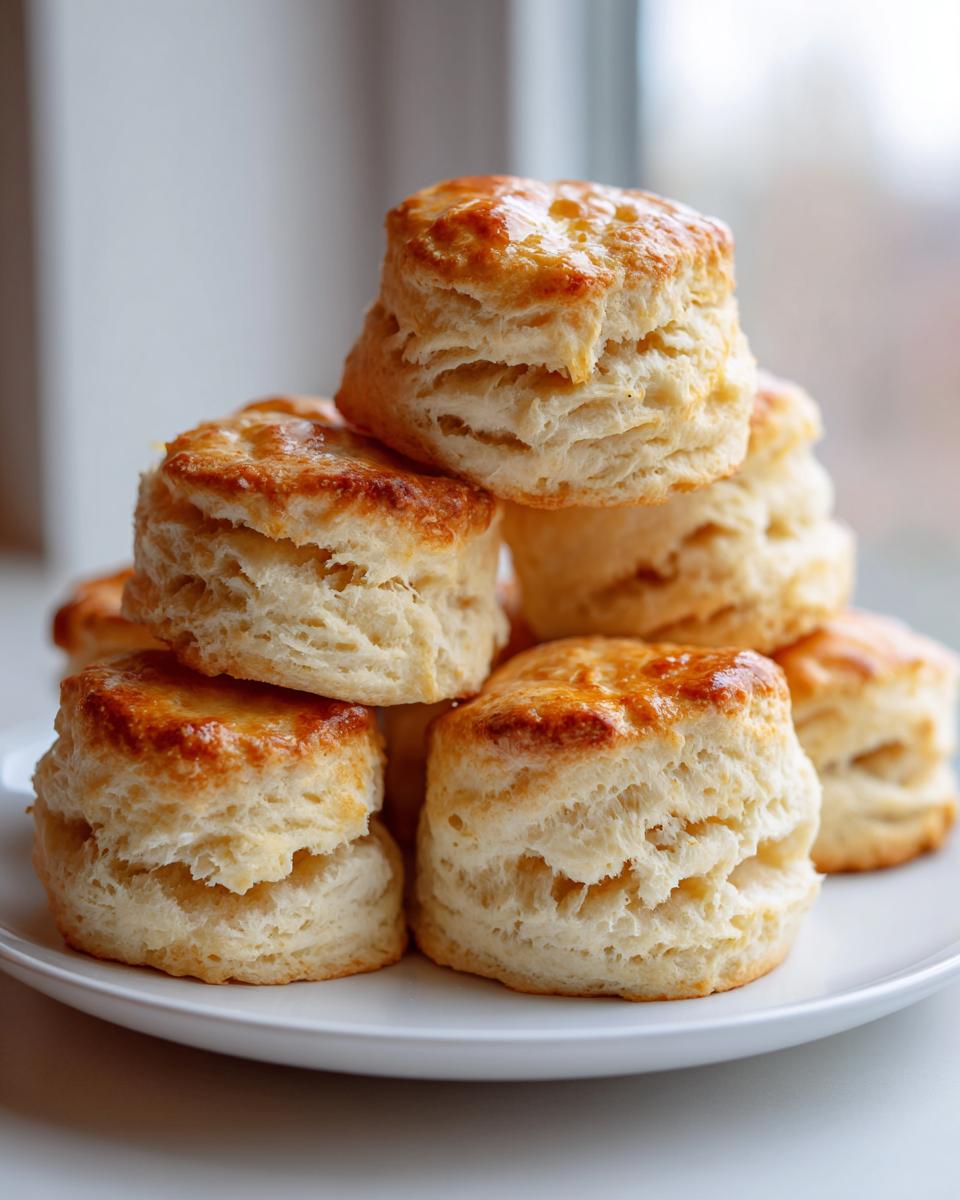
Baking Your Buttermilk Biscuits to Golden Perfection
Now that we’ve treated that dough so nicely, it’s time to reward ourselves! Remember that oven should be preheated to 425 degrees Fahrenheit. We need that quick, intense heat exposure to get the best lift from those cold layers of butter. Bake these beauties for about 12 to 15 minutes. You’re looking for them to be beautifully golden brown on top. Don’t peek constantly, you want to let the oven do its job!
Right when they pop out—still piping hot—we do the final touch for that extra amazing flavor. Brush the tops lightly but completely with that reserved melted butter. Ahh, that smell! That shiny finish turns these into proper Buttery Breakfast Bread. Serve them immediately, because honestly, a warm biscuit waits for no one!
Tips for Success Making Easy Homemade Biscuits
Even when following a straightforward recipe, sometimes things go slightly sideways, right? That’s why I love sharing these little pro-hacks I picked up while developing recipes professionally. If you want to ensure these are always Easy Homemade Biscuits—not a stressful baking project—focus on minimizing agitation. The less you work that dough, the flakier it stays. It’s a delicate balance, I know!
First, trust your thermometer. Ovens lie! Make sure that 425 degrees is accurate; if your oven runs cool, your biscuits will spread out instead of up. Secondly, when cutting, if you see the dough start to warm up between cuts, just pop the whole thing back into the fridge for five minutes. Keeping everything icy cold is truly the foundation of success for these high-rising beauties. For more great techniques on getting that perfect lift, check out the tips over at this helpful site.
Also, remember that melted butter you brushed on top? Doing that second brush right when they come out of the oven—before they even cool a minute—makes them incredibly tender and boosts that buttery flavor. It’s a simple step easily found over at this recipe that makes a huge difference!
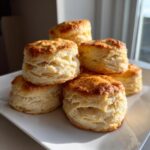
Serving Suggestions for Classic Southern Buttermilk Biscuits
What am I even going to do with these incredible, flaky biscuits? That’s the best part! They are totally versatile, which is why they are such perfect Brunch Baking Ideas. If you grew up in the South, you know these demand a hearty serving of sausage gravy for the ultimate comfort food experience—we call those Biscuits for Gravy, and these are sturdy enough to hold up to it!
But they are equally dreamy sweet, too. I love splitting one open when it’s still warm and stuffing it with homemade strawberry jam or just drizzling on some golden honey. You can find incredible variations on serving methods, like that classic pairing on this Southern favorite site. Honestly, every way you serve them, they are going to disappear fast!

If you’re planning a big holiday morning, these are your go-to because they just look so impressive on the table. Check out some gorgeous platter ideas over at Brenda Gantt’s favorite inspiration!
Storage and Reheating Buttermilk Biscuits
So you’ve made a huge batch, which is honestly the only way to make buttermilk biscuits, right? Don’t fret about leftovers! Store them simply in an airtight container at room temperature for up to two days. If you need them to last longer, you can absolutely freeze them—just make sure they are completely cooled first.
To reheat them and bring back that fresh-from-the-oven fluff, I always go for the oven method. Wrap them loosely in foil and keep them at 350 degrees for about 10 minutes. They come out steamy and soft again. If you’re in a rush, the microwave works, but honestly, the texture is just totally different. Go for the oven; it’s worth the extra five minutes!
Frequently Asked Questions About Buttermilk Biscuits
Why do my biscuits keep coming out flat instead of tall?
Oh, I know that frustration! Flat biscuits usually mean one of two things, and we talked about this on the folding step for a reason! Either your ingredients weren’t cold enough—which means the fat didn’t create steam properly—or you twisted your biscuit cutter while stamping them out. Twisting seals those sides shut, preventing the dough from rising straight up. For the fluffiest results, use a sharp cutter and push straight down! We want those Tall Flaky Biscuits!
Can I use regular milk if I don’t have buttermilk for this quick biscuit recipe?
You sure can, but you have to turn it into buttermilk first! Remember my trick? Pour one teaspoon of white vinegar or lemon juice into 3/4 cup of regular milk. Let it sit for about five minutes until it curdles slightly. That acidity is what reacts with the baking powder to give you the needed lift in these Easy Homemade Biscuits. Don’t skip that step if you’re looking for a successful bake!
Can I make the dough ahead of time?
You can certainly chill the dough—but only for a little while! If you’re planning a big breakfast, cut the biscuits out, place them on the tray, cover them loosely, and pop them in the fridge for up to an hour. If they sit too long, the baking powder starts to lose its power, and you end up with denser buttermilk biscuits. If you want to try the ultimate convenience, you can look up the 3-ingredient version they rave about, as that dough sometimes handles chilling a bit better. You can also check out this quick recipe for alternatives!
Are these biscuits very similar to scones?
That’s a great question! They are kissing cousins, but the texture is the big differentiator. Scones usually have more sugar and fat mixed right into the dough, making them slightly denser and often triangular. Our Classic Southern Baking style biscuit relies on creating those distinct layers through folding and needs a strong acid like buttermilk for a big, dramatic rise, which keeps them light and fluffy!
Nutritional Estimate for Your Homemade Buttermilk Biscuits
I always like to give everyone a ballpark idea of what they are enjoying when they make one of my recipes, though please remember this is just an estimate! Since we are using real butter and aiming for those deeply satisfying, buttery textures, these biscuits are certainly a treat. This breakdown is based on a serving size of one biscuit, made exactly according to the instructions above. Bake away, worry about the numbers later!
Here is the rough nutritional picture for these amazing, yet rich, buttermilk biscuits:
- Serving Size: 1 biscuit
- Calories: Approximately 220
- Fat: Around 11g (with 7g saturated fat—that’s the butter working its magic!)
- Carbohydrates: About 26g
- Protein: Roughly 4g
- Sugar: Very low, about 1g
- Sodium: Around 450mg
- Cholesterol: About 25mg
They are a wonderful source of comfort, a fantastic side dish for breakfast, and they pair perfectly with just about anything you throw at them. Enjoy every single bite!
PrintFluffy Southern Buttermilk Biscuits: The Best Homemade Recipe
Bake tall, flaky, and tender Southern buttermilk biscuits from scratch. This reliable recipe uses simple ingredients to create buttery comfort food perfect for breakfast or dinner.
- Prep Time: 15 min
- Cook Time: 15 min
- Total Time: 30 min
- Yield: 8 servings 1x
- Category: Breakfast
- Method: Baking
- Cuisine: American
- Diet: Vegetarian
Ingredients
- 2 cups all-purpose flour
- 1 tablespoon baking powder
- 1 teaspoon salt
- 1 teaspoon sugar
- 6 tablespoons cold unsalted butter, cut into small pieces
- 3/4 cup cold buttermilk
- 1 tablespoon melted butter for brushing
Instructions
- Preheat your oven to 425 degrees Fahrenheit. Line a baking sheet with parchment paper or lightly grease it.
- In a large bowl, whisk together the flour, baking powder, salt, and sugar.
- Add the cold, cubed butter to the dry ingredients. Use a pastry blender or your fingertips to cut the butter into the flour until the mixture resembles coarse crumbs with some pea-sized pieces of butter remaining.
- Make a well in the center of the mixture and pour in the cold buttermilk all at once. Stir gently with a fork until just combined. Do not overmix; the dough will look shaggy.
- Turn the dough out onto a lightly floured surface. Gently pat the dough into a rectangle about 3/4 inch thick.
- Fold the dough into thirds, like a letter. Turn the dough 90 degrees and gently pat it down again to about 3/4 inch thickness. This folding creates layers for flaky biscuits.
- Use a 2-inch biscuit cutter to cut straight down through the dough. Do not twist the cutter, as this seals the edges and prevents a high rise.
- Place the cut biscuits close together on the prepared baking sheet for softer sides, or slightly apart for crispier sides.
- Brush the tops lightly with the melted butter.
- Bake for 12 to 15 minutes, or until the tops are golden brown and the biscuits have risen tall.
- Remove from the oven and brush the tops again with any remaining melted butter for extra flavor. Serve warm.
Notes
- For the tallest, flakiest biscuits, keep your butter and buttermilk as cold as possible before mixing.
- If you prefer an easier variation, try a 3-ingredient buttermilk biscuit recipe using self-rising flour, cold butter, and buttermilk.
- Serve these buttery breakfast bread biscuits with jam, honey, or use them for biscuits for gravy.
Nutrition
- Serving Size: 1 biscuit
- Calories: 220
- Sugar: 1
- Sodium: 450
- Fat: 11
- Saturated Fat: 7
- Unsaturated Fat: 4
- Trans Fat: 0
- Carbohydrates: 26
- Fiber: 1
- Protein: 4
- Cholesterol: 25