
Okay, seriously, have you been living under a rock if you haven’t seen the **sushi bake** all over your feed? It’s totally blown up, and honestly, I get why! It’s like all the best flavors of a California roll, but warm, creamy, and you don’t have to fight with tiny bamboo mats. Trust me, as someone who studied the science behind baking but grew up loving my mom’s traditional food, this dish hits that perfect spot between fun flavor and reliable results. We’re talking about the ultimate homemade sushi alternative here. Because I’ve tested this blend of seasonings countless times in my development kitchen, I promise this isn’t just a pretty face; it’s guaranteed delicious. You’re going to love how simple it is to scoop and serve this amazing **sushi casserole**!
- Why This Viral Sushi Bake Recipe Works for Weeknights
- Gathering Ingredients for Your Easy Sushi Bake
- Step-by-Step Instructions for the Perfect Sushi Casserole
- Tips for Making the Best Baked Sushi Every Time
- Serving Suggestions for Your Sushi Bake
- Storage and Reheating Instructions for Leftover Sushi Bake
- Frequently Asked Questions About Making Sushi Casserole
- Nutritional Estimates for This Japanese Comfort Food
- Share Your Sushi Bake Creations
Why This Viral Sushi Bake Recipe Works for Weeknights
Look, I know we all love the satisfying ritual of sushi rolling, but when it’s Tuesday night and you’re trying to get dinner on the table fast, that’s just not happening. That’s where this phenomenon shines! This **sushi bake recipe** is engineered for speed and sharing. It checks every box we home cooks have when weeknights get crazy.
- It’s genuinely one of the best quick dinner ideas. Prep time is seriously low.
- It scales perfectly, making it the ultimate potluck casserole because everyone gets a generous scoop.
- Cleanup is a dream—everything happens right in one baking dish!
The Appeal of the TikTok Sushi Bake Recipe
You saw it online, and now you see why it took over! The main draw of the viral sushi bake is that it delivers that familiar, comforting sushi flavor profile without any of the technical difficulty. There’s no messy rolling, no fuss with seaweed tearing—it’s just scoop and serve. It’s the perfect, satisfying, scoopable format that makes it incredibly accessible and a fantastic family friendly asian recipe.
Gathering Ingredients for Your Easy Sushi Bake
Okay, let’s talk about assembling our **easy sushi bake**. Because this is a layered dish, precision matters, especially for the base. You don’t want clumpy rice or a bland topping! Keep your ingredients organized, and you’ll find the assembly part goes super fast. Remember, this recipe is designed to be foolproof, but the flavor payoff depends on getting these components just right. We start where every great sushi experience starts: the rice!
Rice Base: The Foundation of the Creamy Rice Bake
This layer is crucial because it sets the entire flavor profile. You need 4 cups of cooked sushi rice, but it can’t just be plain steamed rice, oh no! While the rice is still warm—and I mean warm, not cold—you’ll gently mix in 1/4 cup of rice vinegar, 2 tablespoons of sugar, and 1 teaspoon of salt. Mix it tenderly, almost fluffing it, so every grain gets that perfect, slightly sticky, tangy coating. This seasoning is non-negotiable for authentic flavor!
Creating the Spicy Mayo Recipe Topping
This is where the richness and that addictive heat come from. In a separate bowl—don’t overmix until everything is in there—you’ll build your creamy dream layer. We start with 1/2 cup of good mayonnaise and 1/4 cup of softened cream cheese to give it body. Then comes the kick: I use 2 tablespoons of Sriracha, but this is my first chance to tell you to taste it yourself! If you like it spicy like I do, add more. This is where you fold in your protein—either the shredded imitation crab or my favorite, flakey cooked salmon. Add a splash of soy sauce and sesame oil for that classic umami depth. Mix it just until it’s uniformly creamy. That’s it for prep! You can easily find more quick ideas when you check out this great resource.
Step-by-Step Instructions for the Perfect Sushi Casserole
Now that we have our layers ready, let’s get this **sushi casserole** into the oven! Seriously, if you want to see the magic happen quickly, this is the fun part. Don’t forget, if you love one-pan wonders, you should definitely check out the gorgeous one-pan sushi bake ideas out there too, but we are sticking to our California Roll masterpiece!
Assembling and Baking Your Sushi Bake
First things first: crank that oven up to 375°F (190°C) and make sure you’ve greased up that 9×13 dish well. Remember our foundation? Spread that seasoned sushi rice evenly across the bottom. Be gentle with it; we want a nice, stable base. Next, take that creamy seafood mix we just finished and spoon it over the rice. Spread it out slowly so you don’t disturb the rice underneath. If you’re adding mozzarella on top—and I totally recommend it for that golden edge—sprinkle it lightly across the whole surface now. Pop it into the preheated oven for about 15 to 20 minutes. You’re looking for the mixture to be bubbly and just turning lightly brown around the edges. Don’t walk away yet!
Finishing Touches: The Furikake Topping
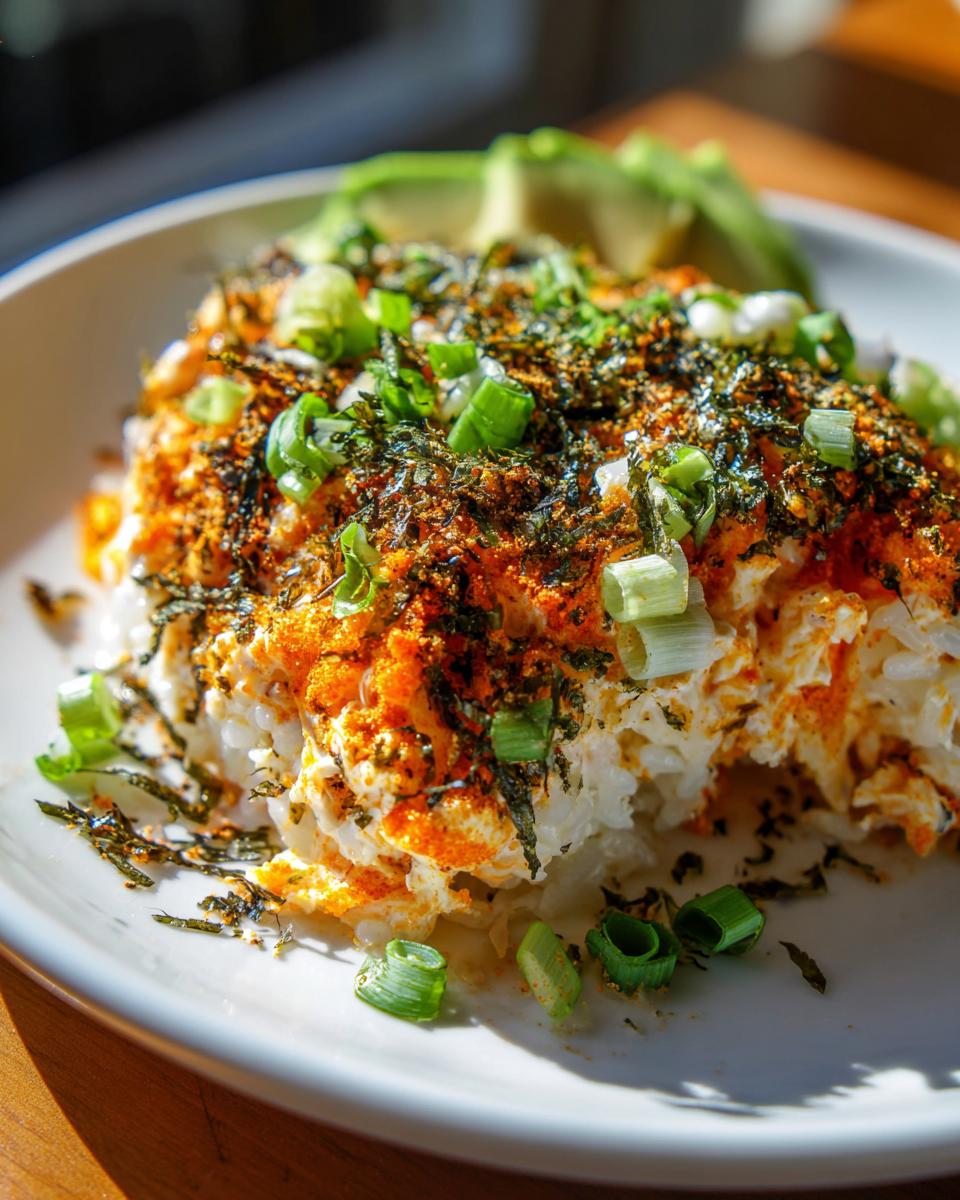
Once it’s out of the oven, the show isn’t over! This step adds that necessary crunch and visual pop that makes it feel like real sushi. Immediately sprinkle that dish generously with **furikake topping** and your sliced green onions. Furikake isn’t just pretty; those little sesame seeds and bits of seaweed add a salty, savory texture contrast that cuts through the creamy topping perfectly. Let it sit for about five minutes before serving. This small rest lets the layers settle slightly, making scooping much easier. Trust me on the resting step!
Tips for Making the Best Baked Sushi Every Time
Even though this **baked sushi** recipe is super straightforward, getting that small edge of professional flavor—that’s where my Food Science background comes in handy! We’re aiming for an absolutely reliable texture and flavor every time you pull this out of the oven. Don’t worry about substitutions either; this dish is built to be adaptable to whatever you have on hand.
Ingredient Tweaks for Flavor Depth
If you want that real authentic, almost restaurant-level creamy flavor, here is a secret: add just one tablespoon of Kewpie mayonnaise directly into your seasoned sushi rice layer before you spread it out. It adds a beautiful richness! Also, don’t panic if you’re missing salmon or kani; this works great as an **easy seafood bake**. Cooked shrimp is fantastic, or honestly, even some shredded canned tuna mixed with the spicy mayo will still deliver big flavor. It’s about balancing that creamy richness!
Achieving the Ideal Golden Top
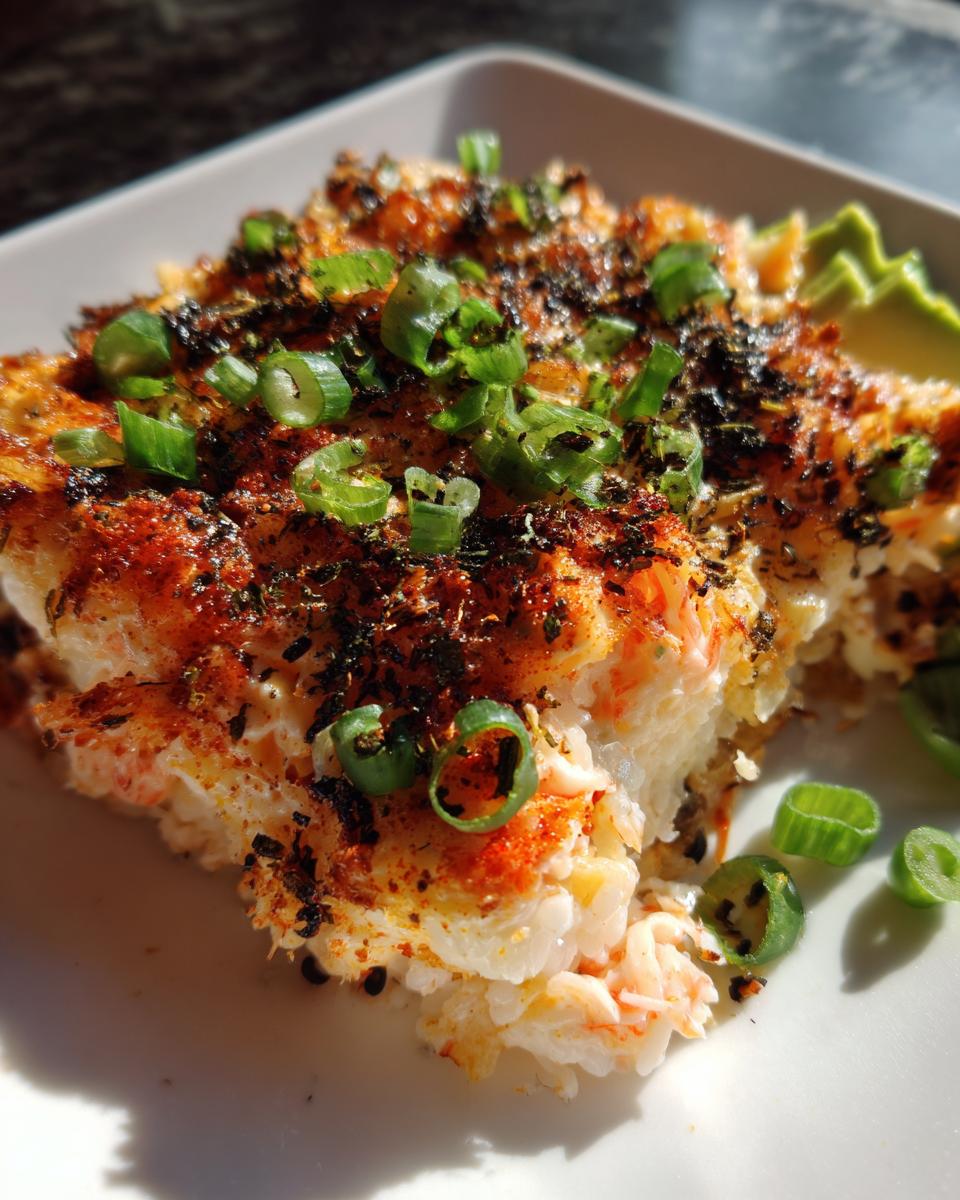
While the 15-20 minutes in the oven gets it piping hot, sometimes you want that beautiful, slightly browned, bubbly finish that looks incredible. Here’s the move: right when you think it’s done, switch your oven to broil for just 60 to 90 seconds. I mean it—90 seconds MAX! You have to stand right there and watch it like a hawk, because the sugars and mayo can go from golden to burnt in the blink of an eye. This little trick, which I picked up while testing for that classic oven finish, guarantees a perfect top crust for your sushi bake.
Serving Suggestions for Your Sushi Bake
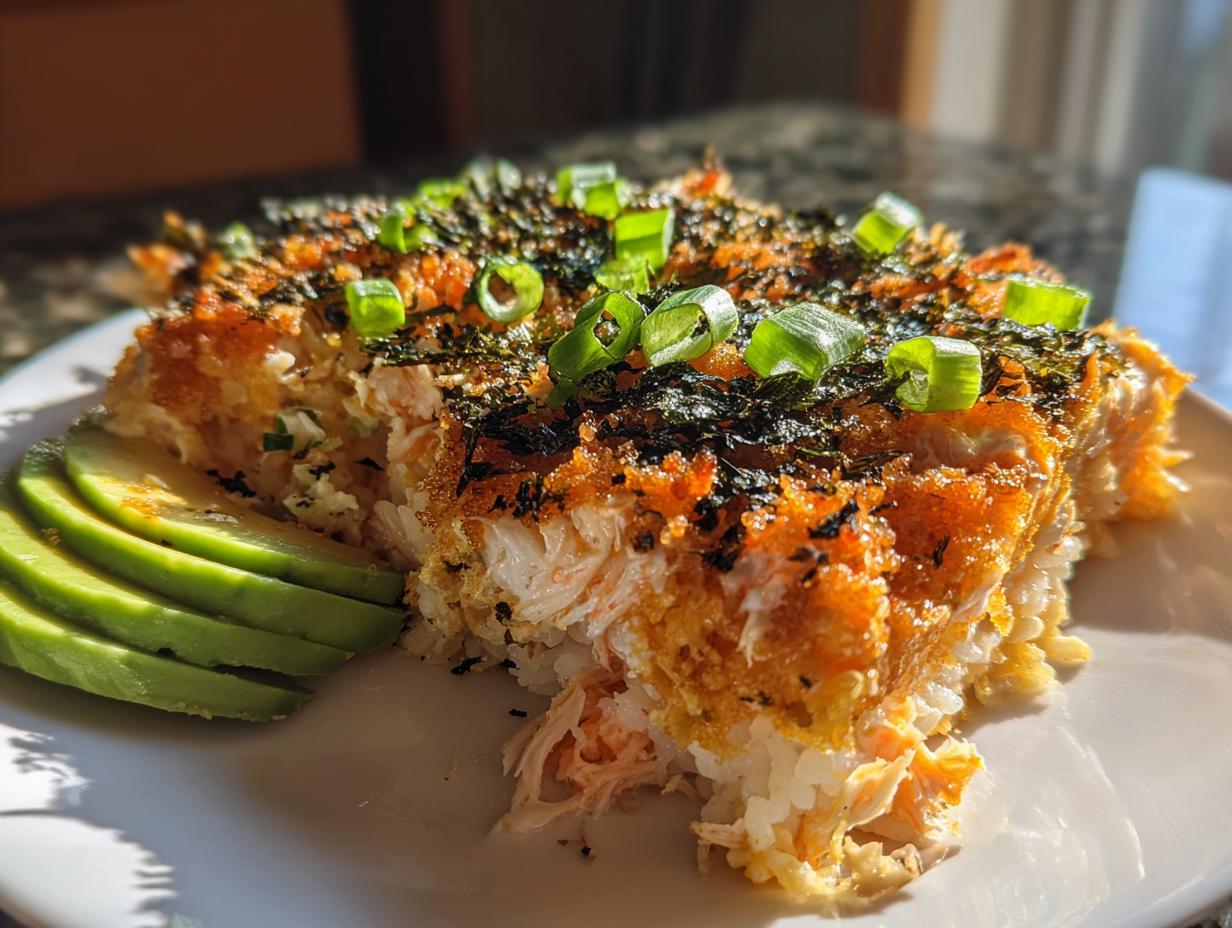
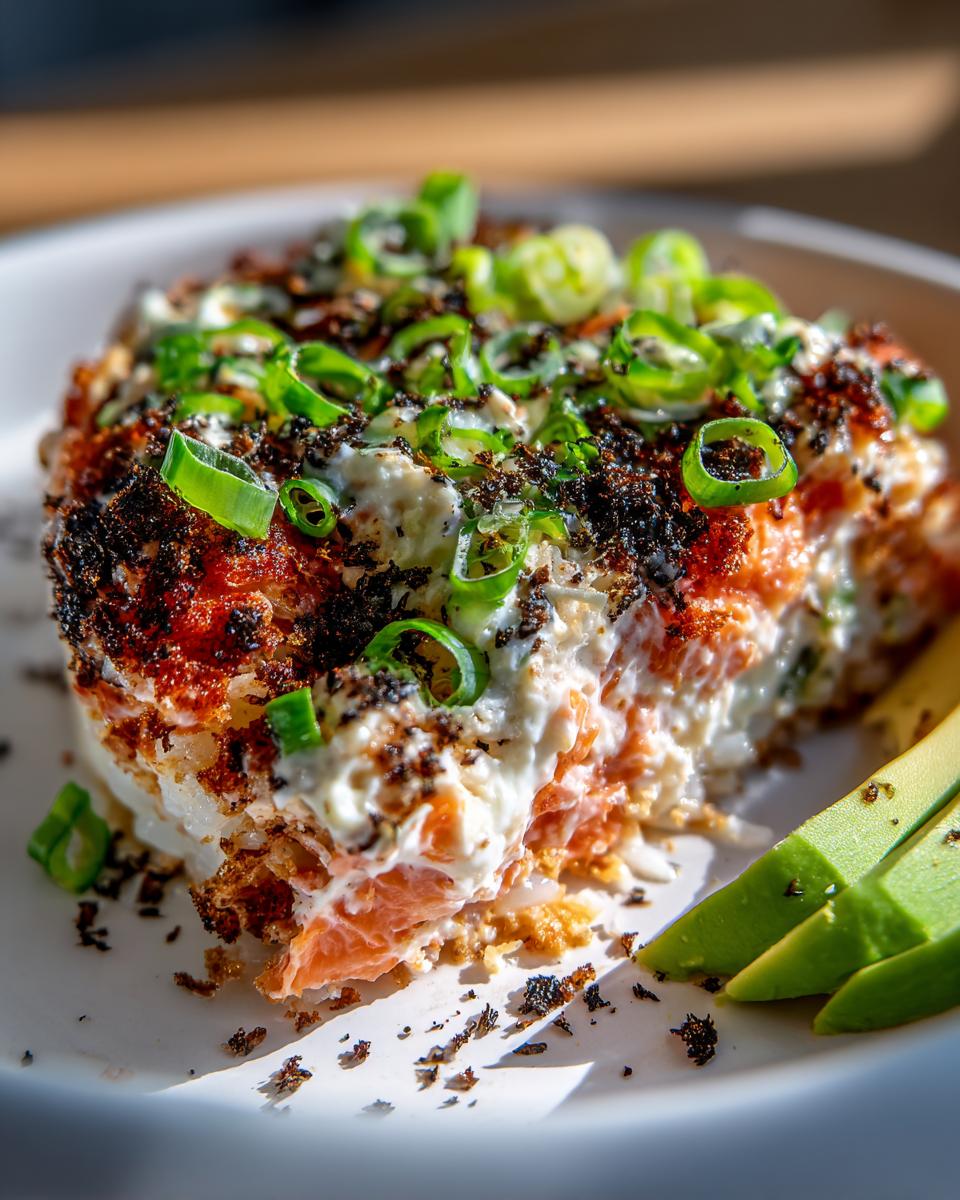
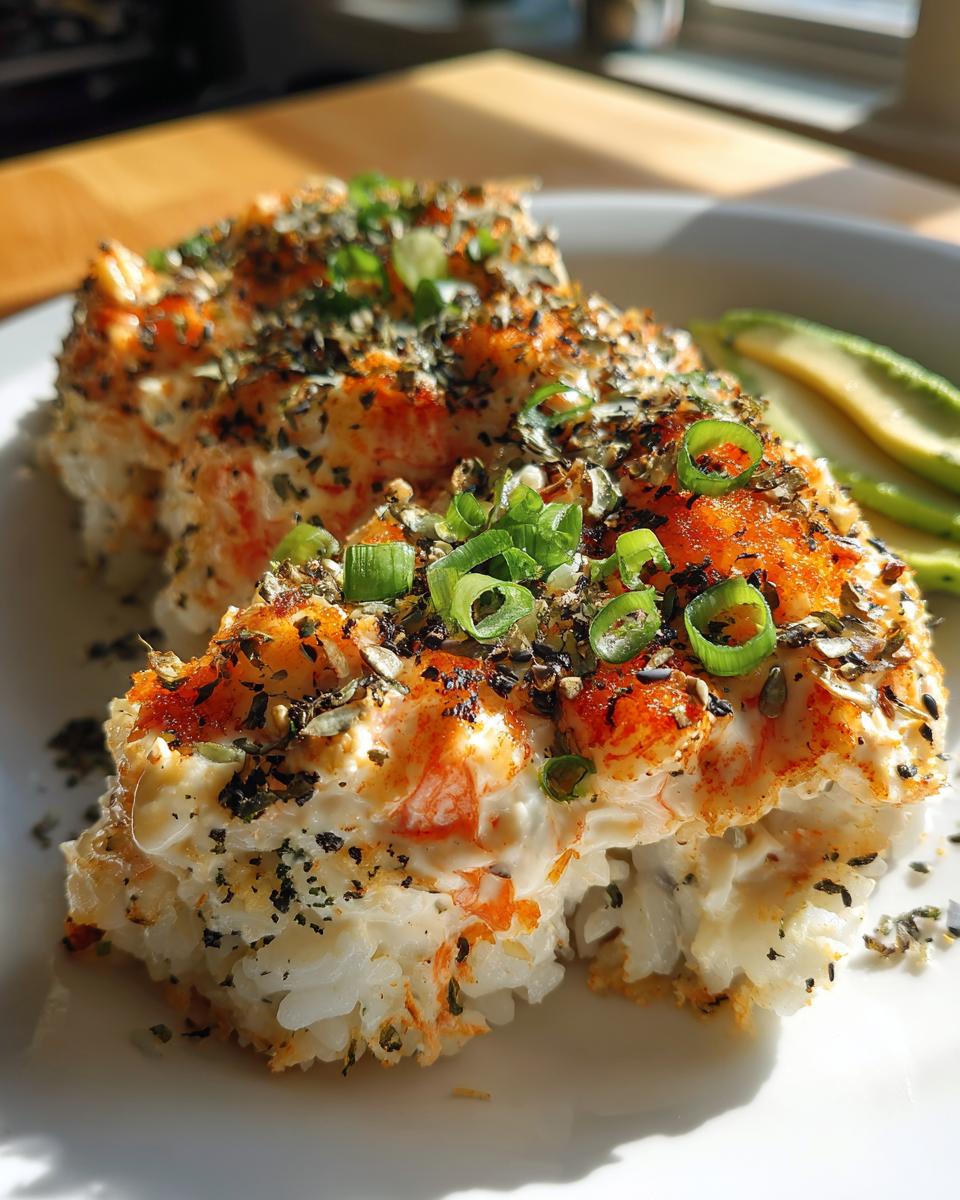
Okay, the golden, bubbly **sushi bake** is out of the oven, filling your house with the best smell! Now comes the fun part: serving it up. This casserole is meant to be eaten warm, so let it rest for just five minutes—this helps it hold its shape a little better when you scoop. Use a big serving spoon and give everyone a generous portion right onto their plate. The secret is to use those crispy nori sheets, which you should cut into strips beforehand. Think of it like making your own little hand rolls right there on your plate! Spoon the warm, creamy rice and topping onto a sheet of nori, maybe top it with a slice of perfectly ripe avocado, and you’ve got the full, glorious deconstructed sushi experience. It’s so much easier than rolling, I promise!
Storage and Reheating Instructions for Leftover Sushi Bake
You know how amazing this **sushi bake** is fresh, but what about leftovers? You’re going to want to save this **sushi casserole** because, honestly, it’s still pretty great the next day! Once it cools down completely, scoop any remaining portions into an airtight container. Keep it tucked safely in the fridge—it should stay perfectly good for up to three days. Don’t keep it longer than that; we want it fresh!
Reheating is super easy, but we need to be gentle so that rice doesn’t turn into a brick. Forget the microwave if you can! Pop your portion back into an oven-safe dish, maybe cover it loosely with foil, and heat it at about 325°F (160°C) until it’s warm all the way through. If you must use the microwave, use short bursts and sprinkle just a tiny drop of water over the rice before covering it loosely. This simple step helps restore some of that moisture and keeps the creamy layer happy. I snagged this tip from my earlier testing for that very first batch!
Frequently Asked Questions About Making Sushi Casserole
People always have great questions once they get ready to try something new, and since the **sushi bake** offers so much room for customization, there are always ways to tweak it! I love hearing how you all adapt these fusion recipes in your own kitchens. Here are a few things I hear most often when folks are making their first **sushi casserole**.
Can I make this sushi bake with raw fish?
Oh, that’s an important one! The quick baking time we use here—just 15 to 20 minutes—is really only designed to heat the seasoned rice and warm the already-cooked seafood mixture through until it’s bubbly. If you try to use raw salmon or raw tuna for this recipe, it won’t cook properly in that short window, and that’s just not safe. You absolutely need to use cooked, flaked salmon or cooked shrimp for the topping!
What is the best substitute for imitation crab in this creamy rice bake?
Imitation crab (Kani) is great because it shreds beautifully and takes on the spicy mayo flavor so well, and you can find it everywhere. But if you want a deeper flavor, real lump crab meat is amazing in this **creamy rice bake**. If you’re in a pinch, cooked, flaked shrimp works beautifully, or even canned, drained tuna can be used in a pinch to create a wonderful **homemade sushi alternative**. Just make sure whatever you use is already cooked!
How can I make this recipe vegetarian or vegan?
I love seeing people adapt recipes! If you want to skip the seafood entirely, you absolutely can. You just need great alternatives to keep that satisfying texture. For a vegetarian option, you could use finely chopped, sautéed mushrooms—maybe shiitake for that umami boost—mixed right into the spicy mayo base. For a vegan approach, you’d want to swap out the cream cheese for a firm vegan cream cheese block and use a vegan mayo. Season that tofu or mushroom mix really well with a little soy sauce and sesame oil to mimic that savory seafood depth. You’ll find your own unique version of this amazing sushi bake!
Nutritional Estimates for This Japanese Comfort Food
Now, just a quick word from me, Jules. Because I’m trained in food science, I know how important it is to have an idea of what you’re eating, but please take these numbers with a grain of salt—literally and figuratively! These estimates are based exactly on the recipe card I shared, using standard brand equivalents for a single serving size. Anytime you swap out ingredients—like using extra avocado or going heavy on the mayo—these numbers shift. So, consider this a helpful guideline, not a strict scientific analysis. We’re looking at a delicious, shareable portion of warm **Japanese comfort food** here, best enjoyed without overthinking the details! For more insights into the salmon version, you can peek at how they structure theirs here.
Here is the breakdown based on the recipe yielding 6 servings:
- Serving Size: 1 serving
- Calories: 450
- Fat: 22g
- Saturated Fat: 6g
- Carbohydrates: 45g
- Sugar: 8g
- Protein: 20g
- Sodium: 850mg (This is higher due to soy sauce and imitation crab, so watch the salt in your rice!)
Share Your Sushi Bake Creations
That’s it—you’ve mastered the magic! You’ve taken simple rice and mixed it with creamy, spicy seafood goodness to create this incredible **sushi bake**. Now, the part I absolutely love most: hearing from you! I want to know how it turned out in your kitchen. Did you go for extra Sriracha? Did you use smoked salmon instead of regular?
Please, don’t be shy! Scroll down right now and leave me a rating, maybe five stars if you’re feeling generous! Tell me in the comments what you thought, or if you made any tweaks to my base recipe—we love learning from each other here!
If you snap a picture of that golden-topped, furikake-sprinkled beauty, tag me on social media! Seeing your finished dishes and knowing that my reliable recipe brought a little delicious transformation to your table just makes my day. Happy baking, friends!
PrintViral TikTok Easy Sushi Bake (California Roll Style Casserole)

Make the viral TikTok sushi bake, a comforting, deconstructed California roll casserole. This easy seafood bake uses seasoned sushi rice, imitation crab, and a creamy topping, perfect for potlucks or quick weeknight dinners.
- Prep Time: 20 min
- Cook Time: 20 min
- Total Time: 40 min
- Yield: 6 servings 1x
- Category: Dinner
- Method: Baking
- Cuisine: Japanese Fusion
- Diet: Vegetarian
Ingredients
- 4 cups cooked sushi rice (seasoned with 1/4 cup rice vinegar, 2 tbsp sugar, 1 tsp salt)
- 8 oz imitation crab (kani), shredded
- 8 oz cooked salmon, flaked (optional, substitute with more crab or cooked shrimp)
- 1/2 cup mayonnaise
- 1/4 cup cream cheese, softened
- 2 tbsp Sriracha (adjust to taste for spicy mayo)
- 1 tbsp soy sauce
- 1 tsp sesame oil
- 1/2 cup shredded mozzarella cheese (optional, for topping)
- 2 tbsp furikake seasoning
- 2 green onions, sliced
- Nori sheets, cut into strips, for serving
- Avocado slices, for serving
Instructions
- Preheat your oven to 375°F (190°C). Lightly grease a 9×13 inch baking dish.
- Prepare the sushi rice: While the rice is still warm, mix in the rice vinegar, sugar, and salt until fully combined. Spread the seasoned rice evenly in the bottom of the prepared baking dish.
- Prepare the seafood mixture: In a medium bowl, combine the shredded imitation crab, flaked salmon (if using), mayonnaise, softened cream cheese, Sriracha, soy sauce, and sesame oil. Mix until all ingredients are fully incorporated and creamy.
- Spread the creamy seafood mixture evenly over the layer of sushi rice.
- If using, sprinkle the mozzarella cheese evenly over the seafood layer.
- Bake for 15 to 20 minutes, or until the topping is hot and lightly golden brown around the edges.
- Remove the dish from the oven. Sprinkle generously with furikake seasoning and sliced green onions.
- Let the sushi bake cool for 5 minutes before serving. Serve warm by scooping portions onto plates, accompanied by nori sheets and avocado slices for wrapping or topping.
Notes
- For a richer flavor, you can mix 1 tablespoon of Kewpie mayonnaise into the rice layer before spreading it in the dish.
- If you prefer a crispier top layer, switch the oven to broil for the last 1 to 2 minutes, watching closely to prevent burning.
- This dish is excellent for meal prep; store leftovers in an airtight container in the refrigerator for up to 3 days.
Nutrition
- Serving Size: 1 serving
- Calories: 450
- Sugar: 8
- Sodium: 850
- Fat: 22
- Saturated Fat: 6
- Unsaturated Fat: 16
- Trans Fat: 0
- Carbohydrates: 45
- Fiber: 1
- Protein: 20
- Cholesterol: 75