
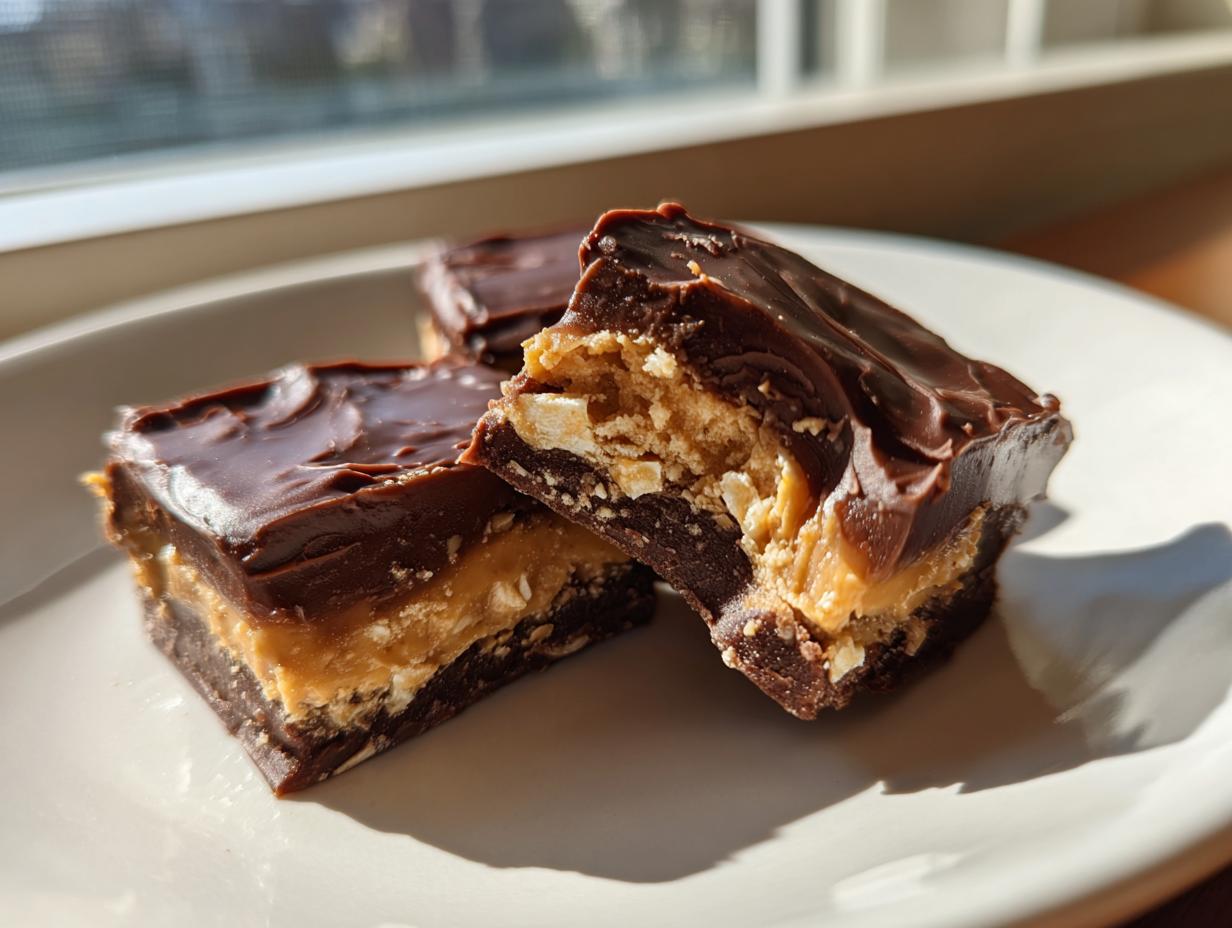
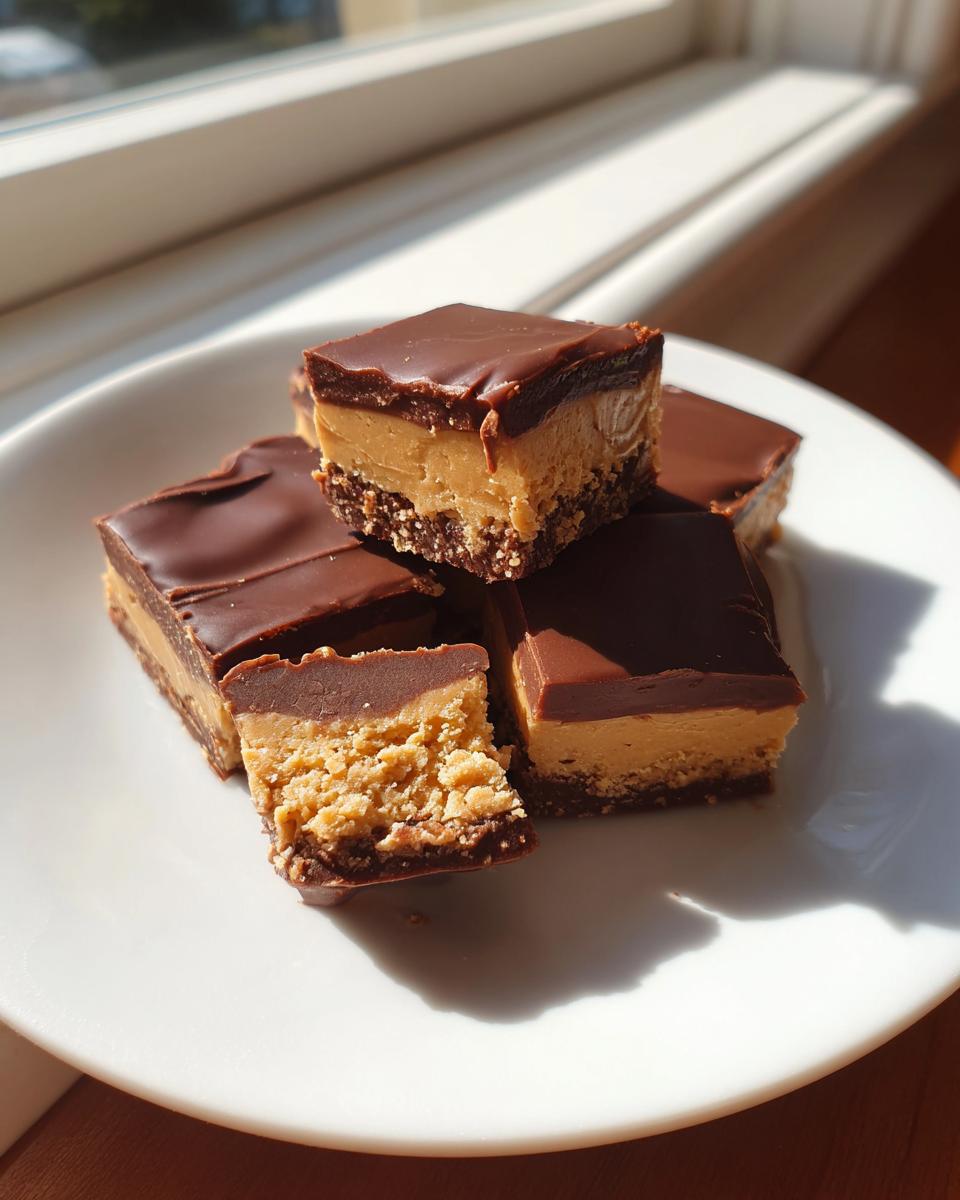
Oh, let’s just talk about the greatest couple in the dessert world: chocolate and peanut butter! If you ask me, nothing beats that salty, creamy, rich combination. And that’s exactly why I’m thrilled to share my absolute favorite way to make it: this stunningly easy **buckeye fudge**. Seriously, this recipe is foolproof, and since I’ve spent years in recipe development blending food science with my family’s cooking traditions, I can promise you reliability in every single bite. This isn’t some fussy confection; it’s the ultimate, no-bake version of that classic flavor, ready when a craving hits. You’re going to love how quickly this decadent treat comes together!
- Why This Buckeye Fudge Recipe is Your Next Go-To Treat
- Gathering Ingredients for Perfect Buckeye Fudge
- Step-by-Step Instructions for Your Buckeye Fudge
- Tips for Success with Buckeye Fudge
- Storage and Keeping Your Buckeye Fudge Fresh
- Variations on This Simple Chocolate Dessert
- Frequently Asked Questions About Buckeye Fudge
- Estimated Nutritional Data for Buckeye Fudge
- Share Your Buckeye Fudge Creations
Why This Buckeye Fudge Recipe is Your Next Go-To Treat
I get it—sometimes you need something amazing without spending hours hovering over a hot stove. That’s why I stand by this method for buckeye fudge. It’s the shortcut to perfection! Because I rely on my food science background, I test everything to make sure it’s consistent, even when it’s no-bake. Forget complicated steps; this recipe is pure magic.
- It’s unbelievably easy to assemble—seriously, almost no effort required for maximum payoff.
- The flavor hits that perfect sweet spot between creamy peanut butter and rich chocolate every time we make it.
- You can grab the recipe and have it chilling in record time, as you can see on sites like this quick guide!
Quick Preparation Time for Buckeye Fudge
Who has time for baking during the holidays or when unexpected guests pop over? The active time on this is just about 15 minutes, which is insane for how incredible this tastes. Since it’s a no-bake dream, you just mix, spread, and chill. It truly is one of the best quick dessert for parties ideas I have in my back pocket.
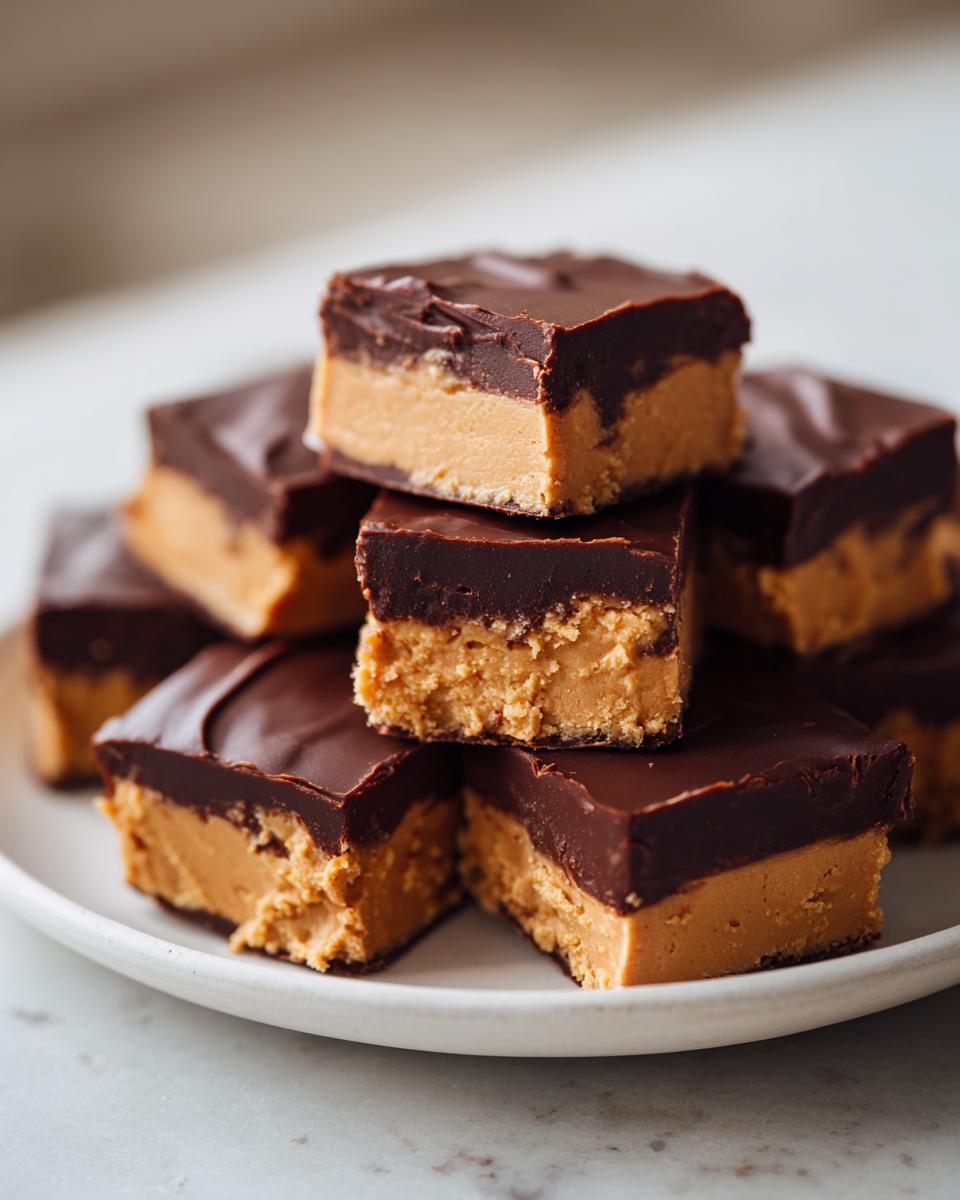
Achieving Melt in Your Mouth Fudge Texture
The secret to that incredible texture, that beautiful soft chewiness that makes it a true melt in your mouth fudge experience, comes down to the initial creaming process. We make sure the softened butter and peanut butter are perfectly uniform before we even introduce the sugar. That emulsification sets up the base beautifully!
Gathering Ingredients for Perfect Buckeye Fudge
Alright, let’s talk supplies! Making this buckeye fudge is so easy because the ingredients are totally standard pantry staples. No hard-to-find items here, which I love because it means you can whip this up whenever the mood strikes. My goal with any recipe is always accessibility, and this one definitely delivers. Keep your measurements precise, especially with the sugar, and you’ll find the texture to be just right. You can always check out a quick reference list if you’re unsure about your stash before heading to the store, like this one.
Peanut Butter Layer Ingredients for Buckeye Fudge
For that incredible, melt-in-your-mouth base, you need the right fats combined! Make sure you soften that butter first—it makes a huge difference in the final texture of your creamy peanut butter squares.
- 1 cup unsalted butter, softened
- 1 1/2 cups creamy peanut butter (Trust me, use the smooth kind!)
- 1 teaspoon vanilla extract
- 3 1/2 cups powdered sugar
Chocolate Topping Ingredients
This is where the rich, dark contrast comes in! We want a nice glaze for our homemade chocolate candy, and the sweetened condensed milk really helps that chocolate layer stay shiny and smooth as it sets up.
- 7 ounces sweetened condensed milk (that’s exactly half of a standard 14-ounce can!)
- 1 1/2 cups semi-sweet chocolate chips
- 2 tablespoons butter (for topping richness)
Step-by-Step Instructions for Your Buckeye Fudge
Okay, now comes the fun part where we bring these layers together! Since this is a no-bake fudge idea, there’s no stress about oven temperatures, but there is some important technique here to ensure your layers set beautifully. Keep that softened butter in mind when you start mixing the base—it’s the key to creaminess. If you’re looking for a great overview of the process, you can see how others tackle the mixing over at this quick guide, but stick close to my standard operating procedure for the best results!
Preparing the Pan and Peanut Butter Fudge Base
First things first, get your 8×8 inch pan ready. I always recommend lining it with parchment paper, but make sure you leave an overhang on two sides—that’s your handle for lifting the entire block out later. Trust me on this! Next, in a big bowl, let’s beat that softened butter and peanut butter until they are completely smooth and hugging each other perfectly. Stir in your vanilla. Then, add the powdered sugar slowly, mixing on low speed until it’s all incorporated and super thick. Once you hit that point, press that glorious peanut butter mixture firmly and evenly into your prepared pan. This even layer is what makes your final buckeye fudge look so professional!
Creating the Decadent Chocolate Layer for Buckeye Fudge
Time for the chocolate blanket! Pop the sweetened condensed milk, chocolate chips, and those two tablespoons of extra butter into a small saucepan. Keep the heat low—this is an essential step for this step! You just want to melt everything together smoothly. Stir constantly! If you let it get too hot, the chocolate can seize up, and nobody wants that! Once it’s just melted and glossy—smooth as silk!—carefully pour the entire mixture over that waiting peanut butter base. Spread it gently so you don’t drag the peanut butter up. If you’re prepping this amazing dessert, you can see detailed steps on ensuring a great topping over at this resource. Covering it evenly is crucial! For absolute beginners, reading through a detailed recipe demonstration like the one found here can prevent those common chocolate mishaps.
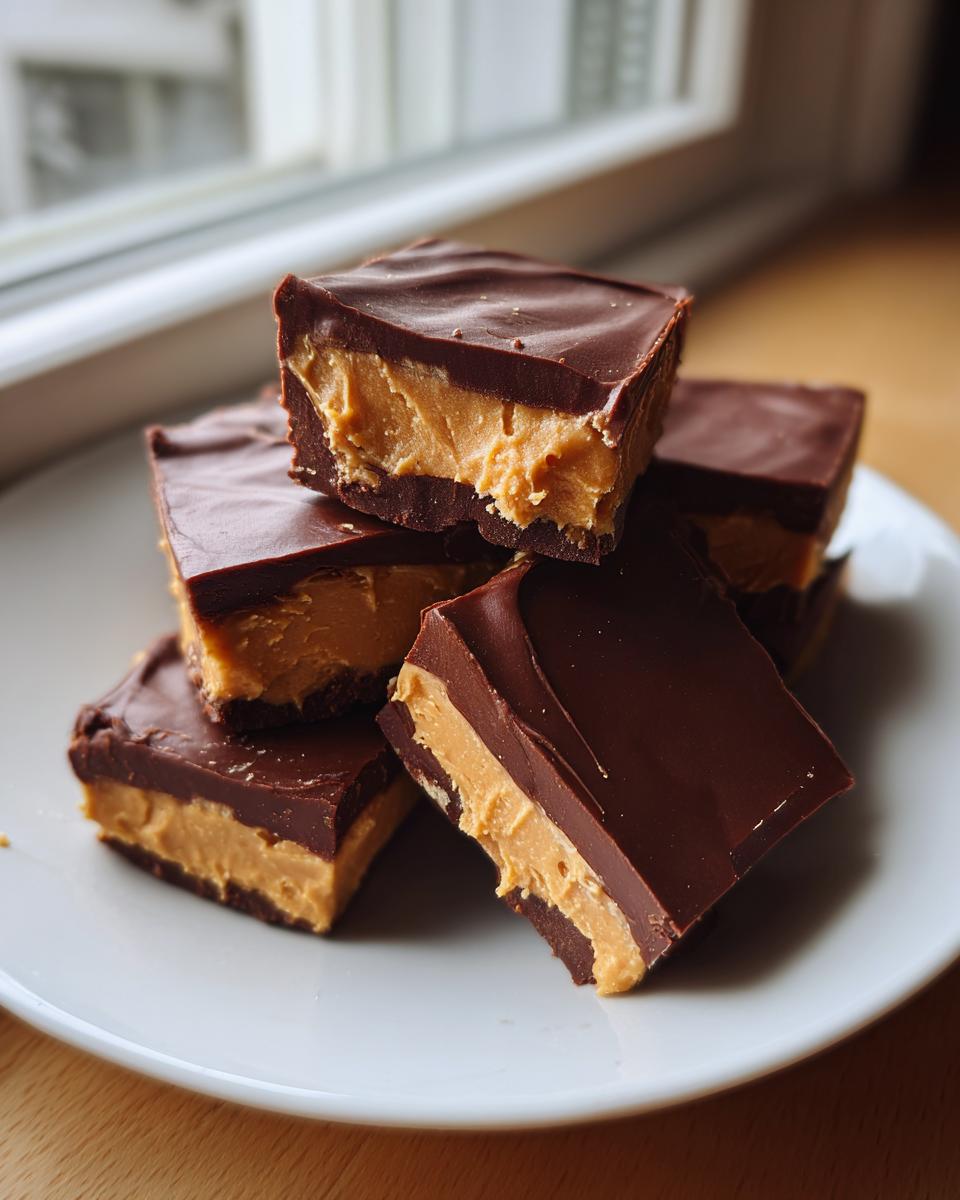
Chilling and Cutting Your Homemade Chocolate Peanut Butter Candy
We are almost there! This recipe requires patience, which is the hardest part for me sometimes. Don’t rush it! You need to get this pan into the fridge for a minimum of three hours. Longer is even better if you can manage it! We need that time so the fudge is firm enough to cut cleanly into those neat little squares. Once it’s totally firm, use those parchment paper handles to lift the whole block onto a cutting board. Then, take a sharp knife and slice it into squares. For amazing homemade chocolate peanut butter candy, keep the pieces on the smaller side. If you need ideas on how to make those cuts perfect and uniform, check out this great visual guide here!
Tips for Success with Buckeye Fudge
Even though this is one of my easiest no bake fudge ideas, I still have a few little secrets that ensure you get that perfect, flawless batch every time. When I first developed this recipe, I accidentally used cold butter once—oops! The peanut butter layer looked crumbly and just wouldn’t blend right. Never again! That experience taught me that temperature control is everything when we’re aspiring to make the best fudge recipes.
Temperature Matters for Creamy Peanut Butter Squares
The absolute biggest mistake people make is using cold butter straight out of the fridge. You need room temperature butter—soft enough to easily press a finger into, but not melty or greasy. If your butter is too cold, it won’t properly combine with the peanut butter, and you’ll end up with chunky, uneven creamy peanut butter squares instead of that smooth, rich base we are aiming for. Take it out an hour before you plan to start!
Adjusting Chocolate Topping Thickness
Occasionally, depending on the type of chocolate chips you use, that glorious chocolate topping can seize up and become too thick to pour easily over the peanut butter layer. Don’t panic! If the mixture seems stiff, I always keep a tiny bit of vegetable oil nearby. Just stir in one teaspoon at a time until it loosens up just enough to smoothly blanket the fudge base. Head over to this page if you want to see a few more professional finishing tips!
Storage and Keeping Your Buckeye Fudge Fresh
Now that you’ve made this fantastic buckeye fudge, the big question is: how long does this homemade candy actually last? Since we kept the recipe easy and no-bake, storage is super simple, but it does require a little chill time to keep that beautiful texture intact.
The most important rule I learned from my recipe testing is that this fudge needs to stay cold to maintain its structure, especially that dense peanut butter layer. Think of it like a rich truffle; it’s best when cool!
So, here’s the deal: You must store your finished, cut squares in an airtight container. If you just leave them on a plate, they get sticky fast. Keep that container tucked away in the refrigerator. This keeps the chocolate topping firm and the fudge perfectly sliceable for up to a week. It’s one of the great things about this simple chocolate dessert recipe—it keeps well for entertaining or just snacking all week long! You can find more great info on proper storage over at this site.
I’ve found that if you stack the pieces, put a small square of parchment or wax paper between the layers. Trust me, you don’t want that sticky chocolate layer gluing your entire batch together overnight!
Variations on This Simple Chocolate Dessert
While I truly believe this classic buckeye fudge recipe is perfect as written—that chocolate and peanut butter combination just sings on its own—I know how much you all love to personalize things! That’s the fun of homemade candy, right? You can customize this easy treat without losing that creamy, no-bake structure we worked so hard to achieve. Think of these as little upgrades to make it your own signature simple chocolate dessert.
My favorite variation, especially when serving this at a party, is adding a tiny bit of texture complexity. If you use mini chocolate chips instead of the standard ones on top, they melt beautifully but give just a hint of slightly deeper texture. If you’re feeling ambitious, try swapping half of the semi-sweet chips for milk chocolate chips for a sweeter top layer. You can get some inspiration for flavor combos over here!
Here are a couple of easy tweaks that pack a big flavor punch:
- For Salt Lovers: After you pour the chocolate layer on, but before you chill it, try sprinkling just a tiny bit of flaky sea salt over the top. The coarse salt crystals contrasting with the sweet chocolate are truly heavenly.
- A Hint of Zest: If you want a super bright flavor, add about half a teaspoon of fresh orange zest into the peanut butter layer when you mix in the vanilla extract. It complements peanut butter surprisingly well!
Remember, the golden rule for any peanut butter fudge recipe modification is to keep your wet-to-dry ratio the same in that bottom layer. As long as you don’t mess with the butter, sugar, and peanut butter balance, your fudge will set up like a dream!
Frequently Asked Questions About Buckeye Fudge
Whenever I share my buckeye fudge, I always get the same few questions popping up, which totally makes sense since everyone wants their batch to be perfect! It speaks volumes that people are looking for the best fudge recipes out there, and honestly, I think this one makes the cut because it’s just so darn reliable. Whether you’re making a huge batch for holiday trays or just need a quick dessert for parties, these answers should help you out! If you want a quick reference while you’re mixing, check out the steps here.
Can I use natural peanut butter in this Buckeye Fudge?
Oh, I really wouldn’t recommend it for this recipe if you’re aiming for that smooth, thick base. Natural peanut butter, the kind where the oil separates? It just doesn’t mix the same way with the butter and sugar. You’ll end up with a greasy, runny mess that just won’t set up into proper creamy peanut butter squares. Stick to the shelf-stable, hydrogenated-oil kind—it’s essential for stability in this classic chocolate peanut butter candy!
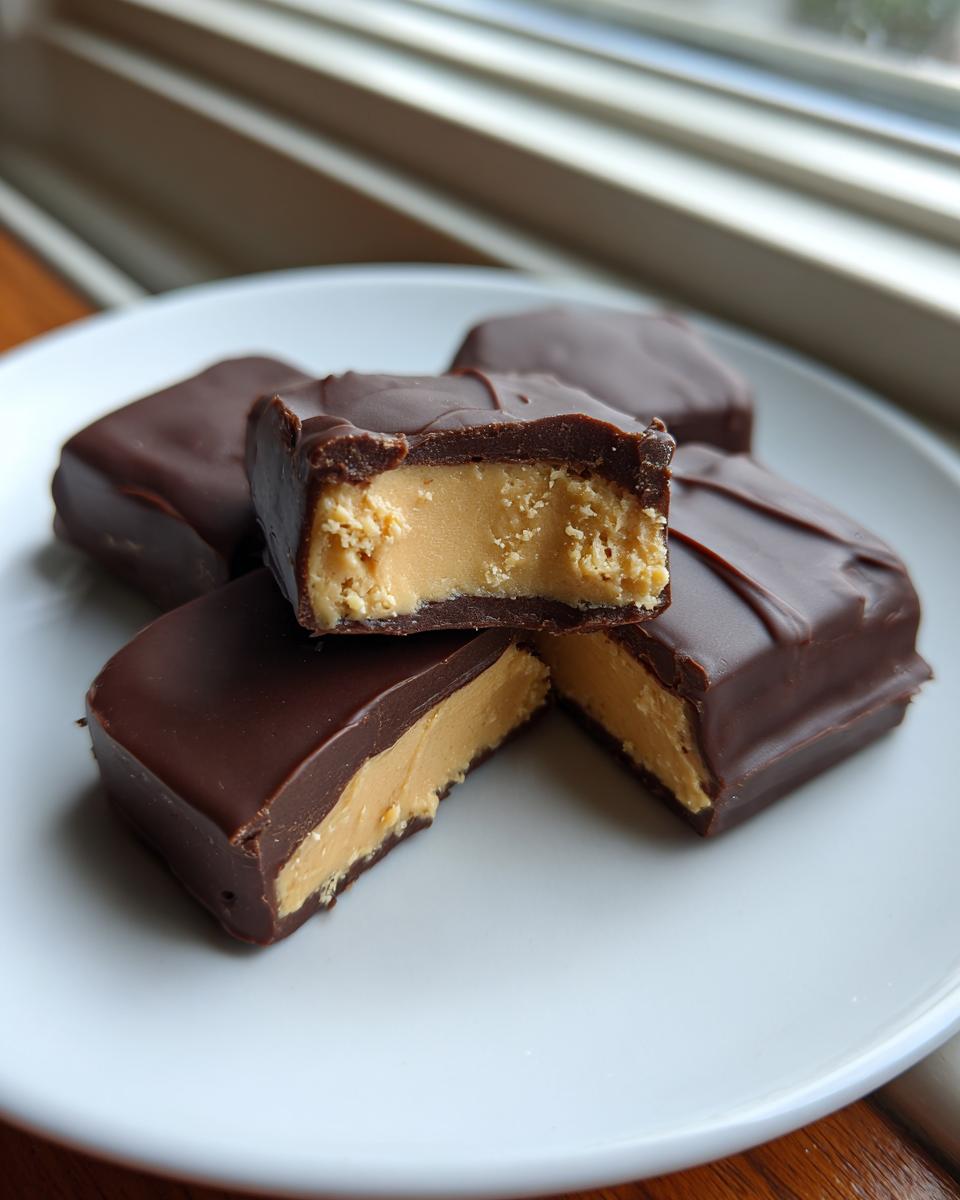
What makes this different from traditional Buckeye Candy?
That’s a great question concerning the recipe for buckeye candy! The traditional Ohio Buckeye involves rolling the peanut butter mixture into balls, chilling them, and then dipping them in chocolate, leaving a little bronze circle exposed. My buckeye fudge, though, keeps all the same amazing flavor profile but skips all the rolling and dipping! It’s far faster because we just spread the peanut butter layer, pour the chocolate over the top, and chill. It’s basically the sheet-pan version of the classic candy—a genuine no bake fudge idea! You can often find helpful visual comparisons on sites like Mia Cookery’s post.
Is this considered one of the Best Fudge Recipes?
In my professional opinion, yes, absolutely! It lands in the top tier of best fudge recipes because it delivers maximum decadence with minimum fuss. It’s incredibly low risk, yields a beautiful, stable product that tastes exactly like that nostalgic chocolate-peanut butter duo, and requires absolutely no candy thermometer fuss. It passes the reliability test every time!
Estimated Nutritional Data for Buckeye Fudge
I always feel a little strange posting nutrition facts because, let’s be honest, when you’re reaching for rich buckeye fudge, you aren’t exactly counting macros! But because I believe in transparency in my recipes, here is the estimated breakdown based on the ingredients we used. This helps us keep track, right?
Just remember, this is based on cutting the recipe into 36 equal squares, and the exact nature of your peanut butter or chocolate chips can change these numbers slightly. It’s always best to view these as helpful guidelines rather than gospel truth when dealing with homemade chocolate candy!
- Serving Size: 1 square
- Calories: 220
- Sugar: 20g
- Sodium: 110mg
- Fat: 14g
- Saturated Fat: 7g
- Unsaturated Fat: 7g
- Trans Fat: 0g
- Carbohydrates: 22g
- Fiber: 1g
- Protein: 4g
- Cholesterol: 25mg
If you are using a different brand of sweetened condensed milk or a darker chocolate, your sugar and fat content might shift a little bit, but honestly, that’s the fun of tinkering with your favorite holiday fudge treats! Enjoy them!
Share Your Buckeye Fudge Creations
Well, friends, now that you have everything you need to make the absolute best and easiest batch of buckeye fudge, I really, truly want to hear about it! That’s the alchemy part, right? Turning these instructions into your own kitchen memory. When I publish a recipe, especially one I stand behind like this incredible chocolate peanut butter candy, I just love seeing the results!
Did you get those perfectly smooth layers? Was it the best decision you made for your holiday treats this year? Don’t be shy!
Head down to the comments section below and leave me a rating—I’m always checking back to see how folks are enjoying the recipe. If you made any tweaks, like adding that salty sprinkle I mentioned, let me know how that worked out! I’m always refining things, and your feedback from making this easy homemade candy truly helps.
And if you took a beautiful photo of your finished squares—because let’s be real, this fudge looks gorgeous—please share it on social media! Tag me so I can see your handiwork. I especially love seeing how this recipe traveled! If you’re looking for even more ways to share dessert magic, you can check out some of the inspiration over at Recipes Inc., or maybe peek at how others are decorating their treats at Mia Cookery.
Happy making, and thank you for letting my favorite recipe become part of your kitchen alchemy!
PrintEasy No-Bake Buckeye Fudge Recipe
Create rich, melt-in-your-mouth Buckeye Fudge combining creamy peanut butter and decadent chocolate layers. This simple, no-bake recipe delivers the classic flavor combination perfect for holiday treats or parties.
- Prep Time: 15 min
- Cook Time: 5 min
- Total Time: 3 hours 20 min
- Yield: 36 servings 1x
- Category: Dessert
- Method: No-Bake
- Cuisine: American
- Diet: Vegetarian
Ingredients
- 1 cup unsalted butter, softened
- 1 1/2 cups creamy peanut butter
- 1 teaspoon vanilla extract
- 3 1/2 cups powdered sugar
- 7 ounces sweetened condensed milk (half of a 14-ounce can)
- 1 1/2 cups semi-sweet chocolate chips
- 2 tablespoons butter (for topping)
Instructions
- Line an 8×8 inch baking pan with parchment paper, leaving an overhang for easy removal.
- In a large bowl, beat the softened butter and creamy peanut butter together until smooth.
- Mix in the vanilla extract.
- Gradually add the powdered sugar, mixing on low speed until fully combined and the mixture is thick.
- Press the peanut butter mixture evenly into the prepared pan.
- In a small saucepan over low heat, combine the sweetened condensed milk, chocolate chips, and 2 tablespoons of butter. Stir constantly until the chocolate is completely melted and the mixture is smooth. Do not overheat.
- Pour the chocolate topping evenly over the peanut butter layer in the pan. Spread carefully to cover the entire surface.
- Refrigerate the fudge for at least 3 hours, or until firm enough to cut.
- Lift the fudge out of the pan using the parchment overhang and cut into small squares.
Notes
- For the best texture, use room temperature butter when mixing the peanut butter layer.
- If the chocolate topping seems too thick to pour, add a teaspoon of vegetable oil to thin it slightly.
- Store this homemade candy in an airtight container in the refrigerator for up to one week.
Nutrition
- Serving Size: 1 square
- Calories: 220
- Sugar: 20g
- Sodium: 110mg
- Fat: 14g
- Saturated Fat: 7g
- Unsaturated Fat: 7g
- Trans Fat: 0g
- Carbohydrates: 22g
- Fiber: 1g
- Protein: 4g
- Cholesterol: 25mg