

There’s this moment in the kitchen when you witness true magic happen, right? You take basic sugar, cream, and butter, and through careful heat management, you transform them into something utterly decadent. That’s the alchemy I live for! I’m Juliana Cruz, and after years developing recipes professionally—using my Food Science background to understand exactly *why* things work—I’ve perfected this method for unbelievably soft and chewy homemade caramel candy. Forget those hard, disappointing squares; this old-fashioned approach guarantees a rich, buttery result every single time. Trust me, once you try making these yourself, you won’t go back to store-bought, ever!
- Why You Will Love This Easy Homemade Caramel Recipe
- The Essential Ingredients for Soft and Chewy Homemade Caramel
- Step-by-Step Tutorial: Making Old Fashioned Homemade Caramels
- Tips for Success with Your Homemade Caramel Candy Making
- Variations: Salted Caramel Candy Making and Caramel Fudge Recipe Homemade
- Storage and Gifting Your Sweet Homemade Treats
- Making Caramel Sauce from Scratch: A Quick Alternative
- Estimated Nutritional Data for Homemade Caramel
- Frequently Asked Questions About Homemade Caramel
- Share Your Homemade Caramel Creations
Why You Will Love This Easy Homemade Caramel Recipe
Honestly, this recipe cuts right to the chase. We skip the complicated steps so you get that ‘wow’ factor without the stress. If you’re looking for the caramel fudge recipe homemade simplicity in a square, this is it! Here’s what makes this my go-to:
- It’s genuinely an easy caramel candy recipe; we focus on reliability!
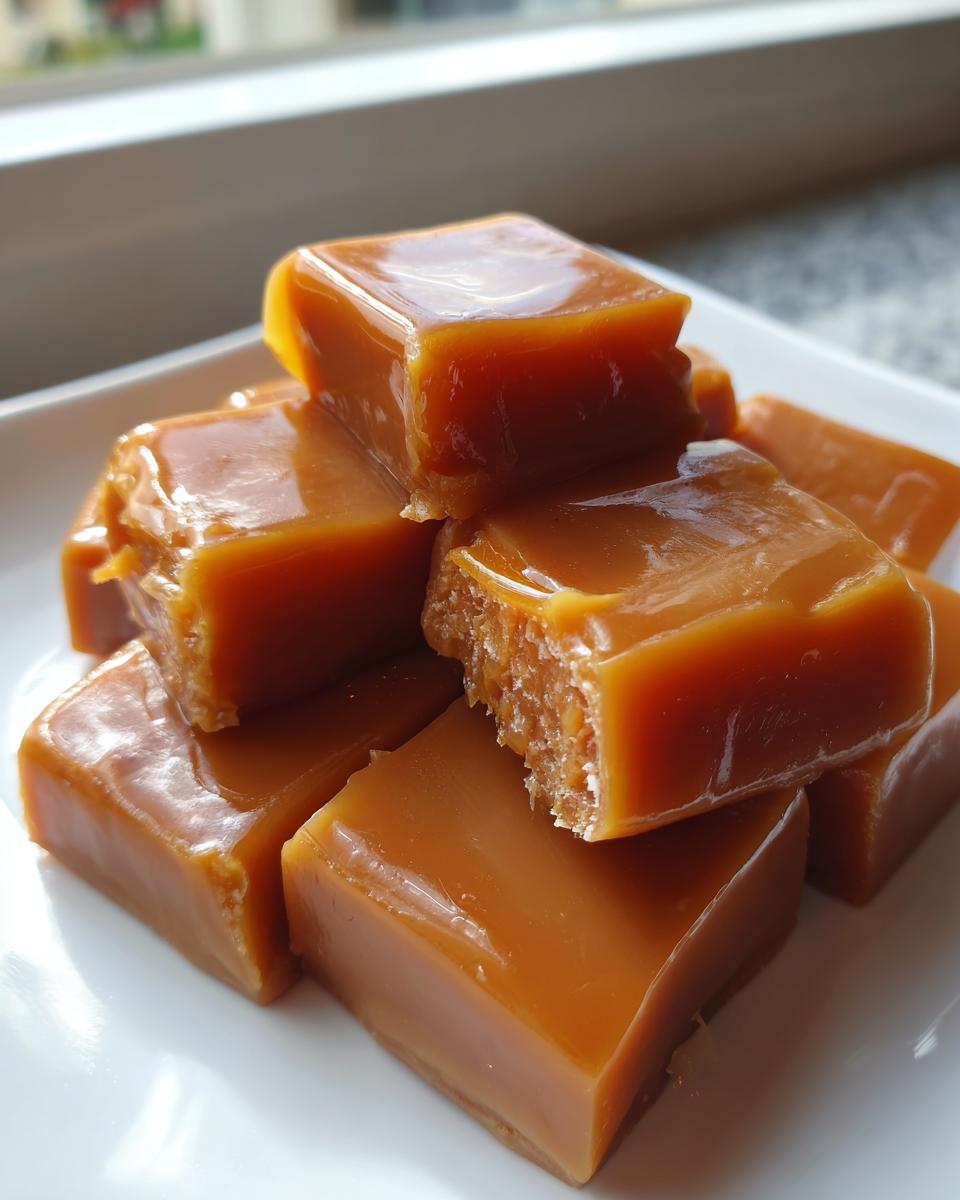
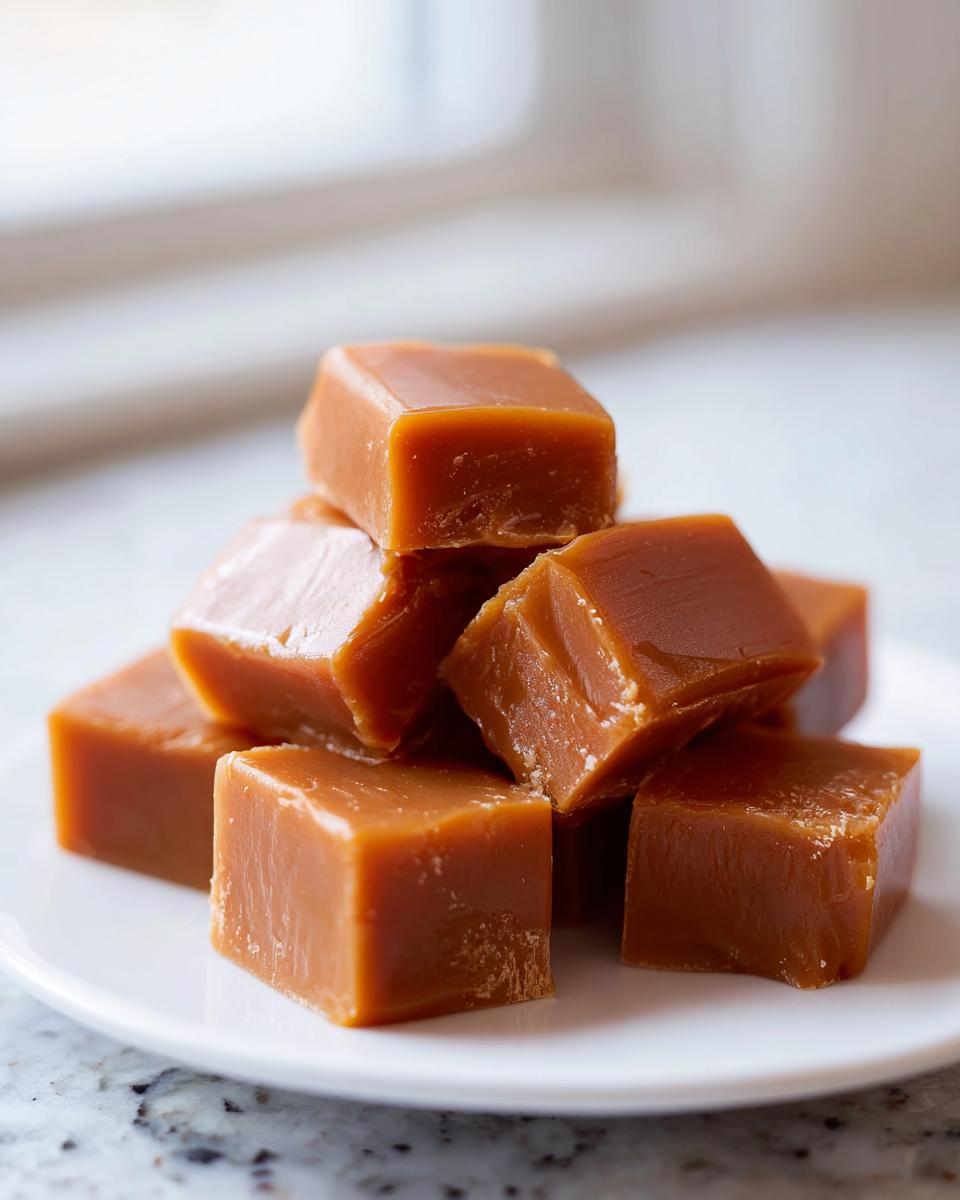
- The texture is perfectly soft and chewy—never tooth-breaking hard.
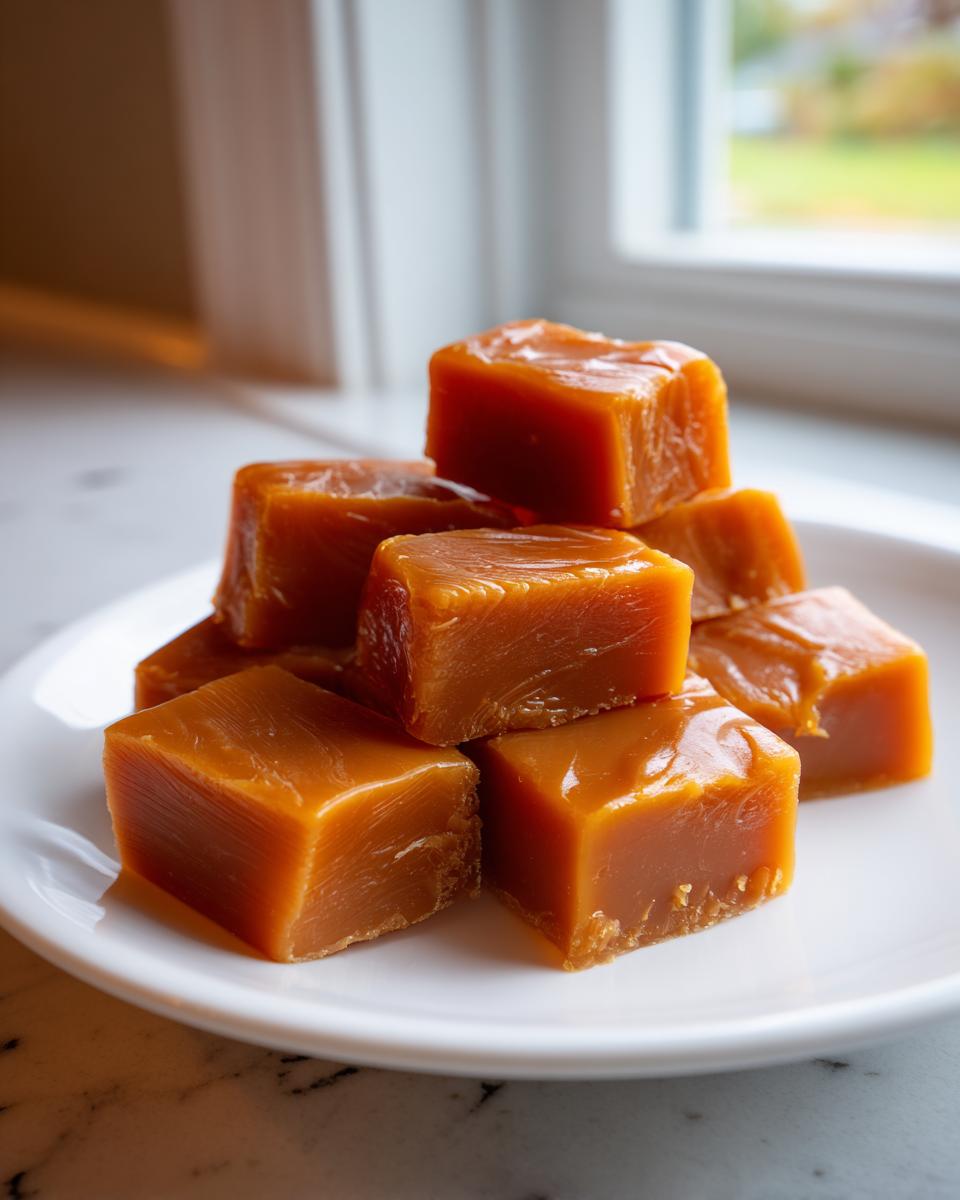
- You end up with gorgeous, buttery caramel squares that make the best gifts.
- It uses just six core ingredients, keeping things straightforward.
The Essential Ingredients for Soft and Chewy Homemade Caramel
When you’re making homemade caramel, the ingredients aren’t just suggestions; they are chemical necessities! If you want that perfectly soft and chewy texture, you can’t mess around with these quantities, which is why I always underline them twice on my card. If you’re ready to try the soft and chewy caramels tutorial, here’s what you need:
- 2 cups granulated sugar (The main base!)
- 1 cup light corn syrup (This is non-negotiable! Corn syrup is crucial because it stops the sugar from turning grainy and crystallizing, which makes your caramels rock hard.)
- 1 cup heavy cream (Gotta have the fat for richness!)
- 1 cup unsalted butter
- 1 teaspoon vanilla extract
- 1/2 teaspoon salt (If you want that salty kick, hold back a pinch to sprinkle on top later.)
See? It’s only six things! The precision of the sugar to corn syrup ratio is what locks in that satisfying, pliable chew we’re after.
Step-by-Step Tutorial: Making Old Fashioned Homemade Caramels
Okay, here’s where the real fun—and focus—begins. Making homemade caramel is totally hands-on, and just like Grandma taught me, patience until the temperature is *just right* is everything. If you’re using a candy thermometer, keep your eye glued to it; this is the difference between chewy bliss and a burned pan! This old-fashioned method moves quickly once the ingredients start combining, so make sure everything is measured and ready to go.
Preparation: Pan Setup and Ingredient Heating
First things first, get your 8×8 pan ready. Lightly grease it and line it with parchment paper, making sure you leave that overhang on two sides—that’s your handle later! Next, in a separate, smaller saucepan, gently warm up your heavy cream and butter together until the butter melts smooth. Don’t let it boil! Meanwhile, you’ll combine your sugar and corn syrup in your main, heavy-bottomed saucepan. Seriously, use a heavy pan here; you don’t want scorching!
Achieving the Firm-Ball Stage for Perfect Homemade Caramel
Now, put that sugar/syrup mixture over medium heat. Stir constantly until that sugar dissolves, and then stop stirring the second it starts boiling. We need to bring this mixture to exactly 245 degrees Fahrenheit—that’s the firm-ball stage. This temperature ensures that when the caramel cools, it’s firm enough to hold its shape but soft enough to bite into. If you don’t have a thermometer, drop a little bit into ice water; if it forms a totally pliable, non-sticky ball, you’re golden! Check out this guide if you need visual cues!
Combining Mixtures and Final Cook to 248 Degrees
When you hit that 245°F mark, pull the sugar pan off the heat *immediately*. Now, very slowly and carefully, pour in that warmed cream and butter mixture. I mean slow! It will bubble up like crazy—don’t panic, just keep stirring gently until it’s blended. Then, put it back on medium-low heat. We need to bring this blend up one more time to 248 degrees Fahrenheit. This higher temp sets the final chewiness. Remove it right away when it hits 248! Remember the advice over at Our Salty Kitchen about watching those edges carefully!
Setting, Cutting, and Wrapping Your Buttery Caramel Squares
Right off the heat, stir in your vanilla and salt—that’s the flavor pop! Pour that liquid gold into your prepared pan. And here’s a pro tip from my testing: do not scrape the sides of the pan to get every last drop! That caramel stuck to the sides is usually overcooked anyway. Let it sit, totally undisturbed, at room temperature for at least three hours until it’s rock solid. Once firm, use those parchment handles to lift it out, peel the paper, and slice into those beautiful buttery caramel squares.
Wrap them individually, and you’re done!
Tips for Success with Your Homemade Caramel Candy Making
Look, candy making can feel intimidating, but once you respect the heat, I promise you’ll have a no fail caramel candy batch every time. The most important thing is your candy thermometer—if that thing is off by five degrees, it changes everything! Always calibrate it or test it against boiling water first. It seems fussy, but that precision is key to that perfect chew.
Now, if you live way up high, like me sometimes, you have to adjust! High altitude means water boils at a lower temperature, so your caramel needs to hit a slightly *higher* final temperature to set correctly. I saw a great note in an Amish recipe where they adjusted for altitude—check their notes if you’re above 2,000 feet. Also, never try to rush the cooling! Pour it in the pan and walk away for three hours. Resist the urge to poke it!
Variations: Salted Caramel Candy Making and Caramel Fudge Recipe Homemade
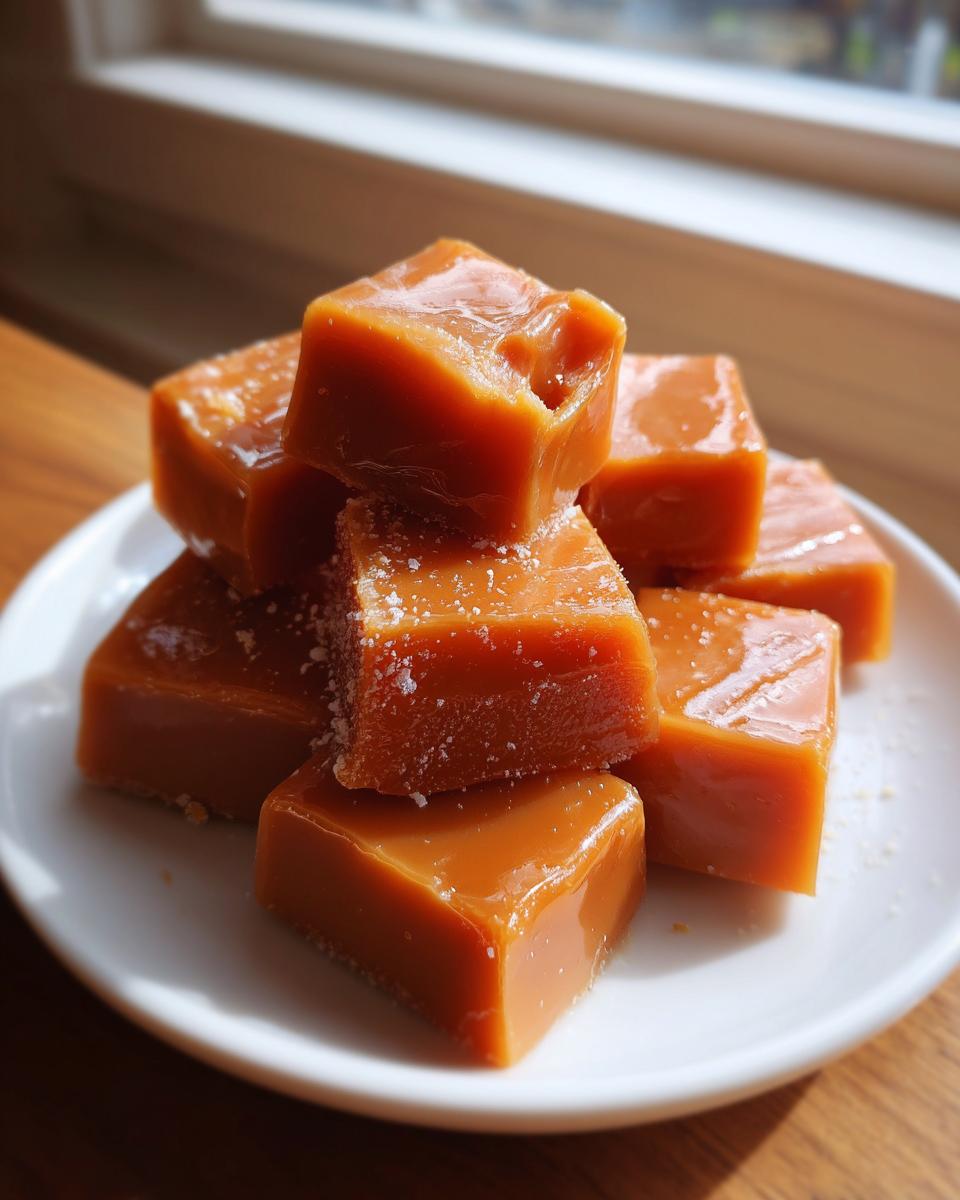
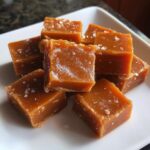
We’ve nailed the classic, buttery homemade caramel, but I always encourage playing around a little bit once you’ve mastered the base! If you want those gorgeous, savory bites that look totally gourmet, you need flaky sea salt. As soon as you pour the hot mixture into your prepared pan, grab your favorite flaky salt and sprinkle it over the top generously. The crystals melt just slightly as the caramel cools, giving you that perfect sweet-and-salty crunch. Check out the beautiful look they achieved over at Lone Recipes!
Now, if you secretly wanted something softer, almost like a dessert topping, you can use this foundation for a caramel fudge recipe homemade style treat. The trick? You need to cook your mixture slightly less—aim for about 245°F maximum, and maybe stir in a touch more butter right at the very end. That extra dairy fat keeps things incredibly soft. Either way, start here, and you can’t go wrong!
Storage and Gifting Your Sweet Homemade Treats
The anticipation is always worth it when you see these little squares neatly wrapped! Since these are homemade caramel candies, they thrive at room temperature. You have to wrap them individually—wax paper is my absolute favorite way to do this, otherwise, they turn into one giant caramel brick! Store them in a tightly sealed, airtight container. Here’s the best part: they stay perfectly soft and chewy for about two full weeks!
This long shelf life makes them phenomenal for sharing. If you are looking for some easy caramel gift ideas holiday baking inspiration, just toss a handful of these wrapped squares into a cute tin or layer them between parchment in a cellophane bag. They always look way more impressive than any store-bought thing, and people absolutely adore getting something made with real butter and care!
Making Caramel Sauce from Scratch: A Quick Alternative
Now, I know what some of you are thinking: “These caramels look amazing, but I really needed a sauce for my apple crisp tonight!” That’s fair! This recipe is calibrated for firm candy squares, which means it cooks up to a higher temperature (248°F) to set properly. If you want a liquid topping, you need to stop cooking much sooner.
For a proper sauce, you’d usually pull the mixture off the heat once it hits about 235°F–240°F. You’ll also typically add less butter or use a bit more cream to keep the consistency pourable. If you want a smooth caramel dipping sauce recipe, try cooking the mixture in this post, but stop just shy of 245°F and beat in your vanilla and salt. If you want a super simple, amazing sauce, check out the quick recipe on this site or try the method detailed by Belly Full for a rich alternative!
Estimated Nutritional Data for Homemade Caramel
Because we’re using real butter and rich cream—the good stuff!—we need to be upfront about what goes into these delicious squares. Food science means tracking these things, even when they taste this incredible. Here is the estimated nutritional breakdown for one single, perfect square of our soft and chewy candy:
- Calories: 110
- Total Fat: 4g (Saturated Fat: 2.5g)
- Carbohydrates: 18g
- Total Sugars: 16g
- Protein: 0.5g
- Sodium: 35mg
- Cholesterol: 15mg
Now, please keep in mind that these numbers are based on the exact measurements listed in the recipe and an estimated yield of 64 squares. If you cut your squares bigger, or if your butter brand varies slightly, these numbers will shift a bit. This data is here to give you a good baseline, but honestly, the best data point is the sheer joy you feel when you eat one!
Frequently Asked Questions About Homemade Caramel
I always get so many questions when people try this recipe for the first time, especially around temperature and texture! It’s total candy science, but don’t let that scare you off. Here are the biggest head-scratchers I hear about making the absolute best homemade caramel recipe.
Why did my homemade caramel turn hard and crystalline instead of chewy?
Nine times out of ten, this happens because of stirring after the sugar dissolves and boils, or because your thermometer was reading low. If you agitate the sugar crystals once they start boiling, they get agitated and start growing into a rock! Also, if you don’t use the corn syrup, the sugar will definitely crystallize. Stick to the temperatures we talked about—245°F and 248°F—for that lovely chew. If you need some extra pointers on fixing sticky situations, check out this guide here.
Can I skip the light corn syrup? I don’t have any!
Oh, I totally get not having every niche ingredient! But for this specific soft and chewy caramel candy tutorial? No, you really shouldn’t skip it. Corn syrup’s job is physical—it keeps the sugar molecules separate and smooth. If you skip it, you risk a grainy, hard texture. If you are desperate, you could substitute an equivalent amount of liquid glucose or invert sugar, but please don’t swap it 1:1 for plain sugar or honey; it won’t end well for your beautiful batch of sweet homemade treats.
What temperature is considered a soft, chewy caramel?
For truly, perfectly soft and chewy squares that melt in your mouth but still hold their shape when wrapped, you need to hit that 248°F sweet spot right before you take it off the heat. That is the exact point where the sugar concentration sets up for chewiness without going into the hard-crack stage. For a simpler version or a better beginner caramel recipe, you can use the soft-ball test, but using a thermometer gives you the precision needed for this classic recipe. For more foolproof guidance, you can find great backup tips over at Quick Cake Recipes.
Share Your Homemade Caramel Creations
I truly hope you loved this adventure into making your own homemade caramel! Seriously, if you made it this far and you have a batch setting up on your counter right now, you owe it to yourself to give it a solid five stars! If these buttery squares turned out exactly as promised—soft, chewy, and delicious—please leave a rating right here on the page. I want to know I helped you achieve that perfect candy!
And I absolutely love seeing my readers’ kitchens! Snap a picture of your beautifully wrapped candies or your gooey saucepan moments before cooling, and tag me on social media. When you share, tell me what search term guided you here—did you use the phrase “easy caramel candy recipe”, or were you searching for the best homemade caramel recipe? Knowing how you found me helps me keep delivering the results you need most. Enjoy every single piece!
PrintSoft and Chewy Homemade Caramel Candy: An Old-Fashioned Recipe
Make soft and chewy homemade caramel candy using this reliable, old-fashioned method. These buttery squares are perfect for gifting or enjoying as a sweet treat.
- Prep Time: 15 min
- Cook Time: 30 min
- Total Time: 225 min
- Yield: About 64 pieces 1x
- Category: Candy
- Method: Stovetop Cooking
- Cuisine: American
- Diet: Vegetarian
Ingredients
- 2 cups granulated sugar
- 1 cup light corn syrup
- 1 cup heavy cream
- 1 cup unsalted butter
- 1 teaspoon vanilla extract
- 1/2 teaspoon salt
Instructions
- Lightly grease an 8×8 inch baking pan and line it with parchment paper, leaving an overhang on two sides for easy removal.
- In a heavy-bottomed saucepan, combine the granulated sugar and corn syrup. Heat over medium heat, stirring constantly until the sugar dissolves.
- Stop stirring once the mixture boils. Continue to cook until the mixture reaches 245 degrees Fahrenheit on a candy thermometer (firm-ball stage). Watch the temperature closely.
- In a separate small saucepan, gently heat the heavy cream and butter together until the butter is melted. Do not boil.
- Once the sugar mixture reaches 245 degrees Fahrenheit, remove it from the heat. Carefully and slowly pour the warm cream and butter mixture into the sugar mixture. Stir gently until just combined. The mixture will bubble vigorously.
- Return the saucepan to medium-low heat. Stir constantly until the mixture reaches 248 degrees Fahrenheit.
- Remove from heat immediately. Stir in the vanilla extract and salt.
- Pour the hot caramel mixture into the prepared baking pan. Do not scrape the sides of the pan. Let it cool completely at room temperature for at least 3 hours, or until firm.
- Once firm, use the parchment paper overhang to lift the caramel block from the pan. Peel off the paper.
- Use a sharp, oiled knife or kitchen shears to cut the block into 1-inch squares. Wrap each piece individually in wax paper for storage or gifting.
Notes
- For a salted caramel finish, sprinkle flaky sea salt over the top of the caramel immediately after pouring it into the pan.
- If you do not have a candy thermometer, the mixture is ready when a small drop placed in ice water forms a firm, pliable ball that is not sticky.
- Store your finished homemade caramel candy in an airtight container at room temperature for up to two weeks.
Nutrition
- Serving Size: 1 square
- Calories: 110
- Sugar: 16
- Sodium: 35
- Fat: 4
- Saturated Fat: 2.5
- Unsaturated Fat: 1.5
- Trans Fat: 0
- Carbohydrates: 18
- Fiber: 0
- Protein: 0.5
- Cholesterol: 15