
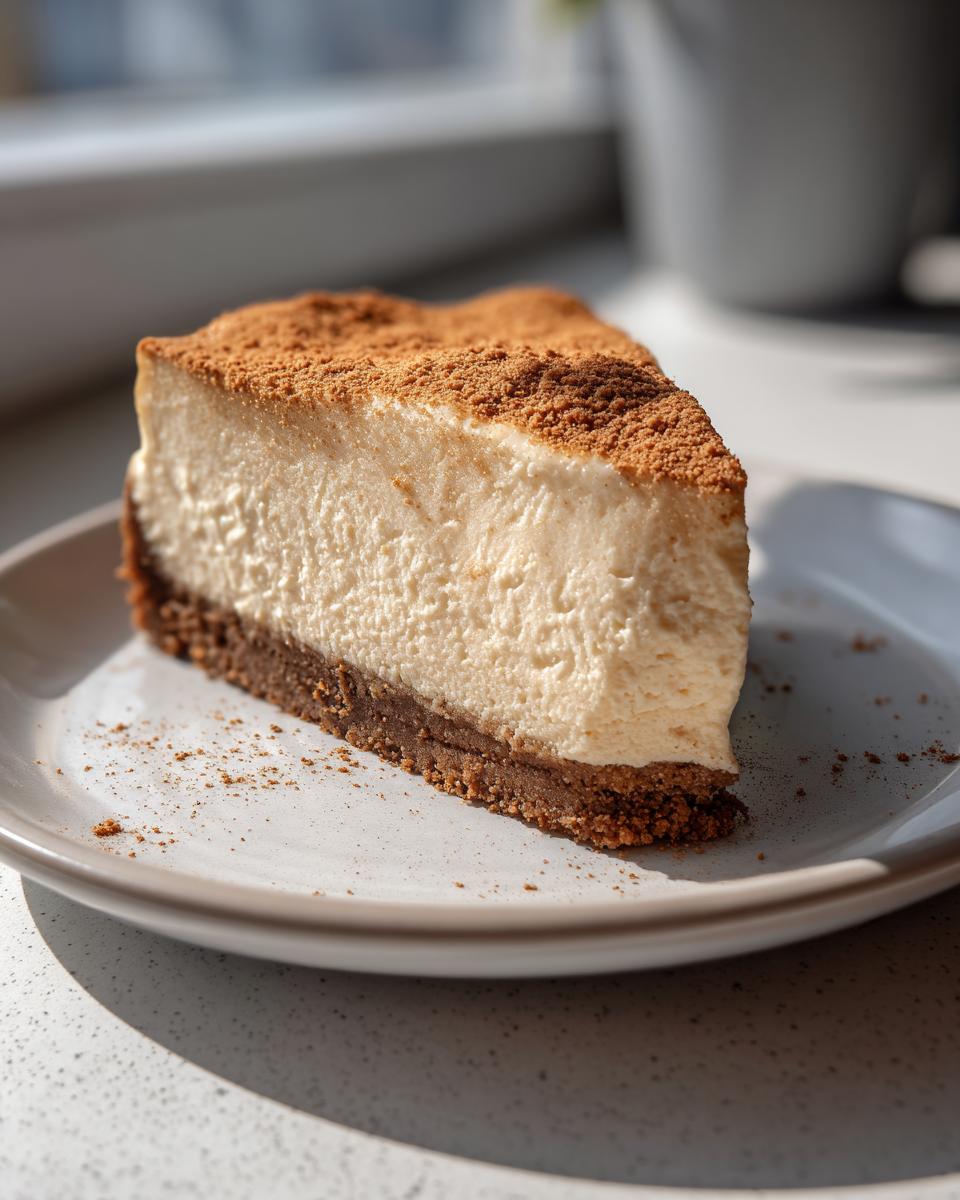
Oh, friends, if you’re staring down the barrel of holiday baking season and feel completely overwhelmed, I get it! We all need that one recipe that stops everyone in their tracks—that showstopper dessert that tastes like pure comfort and nostalgia. That’s exactly why I had to crack the code on this snickerdoodle cheesecake. It’s the perfect mashup, right? Taking that warm, slightly tangy hug of a snickerdoodle cookie and marrying it to the absolute silkiest, creamiest cheesecake imaginable. As someone who came up loving both the science of why things work and the joy of my mother’s Filipino kitchen traditions, believe me when I say this recipe is foolproof. It’s designed to be reliable, even if you’re nervous about baking cheesecake!
- Why This Creamy Cinnamon Cheesecake is Your Next Showstopper Dessert
- Essential Ingredients for Perfect Snickerdoodle Cheesecake
- Step-by-Step Instructions for Your Snickerdoodle Cheesecake Recipe
- Tips for Success with Your Snickerdoodle Cheesecake
- Variations: From Snickerdoodle Cheesecake Bars to No Bake Snickerdoodle Dessert
- Storage and Reheating Instructions for Your Snickerdoodle Cheesecake
- Serving Suggestions for This Cinnamon Dessert Mashup
- Frequently Asked Questions About Snickerdoodle Cheesecake
- Nutritional Estimate for Your Creamy Cinnamon Cheesecake
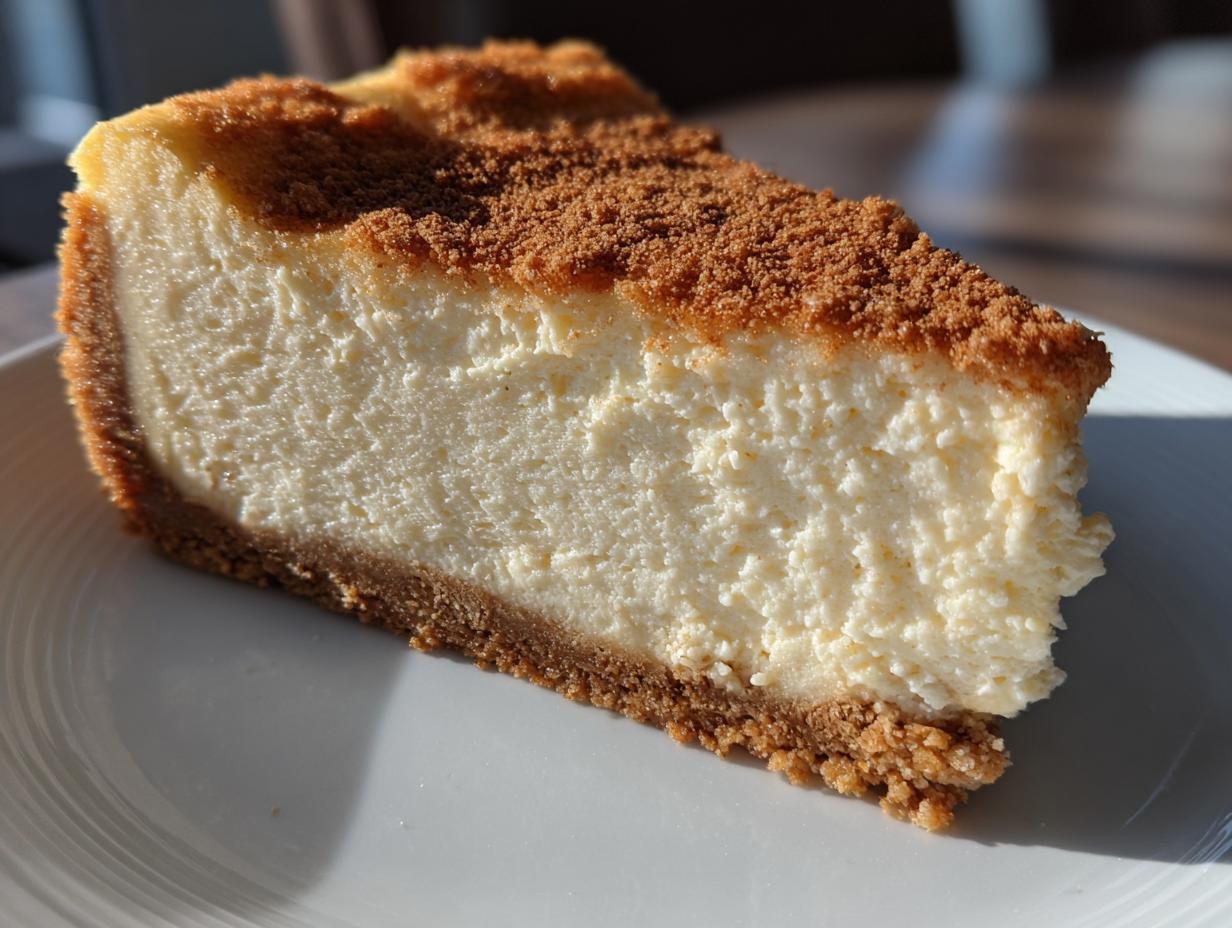
Why This Creamy Cinnamon Cheesecake is Your Next Showstopper Dessert
Seriously, get ready for compliments! This isn’t just another dessert; it’s the combination everyone talks about. Merging the buttery spice of snickerdoodles with a rich cheesecake base makes it perfect for any upcoming Holiday Cheesecake Desserts lineup or cozy Fall Baking Ideas.
- It uses a tangy, yet perfectly sweet, base that never tastes heavy.
- The cinnamon spice note is deeply satisfying, not overpowering.
- It looks incredibly impressive on the table—a true centerpiece!
If you want a decadent treat that travels well and holds up beautifully once sliced, you should definitely save this recipe from my friends over at Just Worth It, too.
Achieving the Ultimate Velvety Cheesecake Filling
The secret to that velvety texture is really all about temperature and patience! We make sure the cream cheese and eggs are fully at room temperature before we even think about mixing. Then, the mandatory slow cooling process—letting it nap in the turned-off oven—keeps all the moisture locked in and prevents those dreaded cracks. It’s this careful handling that guarantees that luxurious, ultra-creamy bite every single time.
Essential Ingredients for Perfect Snickerdoodle Cheesecake
Okay, let’s talk about what goes into making this dream dessert. Remember how I mentioned science? The ingredients need to be just right, especially when it comes to temperature! If your cream cheese is cold, you’ll end up with lumps, and we are aiming for that flawless, velvety cheesecake filling. If you check out the reliability tips over at King’s Cook, you’ll see they stress the same things—room temp is key for that smooth texture!
For the Buttery Cinnamon Crust
This is the warm, spiced foundation! Don’t skimp on the butter here; it helps the crumbs hold together perfectly so you don’t get that sad, dusty bottom.
- 1 1/2 cups graham cracker crumbs
- 1/4 cup granulated sugar
- 1 teaspoon ground cinnamon
- 6 tablespoons unsalted butter, melted
For the Velvety Cheesecake Filling
This is where the magic happens! You absolutely must use 3 (8 ounce) packages of cream cheese, and I mean it—they *must* be softened. Also, please make sure your 4 large eggs are sitting out for at least an hour before you start mixing. Seriously, room temperature eggs blend seamlessly!
- 3 (8 ounce) packages cream cheese, softened
- 1 1/2 cups granulated sugar
- 1/4 cup all-purpose flour
- 1 teaspoon vanilla extract
- 1 teaspoon ground cinnamon
- 1/4 teaspoon ground nutmeg
- 4 large eggs, room temperature
For the Cinnamon Crumb Topping (Optional)
I rarely skip this, because it adds that perfect crunchy texture, mimicking the outside of a true Snickerdoodle Cookie Dessert. Cut that butter in when it’s really cold!
- 1/2 cup all-purpose flour
- 1/2 cup packed light brown sugar
- 1 teaspoon ground cinnamon
- 1/4 cup cold unsalted butter, cut into small pieces
Step-by-Step Instructions for Your Snickerdoodle Cheesecake Recipe
Alright, let’s roll up our sleeves and get baking! You’ll find this process is surprisingly straightforward, provided you follow the mixing order exactly. If you’re looking for a detailed walkthrough or maybe a video reference, my friend over at Recipes Moms always has great visuals when I’m teaching this one. Remember, we’re aiming for that incredible creamy cinnamon cheesecake experience, and technique is everything!
Preparing the Buttery Cinnamon Crust
First things first, get that oven preheating to 325°F (160°C). Before anything else, take your 9-inch springform pan and wrap the outside bottom *really* well with heavy-duty foil—we need those layers to keep water out later. For the crust, just toss the crumbs, sugar, and cinnamon together, then pour in the melted butter. Stir until it looks like damp sand clinging together. Press this mixture firmly into the bottom of your prepared pan. Pop that into the oven for a quick 10 minutes to set it up, then pull it out to cool slightly while we work on the filling.
Mixing the Creamy Cinnamon Cheesecake Filling
This part needs your focus! Grab your biggest bowl. You have to beat that softened cream cheese until it’s truly smooth—no lumps allowed! That’s how we ensure that silky texture. Next, slowly mix in the sugar, flour, vanilla, cinnamon, and nutmeg. Scrape the sides down! When you finally add those 4 room-temperature eggs, this is the big thing: add them one at a time, mixing on *low* speed. As I always tell people, overmixing eggs whips in too much air, and that air causes cracking! We want dense, not bubbly.
Baking the Snickerdoodle Cheesecake with a Water Bath
Now for the water bath—this is your insurance policy against cracks! Gently pour that lovely filling over your slightly cooled crust. Place the foil-wrapped pan into a larger roasting pan. Careful now, pour hot water into the roasting pan until it comes halfway up the sides of the cheesecake pan. This humid environment keeps everything baking evenly. Bake it for about 60 to 75 minutes. You’ll know it’s ready when the edges look firm but the very center still has a slight wiggle to it. If you’re looking for another great perspective on the water bath secret, Flavor Smile explains it perfectly too.
The Essential Slow Cooling Process
Don’t you dare pull it straight out into the cold air! That temperature shock is what cracks cheesecake. After the 60–75 minutes, just turn the oven off. Prop the door open just a tiny crack—I use a wooden spoon for this. Let that cheesecake hang out in the warm oven for a full hour. After that hour, take it out, remove the foil and water bath, and let it cool completely on a wire rack. Then, cover it up tight and let it chill for at least 6 hours, but trust me, overnight is when this cinnamon dessert mashup truly develops its best flavor!
Tips for Success with Your Snickerdoodle Cheesecake
When I was developing this recipe, I learned quickly that cheesecake doesn’t forgive shortcuts, but it rewards precision tenfold! Remember those little notes I kept tucked into my development files? They are all about guarding that creamy texture. As a Food Scientist, I see these steps as crucial—they are my promise to you that your cheesecake will turn out gorgeous.
First, the temperature rule: Use room temperature ingredients for both the cream cheese and the eggs. This isn’t optional; it’s the cornerstone of getting that smooth, velvety cheesecake filling. If things are cold, they won’t emulsify right, and you’ll end up fighting lumps. Also, if you want to skip the graham crackers entirely for an even stronger cookie flavor, try whipping up a crust using crushed store-bought snickerdoodle cookies instead! It’s a fun twist.
For the water bath, even if you’re skipping it for some reason (which I don’t recommend for your first time!), always bake low and slow. You can find more great tips on achieving perfection from my friend over at I Am Baker.
Variations: From Snickerdoodle Cheesecake Bars to No Bake Snickerdoodle Dessert
I know sometimes a full 9-inch round cheesecake feels like too much work, or maybe you just want something that sets up faster than overnight chilling allows. That’s why this recipe is so adaptable! We can take the heart of this creamy cinnamon dessert and twist it into completely different formats. It really shows how versatile this cinnamon dessert mashup can be!
If you’re taking these to a potluck, you absolutely have to try making Snickerdoodle Cheesecake Bars. They are fantastic because they are sturdy, easy to serve, and you get way more servings out of one batch. To do this, just use a 9×13 inch pan instead of the springform pan, and make sure you line it with parchment paper with overhang—that’s how you lift the whole thing out later! Because the layer is thinner, you’ll notice the bake time drops significantly, probably down to about 40 or 45 minutes, so watch it closer.
Now, for those blazing hot summer days when the oven just can’t come on, we need a No Bake Snickerdoodle Dessert. That requires a slight shift in technique since we aren’t relying on eggs and baking to set up the filling. For this variation, you’d skip the eggs entirely, of course. Instead, after mixing your cream cheese, sugar, and spices, you’ll gently fold in either whipped cream that’s stabilized with a little gelatin, or sometimes I use softened cool whip for ease. It sets up beautifully in the fridge! My friend over at Flerra has some great ways to stabilize those no-bake fillings if you need extra guidance there.
If you want to see genius ways to turn these into bars—especially if you want to try adding pecans to the crust like some of the amazing bar recipes floating around—check out the inspiration over at I Am Starved. Bars just make sharing easier, don’t they?
Storage and Reheating Instructions for Your Snickerdoodle Cheesecake
Because this creamy cinnamon cheesecake is so rich and full of dairy, you have to treat it right in storage! Once it’s fully chilled—and remember, chilling overnight is best—cover the entire thing tightly with plastic wrap, making sure the wrap doesn’t stick directly to the top, especially if you added a topping. Keep it in the fridge! It stays wonderfully delicious for about four to five days.
Now, about reheating? Cheesecakes really don’t like heat once they’re baked! You shouldn’t reheat this snickerdoodle cheesecake at all; it’s meant to be served cold or just slightly cooler than room temperature. If it’s rock-solid straight from the fridge, just pull a slice out about 20 minutes before you plan on eating it. That little bit of time lets the flavors bloom perfectly!
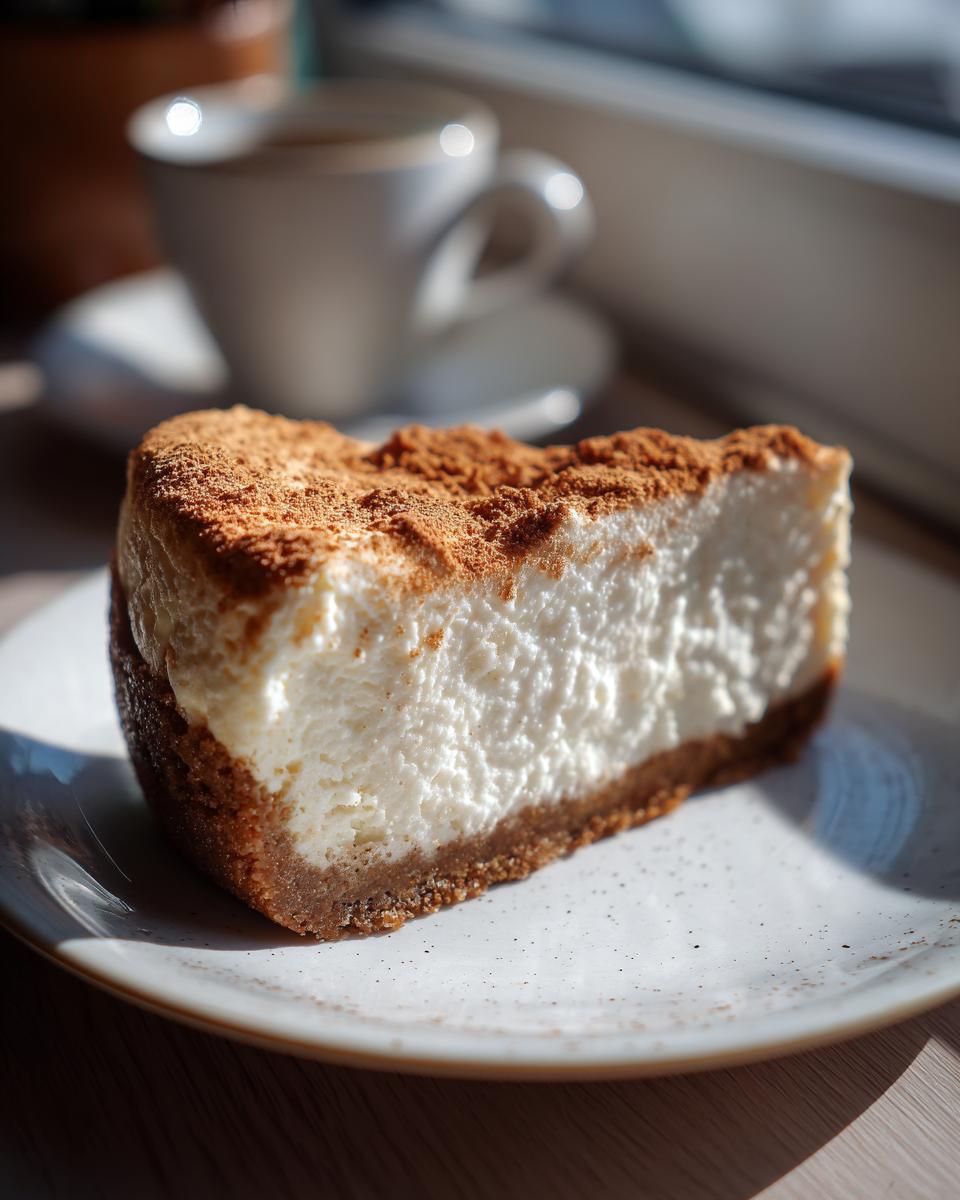
Serving Suggestions for This Cinnamon Dessert Mashup
This decadent snickerdoodle cheesecake is already a powerhouse, so you don’t need much fuss to treat your guests! If you are setting up a table of Festive Sweet Treats, I think the best pairing is a hot drink. The warmth of fresh, black coffee or a mug of hot spiced cider cuts through the richness beautifully. If you want to garnish, a simple drizzle of caramel sauce or just an extra light dusting of cinnamon-sugar right before serving makes it look ridiculously professional. You can see an inspiration for a lovely swirled version that pairs well with coffee over at The Comfort Pan!
Frequently Asked Questions About Snickerdoodle Cheesecake
Don’t worry if you have questions! Baking a showstopper dessert like this creamy cinnamon cheesecake can feel intimidating sometimes, but really, it’s about controlling a few key variables. I promise, once you nail these basics, you’ll feel confident grabbing any of the Best Cheesecake Recipes out there!
How do I prevent my snickerdoodle cheesecake from cracking?
This is the number one fear, right? The absolute non-negotiables are making sure your 3 packages of cream cheese and your 4 eggs are fully at room temperature. Then, while mixing, stop as soon as the eggs disappear—don’t overdo it! Finally, the water bath during baking paired with that slow cooling time (an hour in the turned-off oven) is your golden ticket to a crack-free top. You can see a perfect demonstration of that water bath technique over at Delish!
Can I substitute the crust ingredients in this Snickerdoodle Cheesecake Recipe?
Yes, you certainly can! If you want to dive 100% into the snickerdoodle flavor profile, toss out the graham crackers and mash up about 12 store-bought snickerdoodle cookies instead! They have that lovely buttery texture you need. Just follow the same ratio for the melted butter, sugar, and cinnamon that we used for the standard crust. It makes for an extra delicious base for our cinnamon dessert mashup!
What is the best way to chill this dessert?
While you *can* technically serve this after 6 hours of chilling, I really urge you to let it go overnight. That long, slow chill allows the filing to fully firm up and truly lets those warm vanilla, cinnamon, and nutmeg flavors meld together perfectly. It transforms the texture from just ‘good’ to utterly melt-in-your-mouth incredible.
Nutritional Estimate for Your Creamy Cinnamon Cheesecake
I always get asked if this stunning, indulgent dessert blows all my healthy eating goals out of the water, and I’m happy to give you the breakdown! Since we’re using real butter, cream cheese, and sugar ingredients, it is certainly a rich treat, but knowing what you are eating is part of the culinary journey, right?
Here are the general estimates per serving for this snickerdoodle cheesecake. Now, keep in mind this is based on slicing it into 12 equal portions and using standard brand measurements. If you cut bigger slices (which I always seem to do!), these numbers shift upward!
- Serving Size: 1 slice
- Calories: 450
- Sugar: 35g
- Sodium: 280mg
- Fat: 28g
- Saturated Fat: 17g
- Unsaturated Fat: 11g
- Trans Fat: 0.5g
- Carbohydrates: 42g
- Fiber: 1g
- Protein: 7g
- Cholesterol: 110mg
So yes, it’s definitely an indulgence! But I always say, when you create a showstopper dessert from scratch with quality ingredients, you enjoy every single bite with zero guilt. That’s part of the everyday alchemy!
PrintUltimate Creamy Snickerdoodle Cheesecake Recipe
Create the ultimate holiday dessert by combining the creamy richness of cheesecake with the warm, spiced flavor of snickerdoodle cookies. This recipe yields a velvety filling on a buttery crust, perfect for festive gatherings.
- Prep Time: 25 min
- Cook Time: 75 min
- Total Time: 1 hour 40 min (plus chilling time)
- Yield: 12 servings 1x
- Category: Dessert
- Method: Baking
- Cuisine: American
- Diet: Vegetarian
Ingredients
- For the Buttery Cinnamon Crust:
- 1 1/2 cups graham cracker crumbs
- 1/4 cup granulated sugar
- 1 teaspoon ground cinnamon
- 6 tablespoons unsalted butter, melted
- For the Velvety Cheesecake Filling:
- 3 (8 ounce) packages cream cheese, softened
- 1 1/2 cups granulated sugar
- 1/4 cup all-purpose flour
- 1 teaspoon vanilla extract
- 1 teaspoon ground cinnamon
- 1/4 teaspoon ground nutmeg
- 4 large eggs, room temperature
- For the Cinnamon Crumb Topping (Optional):
- 1/2 cup all-purpose flour
- 1/2 cup packed light brown sugar
- 1 teaspoon ground cinnamon
- 1/4 cup cold unsalted butter, cut into small pieces
Instructions
- Preheat your oven to 325°F (160°C). Wrap the outside bottom of a 9-inch springform pan tightly with heavy-duty aluminum foil to prepare for a water bath.
- Prepare the crust: In a medium bowl, mix the graham cracker crumbs, 1/4 cup sugar, and 1 teaspoon cinnamon. Pour in the melted butter and stir until the mixture resembles wet sand. Press the mixture firmly and evenly into the bottom of the prepared springform pan. Bake for 10 minutes. Remove from the oven and set aside to cool slightly.
- Prepare the filling: In a large bowl, use an electric mixer to beat the softened cream cheese until smooth. Gradually beat in the 1 1/2 cups sugar, flour, vanilla extract, 1 teaspoon cinnamon, and nutmeg until just combined and smooth. Scrape down the sides of the bowl.
- Beat in the eggs one at a time, mixing on low speed after each addition only until the yolk disappears. Do not overmix the batter.
- Pour the cheesecake filling over the cooled crust. Place the foil-wrapped springform pan into a larger roasting pan. Carefully pour hot water into the roasting pan until the water reaches halfway up the sides of the springform pan. This water bath prevents cracks.
- Bake for 60 to 75 minutes. The edges should look set, but the center 2 inches should still jiggle slightly when gently nudged.
- Turn off the oven, crack the door open slightly, and let the cheesecake cool inside the oven for 1 hour. This slow cooling helps prevent cracking.
- Remove the cheesecake from the water bath and foil. Let it cool completely on a wire rack. Once cool, cover and refrigerate for at least 6 hours, or preferably overnight.
- Prepare the topping (if using): Combine flour, brown sugar, and 1 teaspoon cinnamon in a small bowl. Cut in the cold butter using a pastry blender or your fingers until coarse crumbs form. Sprinkle this mixture over the chilled cheesecake before serving, or bake it separately on a small baking sheet for 8-10 minutes at 350°F until golden, then cool and sprinkle over the chilled cheesecake.
Notes
- Use room temperature ingredients for the cream cheese and eggs to achieve the smoothest, creamiest cheesecake filling.
- For a snickerdoodle cookie crust variation, crush about 12 store-bought snickerdoodle cookies instead of using graham crackers.
- If you skip the water bath, bake at 300°F for about 70-80 minutes and watch closely for doneness.
Nutrition
- Serving Size: 1 slice
- Calories: 450
- Sugar: 35g
- Sodium: 280mg
- Fat: 28g
- Saturated Fat: 17g
- Unsaturated Fat: 11g
- Trans Fat: 0.5g
- Carbohydrates: 42g
- Fiber: 1g
- Protein: 7g
- Cholesterol: 110mg