
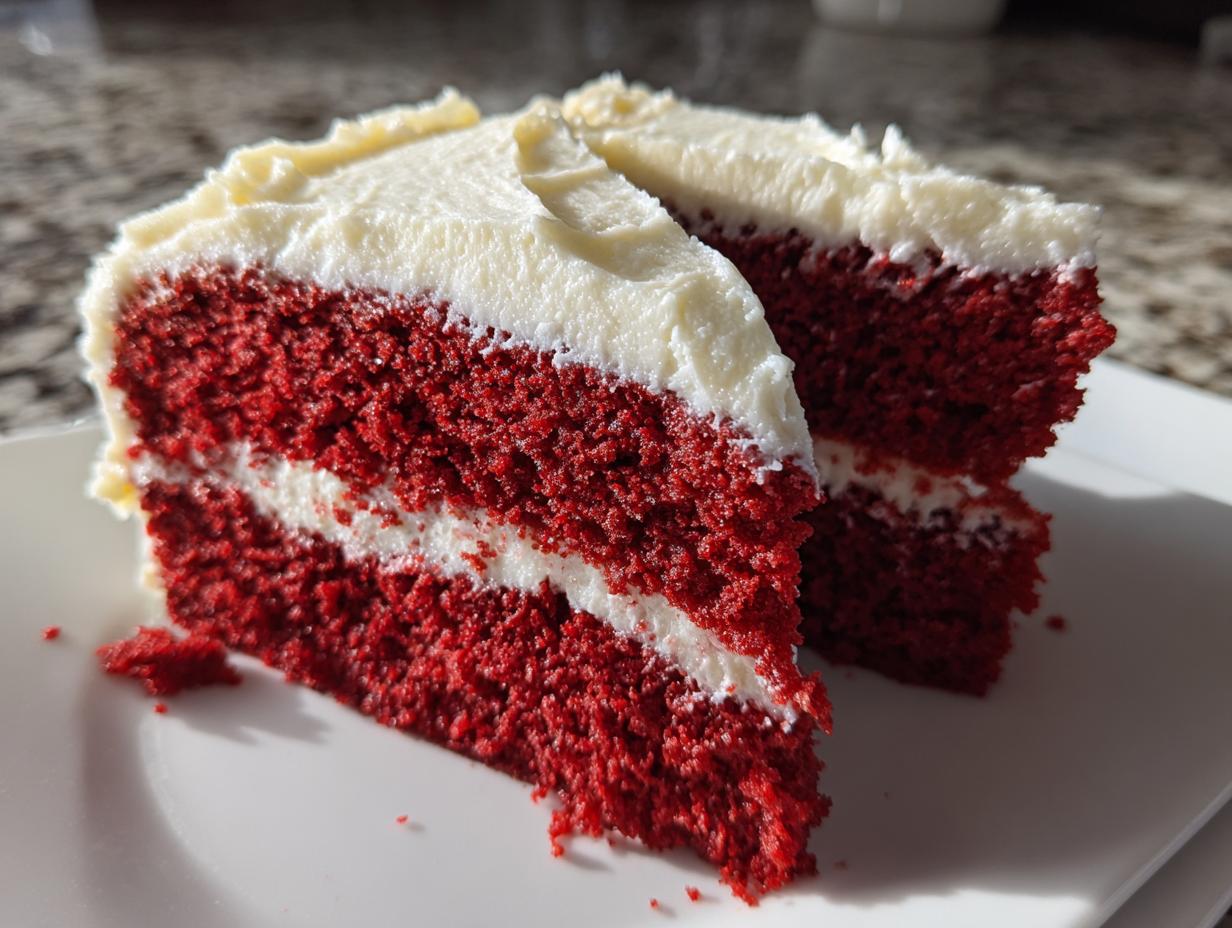
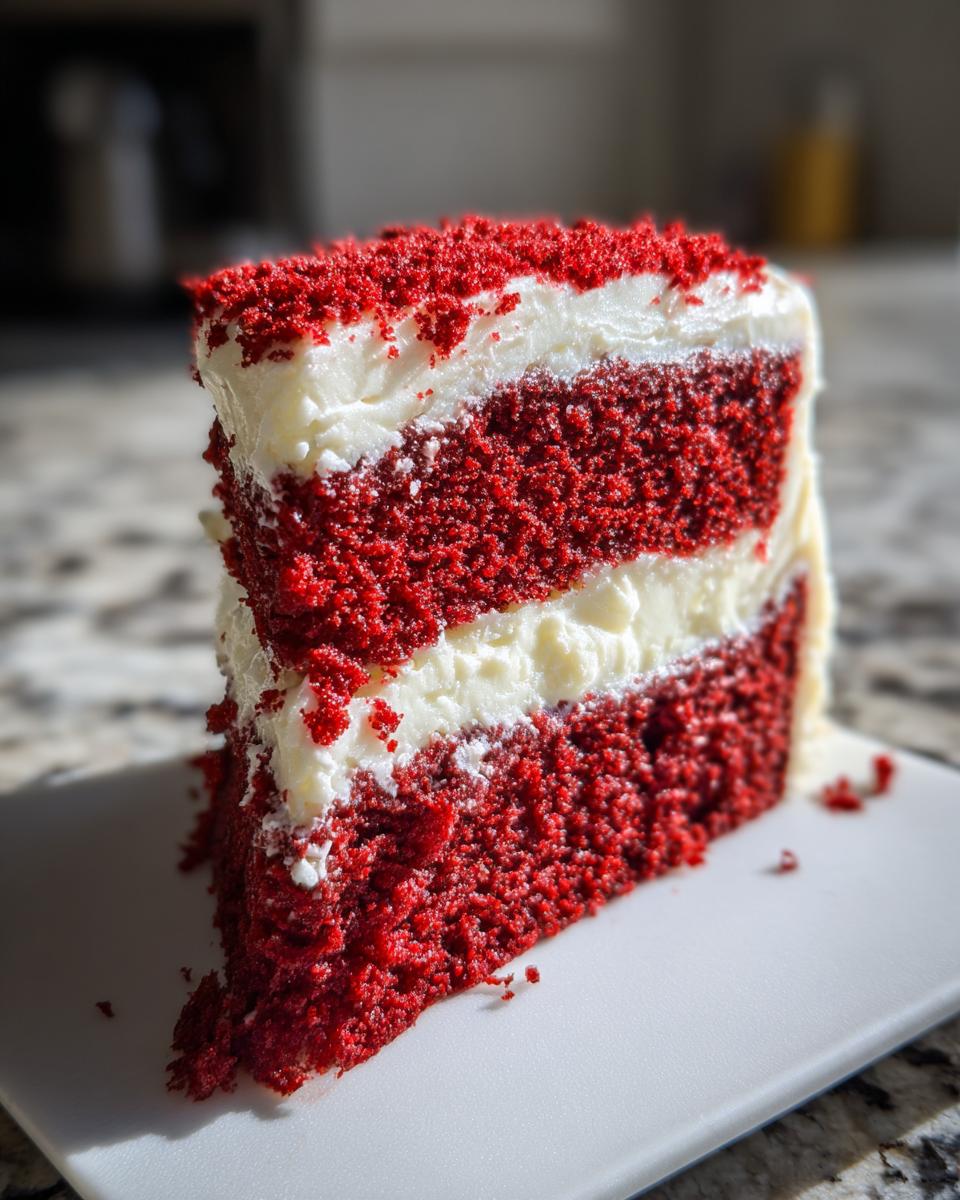
There are certain classic desserts you just have to get right, and for me, that’s the quintessential red velvet cake. When I first started developing recipes professionally, I knew I had to nail the authentic Southern version—the one that is deeply flavorful, unbelievably soft, and always achieves that perfect dramatic color. This recipe delivers exactly that: it’s truly the best Southern Style Moist Red Velvet Cake from Scratch with Classic Cream Cheese Frosting you’ll ever make. My background, blending my mother’s warm heritage baking with the precision I learned studying Food Science, means this recipe is scientifically reliable. Trust me, this formula guarantees you a consistently soft homemade cake every single time.
- Why This is the Best Moist Red Velvet Cake Recipe
- Ingredients for Your Soft Homemade Cake
- How to Prepare the Easiest Red Velvet Cake
- Crafting the Best Cream Cheese Frosting Recipe
- Tips for a Perfect Red Velvet Cake from Scratch
- Serving Suggestions for Your Red Velvet Cake
- Storage and Reheating Instructions for Red Velvet Cake
- Frequently Asked Questions About Red Velvet Cake
- Nutritional Data for This Red Velvet Cake
Why This is the Best Moist Red Velvet Cake Recipe
What makes this the definitive moist red velvet cake recipe? It comes down to respect for the science behind these traditional flavors! This isn’t just chocolate cake dyed red; the magic of authentic southern red velvet comes from the reaction between the acidity of the buttermilk and the vinegar reacting with the baking soda. That little bit of acid works wonders, giving you that signature slight tang and beautiful fine crumb structure. We call it everyday alchemy in the kitchen! You can look at some great science-backed discussions on this topic, like over at Sugar Geek Show.
Using ingredients at room temperature, which I always emphasize, ensures everything emulsifies perfectly, avoiding any dense spots. If you want a cake that truly earns rave reviews, you have to treat the ingredients right before they even hit the bowl. It’s the foundational technique that elevates this cake above store-bought mixes. If you want more inspiration on achieving the best texture, check out what they say about the best red velvet cake over there!
Achieving the Vibrant Red Velvet Cake Color
Oh, the color! People often worry about this part, but don’t stress. The cocoa powder we use does contribute a very slight brownish undertone, but to get that iconic, dramatic look, we have to rely on food coloring. Use a high-quality, concentrated gel coloring, trust me. A little goes a long way, and adding too much liquid coloring can throw off the balance we worked so hard to achieve with the buttermilk. Just a single ounce bottle, mixed fully into the wet ingredients before combining with the flour, gives you that gorgeous, eye-popping hue that shouts ‘celebration!’
Ingredients for Your Soft Homemade Cake
Okay, now we get down to the good stuff—the actual building blocks for what will become the most soft homemade cake you’ve ever pulled from your oven. Remember what I mentioned earlier? Room temperature is your best friend here. I mean it! Cold ingredients fight each other in the bowl, and we want them to greet each other with open arms so they form that beautiful, smooth emulsion. Don’t shortcut this; it’s the alchemy Jules talks about!
Cake Ingredients for Red Velvet Cake from Scratch
For the cake layers that sing the song of the South, you’ll need these specific components. Make sure that butter, those eggs, and especially that buttermilk have been sitting out on the counter for at least an hour before you start.
- 2 1/2 cups all-purpose flour
- 1 teaspoon baking soda
- 1 teaspoon salt
- 1 tablespoon unsweetened cocoa powder
- 1 cup unsalted butter, softened
- 1 1/2 cups granulated sugar
- 2 large eggs, room temperature
- 1 teaspoon vanilla extract
- 1 cup buttermilk, room temperature
- 1 teaspoon white vinegar
- 1 bottle (1 ounce) red food coloring (for vibrant red velvet cake color)
Best Cream Cheese Frosting Recipe Components
This frosting is non-negotiable for an authentic experience! It needs that gentle tang to cut through the cake’s richness. Make sure you sift that powdered sugar; nobody wants lumps in their luscious topping!
- 8 ounces cream cheese, softened
- 1/2 cup unsalted butter, softened
- 3 cups powdered sugar, sifted
- 1 teaspoon vanilla extract
How to Prepare the Easiest Red Velvet Cake
I promise you, even though this cake seems fancy, it’s actually one of the most straightforward recipes I have! If you’re looking for an easy red velvet cake that tastes like it took all day, you’re in the right place. We’re going to walk through this step-by-step, so a show-stopping dessert is completely achievable for beginner bakers, too. Just follow my lead on the timing, and you will avoid the dreaded tough or dry cake! For some great tips on making it simple, check out this guide!
Mixing the Fluffy Red Velvet Cake Batter
First things first: your oven needs to be humming along at 350°F (175°C) and those two 9-inch pans need to be greased and floured—don’t skip that prep work! Take your dry ingredients—flour, cocoa powder, soda, and salt—and whisk them together. They are waiting patiently! Now, grab your big bowl. We have to cream that softened butter and sugar until it looks pale and fluffy; this is where we trap the air to make your cake fluffy red velvet cake, just like the pros do.
Next, beat in the eggs one at a time, making sure you mix well after each addition, then stir in the vanilla. In a separate little cup, combine your buttermilk, vinegar, and that crucial red coloring—watch that color bloom! That acid mixture is designed to activate the baking soda properly. Now, for the alternating part, which is critical: add the dry mix, then the liquid mix, then dry again, and finish with liquid. Be mindful when mixing here; only mix until everything just disappears. Seriously, stop when you see the last little streak of flour—overmixing is the enemy of a light texture!
Baking and Cooling the Red Velvet Layer Cake
Pour that stunning red batter evenly between your prepared pans. They should go into the oven for about 30 to 35 minutes. How do you know they are done? Stick a wooden pick or skewer right in the center. If it comes out clean, they are ready to come out. Don’t forget to let them sit in the pans for about 10 minutes—that little bit of residual heat helps them firm up just enough. Then, tip them out carefully onto a wire rack. You must let these layers cool down completely before you even *think* about frosting them. For more encouragement on keeping things perfect, see Mommy Plates’ recipe notes. That patience ensures you get a beautiful, stable red velvet layer cake!
Crafting the Best Cream Cheese Frosting Recipe
You simply cannot have a stunning red velvet cake without the perfect creamy companion. When it comes to the topping, we are aiming for luscious, tangy, and smooth—the very definition of the best cream cheese frosting recipe. This step demands you respect the temperature of your fats, just like we did with the cake itself!
Grab your mixer right after the cakes are cooling (but before they are completely cold). The absolute key to getting that bakery-quality smoothness is starting with the cream cheese and the butter when they are perfectly softened. Beat them together until they are absolutely uniform and look creamy, with no lumps or streaks remaining. This takes a good minute or two on medium speed. If you start adding sugar while they’re uneven, you’ll end up fighting clumps!
Once that base is gorgeous, start adding your sifted powdered sugar gradually. Start slow so you don’t create a sugar cloud explosion in your kitchen—trust me, I’ve learned that lesson the hard way! Once it’s incorporated, crank the speed up just a bit and beat it until it’s light and fluffy, adding that final splash of vanilla extract at the very end. That’s it! A perfect, pipeable, tangy topping, ready to crown your soft homemade cake.
Tips for a Perfect Red Velvet Cake from Scratch
If you follow the steps above, you are already on your way to an incredible red velvet cake from scratch, but I want to share a few final pointers—the insider secrets that take it from great to truly unforgettable. Achieving that luxurious, soft crumb requires a little attention to detail, especially when dealing with the liquids and fats. For more advanced bakers aiming for perfection, I always recommend taking a peek at the expertise shared by Crystal McCole.
Even the most beautiful color won’t save you if the texture is off! I can’t stress this enough: the quality of your ingredients, and how you treat them initially, sets the stage for the entire bake. For those deep dives into authentic methods, I love reading about Southern techniques, like those found on Nashville To Do’s section.
Ingredient Temperature Matters for Buttermilk Cake Recipes
This is the secret sauce for all great buttermilk cake recipes! When your butter, eggs, and buttermilk are all sitting out and reaching the same ambient temperature, they become chemically compatible. Cold ingredients cause the fat globules in the butter and egg yolks to seize up when they hit the bowl, which stops them from creating the smooth, homogenous emulsion we need. A room-temperature mixture traps air much more effectively during the creaming stage, which leads directly to that incredibly smooth texture that melts in your mouth. It’s simple physics making your cake taste amazing!
Serving Suggestions for Your Red Velvet Cake
Now that you have this showstopper ready, where should you bring it? This deep red beauty is absolutely perfect for any major celebration. It’s one of the most requested holiday cake recipes around here, looking magnificent on a Christmas table or as a sweet nod to Valentine’s Day.
But honestly, it shines year-round. It’s my go-to for all significant birthday cake ideas. Because the color is so dramatic and the flavor is so addictive, it always gets applause. I usually serve big slices alongside something slightly tart, like fresh raspberries, or maybe even a spoon of filling if I happen to have it leftover—you can get some fun ideas on pairing by looking at things like poke cake frosting inspiration.
Storage and Reheating Instructions for Red Velvet Cake
This amazing cake is almost too good to save leftovers, but if you manage to have any, we need to treat it right! Because of that gorgeous cream cheese frosting, this tender cake needs to live in the refrigerator. When covered snugly—I wrap mine gently in plastic wrap and then foil—it stays perfectly moist for about three to four days. Don’t serve it straight from the fridge, though!
Cold temperatures mute flavor and can firm up the cake unfairly. Before anyone digs in, pull your slice out about 30 to 45 minutes beforehand to let it come back up to room temperature. That little bit of patience brings back that wonderful soft homemade cake texture we worked so hard to achieve. It’s worth it, trust me!
Frequently Asked Questions About Red Velvet Cake
I get so many questions about this recipe after people try it (and they always come back for more!). Since this recipe balances heritage and science, sometimes folks have specific concerns about how it differs from a standard chocolate cake. Here are the top things I hear all the time, designed to help you achieve ultimate success with your red velvet cake!
Is red velvet cake just chocolate cake with food coloring?
That’s the million-dollar question! The short answer is blessedly, no! While the color certainly makes it dramatic, the *flavor* comes from a tiny kiss of cocoa powder reacting with acid—in our case, the buttermilk and vinegar. This reaction is what gives true authentic southern red velvet its unique non-chocolatey but slightly tangy depth. If you skip the buttermilk and vinegar, you just end up with dyed chocolate cake, which isn’t what we are aiming for here!
Can I skip the buttermilk for this moist red velvet cake recipe?
You absolutely should not, my friend! Buttermilk is one of the key ingredients ensuring you get a supremely moist red velvet cake recipe. That acid is necessary to activate the baking soda, which gives the cake its tender lift and texture. If you are truly in a bind and don’t have any on hand, you can create a substitute by stirring 1 tablespoon of white vinegar or lemon juice into 1 cup of whole milk and letting it sit for five minutes. It works in a pinch, but store-bought is usually better. For more beginner handling tips, check out Handle the Heat.
How do I get a super vibrant red color?
This is about the quality of your coloring agent! As I mentioned when we talked about the ingredients, you need to opt for a concentrated gel food coloring, not the liquid stuff that usually comes in plastic droppers. The goal is to add enough color saturation without adding too much excess liquid, which would thin out your beautiful batter and compromise the structure. A little squeeze of gel achieves the intensity you want, ensuring your cake looks as incredible as it tastes! If you’re interested in variations like poke cakes, you can check out some ideas over at The Country Cook.
Do I really need to use the white vinegar?
Yes, yes, and YES! Think of vinegar (or lemon juice) as the superhero supporting the baking soda and buttermilk. It guarantees a beautiful, fine crumb for your fluffy red velvet cake. It works with the cocoa to create that signature subtle tang and ensures you get that perfect rise. Without it, you lose that chemical reaction that defines the cake!
Nutritional Data for This Red Velvet Cake
Alright, let’s talk numbers for a moment. I always try to be upfront about what’s in the amazing creations we bake! Because this is a rich, satisfying cake layered with a classic cream cheese frosting, it’s definitely an indulgence, not an everyday snack. We need to remember that baking is an act of joy, and sometimes joy has a bit of sugar!
The figures below are estimates based on the ingredients listed above, assuming this is cut into 12 generous slices. Just like with my baking, there’s a little margin for error here! The exact brands of butter, cocoa, and sugar you use will shift these numbers slightly, so please treat this as a helpful guide rather than a hard rule for your diet tracking.
- Serving Size: 1 slice
- Calories: 450
- Fat: 24g (mostly from the butter and cream cheese)
- Saturated Fat: 14g
- Trans Fat: 0.5g
- Carbohydrates: 58g
- Sugar: 55g (Yes, it’s a star dessert!)
- Protein: 5g
- Sodium: 300mg
- Cholesterol: 85mg
See? It’s rich, decadent, and absolutely worth every single calorie when you take that first, soft bite of moist cake and tangy frosting. Enjoy it, my friend, because this red velvet cake is truly special!
PrintThe Best Southern Style Moist Red Velvet Cake from Scratch with Classic Cream Cheese Frosting
Create an extraordinary, moist, and soft red velvet layer cake using authentic Southern techniques. This reliable recipe delivers the perfect tender crumb and vibrant red color, topped with a classic, luscious cream cheese frosting.
- Prep Time: 25 min
- Cook Time: 35 min
- Total Time: 60 min
- Yield: 12 servings 1x
- Category: Dessert
- Method: Baking
- Cuisine: American
- Diet: Vegetarian
Ingredients
- 2 1/2 cups all-purpose flour
- 1 teaspoon baking soda
- 1 teaspoon salt
- 1 tablespoon unsweetened cocoa powder
- 1 cup unsalted butter, softened
- 1 1/2 cups granulated sugar
- 2 large eggs
- 1 teaspoon vanilla extract
- 1 cup buttermilk, room temperature
- 1 teaspoon white vinegar
- 1 bottle (1 ounce) red food coloring (for vibrant red velvet cake color)
- 8 ounces cream cheese, softened
- 1/2 cup unsalted butter, softened
- 3 cups powdered sugar, sifted
- 1 teaspoon vanilla extract
Instructions
- Preheat your oven to 350°F (175°C). Grease and flour two 9-inch round cake pans.
- In a medium bowl, whisk together the flour, baking soda, salt, and cocoa powder. Set this dry mixture aside.
- In a large bowl, cream together the 1 cup of butter and 1 1/2 cups of granulated sugar until light and fluffy. This step builds the cake’s structure.
- Beat in the eggs one at a time, mixing well after each addition. Stir in the vanilla extract.
- In a separate small bowl, combine the buttermilk, vinegar, and red food coloring until you achieve a vibrant red color.
- Gradually add the dry ingredients to the wet ingredients, alternating with the buttermilk mixture, beginning and ending with the dry ingredients. Mix until just combined; do not overmix the batter.
- Divide the batter evenly between the prepared cake pans.
- Bake for 30 to 35 minutes, or until a wooden pick inserted into the center comes out clean. Let the cakes cool in the pans for 10 minutes before inverting them onto a wire rack to cool completely.
- Prepare the cream cheese frosting: In a large bowl, beat the softened cream cheese and 1/2 cup butter until smooth.
- Gradually add the sifted powdered sugar, mixing on low speed until incorporated, then increase speed to medium-high and beat until fluffy. Stir in the vanilla extract.
- Once the cakes are completely cool, frost and stack the layers to create your showstopping dessert.
Notes
- For the most authentic Southern red velvet flavor, use real buttermilk. The acid reacts with the cocoa and baking soda.
- Use high-quality, concentrated red food coloring to achieve that deep, iconic color without thinning the batter.
- Ensure all cold ingredients (butter, cream cheese, eggs, buttermilk) are at true room temperature for smooth mixing and a soft crumb.
Nutrition
- Serving Size: 1 slice
- Calories: 450
- Sugar: 55g
- Sodium: 300mg
- Fat: 24g
- Saturated Fat: 14g
- Unsaturated Fat: 10g
- Trans Fat: 0.5g
- Carbohydrates: 58g
- Fiber: 1g
- Protein: 5g
- Cholesterol: 85mg