
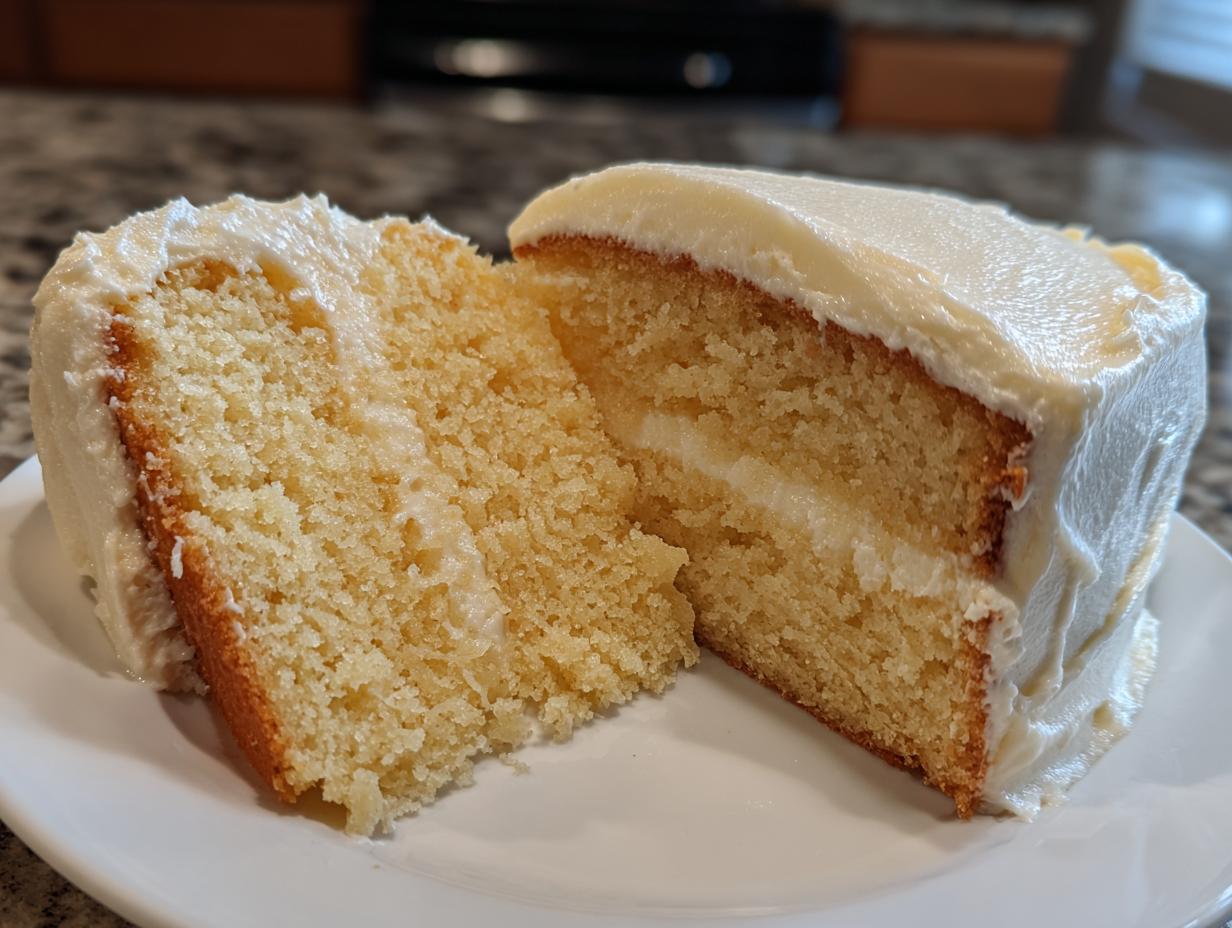
Isn’t there just something magical about biting into a layer cake that is impossibly soft? We all chase that perfect slice—the one that disappears on your tongue but tastes like pure, sweet vanilla nostalgia. Well, stop chasing, because I finally wrote down the absolute best vanilla cake recipe for you today: the Moist Classic Vanilla Layer Cake with Silky Vanilla Buttercream. This isn’t just about following steps; it’s about applying a little bit of kitchen science, just like my mom taught me mixing heritage flavors with my formal training. This cake delivers that tender crumb and incredible texture every single time. You’re going to love this transformation!
- Why This Vanilla Cake Recipe Delivers Extraordinary Results
- Gathering Ingredients for Your Moist Vanilla Cake Recipe
- Step-by-Step Instructions for the Easy Vanilla Cake
- Crafting the Creamy Vanilla Buttercream Frosting
- Assembling Your Fluffy Vanilla Layer Cake
- Tips for a Perfect Homemade Vanilla Cake Every Time
- Variations for Your Vanilla Cake from Scratch
- Storage and Reheating Instructions for Your Vanilla Cake Recipe
- Frequently Asked Questions About This Classic Vanilla Cake
- Sharing Your Everyday Alchemy
- Sharing Your Everyday Alchemy
Why This Vanilla Cake Recipe Delivers Extraordinary Results
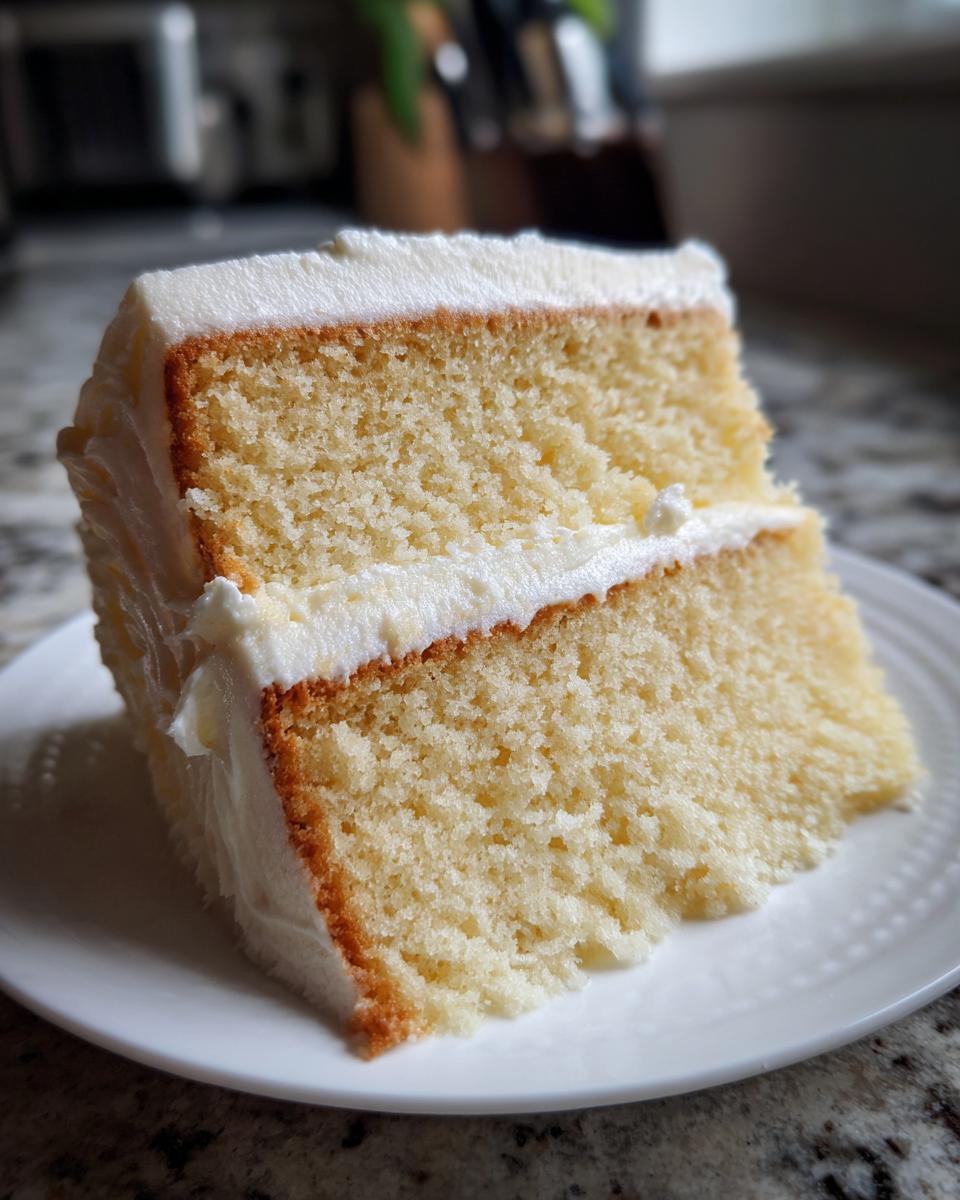
When I developed this recipe, I leaned hard into what I learned studying food science while honoring the comforting classics from my dad’s Navy days. We aren’t just mixing things; we are building structure to give you the best Moist Vanilla Cake Recipe possible. You want fluffy, you want soft, and most importantly, you want it to stay perfect even if you make it a day ahead. That’s where a few key techniques come into play.
- It balances structure and tenderness perfectly, giving you that delicate crumb that defines a truly spectacular layer cake.
- It’s reliable! If you follow these steps, you’ll get a fantastic result, which is exactly what you need when baking for a big event.
This is an Easy Vanilla Cake, but the science behind it makes it taste custom-made!
The Role of Sour Cream in Creating a Tender Vanilla Cake
This is my secret weapon for a truly Tender Vanilla Cake. Sour cream isn’t just for topping tacos, trust me! The small amount of acid and fat it introduces tenderizes the proteins in the flour. It basically keeps the gluten strands from getting too tough. This means you get maximum height without that dry, crumbly texture. It’s pure magic for moisture!
Achieving the Best Vanilla Cake Recipe with Room Temperature Ingredients
I know it feels easier to just grab cold eggs and milk, but please set them out! When your eggs, milk, and even the butter are at room temperature, they emulsify way better with the fats and sugars. Emulsification is just a fancy word for binding things together properly. When the batter is perfectly bound, it holds air bubbles beautifully and doesn’t separate in the oven. That’s the key to the light, fluffy texture everyone raves about. For more tips on easy baking, check out this helpful guide here.
Gathering Ingredients for Your Moist Vanilla Cake Recipe
Okay, before we dive into the mixing magic, we need to get our pantry squared away. Baking is chemistry, right? And chemistry demands precision! I’ve separated the list into two parts: what you need for the gorgeous cake layers and what’s required for that Vanilla Buttercream Frosting that tastes like silk. Remember what I said about room temperature a minute ago? It applies here too—grab your butter and eggs early!
If you want a cake worth celebrating, make sure you hit these measurements perfectly. You can find more ways to make any classic dessert special right here.
Ingredients for the Fluffy Vanilla Layer Cake
- 1 3/4 cups all-purpose flour
- 1 3/4 cups granulated sugar
- 1 tablespoon baking powder
- 1/2 teaspoon salt
- 1 cup unsalted butter, softened
- 4 large eggs, room temperature
- 1 cup whole milk, room temperature
- 2 teaspoons pure vanilla extract
- 1/2 cup sour cream (for cake layers)
Ingredients for the Silky Vanilla Buttercream Frosting
- 1 cup unsalted butter, softened
- 4 cups powdered sugar, sifted
- 1 teaspoon pure vanilla extract
- 3 tablespoons heavy cream
- Pinch of salt
Step-by-Step Instructions for the Easy Vanilla Cake
Okay, you’ve got your ingredients ready—all temperature-perfected, I hope! Now we move on to the actual construction of this fantastic Easy Vanilla Cake. We are following the method I trust most, which helps create those beautiful, uniform layers that stack up like a dream. Don’t rush the process, but also, don’t let things sit around! Timing is everything when we are creating perfect emulsions.
Preparing Pans and Mixing the Dry Ingredients
First things first: get that oven preheated to 350°F (175°C). Don’t wait until the batter is ready! Next, those pans need serious attention. Grease them up really well, dust them lightly with flour, and then—this is non-negotiable—cut circles of parchment paper to line the bottoms. This guarantees an easy fall-out later. Once prepped, grab your biggest bowl and whisk together the flour, the sugar, the baking powder, and the salt. Just a quick whisk to combine everything evenly.
Creating the Perfect Vanilla Cake Batter
Now for the butter! Add that softened butter right into your dry ingredients and mix it on low speed. It’s going to look sandy, like coarse crumbs. That’s good! Now, in a separate spot, whisk the room-temperature eggs, milk, and vanilla together. We add the wet mixture to the crumbly dry mix in three batches, beating on medium speed just until it comes together between additions. Listen to me: just combined. Once you see those streaks disappear, stop mixing! Over-mixing is how you lose all that fluffy structure we worked so hard for. Finally, gently fold in that sour cream until it vanishes. Seriously, don’t even think about turning the mixer back on high!
Baking and Cooling the Classic Vanilla Cake Layers
Divide that silky batter evenly between your two prepared pans. Slide them into the hot oven for about 30 to 35 minutes. How do you check them? The toothpick test is essential! If it comes out clean, they are done. But wait! Let them rest right there in the pans on a cooling rack for exactly 10 minutes. This lets them firm up just enough so they don’t tear when you turn them out. After that short rest, invert them onto the rack to cool completely. If you frost a warm layer, the whole thing turns into a vanilla soup! For more incredibly simple baking techniques, you might enjoy looking through what they have over here.

Crafting the Creamy Vanilla Buttercream Frosting
Alright, the layers are cooling down—which means it’s time for the best part: the frosting! We need that perfect, luscious topping to complement our vanilla cake recipe. We are aiming for ultra-creamy and silky here, not stiff or gritty, which is why we stick closely to the steps outlined!
Start by taking that softened cup of butter and creaming it until it looks wonderfully pale and fluffy on its own. This whips air in early, giving the final product great volume. Then, get your powdered sugar—and please make sure you sifted it!—and add it in slowly on the absolute lowest speed. If you dump it all in, you’re going to have a white explosion in your kitchen, and trust me, I’ve done that before! Once the sugar is mostly incorporated, crank that speed up to medium-high and let it beat until it’s light and airy.
Now we flavor and thin it out! Beat in the vanilla extract, that small pinch of salt, and the heavy cream. This is where you control the texture. If you want it intensely thick, stick to the three tablespoons of cream. But if you want that luxurious, spreadable, silky vanilla buttercream that yields beautiful swoops when you frost the layers, you might need one extra splash of cream. Add it in half-teaspoons until you get that perfect consistency. This luscious frosting is what takes a good cake and turns it into a showstopper, perfect for pairing with that beautiful, moist layer cake base. Find some amazing classic cake inspiration here!
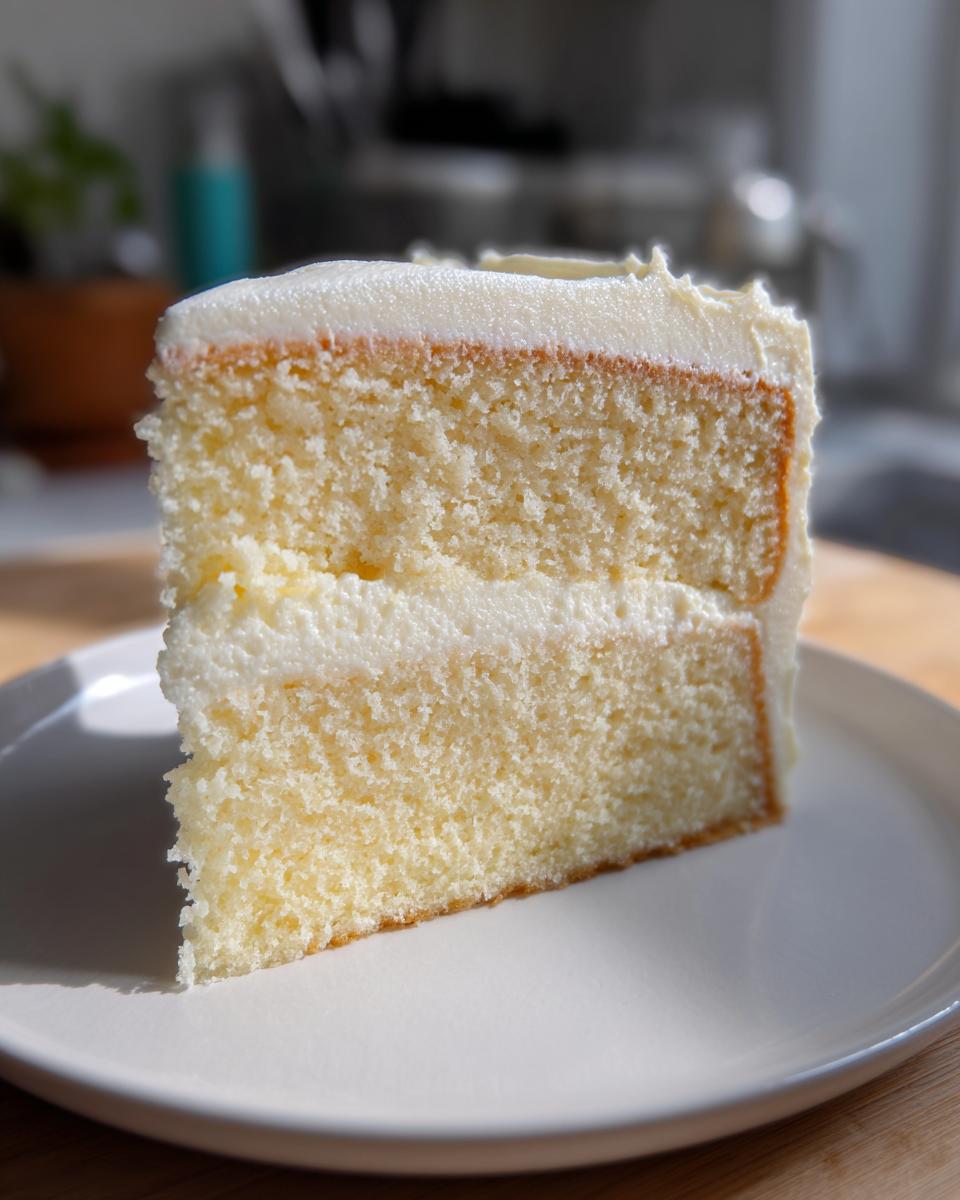
Assembling Your Fluffy Vanilla Layer Cake
The hard work is done! Your layers are cool—and I mean *completely* cool, promise?—and your frosting is whipped to buttery perfection. Now we get to make this an actual layer cake! This is the fun part where everything comes together into a beautiful, towering centerpiece. Seriously, if you’re looking for an Easy Layer Cake Recipe that delivers pro results, this is it.
You’ll need a plate or cake stand ready to go. Place your first cake layer—the bottom one—right onto your service plate. This is the foundation, so make sure it’s centered! Now, you only need about one-third of your total frosting here. Don’t be shy, but don’t pile it so high that it squishes out when you place the next layer on! Spread it evenly all the way to the edges. I use an offset spatula for this, it just glides so much better than a regular knife.
Gently place your second layer on top, making sure it lines up nicely. This is where things can get wobbly if the layers were warm, but since you waited, you’re fine! Now, take the rest of that gorgeous buttercream and cover the top and sides. I usually do a thin “crumb coat” first—a very thin layer all over—just to trap any little crumbs floating around. Pop that in the fridge for fifteen minutes to set up. Then, bring it out and give it a final, beautiful layer of frosting to make it look exactly how you pictured it for your celebration. You can see some amazing inspiration for decorating your finished cake right here!
Tips for a Perfect Homemade Vanilla Cake Every Time
Listen, even the best recipe needs a little bit of love and attention to detail to shine. Since we are aiming for that incredible, deeply flavored Homemade Vanilla Cake, I want to share a couple of things that I always stress in the recipe development phase. These small considerations make a huge difference between a decent cake and the one you’ll be asked to bake every single year!
Ingredient Quality Matters for the Best Vanilla Cake Recipe
If there is one place you absolutely shouldn’t skimp in this whole process, it’s the vanilla. Please, for the love of all things sweet, use pure vanilla extract—not imitation flavoring! Imitation vanilla is mostly alcohol and artificial chemicals, and it tastes harsh and flat once baked. Pure vanilla extract, especially a good quality one, gives you those warm, complex notes that truly define a classic vanilla cake. It’s worth the extra dollar or two; it takes this whole thing from beginner to bakery-quality in one bottle. You can find some great tips on baking techniques over here too!
Variations for Your Vanilla Cake from Scratch
While this Vanilla Cake from Scratch recipe is my gold standard—seriously, it’s perfection as is—I know my fellow bakers love to tinker! The beauty of a strong foundation, like the one we just built using the sour cream trick and room-temperature ingredients, means we can safely experiment without the whole thing collapsing into a dense mess. These adjustments are simple swaps or additions that keep the structure intact.
The easiest way to change things up is by swapping out just one flavor element. Maybe you’re making this for a summer party? Try adding the zest of one large lemon right along with your vanilla extract in the wet ingredients. The acid in the zest complements the creaminess beautifully and brightens the whole flavor profile up. It still feels like vanilla cake, but with a zesty little kick!
If you want to get a little bolder, think about extracts! Almond extract pairs absolutely stunningly with vanilla, but you have to be careful—it’s potent. I only ever substitute about half a teaspoon of vanilla for about a quarter teaspoon of almond extract. It gives the cake a slightly warmer, almost confectionary flavor that kids love for birthdays. Remember, these are small changes designed to enhance, not overhaul, the structure. You can find some fun, easy variations on classic desserts here!
And hey, if you want a little texture surprise, try folding in some finely chopped white chocolate right at the end along with the sour cream. Just make sure those pieces aren’t too big or they might weight down the batter too much. Happy experimenting!
Storage and Reheating Instructions for Your Vanilla Cake Recipe
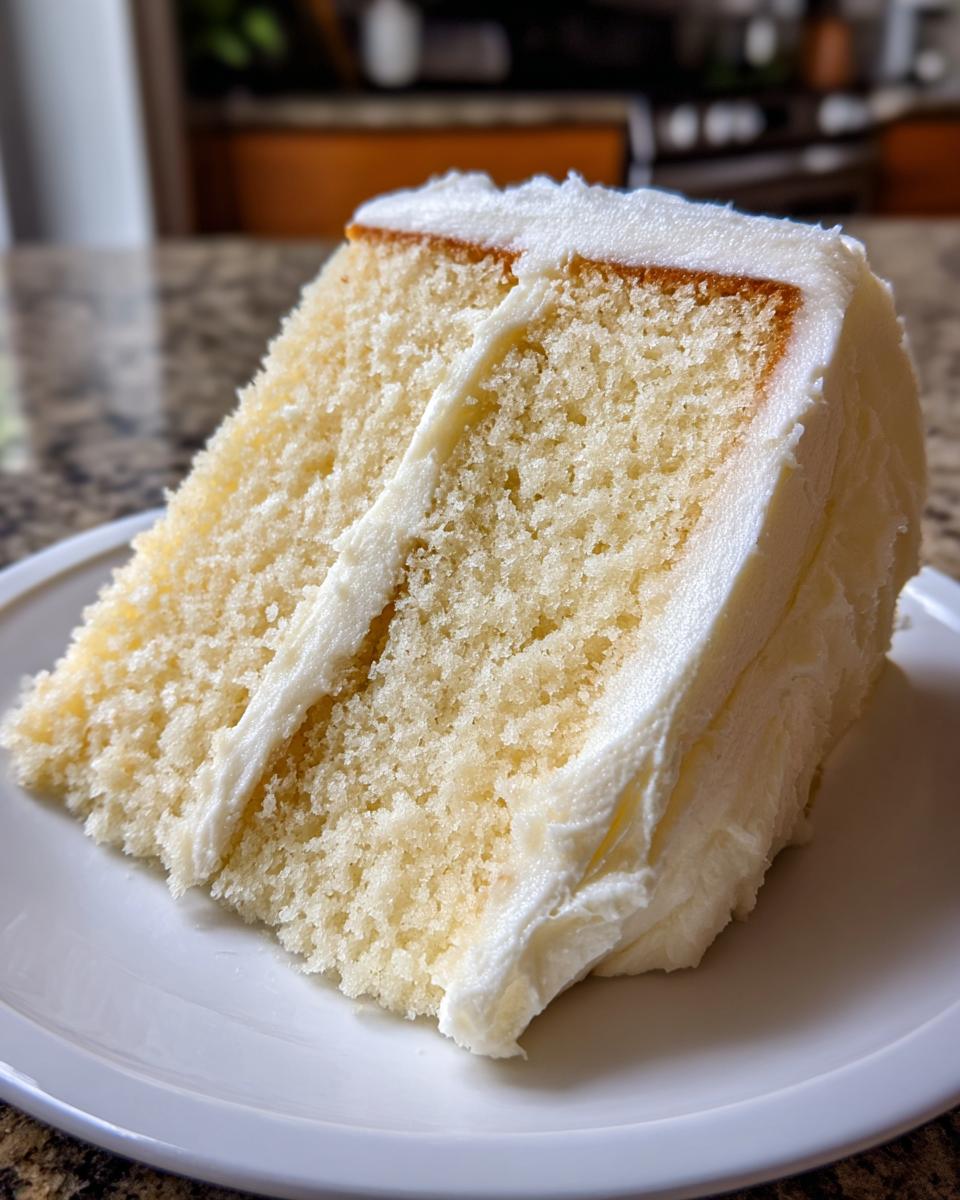
So you’ve successfully baked and frosted the single greatest vanilla cake recipe known to humankind! Congrats! Now, the crucial part: keeping it perfect until everyone gets a chance to try it. Because this cake is so moist and paired with that rich buttercream, storage is pretty straightforward, but you need to treat it right so it tastes just as fresh on day three as it did when you first frosted it.
For the best experience, I always recommend keeping a frosted cake at cool room temperature—think about 68°F to 70°F. The high butter content in the buttercream means refrigeration can make the frosting stiff and sometimes dull the flavor of the cake itself. Just cover it loosely with a cake dome or tent it loosely with foil (make sure the foil doesn’t touch the frosting, or it’ll stick!). Stored this way, this beautiful cake stays wonderfully moist for about three days. That sour cream really does its job!
Now, what if you have leftovers and need to keep them longer? You can absolutely refrigerate this cake, but you *must* watch out for dryness. Place slices in an airtight container or wrap individual slices tightly in plastic wrap, then place that in a container. When you want to eat a refrigerated slice, let it sit on the counter for at least an hour before serving. That allows the butter in the cake and the frosting to soften back up properly.
If you need to reheat a tiny slice—maybe you just want a warm, gooey bite with your coffee in the morning—you can carefully microwave it for just 10 to 15 seconds. Watch it closely! You just want the tiniest melting to happen. You can find some great tips on how to keep baked goods fresh at this link. Enjoy those beautiful leftovers!
Frequently Asked Questions About This Classic Vanilla Cake
It’s totally normal to have questions when you’re trying a brand-new recipe, especially when you want it to be the star of the show for a big day! This Classic Vanilla Cake is super reliable, but sometimes life throws you a curveball with ingredients or pan layouts. Don’t worry, I’ve got answers for the most common things I hear from home bakers looking to nail this recipe for birthdays or showers.
Can I make this recipe as a Vanilla Sheet Cake?
Absolutely! This is great for large crowds or when you need simple Birthday Cake Ideas Vanilla style. Since the batter is rich, it works fantastic in a 9×13 inch pan. You don’t need to change the ingredients at all, just the baking vessel. When you pour the batter into the 9×13 pan, it’s much shallower than two 8-inch rounds, so it’ll bake faster. Keep an eye on it around the 25-minute mark, and start testing with your toothpick then. It should still be tender, just faster!
What is the best substitute for sour cream in this vanilla cake recipe?
If you’re fresh out of sour cream and can’t run to the store, don’t panic—the acid is what we need here to keep those tender proteins happy! The very best backup is plain old buttermilk. Use the exact same amount, one-half cup. If you don’t have buttermilk either, you can make a quick substitute: just take one-half cup of whole milk and stir in about a half-teaspoon of white vinegar or lemon juice. Let it sit for five minutes until it looks slightly curdled. That acidity does the heavy lifting, keeping your cake light. You can find more reliability tips for using pantry basics here!
Sharing Your Everyday Alchemy
Honestly, the very best part of sharing this vanilla cake recipe is hearing from you! I put my heart, science, and a whole lot of testing into making sure this classic cake works beautifully in your kitchen. If you bake this Moist Classic Vanilla Layer Cake, please, please come back and tell me how it went!
Did you try the sour cream trick? Did you get that silky buttercream just right? Drop a rating below or leave a comment. Knowing that this recipe created a perfect, fluffy moment for your family celebration is the whole reason I developed it. Happy baking, and I can’t wait to see your creations!
Sharing Your Everyday Alchemy
Honestly, the very best part of sharing this vanilla cake recipe is hearing from you! I put my heart, science, and a whole lot of testing into making sure this classic cake works beautifully in your kitchen. If you bake this Moist Classic Vanilla Layer Cake, please, please come back and tell me how it went!
Did you try the sour cream trick? Did you get that silky buttercream just right? Drop a rating below or leave a comment. Knowing that this recipe created a perfect, fluffy moment for your family celebration is the whole reason I developed it. Happy baking, and I can’t wait to see your creations! Don’t forget to check out some other reliable recipe ideas right here.
PrintMoist Classic Vanilla Layer Cake with Silky Vanilla Buttercream
This recipe creates a soft, fluffy, and moist classic vanilla layer cake, perfect for birthdays and special occasions. It pairs with a rich, creamy vanilla buttercream frosting.
- Prep Time: 25 min
- Cook Time: 35 min
- Total Time: 60 min
- Yield: 1 two-layer 8-inch cake (12 servings) 1x
- Category: Dessert
- Method: Baking
- Cuisine: American
- Diet: Vegetarian
Ingredients
- 1 3/4 cups all-purpose flour
- 1 3/4 cups granulated sugar
- 1 tablespoon baking powder
- 1/2 teaspoon salt
- 1 cup unsalted butter, softened
- 4 large eggs, room temperature
- 1 cup whole milk, room temperature
- 2 teaspoons pure vanilla extract
- 1/2 cup sour cream (for cake layers)
- 1 cup unsalted butter, softened (for frosting)
- 4 cups powdered sugar, sifted (for frosting)
- 1 teaspoon pure vanilla extract (for frosting)
- 3 tablespoons heavy cream (for frosting)
- Pinch of salt (for frosting)
Instructions
- Preheat your oven to 350°F (175°C). Grease and flour two 8-inch round cake pans. Line the bottoms with parchment paper.
- In a large bowl, whisk together the flour, sugar, baking powder, and salt.
- Add the softened butter to the dry ingredients and mix on low speed until the mixture resembles coarse crumbs.
- In a separate bowl, whisk together the eggs, milk, and 2 teaspoons of vanilla extract.
- Gradually add the wet ingredients to the dry ingredients in three additions, mixing on medium speed until just combined after each addition. Scrape down the sides of the bowl.
- Gently fold in the sour cream until the batter is smooth. Do not overmix.
- Divide the batter evenly between the prepared cake pans.
- Bake for 30 to 35 minutes, or until a toothpick inserted into the center comes out clean.
- Let the cakes cool in the pans for 10 minutes before inverting them onto a wire rack to cool completely.
- To make the frosting, beat the 1 cup of softened butter until creamy. Gradually add the sifted powdered sugar, mixing on low, then increasing speed to medium-high until light and fluffy.
- Beat in 1 teaspoon of vanilla extract, heavy cream, and a pinch of salt until the frosting is smooth and spreadable. Add more cream if needed for a silkier texture.
- Once the cake layers are completely cool, place one layer on a serving plate. Spread about one-third of the frosting evenly over the top.
- Place the second layer on top and frost the top and sides of the entire cake with the remaining buttercream.
Notes
- Use room temperature eggs and milk; this helps create a smoother batter and a more tender cake crumb.
- For the best vanilla flavor, use high-quality pure vanilla extract.
- This recipe yields a tender vanilla cake that stays moist for several days when stored in an airtight container.
Nutrition
- Serving Size: 1 slice
- Calories: 450
- Sugar: 55g
- Sodium: 250mg
- Fat: 24g
- Saturated Fat: 15g
- Unsaturated Fat: 9g
- Trans Fat: 0.5g
- Carbohydrates: 58g
- Fiber: 1g
- Protein: 5g
- Cholesterol: 110mg