
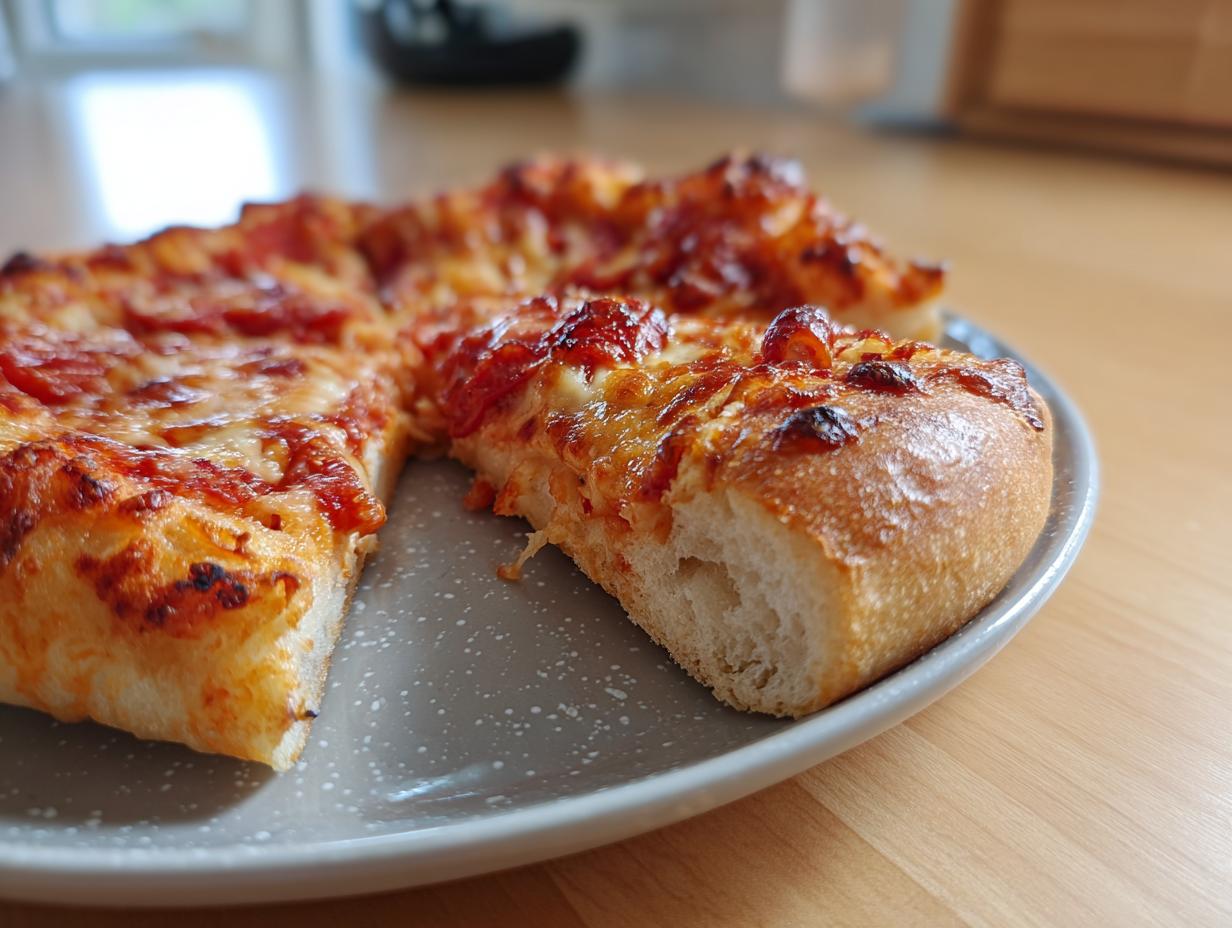
There is just something magical about pulling a piping hot pizza out of your own oven, isn’t there? That smell alone can stop traffic! Forget lukewarm takeout; making **homemade pizza** from scratch is about controlling the magic. I promise you, we’re ditching the frustrating, sticky messes and delivering what my career in food science taught me to create: The absolute best, no-fail dough that delivers that perfect balance—soft and chewy on the inside, with just the right crisp on the bottom. This isn’t just a recipe; it’s the culmination of years of testing so you get perfect results every time you host family pizza night.
- Why This Easy Pizza Dough Recipe is Your New Go-To Homemade Pizza
- Ingredients for the Best Homemade Pizza Crust
- How to Prepare Your Homemade Pizza Dough From Scratch
- Assembling and Baking Your Homemade Pizza
- Beyond the Basics: Homemade Pizza Topping Ideas
- Tips for Achieving Artisan Pizza at Home
- Storage and Reheating Instructions for Homemade Pizza Dough
- Frequently Asked Questions About Homemade Pizza
- Understanding the Nutrition of Your Homemade Pizza
Why This Easy Pizza Dough Recipe is Your New Go-To Homemade Pizza
I know what you’re thinking: homemade pizza dough takes *forever*. That’s why I designed this as the ultimate Easy Pizza Dough Recipe. We aren’t messing around with multi-day bakes here unless you want to! This recipe—a true No Fail Pizza Dough—comes together efficiently, giving you time to focus on your toppings. You get that wonderful, satisfying chewiness that store-bought bases just can’t mimic.
When I first started developing recipes professionally, I struggled to get the texture right for my own family pizza night. My dad wanted that crispy base, while my mom insisted on a soft edge. This recipe finally cracked that code! It proofs beautifully in under 90 minutes, yielding dough that stretches like silk and bakes up perfectly golden. Seriously, save yourself the heartache and bookmark this link for later!
Ingredients for the Best Homemade Pizza Crust
Look at this list! Doesn’t it just scream simplicity? That’s the beauty of our Homemade Pizza base. We are using just six core components to create something truly spectacular. You don’t need fancy flours or eighteen different powders to nail that perfect crust; you just need quality and precision.
This recipe is built around accessible pantry staples, making it perfect for a last-minute weeknight meal. Remember, when you’re making dough from scratch pizza, the quality of your yeast and water temperature matters more than anything else, but the ingredients themselves remain super straightforward. You can find a great guide on dough recipes over at The Cozy Cook if you want to compare notes!
- 1 packet active dry yeast (about 2 1/4 teaspoons)
- 1 teaspoon granulated sugar
- 1 cup warm water (105°F to 115°F—this temperature is key!)
- 2 3/4 cups all-purpose flour, plus more for dusting
- 2 tablespoons olive oil (the good stuff, if you have it!)
- 1 teaspoon salt
How to Prepare Your Homemade Pizza Dough From Scratch
Alright, let’s get down to the science part—the real work that separates this fantastic homemade pizza from anything frozen or jarred. Making this dough from scratch pizza is fun, but it requires attention to detail in the beginning steps. Don’t worry, it’s easy! For the best results, make sure your water is between 105°F and 115°F. If it’s too cool, the yeast won’t wake up, and if it’s boiling hot, well, you’ll kill your little yeast friends! I always check the temperature with a quick meter reading, but you can feel it—it should be pleasantly warm, not hot to the touch. Ready to learn how to make pizza like a pro? Check out the steps here for more ideas.
Activating the Yeast and Mixing the Homemade Pizza Dough
First things first: wake up the yeast! Dissolve that tiny bit of sugar in your properly warmed water, then sprinkle the yeast on top. You need patience here; wait about 5 to 10 minutes until that surface looks distinctly foamy, kind of like the head on a perfect beer. Once it’s bubbly, pour in your olive oil and salt. Then, you slowly introduce the flour until things get too tough to stir by hand.
Kneading for a Perfect Chewy Pizza Crust Texture
This is where we build structure for that fantastic chewy pizza dough! Turn the shaggy mess onto a lightly floured counter. You need to knead for about five to seven minutes. You’re looking for smooth elasticity—it should feel soft but spring back when you poke it gently. If you’re using a stand mixer, stick to medium-low speed for about five minutes with the dough hook. A properly kneaded dough is the secret to great homemade pizza, trust me on this one.
The Rise: Achieving Volume for Your Homemade Pizza
Now we let the hard work pay off! Lightly oil a clean bowl (I always use the same bowl I mixed it in, saves on dishes!) and nestle your dough ball inside, giving it a quick roll to coat. Cover it up tight—a damp tea towel works better than plastic wrap if you have one—and tuck it away somewhere warm. It needs 60 to 90 minutes to double in size. If you’re planning ahead for an Artisan Pizza at Home experience later in the week, this is the time to transfer it to the fridge for a slow, cold rise, which develops deep flavor!
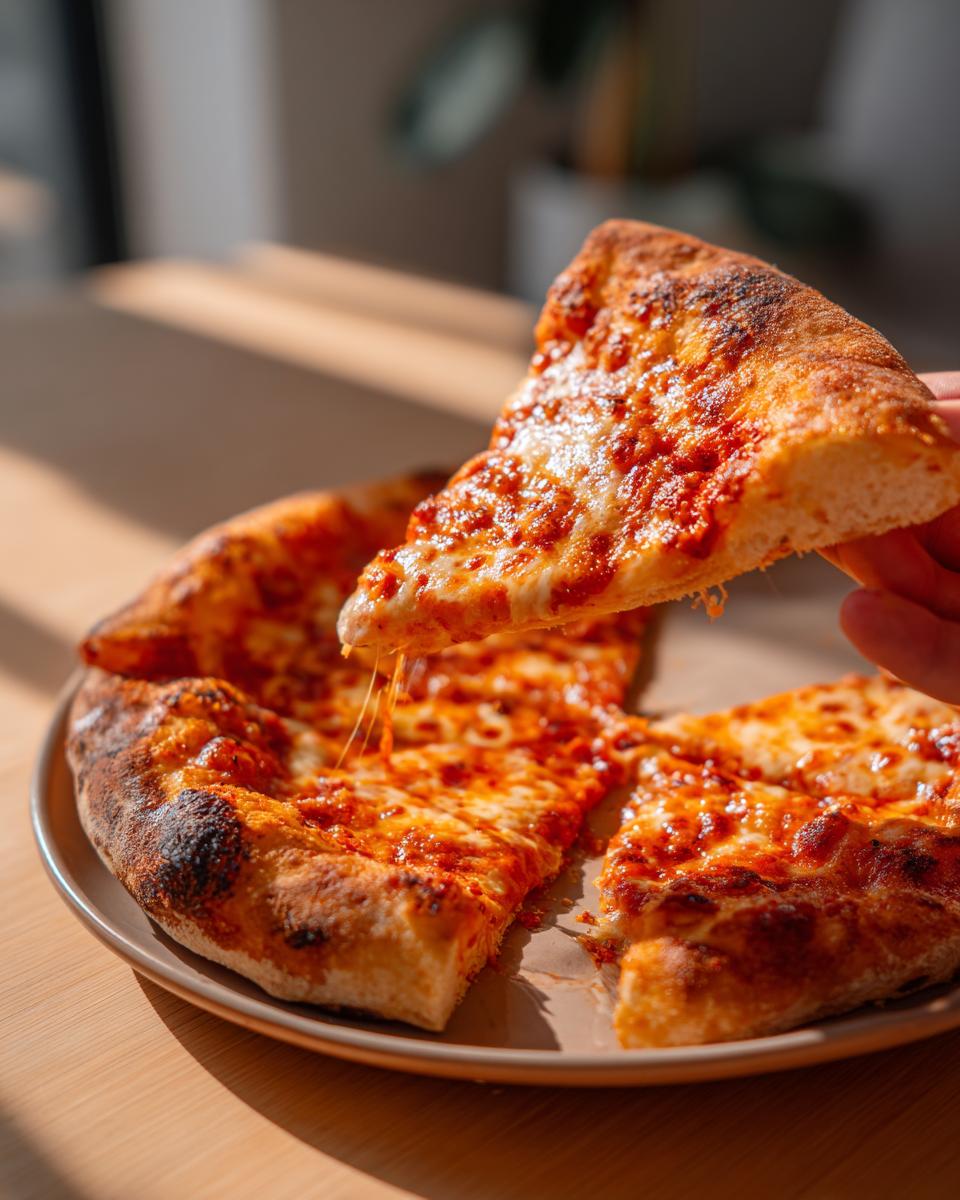
Assembling and Baking Your Homemade Pizza
Okay, the dough has risen—check out that beautiful volume! This is the part where your homemade pizza really comes to life. Gently punch the dough down; we don’t want to knock out all that lovely air we just built. If you’re hungry right now, this recipe is perfect for a Quick Weeknight Pizza because you’re ready to go!
Decide if you want two 12-inch pies or one big sheet pan masterpiece. Stretch or roll it out to your preferred thickness. Now, for the absolute game-changer tip for a truly amazing Crispy Crust Pizza: If you own a pizza stone or steel, get it into the oven *before* you even preheat it! Letting that surface heat up for a full 30 to 45 minutes at your maximum temperature ensures instant heat transfer, which is what creates that beautiful, crisp bottom crust. You can find great tips on pan sizing here, or you can see a fun take on Sheet Pan Pizza Ideas.
Once shaped, immediately add your sauce and favorite toppings. Slide it onto that scorching hot stone (careful!) or your prepared baking sheet. We are baking hot and fast—475°F (245°C) is the magic zone—for about 10 to 15 minutes. Keep an eye on it around the 10-minute mark; you’re looking for richly browned edges and totally bubbly cheese. That’s the sound of success!
Beyond the Basics: Homemade Pizza Topping Ideas
Now that you’ve mastered the foundation—the dough is rising beautifully, you’re ready for the fun part! The dough is the canvas, but the toppings turn it into your masterpiece. We celebrate variety here, because the Best Pizza Toppings are entirely personal. I’ve seen people get so creative once they realize they don’t have to settle for the standard delivery menu anymore. This is where your homemade pizza truly shines!
Classic Homemade Pizza Sauce vs. White Garlic Pizza Sauce
Every great pizza needs a great base, right? Traditionalists will always reach for a bright, tangy marinara—that classic flavor is unbeatable. But you absolutely have to mix it up sometimes, especially with this dough. Have you ever tried a White Garlic Pizza Sauce? It uses fresh garlic and creaminess to create a rich base that feels instantly upscale. It’s seriously good! If a white base sounds intriguing, you can find my favorite creamy version for your next pie over at this link.
Popular Homemade Pizza Topping Combinations
Don’t be afraid to get wild! When it comes to your homemade pizza, layering flavors is everything. Forget rules—make what makes you happy. Here are a few combinations that always blow people away at our house:
- Smoky BBQ Chicken: Instead of marinara, use your favorite BBQ sauce as the base, top with cooked chicken, red onion, and mozzarella. A drizzle of ranch and fresh cilantro finishes it perfectly. For a great recipe inspiration, check out this one, or review the tips on another great take.
- Ricotta Dream: Use a very light sauce or just olive oil. Dollop fresh ricotta cheese across the dough, add prosciutto (if you like it!), and throw it in the oven. A sprinkle of fresh basil *after* baking elevates it completely.
- Spicy Taco Night Pizza: Use a thin layer of refried beans or taco sauce as the base. Once baked, immediately top with seasoned ground beef, shredded lettuce, fresh tomato, and a drizzle of sour cream. It’s messy, but wow, is it worth it!
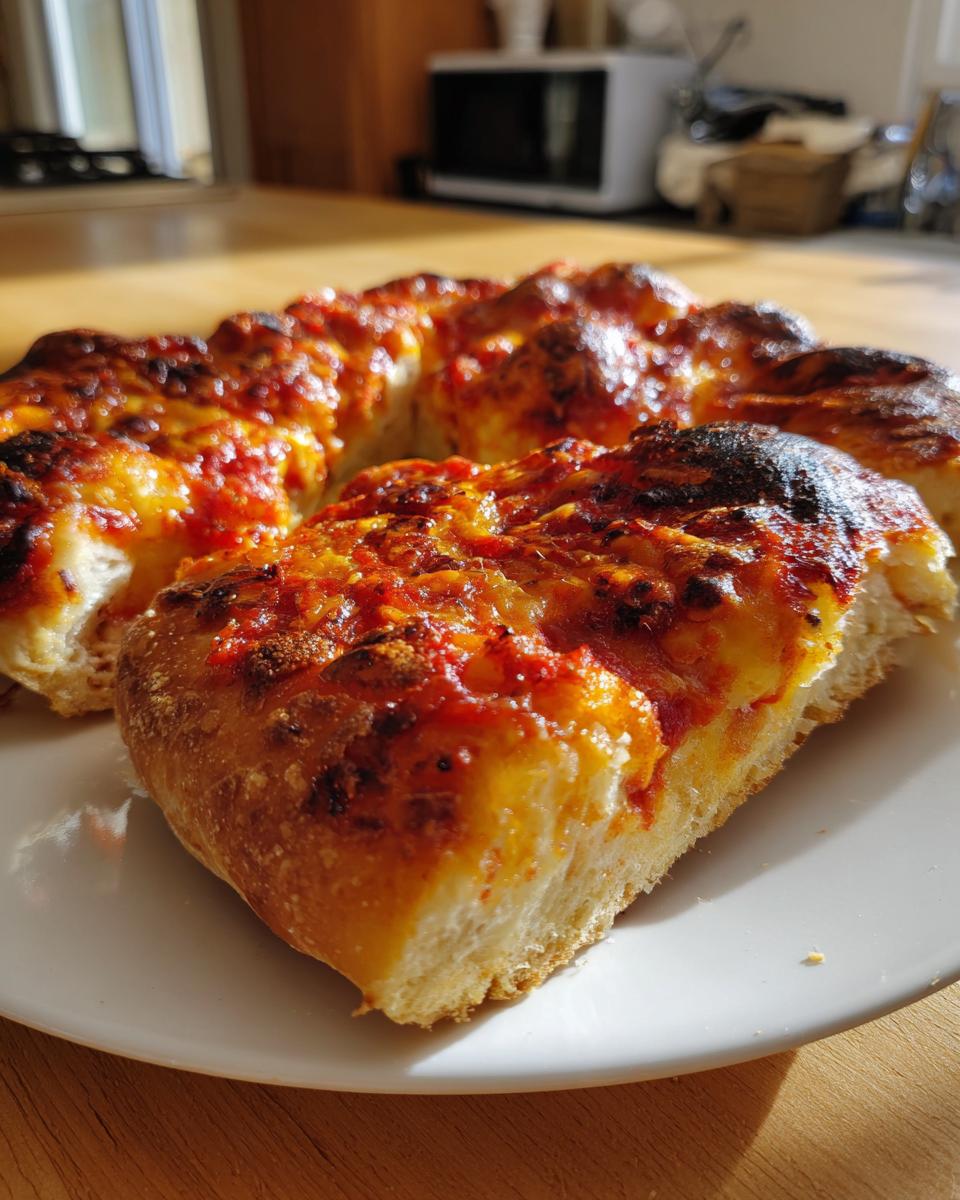
Tips for Achieving Artisan Pizza at Home
Okay, so you’ve nailed the Easy Pizza Dough Recipe, and now you’re ready for the next level—you want that true, blistered, slightly irregular crust that looks like it came straight out of a brick oven. We call that Artisan Pizza at Home, and honestly, it’s all about heat management and time. It’s not magic; it’s just understanding how the dough reacts when it hits serious temperature contrast.
The secret to making your next round of homemade pizza truly artisan boils down to two main things: extreme heat and patience with the dough. If you skip these steps, you’ll get a good pizza, sure, but if you embrace them, you get perfection!
For the deep dive on getting those beautiful big air bubbles, I highly recommend reading up on the techniques shared at With Spice—they really get into the mechanics of high-hydration dough!
Here are the essentials I always rely on to elevate my homemade pies:
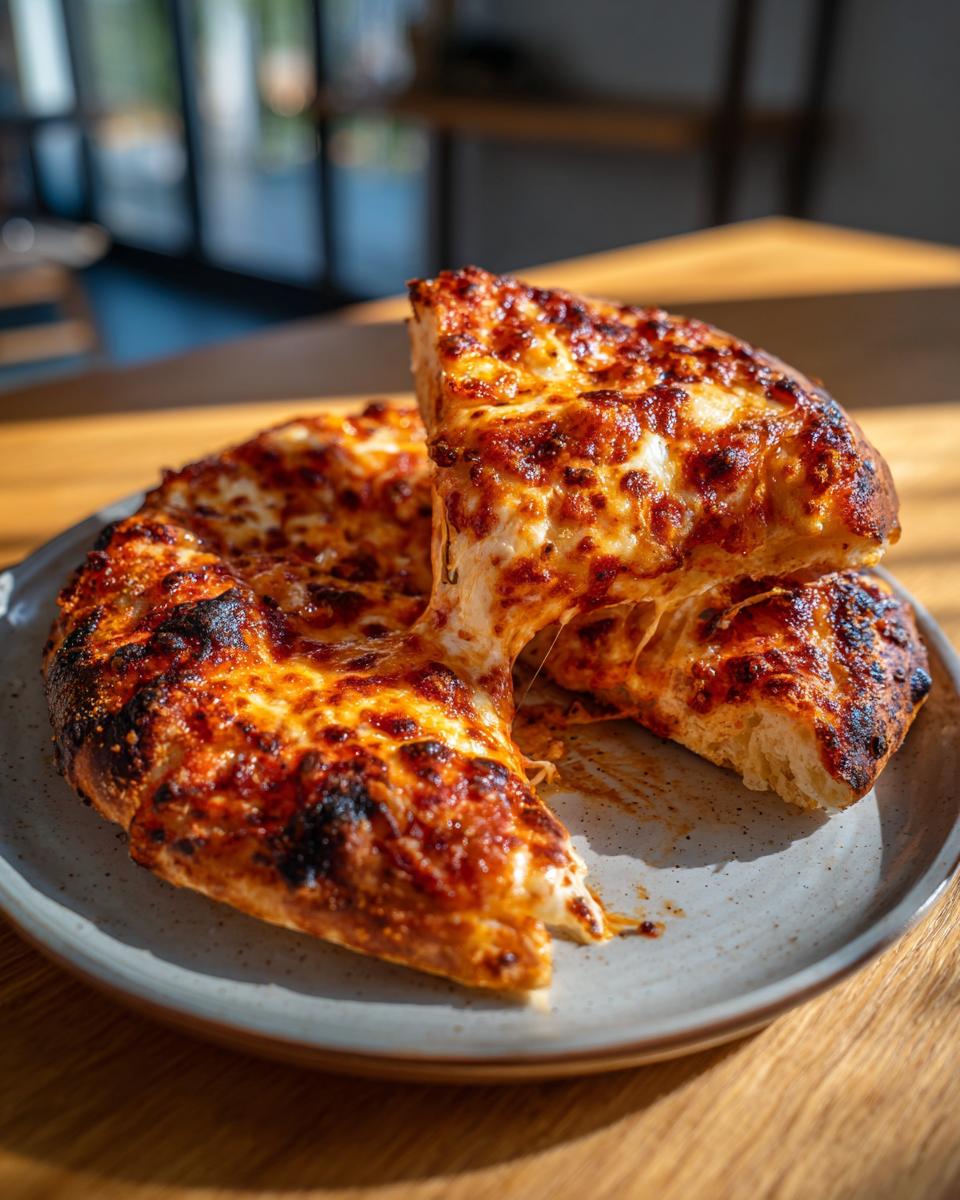
- Preheat Like You Mean It: I already mentioned this, but it bears repeating! Your oven needs to be cranked up to the absolute max it can safely handle—usually 500°F or 550°F if your oven allows. Crucially, the baking surface—be it a pizza stone or a seasoned steel—must preheat for at least 45 minutes to an hour. You want that surface scorching hot so that the moment the dough touches it, you get instant “oven spring” and that classic Crispy Crust Pizza bottom.
- Embrace the Slow Ferment: Remember the note earlier about cold fermentation? This is the single best way to develop deep, complex, slightly sour flavors in your homemade pizza dough that you simply cannot achieve in one hour. After kneading, oil the dough, cover it tightly, and stick it in the back of your fridge. You can let it sit for 24 hours, or even up to 72 hours! The longer it rests cold, the more complex and flavorful the crust becomes—that is true artisan flavor developing right there. Just make sure you pull it out about two hours before you plan to shape it so it warms up enough to stretch properly.
- Less Is More with Toppings: When aiming for that airy, artisan look, resist the urge to overload your pizza. Too many wet toppings create steam, which stops the crust from rising properly and results in a soggy center. Stick to a thin layer of sauce and evenly spaced, quality components.
Storage and Reheating Instructions for Homemade Pizza Dough
We usually make a double batch of this dough because, honestly, who wants to stop after just one pizza? Making extra dough isn’t just convenient; it’s the secret key to an even better pie tomorrow! Don’t toss that extra ball of fluff; it stores beautifully, and resting it longer actually improves the flavor profile for your next batch of homemade pizza.
If you’re not planning to use the second half within the next hour or two, you need to slow down the yeast right away. For the fridge storage, lightly coat your dough ball in a bit of olive oil—this stops it from drying out and forming an ugly skin. Place it in an airtight container or a bowl tightly sealed with plastic wrap. You can safely keep this dough chilling for up to three days. Seriously, day two dough is often even tastier because the fermentation has more time to work its magic; it becomes deeply flavorful and very easy to stretch.
Thinking way ahead? Dough freezes wonderfully too! Wrap a properly oiled, punched-down ball tightly in plastic wrap, then slip it inside a Ziploc bag, squeezing out all the air. It keeps perfectly for up to three months. When you’re ready to use it, just pull it from the freezer and let it thaw slowly in the refrigerator overnight before letting it come up to room temperature for about an hour before shaping.
Now, let’s talk about leftovers—the dreaded reheated pizza that turns rubbery! I absolutely hate that texture. If you want your homemade pizza remnant to taste almost as good as fresh, skip the microwave entirely. The best method is to reheat your slice directly on a skillet (cast iron is best!) over medium heat for about five minutes, covered loosely with foil for the last minute to help melt the cheese again. This brings back the crispness that direct heat provides. If you’re doing a whole pie, use the oven at 350°F on a baking sheet for about 10 minutes. That way, you avoid sogginess and keep that lovely crust integrity!

Frequently Asked Questions About Homemade Pizza
I know you might still have a few small questions rattling around in your head before you dive into making your own dough. It happens to everyone! Even with the best step-by-step guides, those little details about substitutions and timing can trip you up. Don’t worry; these are the exact things I get asked most often when sharing my favorite Homemade Pizza Recipes. Let’s tackle the common stumbling blocks so you can have total confidence heading into your next baking session!
Can I skip the kneading step for this easy pizza dough recipe?
Oh, I really wish I could say yes, but for this specific recipe aiming for that chewy texture, you really shouldn’t skip it! Kneading is non-negotiable because that’s when the gluten structures develop. If you skip kneading for this Easy Pizza Dough Recipe, the dough will be slack, hard to shape, and it won’t have that satisfying spring back in the oven; it’ll just be flat and heavy. If you truly hate kneading by hand, use the stand mixer hook attachment—it does the hard work for you! Trust me, those 5 minutes of kneading is the trade-off for getting that beautiful, chewy pizza dough texture we are aiming for.
What’s the best method if I want a super crispy crust pizza?
This is a frequent request, especially for those of us dreaming of that thin-crust style! The key to a Crispy Crust Pizza isn’t really changing the dough recipe (which is designed for chew) but dramatically increasing the heat transfer. You must use a preheated pizza stone or steel. Preheat it at the maximum oven temperature you can manage (475°F is minimum, 500°F is better) for at least 45 minutes before launching your pizza onto it. If you don’t have a stone, use a sturdy baking sheet and pre-bake the dough plain for about 5 minutes before adding any toppings—that flash cooking drives out moisture and promotes crisp.
How long does unused homemade pizza dough last in the fridge?
If you are looking for a truly great experience, letting the dough rest longer develops better flavor. I mentioned this earlier, but it bears repeating for anyone planning ahead for future Homemade Pizza adventures! Once you knead your dough, oil it, and seal it airtight, it can hang out in the refrigerator for up to three days. Day two or three dough is often superior for creating that Artisan Pizza at Home look because the flavor deepens so much. Just remember to pull it out about an hour before you start stretching so it relaxes!
Can I use bread flour instead of all-purpose for these homemade pizza recipes?
Yes, you absolutely can, and for some people, it’s part of their Best Pizza Crust secret weapon! Bread flour has a higher protein content than all-purpose flour. This means it will develop even *more* gluten when you knead it. If you use bread flour, you might find you need to add just a tablespoon or two more water, or the kneading might feel noticeably stiffer sooner. If you prefer that extra tensile strength for stretching big pies, go for it! Just watch the mixer closely. You can check out a whole list of excellent preparation methods here.
If you’re looking for more variety in your baking, I compiled a list of my favorite pizza-adjacent recipes you might enjoy!
Understanding the Nutrition of Your Homemade Pizza
Whenever I get asked about the science behind a great recipe, nutrition always comes up! It’s important to know what we’re putting into our bodies, even when we’re indulging in something as wonderful as a perfect slice of homemade pizza. I want to be totally upfront here: the nutrition information below is ONLY for the dough itself, based on an estimated yield of 8 equal slices. Once you start adding toppings, sauces, cheese, and maybe some pepperoni, those numbers are definitely going to jump up!
This dough uses simple ingredients—flour, water, oil, salt—so it keeps the base relatively clean. It’s far better than anything you’d find pre-packaged, in my opinion! It’s amazing how much control you have over the final product when you make things from scratch pizza style.
Here is the nutritional breakdown for one slice (1/8th) of the pizza dough:
- Serving Size: 1/8 of dough
- Calories: 210
- Fat: 3 grams (mostly heart-healthy from the olive oil!)
- Carbohydrates: 40 grams
- Protein: 7 grams
- Sugar: 1 gram
- Sodium: 280 mg
See? A solid foundation! You get a decent bit of protein from the flour, and since we rely on natural ingredients rather than tons of sugar in the dough itself, we keep that sweetness low. Now go ahead and load up that pie with your favorite Best Pizza Toppings—you’ve earned it!
PrintThe Best Easy Homemade Pizza Dough Recipe (No-Fail!)

Make the perfect pizza dough at home using this easy, no-fail recipe. You achieve a soft, chewy, and flavorful crust every time you bake. This recipe works for classic pies or artisan style pizza.
- Prep Time: 20 min
- Cook Time: 15 min
- Total Time: 1 hour 35 min
- Yield: 2 (12-inch) pizzas 1x
- Category: Dinner
- Method: Baking
- Cuisine: Italian-American
- Diet: Vegetarian
Ingredients
- 1 packet active dry yeast (about 2 1/4 teaspoons)
- 1 teaspoon granulated sugar
- 1 cup warm water (105°F to 115°F)
- 2 3/4 cups all-purpose flour, plus more for dusting
- 2 tablespoons olive oil
- 1 teaspoon salt
Instructions
- Activate the yeast: In a large bowl, dissolve the sugar in the warm water. Sprinkle the yeast over the top. Let it stand for 5 to 10 minutes until the mixture becomes foamy.
- Mix the dough: Add the olive oil and salt to the yeast mixture. Gradually add the flour, mixing until a shaggy dough forms.
- Knead: Turn the dough out onto a lightly floured surface. Knead for 5 to 7 minutes until the dough is smooth and elastic. If you use a stand mixer with a dough hook, mix on medium-low speed for 5 minutes.
- First rise: Lightly grease a clean bowl with olive oil. Place the dough in the bowl, turning to coat. Cover the bowl with plastic wrap or a clean kitchen towel. Let the dough rise in a warm place for 60 to 90 minutes, or until it doubles in size.
- Shape and top: Punch the dough down gently. Divide it in half for two 12-inch pizzas or keep whole for one large sheet pan pizza. Stretch or roll the dough to your desired thickness. Place on a prepared pizza stone or baking sheet. Add your favorite homemade pizza sauce and toppings.
- Bake: Preheat your oven to 475°F (245°C) with a pizza stone inside, if using. Bake for 10 to 15 minutes, rotating halfway through, until the crust is golden brown and the cheese is bubbly.
Notes
- For a crispier crust, bake the dough plain for 5 minutes before adding toppings.
- You can achieve an artisan pizza texture by letting the dough cold-ferment in the refrigerator for 24 to 72 hours.
- Use high-quality olive oil for better flavor in your dough.
Nutrition
- Serving Size: 1/8 of dough
- Calories: 210
- Sugar: 1
- Sodium: 280
- Fat: 3
- Saturated Fat: 0.5
- Unsaturated Fat: 2.5
- Trans Fat: 0
- Carbohydrates: 40
- Fiber: 2
- Protein: 7
- Cholesterol: 0