
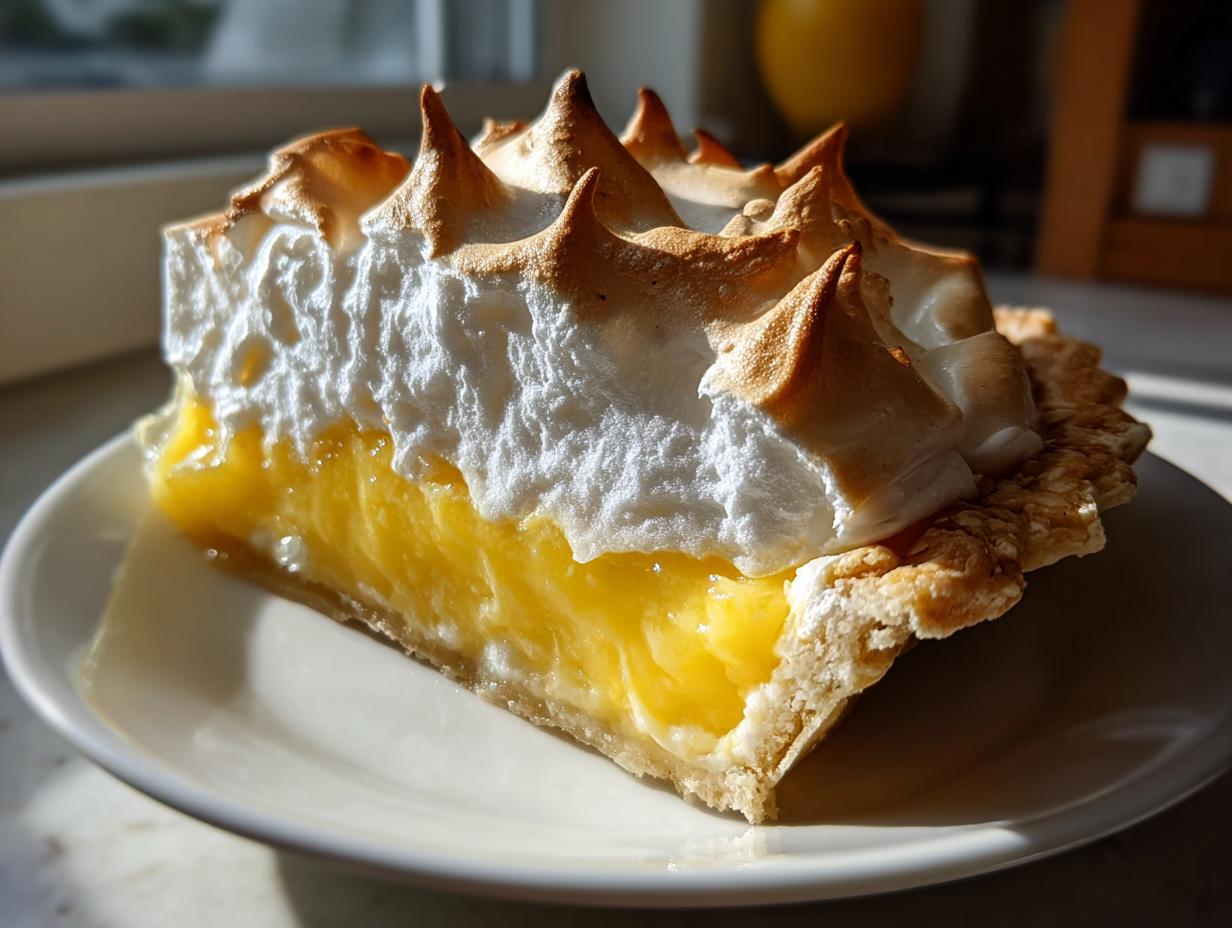
There are classic desserts, and then there are desserts that truly capture sunshine in a slice. I’m talking about that incredible, showstopping Lemon Meringue Pie that everyone pictures—tall, bright yellow, and topped with clouds of toasted meringue. I know the fear, though; we’ve all seen that sad, weeping pie that releases puddles onto the counter! That won’t happen here. As a Food Scientist turned recipe developer, my goal at Alchemy Chef is simple: take the beloved traditions my parents taught me and combine them with precision so you get perfect results every time. This recipe for a truly homemade lemon pie from scratch guarantees that delicious, tart filling is stable and your fluffy meringue topping stays right where it belongs!
- Why This Classic Lemon Meringue Recipe Works (EEAT Focus)
- Ingredients for Your Homemade Lemon Pie From Scratch
- Step-by-Step Instructions for the Best Lemon Meringue
- No Weep Lemon Meringue Tips: Preventing Common Failures
- Serving Suggestions for This Tart and Sweet Pie
- Storage and Reheating Instructions for Lemon Meringue
- Frequently Asked Questions About Lemon Meringue Pie Recipe
- Estimated Nutritional Data for This Summer Citrus Dessert
- Share Your Kitchen Alchemy
Why This Classic Lemon Meringue Recipe Works (EEAT Focus)
Look, there are a million recipes out there, but when you’re making something as iconic as a lemon meringue pie, you need reliability. My background in food science isn’t just fancy talk; it’s why this pie holds up. This isn’t just any recipe; it’s a blending of my father’s classic instincts and my understanding of how ingredients behave under heat. That means a stable, thick lemon curd that sets beautifully, turning your finished product into a genuine kitchen alchemy for your table.
We are aiming for a true showstopper dessert, one that tastes like the best homemade lemon pie from scratch you’ve ever had. The difference is in the details—the specific ratio of starch to liquid in the filling and the pre-treatment of the egg whites. It’s that precise chemistry that keeps the filling firm and the meringue from weeping later on. You can check out fantastic inspiration for bright, beautiful citrus desserts like this over at this summer recipe! We honor the grand old recipes by ensuring they work flawlessly today.
Achieving the Perfect Buttery Pie Crust Tutorial
The foundation of any amazing pie, especially one this wet, has to be solid. Even though your preferred crust recipe is already excellent, you must blind-bake it properly! Here’s my must-do step: after you partially bake it, pop the crust back into the hot oven for another five minutes *without* the pie weights or parchment. I call this “hardening the shell.” It ensures that bottom layer is crisp and ready to absorb that zesty filling without getting soggy. Don’t skip this step if you want that satisfying crunch against the smooth custard.
Ingredients for Your Homemade Lemon Pie From Scratch
Okay, gathering your components is where the magic starts to get organized! Remember, since we are making this completely from scratch, the quality of what goes in really matters. Trust me, using *fresh* lemons makes the difference between a good pie and a spectacular, zesty lemon dessert. I’ve broken down everything you need below so you can prep your stations efficiently. This transparency is how we ensure we nail that perfect outcome—it’s chemical precision meeting kitchen warmth!
For the Zesty Lemon Filling
- 1 1/2 cups granulated sugar
- 1/4 cup cornstarch (this is our stabilizer!)
- 1/4 teaspoon salt
- 1 1/2 cups cold water
- 3 large egg yolks, lightly beaten (save those whites!)
- 1/2 cup fresh lemon juice (don’t even think about using that bottled stuff!)
- 1 tablespoon lemon zest
- 2 tablespoons unsalted butter (for richness right at the end)
For the Fluffy Meringue Topping
This is where we build the clouds! For the meringue to whip up like a dream, room temperature egg whites are non-negotiable. You really want them ready to go when your filling comes out of the oven.
- 3 large egg whites, room temperature
- 1/4 teaspoon cream of tartar (this is the secret to structure!)
- 6 tablespoons granulated sugar (for whipping into the meringue)
And don’t forget you need your favorite buttery pie crust tutorial ready to go—unbaked and cooled completely before we add that hot filling!
Step-by-Step Instructions for the Best Lemon Meringue
Now comes the part where we put the science into action! We need to move quickly but precisely once the filling is cooked, especially since we are working with a pre-baked crust. Start by making sure that lemon meringue pie crust you prepared is completely cool—I mean *totally* cool.
Creating the Thick Lemon Curd Recipe Base
Grab your medium saucepan and whisk together your initial sugar, cornstarch, and salt. Slowly whisk in that cold water until it’s silky smooth; no lumps allowed! Put this over medium heat and stir continuously until it gets thick and starts boiling hard. That hard boil needs to last exactly one minute to cook out that starch flavor. Pull it off the heat for a moment.
Here’s the crucial thickening step: If you dumped the yolks straight in, they’d scramble, right? That’s bad alchemy! So, you need to temper them. Take about a cup of that hot sugar mixture and slowly, slowly stream it into your lightly beaten yolks while whisking the yolks constantly. Once those yolks are warmed up, pour them back into the main saucepan. Return the pan to medium heat and cook, stirring non-stop, until it thickens up again. Don’t let it boil this time—just bubble slightly! Pull it immediately. Stir in your fresh lemon juice, zest, and the butter until everything melts into that gorgeous, vibrant filling. This step is so important for a good texture!
Pour that hot filling right into your cooled crust. You can see how this is starting to look like a real classic lemon pie already! We move straight on to the meringue while this filling is still hot; that heat helps set the meringue base later. For more inspiration on achieving that perfect filling texture, check out the great tips over at The Recipe Rebel.
How to Make Perfect Meringue Peaks
For the most stable, fluffy meringue topping, you need a bowl that is absolutely spotless—I mean zero grease contamination! Throw in your room-temperature egg whites and that little bit of cream of tartar. Start beating on medium speed until you get soft peaks that look like gentle waves. Now, slow down the mixer slightly and start adding that last 6 tablespoons of sugar, just one spoonful at a time. Don’t rush this part; give each addition time to dissolve!
Once all the sugar is in, crank that mixer up to high speed. Keep beating until you get stiff, glossy peaks. When you lift the whisk, the peak should stand straight up without flopping over. That’s perfection! Grab a spatula and immediately spread all that meringue over the hot filling. Make sure you seal it touching the crust edges all the way around—this is vital for a successful lemon meringue pie. Then, pop it into a 350°F oven for about 12 to 15 minutes until those peaks are lovely and golden brown. If you want to see how others manage their toppings, Grandma’s version shows a classic look.
No Weep Lemon Meringue Tips: Preventing Common Failures
Let’s be real; the most annoying thing in the world is waking up to a beautiful pie that looks like it’s crying all over the counter. That weeping comes from moisture loss between the filling and the meringue, but trust me, we can stop that in its tracks! This is where those Food Science lessons finally pay off for our no weep lemon meringue tips.
My number one rule is sealing the deal! When you spread your freshly whipped meringue onto the filling, you have to make sure it touches the crust edge all the way around. If there’s a gap, the hot filling steams, the meringue shrinks away, and boom—we get puddles. Press it tight against the pastry!
Secondly, that cooling time is non-negotiable. That long, slow cool-down on the counter, at least four hours, lets that cornstarch-thickened lemon curd firm up properly. Don’t rush it into the fridge while it’s still hot, or you’ll shock the filling!
If you’re really nervous about the oven, skip it entirely! I sometimes use a kitchen torch after spreading the meringue. It browns those gorgeous peaks quickly without overcooking the filling underneath. For more great insights on keeping everything stable, check out the tips on baking this classic.
Serving Suggestions for This Tart and Sweet Pie
You’ve done the hard work, and now you have this gorgeous, towering dish! This tart and sweet pie deserves a beautiful presentation. Because the flavor is so intensely bright and zesty, simple accompaniments work best. If you need an extra touch of creaminess, serve a small dollop of freshly whipped cream on the side, not directly on top—we don’t want to smash those beautiful meringue peaks!
For color, try scattering a few fresh raspberries or blueberries around the serving plate. They look stunning against the golden brown meringue and echo that summery vibe. Honestly, though, this is such a showstopper dessert on its own, sometimes just a clean slice on a nice plate is all you need to wow everyone at the table!
Storage and Reheating Instructions for Lemon Meringue
This incredible lemon meringue pie really is best eaten the day it’s made, especially for that cloud-like meringue! But if you have leftovers? Don’t worry, we can navigate storage. Because that fluffy topping is so delicate, you absolutely must cover this pie loosely once it’s fully cooled—plastic wrap touching the meringue is a disaster waiting to happen. Seriously, tent it gently.
You need to keep the whole pie refrigerated after the initial room-temperature setting time. It will last about three days in the fridge, though that meringue might start to get a little weepy after day two. Don’t ever try to reheat this pie! Warming it up will melt that beautiful structure we worked so hard to build. Just allow slices to sit on the counter for about 20 minutes before serving so the filling isn’t ice-cold. For the best experience, check out the tips on storing your classic lemon pie!
Frequently Asked Questions About Lemon Meringue Pie Recipe
Wow, you guys ask the best questions! It shows me you’re really thinking through the process, which is what good baking is all about. Since we are trying to nail that perfect result, let’s quickly cover the final details on making this lemon meringue recipe shine.
Can I substitute bottled lemon juice for fresh in this lemon meringue recipe?
I really, truly wish I could say yes, but for this pie? Absolutely not. If you want that bright, vibrant pop—that incredible zesty lemon dessert flavor—you must use fresh juice. The bottled stuff has preservatives and often a duller, slightly metallic edge that just flattens the flavor profile of that curd. Save the bottled juice for cleaning the kitchen, and use fresh lemons for baking!
What is the best way to store leftover classic lemon pie?
Like I mentioned before, this pie hates a covered environment and it hates being hot inside. Once it’s cooled completely, which takes hours, you have to get it into the fridge. Place it uncovered in the coldest part of your fridge. If you have to cover it to keep pets or kids away, use plastic wrap, but drape it lightly like a tent so it doesn’t touch the meringue peaks. If you are making this ahead of time, it’s usually best the next day, but definitely no more than three days total. For tips on other fantastic classic desserts, check out what the folks at Rock Recipes are whipping up!
Can I use a pre-made, store-bought pie crust?
I get it, sometimes time just isn’t on your side! If you absolutely must use a store-bought crust, look for the pre-baked (or blind-baked) kind if you can find it. If you use an unbaked crust, you MUST bake it until it’s light golden brown and let it cool completely before adding the hot lemon filling. A soft crust underneath this heavy filling is a recipe for disaster!
How thick should the lemon filling be when I remove it from the heat?
This is a great question regarding the cornstarch, which is doing most of the heavy lifting here. When you first boil the starch mixture (before adding the yolks back), it needs to be thick enough that it coats the back of your spoon heavily. When you put the yolks back in, it thickens up *again* right before it begins to bubble. It should look like a very thick pudding or soft custard. If it seems too runny at that point, just cook it 30 seconds longer, stirring like mad, but once you add the butter and lemon, it will loosen up slightly right before it sets as it cools.
Estimated Nutritional Data for This Summer Citrus Dessert
Now, I always tell people that baking is about joy, not counting calories, but I know some of you are curious! Based on the ingredients in this glorious, towering slice of **lemon meringue** pie, here are the approximate numbers for one serving. Remember, this is just an estimate because your butter might be slightly different or the amount of zest you use varies. Think of this as guidance for your beautiful, homemade summer citrus dessert, not a strict requirement!
- Calories: 380
- Total Fat: 18g (9g Saturated)
- Carbohydrates: 52g
- Protein: 6g
- Sugar: 45g
Share Your Kitchen Alchemy
You’ve transformed simple things into magic, and now it’s your turn to show off! I really want to know how this classic lemon pie turned out for you. Did the filling set perfectly? Did your meringue stay lofty and proud? Please, come back here right after you slice it and leave a star rating so others know this is the recipe to trust.
And if you used my no weep lemon meringue tips—tell me! Seeing your beautiful, stable pies gives me such a thrill because it means the precision worked! If you snap a picture of your slice of sunshine, feel free to tag me on social media. I absolutely adore seeing your kitchen alchemy in action. Don’t be shy; share your experience making this incredible dessert!
If you enjoyed this adventure into making the best dessert, you can see some other amazing pie combinations over at Cook & Blog, or maybe check out another version of this classic Grandma’s Pie for comparison!
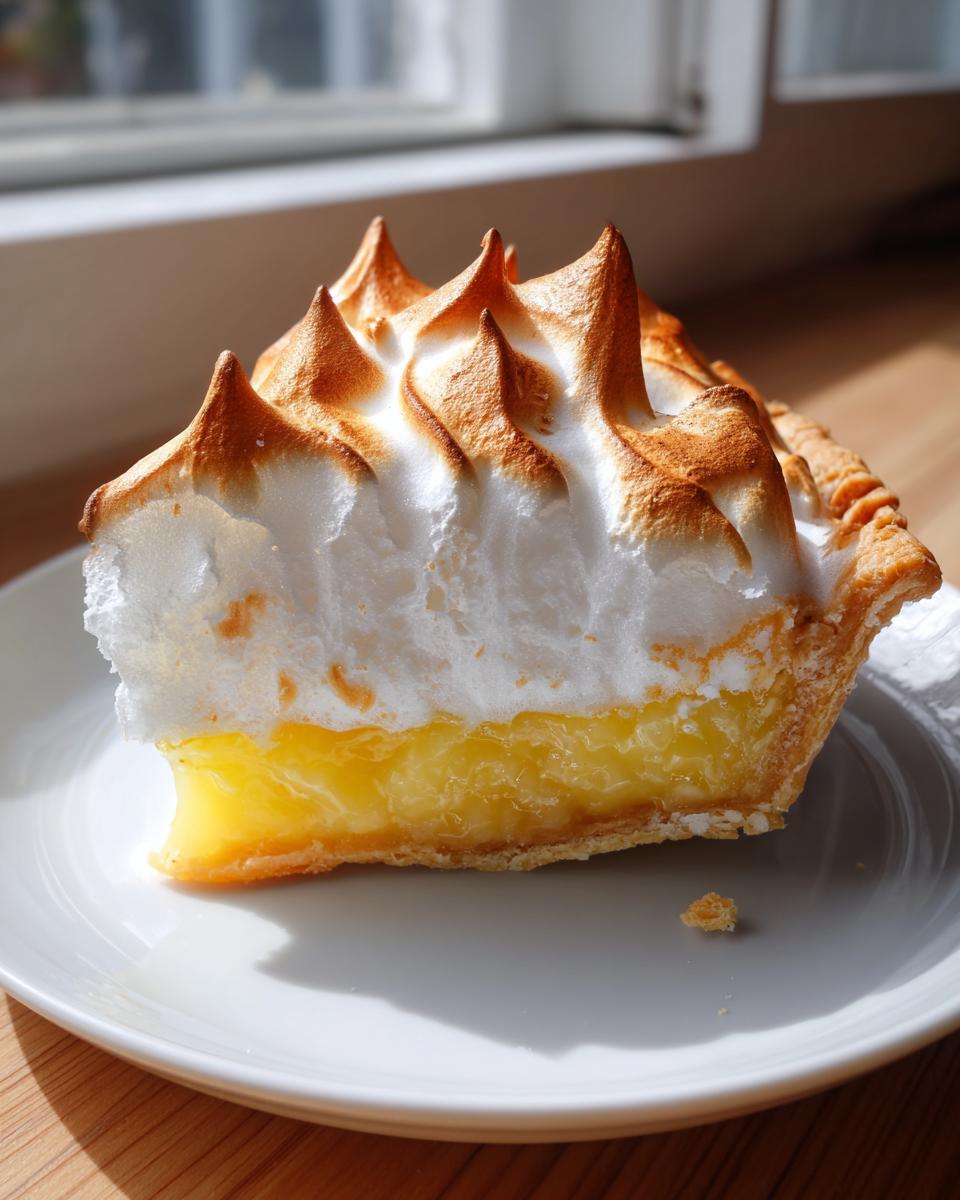
PrintGrandma’s Classic Lemon Meringue Pie From Scratch

Make this classic lemon meringue pie from scratch. It features a buttery crust, a zesty lemon custard filling, and a tall, fluffy meringue topping.
- Prep Time: 30 min
- Cook Time: 45 min
- Total Time: 75 min
- Yield: 8 servings 1x
- Category: Dessert
- Method: Baking
- Cuisine: American
- Diet: Vegetarian
Ingredients
- 1 recipe for Buttery Pie Crust (9-inch, unbaked)
- 1 1/2 cups granulated sugar
- 1/4 cup cornstarch
- 1/4 teaspoon salt
- 1 1/2 cups cold water
- 3 large egg yolks, lightly beaten
- 1/2 cup fresh lemon juice
- 1 tablespoon lemon zest
- 2 tablespoons unsalted butter
- 3 large egg whites, room temperature
- 1/4 teaspoon cream of tartar
- 6 tablespoons granulated sugar (for meringue)
Instructions
- Prepare and partially bake your 9-inch pie crust according to your preferred recipe. Cool completely.
- For the lemon filling, whisk together 1 1/2 cups sugar, cornstarch, and salt in a medium saucepan. Gradually whisk in the cold water until smooth.
- Cook the mixture over medium heat, stirring constantly, until it thickens significantly and comes to a boil. Boil for one minute, stirring constantly. Remove from heat.
- In a separate bowl, whisk the egg yolks lightly. Slowly temper the yolks by whisking about one cup of the hot sugar mixture into the yolks.
- Pour the tempered yolk mixture back into the saucepan with the remaining hot mixture. Return to medium heat and cook, stirring constantly, until the filling thickens again and just begins to bubble. Do not boil.
- Remove the filling from the heat. Stir in the lemon juice, lemon zest, and butter until the butter melts completely.
- Pour the hot lemon filling into the cooled, unbaked pie crust.
- For the fluffy meringue topping, place the room temperature egg whites and cream of tartar in a clean, grease-free mixing bowl. Beat with an electric mixer on medium speed until soft peaks form.
- Gradually add the 6 tablespoons of sugar, one tablespoon at a time, beating well after each addition. Increase the speed to high and beat until stiff, glossy peaks form. This creates a stable meringue.
- Spread the meringue over the hot lemon filling, making sure the meringue touches the crust edge all around to prevent shrinking. Create decorative peaks.
- Bake immediately in a preheated 350°F (175°C) oven for 12 to 15 minutes, or until the meringue peaks are golden brown.
- Cool the pie completely on a wire rack at room temperature for at least 4 hours before slicing. This helps the filling set properly and prevents weeping.
Notes
- To prevent weeping meringue, make sure your mixing bowl and whisk attachments are completely free of any grease or fat residue before beating the egg whites.
- For a showstopper dessert, use a kitchen torch to brown the meringue peaks instead of baking if you prefer a softer filling.
- Use fresh lemon juice for the best zesty flavor in your lemon curd.
Nutrition
- Serving Size: 1 slice
- Calories: 380
- Sugar: 45g
- Sodium: 150mg
- Fat: 18g
- Saturated Fat: 9g
- Unsaturated Fat: 9g
- Trans Fat: 0g
- Carbohydrates: 52g
- Fiber: 1g
- Protein: 6g
- Cholesterol: 110mg