

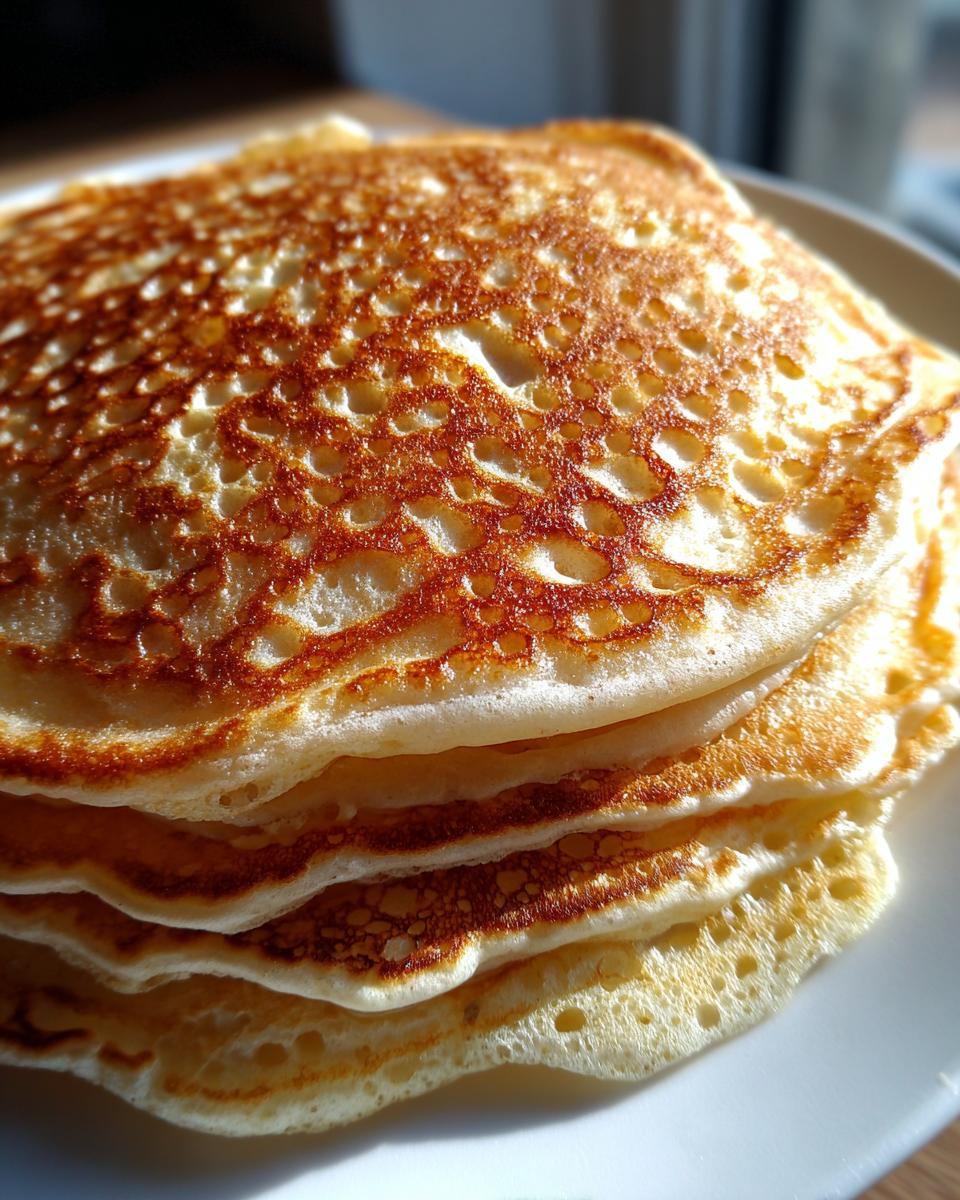
Isn’t there just a quiet, wonderful magic that happens when that jar of sourdough starter overflow needs a purpose? I’m Juliana, and trust me, I love seeing your discard go to good use! As someone who has spent years professionally developing recipes using my Food Science background, I can promise you that this isn’t just another flat, sour pancake recipe. Nope. We are chasing the ultimate stack of light, airy, and perfectly tangy sourdough pancakes here. This recipe takes that unfed discard straight from the fridge and transforms it into the fluffiest breakfast you’ve ever made, no complicated fermentation needed!
- Why You Will Love These Fluffy Sourdough Pancakes
- The Science Behind Perfect Sourdough Pancakes
- Ingredients Needed for Easy Sourdough Pancakes Recipe
- How to Prepare Your Fluffy Sourdough Pancakes
- Making Overnight Sourdough Pancakes for Weekend Brunch Recipes
- Ingredient Notes and Substitutions for Sourdough Starter Discard Recipes
- Storage and Reheating Instructions for Sourdough Pancakes
- Frequently Asked Questions About Sourdough Pancakes
- Serving Suggestions for Your Tangy Sourdough Breakfast
- Serving Suggestions for Your Tangy Sourdough Breakfast
Why You Will Love These Fluffy Sourdough Pancakes
I get it, you want pancakes that stack high and taste amazing without needing hours of prep. That’s why this recipe is designed around pure weekend satisfaction. After testing countless combinations—trust me, I’ve made my fair share of flat ones during my development days—I settled on this method because it just *works*. Here’s what you get when you choose this recipe:
- Instant Fluff Factor: We use baking powder and soda to guarantee a light and airy lift, even when using unfed discard. Say goodbye to dense hockey pucks!
- That Signature Tang: You get the complex, slightly sour flavor that only real sourdough can provide, perfectly balanced by a touch of sugar for that classic comfort food feel.
- Zero Waste Cooking: This recipe happily devours your sourdough starter discard, making you feel smarter and cleaner about your baking habits. It’s a win-win!
- Lightning Fast Prep: Forget waiting for the starter to peak. If you’re making these fast, the batter comes together in under ten minutes. That means less waiting and more eating.
- Reliability is Key: I developed this recipe to be foolproof. If you follow the simple steps, you are guaranteed a stack of beautiful, fluffy sourdough pancakes every single time.
The Science Behind Perfect Sourdough Pancakes
Now, let’s talk magic—or rather, food science! When we use unfed starter discard, we aren’t relying on wild yeast activity for the big rise; that’s too unpredictable for a quick breakfast. Instead, we let the chemical boosters do the heavy lifting. The combination of baking soda and baking powder reacts instantly with the acidity in the discard, creating carbon dioxide bubbles that give you that beautiful lift.
This is how we nail that superior, Tangy Sourdough Breakfast without the overnight wait! My pro tip for keeping things light and airy? Don’t you dare crush those lumps when you mix! Lumps mean you haven’t overdeveloped the gluten, and perfectly developed gluten is what keeps your stack tender.
Ingredient Clarity for Best Sourdough Pancakes
Precision matters, darling, especially when you’re relying on chemical leaveners. To get the absolute best results for your sourdough pancakes, use exactly 1 cup of sourdough starter discard that is unfed and straight from the fridge—no warming up needed for this quick version! The egg and milk should be room temperature if you have the time, as that helps everything emulsify smoothly, but honestly, if you’re rushing on a Tuesday, straight from the fridge is totally fine; just whisk a bit longer!
Ingredients Needed for Easy Sourdough Pancakes Recipe
Okay, this is my favorite part because, with this Easy Sourdough Pancakes Recipe, you probably have 90% of this hiding in your pantry right now! Seriously, this recipe takes very basic staples and just needs that little bit of sourdough magic. Since we aren’t asking the discard to do the heavy lifting for the rise, the other components are super straightforward. When I developed this, I wanted it to be simple enough for a frantic Wednesday morning but flavorful enough for a lazy Sunday brunch.
Here is exactly what you need for about eight beautiful pancakes. Remember, weighing your flour is always best, but these volume measurements are spot on, according to my testing!
For the Dry Mix:
- 1 cup all-purpose flour (sifted is sometimes helpful, but not mandatory!)
- 2 tablespoons granulated sugar (this balances that tart flavor beautifully)
- 1 teaspoon baking powder
- 1/2 teaspoon baking soda (this is critical for the reaction with the discard)
- 1/4 teaspoon salt
For the Wet Ingredients (Plus the Star!)
- 1 cup sourdough starter discard (unfed, straight from the fridge—don’t worry about feeding it first!)
- 1 large egg
- 1 cup milk (whole milk works best for richness, but skim is fine!)
- 2 tablespoons melted butter, plus extra for greasing that griddle!
That’s it! Scoop the dry stuff into one bowl, whisk the wet stuff in another, and you are ready to go. It really is that simple to start making these incredible sourdough discard pancakes. See? I told you this was easy!
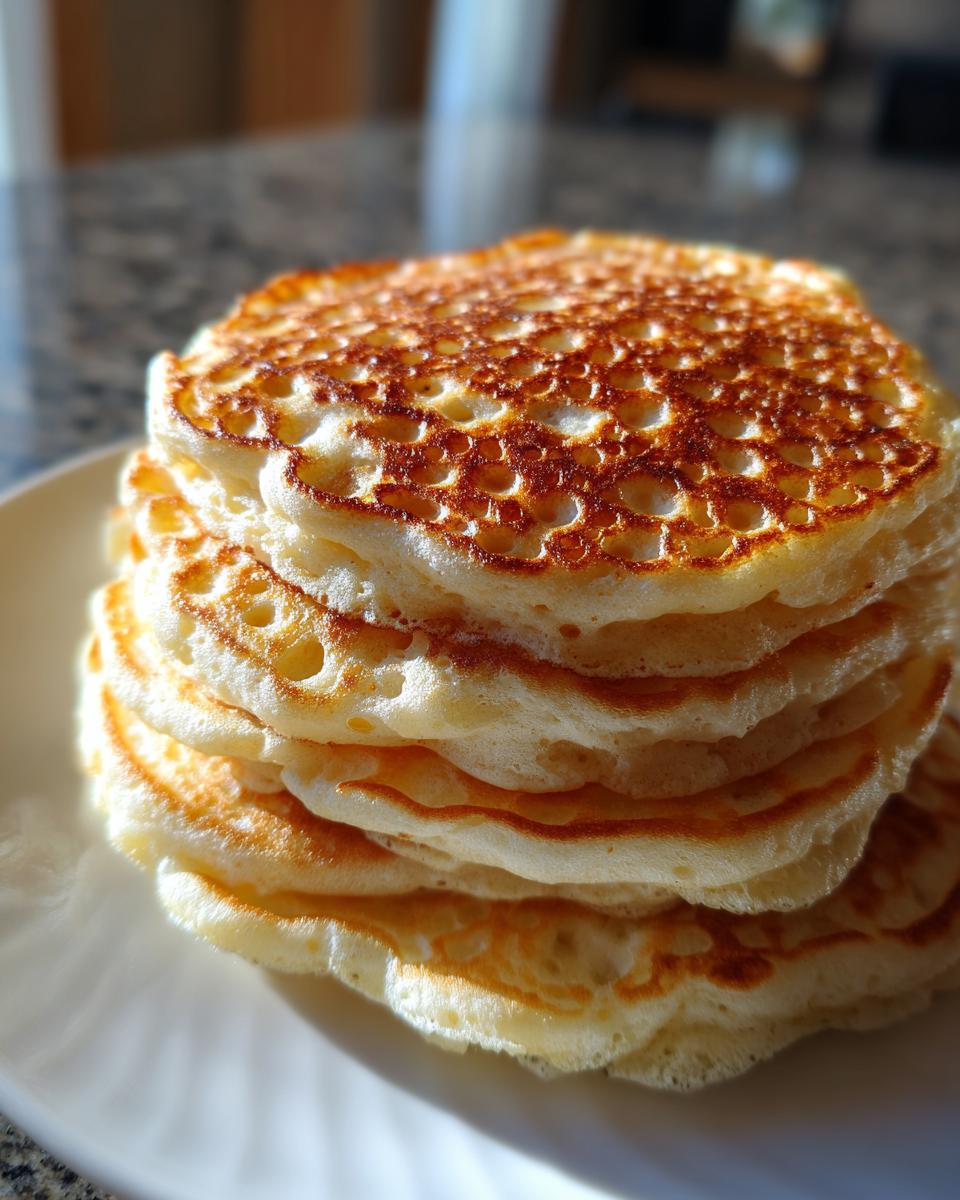
How to Prepare Your Fluffy Sourdough Pancakes
Alright, this is where the alchemy really happens! You’ve got your ingredients separated, and now we’re going to combine them with the lightest touch possible. Remember what I said about lumps? They are your friends here. Overmixing is the nemesis of fluffy breakfast food, so grab your whisk or spatula and move with purpose but gentleness. This is how we ensure a tender crumb.
- First things first: Get organized! Whisk together all the dry ingredients—flour, sugar, baking powder, baking soda, and salt—in one big bowl. They need to be super familiar with each other before the liquids show up.
- In a separate, smaller bowl, gently combine your wet components: the cold sourdough starter discard, the egg, and the milk. Whisk just until the egg yolk breaks and everything looks mostly incorporated. Don’t whip it into a foam!
- Now, pour that entire wet mixture right into the center of your dry ingredients. Use a spatula and fold the ingredients together carefully. We are mixing until *just* combined. Seriously, stop mixing when you still see a few streaks of dry flour. If you mix until it looks perfectly smooth, you’ve gone too far, and your fluffy sourdough pancakes will suffer!
- After the minimal mixing, pour in your 2 tablespoons of melted butter and fold it through just once or twice more.
- Here’s a crucial step I learned from years in the testing kitchen: Let the batter rest! Cover that bowl loosely and let it sit on the counter for five minutes. This short rest allows the flour to hydrate completely and gives the leaveners a little kick-start.
- While it rests, get your cooking surface ready. Place a large non-stick skillet or griddle over medium heat. I stress medium heat—too high and you burn the outside before the middle sets, which is a tragedy!
- Test the heat. I always flick a drop of water onto the surface. If it sizzles and dances before evaporating, you are absolutely golden. If it just sits there, give it a minute. If it evaporates instantly, turn the heat down!
- Scoop out about 1/4 cup of batter per pancake onto your properly heated surface. Don’t crowd the pan; give them room to breathe and brown nicely.
- Now for the big reveal: Watch the surface! Cook for about 2 to 3 minutes. You’re looking for bubbles to form and pop—and importantly, for those edges to start looking set and dry around the rim. That’s your signal!
- Flip swiftly and cook the other side. This second side needs less time, maybe 1 to 2 minutes, until it matches that beautiful color on the first side.
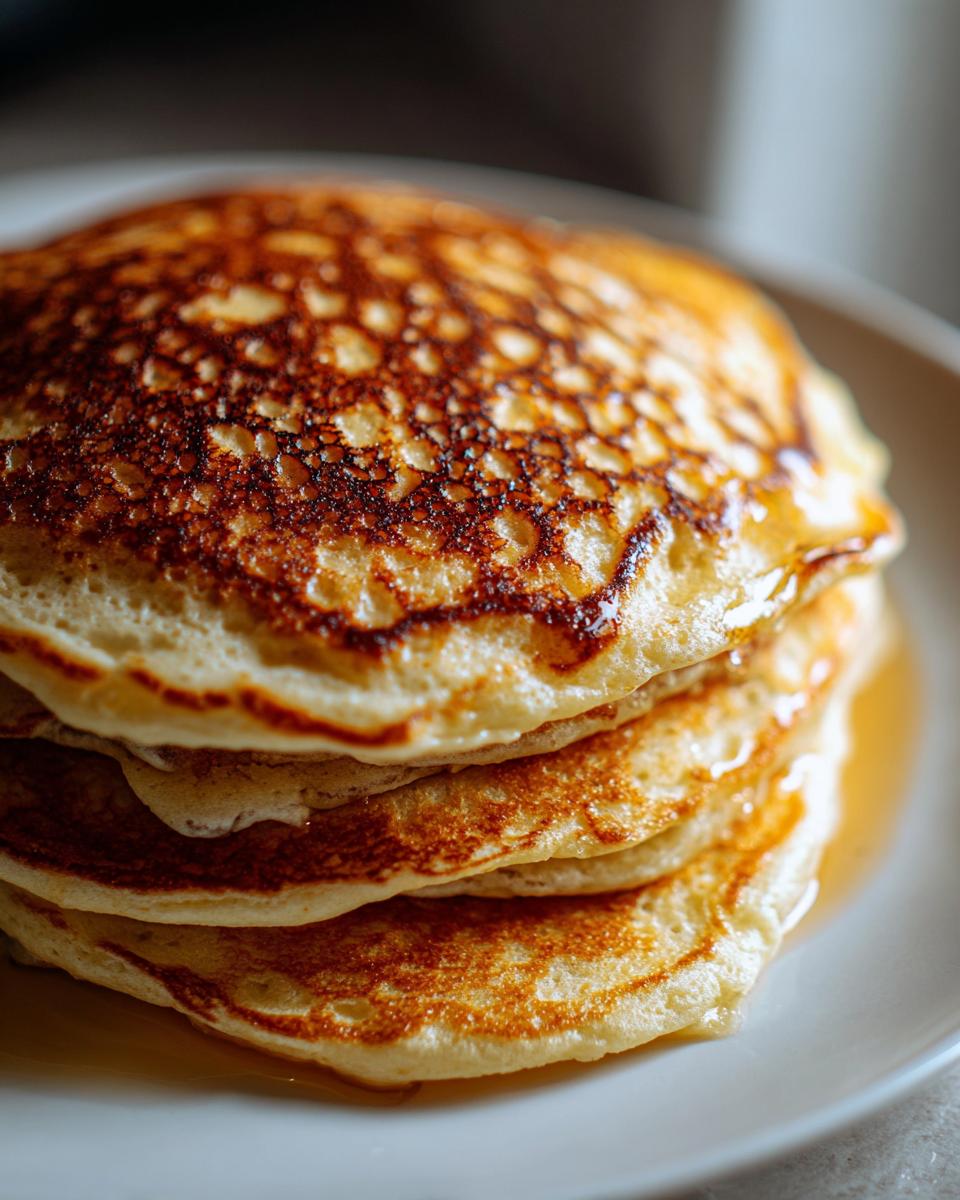
Tips for Achieving Golden Brown Pancakes
That golden brown color is the mark of a perfectly cooked pancake, and it all comes down to consistent heat management, friends. Never pour your batter onto a cold pan, and never try to cook a whole batch on high heat. If you notice your edges are darkening too quickly before those bubbles have even started to appear on top, drop the heat immediately! When you see those bubbles pop and stay open like little craters, that’s your absolute best cue to lift that spatula and flip. A quick, decisive flip ensures you lock in all that hidden fluffiness inside. Save this pin from Munchkin Time for perfect pancake days!
Making Overnight Sourdough Pancakes for Weekend Brunch Recipes
Okay, if the thought of mixing and flipping pancakes before the sun is fully up sounds awful, I totally get it. That’s why I have a brilliant trick up my sleeve for making the most glorious things you can imagine for your Weekend Brunch Recipes without actually having to wake up early for them—the overnight method! This is where using discard turns from a convenience into a true lifestyle hack.
When you mix the batter the night before, something special happens. The flour has ages to fully hydrate, and the little bit of remnant activity in that cold discard starts working its magic slowly. The result? An even deeper, more nuanced tang and a texture that is miraculously tender. It’s almost impossibly light!
I swear by this method for low-stress mornings. I mix everything (except the melted butter!) the night before guests arrive, and then Saturday morning, I just have to melt two tablespoons of butter, fold it in, and get cooking. I remember using this trick the morning my sister visited and she swore I must have been up since 5 AM—I was sipping coffee and relaxing while the griddle heated up. It felt like cheating!
Here’s exactly what you do for your Overnight Sourdough Pancakes:
- In a large bowl, mix all the dry ingredients exactly as listed in the main recipe.
- Whisk together the cold sourdough starter discard, egg, and milk until just combined.
- Combine the wet into the dry, folding gently until almost uniform—remember, no aggressive mixing!
- Cover the bowl tightly with plastic wrap, or just use a lid if you have one that fits well. Pop it immediately into the refrigerator. No need to rest it now; the cold sleep is what we are aiming for.
- Leave it alone overnight! Aim for 8 to 12 hours.
When morning rolls around, pull that beautiful, slightly bubbly bowl out of the fridge. The batter will be thick—and I mean *thick*. This is good! This is where you gently fold in your 2 tablespoons of melted butter. If the batter seems too tight to mix easily, just add a small splash (maybe a tablespoon) of extra milk until it looks like a manageable pancake batter again. That tiny bit of extra liquid won’t hurt the final texture, especially since you rested it overnight. Then you cook it up as usual, aiming for that perfect golden hue. Check out the fantastic instructions over at Hearty Home Bites for another angle on this magic!
Ingredient Notes and Substitutions for Sourdough Starter Discard Recipes
Look, I know not everyone has the exact same pantry setup, and frankly, the professional aspect of my recipe development background means I’ve tested every possible substitution out there. Sometimes you’re out of milk, sometimes you’re dairy-free, and sometimes you just need to know if that bubbly, fed starter will work instead of the discard. Don’t sweat it! We can tweak this recipe slightly without sacrificing your chance at the Best Sourdough Pancake Recipe.
First, let’s hit the big one: Starter type. Stick to the unfed discard for this recipe, please! When you use unfed discard straight from the fridge, its natural acidity works perfectly with the baking soda and powder we added to give us that instant, reliable lift. If you use an active, bubbly starter—the kind you’d use to bake a loaf of bread—it’s already full of gas, and you’ll likely end up with pancakes that rise too quickly and then deflate into disappointing little puddles on the griddle. Keep the active starter for bread and the cold discard for this glorious breakfast!
When it comes to dairy, we have options. For milk, if you need a dairy-free swap, a good quality unsweetened almond milk or even oat milk works perfectly fine. The texture change is negligible. Just try to avoid anything too thin, like rice milk, unless you are prepared to reduce the amount slightly.
Butter is non-negotiable for flavor, but if you truly need to substitute the 2 tablespoons of melted butter added to the batter, use melted coconut oil. It has a wonderful neutral flavor that won’t compete with the tang. For greasing the griddle, however, stick to butter or a neutral oil like canola; coconut oil can sometimes brown too fast when used on the cooking surface alone. I found that out the hard way at 6 AM, trust me! You can see more pointers on traditional methods over at Cook Loria, too!
Storage and Reheating Instructions for Sourdough Pancakes
I am always optimistic that we’ll eat every single pancake the moment they come off the griddle, but usually, there are a few stragglers left—especially when I make a double batch for the freezer! The good news is that these don’t just reheat well; with the sourdough base, they often stay surprisingly tender even on day two. We can’t have leftover breakfast being anything less than amazing, right?
For Refrigeration (1-3 Days):
If you plan on eating the rest tomorrow morning, stacking them in the fridge is the way to go. Make sure they are completely cooled down first! If you stack warm pancakes, you are actively creating steam, and that steam turns into sogginess. Once cool, stack them between pieces of wax paper or parchment until they are fully separated. Pop the whole stack into an airtight container or a large zip-top bag. They keep that good, slight tang for a few days!
For Freezing (Up to 2 Months):
Freezer pancakes are a lifesaver on busy weekdays. Once cooled completely, stack them with that parchment paper divider—this prevents them from becoming one giant, solid pancake brick, which is just sad. Wrap the stack tightly in plastic wrap first, and then put that wrapped stack into a heavy-duty freezer bag. Label the bag with the date so you aren’t guessing six weeks later!
The Best Reheating Methods:
This is where we preserve that beautiful, light texture we worked so hard for. Please, if you can avoid it, skip the microwave for more than 15 seconds. Microwaving works fast, but it just steams the pancake, making it rubbery, no matter how fluffy it was originally.
- The Toaster or Toaster Oven: This is my absolute favorite trick! A quick zap in the toaster or toaster oven is perfect for 1 or 2 pancakes straight from the fridge or freezer. It reheats them evenly and brings back a hint of that slightly crispy edge we love. It takes maybe 1 to 2 minutes.
- The Oven Method (Best for a Whole Batch): If you’re reheating a whole stack from frozen, preheat your oven to 350°F (175°C). Lay the frozen pancakes on a baking sheet and pop them in for about 8 to 10 minutes. They come out tasting almost freshly made!
- The Skillet Revival: If they are just a day old and feeling a little stiff from the fridge, a quick toss in a dry, lightly warmed skillet over low heat for about 30 seconds per side is fantastic. It warms them through right to the center without drying them out.
If they seem a little stiff after reheating from frozen, just add a tiny splash of milk or water to the plate before popping them in the microwave for 10 seconds—it breathes life right back into them!
Frequently Asked Questions About Sourdough Pancakes
Can I use active, bubbly sourdough starter instead of discard?
That’s a great question, and one I ran into constantly while developing the Best Sourdough Pancake Recipe! The short answer is: Yes, you *can*, but you absolutely must adjust the recipe. Using active, fed starter means your batter is already full of yeast-produced gas. If you use the full amount of baking powder and soda in this recipe, the pancakes will rise too high, too fast, and then collapse into sad, slightly rubbery disks. If you must use active starter, cut the baking powder and baking soda completely, OR reduce the amount of starter you use significantly. For this specific recipe—which is designed for convenience—stick to the cold, unfed discard!
Why are my sourdough pancakes flat and dense?
Oh, I hate that! Flat pancakes mean you lost the air we worked so hard to incorporate. There are three main culprits for dense sourdough pancakes. First, you mixed the batter too long. If you mix until that last bit of flour disappears, you’ve built up too much gluten structure, which gets tough. Second, your leavening agents (baking powder/soda) might be old! Double-check their expiration date and give them a little puff test. Third, sometimes if you skip the 5-minute rest after mixing, the flour doesn’t hydrate properly, leading to a heavy texture. Remember: lumps are lovely!
How tangy should these pancakes actually taste?
This is where personal preference comes in, but I aimed for a lovely, gentle tang that complements the sweetness, not dominates it. Since we are using unfed discard straight from the fridge, the sour flavor will be much more subtle than if you were using a 100% hydration starter that had been sitting out for 12 hours. If you want more tang in your Tangy Sourdough Breakfast, the best way to increase it is by using the overnight method! Letting the cold batter sit for those 8 to 12 hours lets that residual acidity mellow and deepen perfectly. If they taste too sour right after mixing, don’t panic; the flavor truly balances out beautifully upon cooking.
Can I skip the sugar in this recipe?
You could, technically, but I really, really wouldn’t recommend it if you are aiming for that incredible texture. The sugar isn’t just for sweetness; it plays a crucial role in keeping the pancakes tender! Sugar is hygroscopic, meaning it attracts and holds onto moisture, softening the crumb and preventing the texture from becoming tough or dry while cooking on the griddle. If you need to reduce sugar for dietary reasons, try cutting it in half rather than eliminating it completely. For more ideas on perfecting your baking, check out the tips for the Best Sourdough Pancake Recipe.
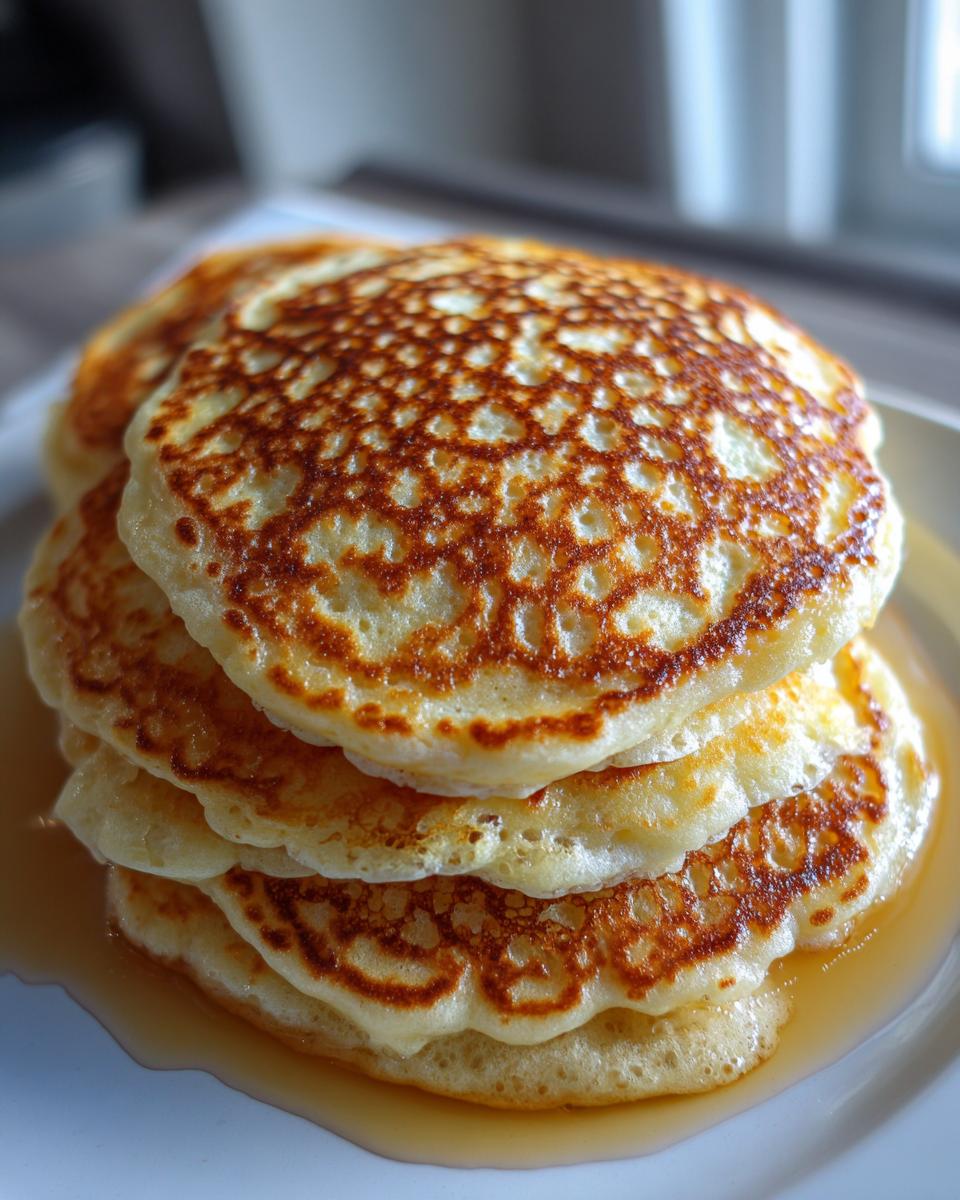
Serving Suggestions for Your Tangy Sourdough Breakfast
Honestly, these are great with just a smear of good quality butter and a slow drizzle of maple syrup, but since we’ve already created such a wonderful, tender pancake base, why not dress them up? These Homemade Comfort Food Pancakes deserve to be showcased!
Since the sourdough brings its own beautiful, subtle tartness, ingredients that are rich or slightly sweet really sing alongside it. Forget those artificial syrups; we deserve better than that for our effort!
Here are my top pairings for a truly elevated Tangy Sourdough Breakfast experience:
- Melted Butter and Salted Caramel Sauce: If you have homemade caramel, even better! The salt cuts through the richness perfectly.
- Fresh Berries and Lemon Zest: A handful of blueberries or raspberries mixed right into the batter before cooking is always fantastic, but topping them with a tiny sprinkle of fresh lemon zest right before serving brightens everything up.
- Toasted Pecans or Walnuts: Toast your nuts separately in a dry pan for about three minutes until fragrant, then toss them on top heavily. The crunch contrasts beautifully with the soft pancake interior.
- A Dollop of Whipped Cream Cheese: A light smear of plain cream cheese, warmed slightly so it’s easily spreadable, is almost like a deconstructed fancy frosting. It’s creamy, slightly salty, and absolutely divine.
Remember, the goal is always maximum delight, and simple, high-quality toppings make these sourdough pancakes feel like a restaurant-quality treat, even if you whipped them up in 20 minutes! Don’t forget to save this inspiration over at Food and Life Lately!
PrintThe Ultimate Fluffy Sourdough Discard Pancakes Recipe

Create wonderfully fluffy and tangy sourdough pancakes using your unfed starter discard. This easy recipe delivers light, tender results perfect for a weekend brunch.
- Prep Time: 10 min
- Cook Time: 15 min
- Total Time: 25 min
- Yield: About 8 pancakes 1x
- Category: Breakfast
- Method: Griddling
- Cuisine: American
- Diet: Vegetarian
Ingredients
- 1 cup sourdough starter discard (unfed)
- 1 cup all-purpose flour
- 2 tablespoons granulated sugar
- 1 teaspoon baking powder
- 1/2 teaspoon baking soda
- 1/4 teaspoon salt
- 1 large egg
- 1 cup milk (whole milk recommended)
- 2 tablespoons melted butter, plus more for the griddle
Instructions
- In a large bowl, whisk together the flour, sugar, baking powder, baking soda, and salt. This is your dry mix.
- In a separate medium bowl, whisk together the sourdough starter discard, egg, and milk until combined.
- Pour the wet ingredients into the dry ingredients. Mix gently until just combined. Do not overmix; a few lumps are fine.
- Stir in the 2 tablespoons of melted butter.
- Heat a lightly buttered griddle or large non-stick skillet over medium heat. The griddle is ready when a drop of water sizzles immediately.
- Pour 1/4 cup of batter onto the hot griddle for each pancake.
- Cook for 2 to 3 minutes per side, until golden brown and bubbles appear on the surface. Flip and cook the second side until cooked through.
- Serve immediately with your favorite toppings.
Notes
- For overnight preparation, mix all ingredients except the melted butter together. Cover and refrigerate for 8 to 12 hours. In the morning, gently whisk in the melted butter, add a splash of milk if the batter is too thick, and cook as directed.
- To achieve the best fluffy sourdough pancakes, let the batter rest for 5 minutes after mixing before cooking.
- Use a medium-low heat setting to ensure the pancakes cook evenly without burning the edges before the center is done.
Nutrition
- Serving Size: 1 pancake
- Calories: 180
- Sugar: 4
- Sodium: 250
- Fat: 7
- Saturated Fat: 4
- Unsaturated Fat: 3
- Trans Fat: 0
- Carbohydrates: 25
- Fiber: 1
- Protein: 7
- Cholesterol: 45